This post may contain affiliate links for your convenience. If you make a purchase through one of my links I will earn a small commission at no additional cost to you.
Last Updated on February 28, 2018 by Chris Butler
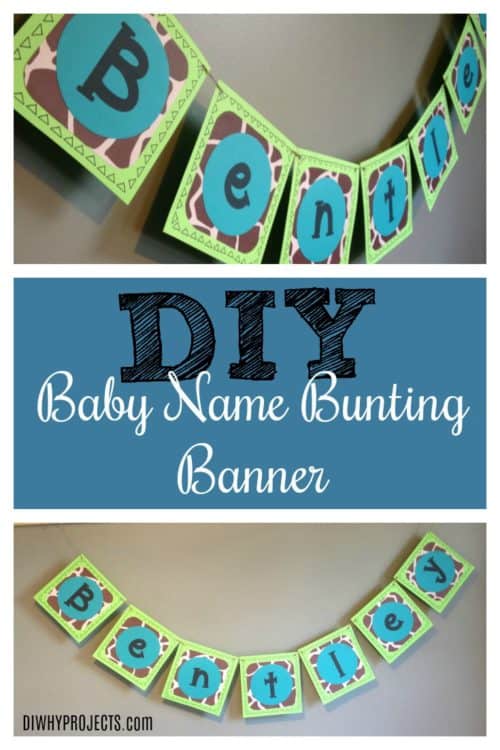
I enjoy making custom baby name banners for Baby Showers. It just adds a little wow factor to the décor. And it can be personalized for the recipient.
If the parents to be are sharing their name choice, I always go with the baby’s name versus “It’s a boy” After the Baby Shower is over, it can double as nursery décor. That being said, always ask for the theme and colors before you put the work into making a custom banner!
They are really quite simple to make. I had this one done in less than an hour. They are way cheap too! Especially if you hit one of the crafts stores 50% off paper sale! This custom baby name banner cost me a whopping $6.30 in supplies! Six Dollars and Thirty Cents! I’m going to show you how to do it.
First, find out colors and the theme for the baby shower and nursery. Hopefully they will be one in the same. Pick two different solid colors that compliment each other in 8.5×11 cardstock. If they just give you one color like yellow, pick a light yellow and a dark yellow.
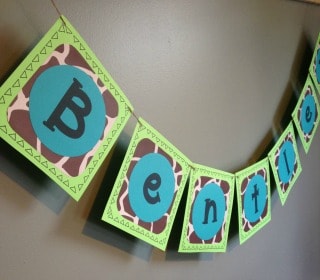
Next, find scrapbooking paper that matches the theme. The theme of this shower and nursery is Safari Animals. I usually mix up the theme prints so there are 3-4 different patterns, but I couldn’t find enough that were boyish, so I went with one print in a giraffe pattern.
Amazon also has a great selection of scrapbooking paper if you are having a hard time finding what you need in the store.
You will also need:
- Scissors
- Glue Sticks
- Printer
- Twine
Now that you have all the supplies, let’s get started.
Custom Baby Name Banner
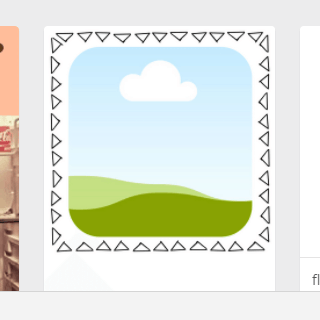 I added a frame to the back green sheet of paper that fits the theme. You can grab frames for free on Canva. Choose create a flyer so everything is sized to an 8.5×11 sheet.
While I was there I put the rounded edge square in the middle (also free). This will serve as a pattern to cut your theme scrapbook paper.
Print your first sheet on normal white paper and cut out that rounded frame for your pattern. And if you chose a border you like, print that on the paper that will be your background color.
Trim the edges to the frame.
Take your pattern for the theme paper and trace it onto the back of one of the sheets. I usually trace the pattern on one sheet and stack 3-4 together to cut at once.
Now we need the letters. Good news! Those are free too for personal use! Head over to Teachers Pay Teachers to download. The letters also come with a cute border, but I thought that looked too busy on my banner so I cut it off.
Print out the letters you need on your second color of paper and cut them out.
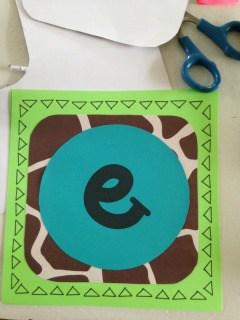
Now we are ready to assemble! I just use regular Elmers glue sticks. Put down some newspaper or scrap paper because you want to make sure to glue goes to the very edge.
Start with your theme paper. Apply glue around every edge and some in the middle. Then center onto your background paper. Apply glue to every edge of your letters and center on your theme paper. You now have all three layers glued together.
I stick them under a heavy book as I get done so the paper stays flat and adheres well as it dries.
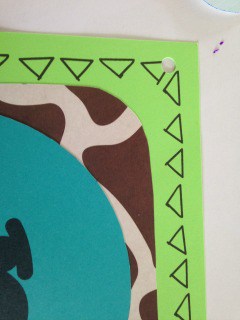 After all of your gluing is done, your first sheets should be dry. You can begin hole punching the top two corners of every letter.
Now we are ready to string them together! Grab your twine and thread it through the hole punched tops. On this banner I threaded twine behind each letter. But it’s also cute in front!
I also like to place a piece of tape or a dab from my glue gun to the twine on the back so the letters don’t slide around. After all of your letters are in place, cut your twine and tie a loop on the ends to hang.
Stand back and admire your work. You did a great job! Let us know in the comments if you plan to make one of these! Better yet snap a pic of your finished banner and we may feature yours!

Chris Butler has helped thousands of crafters learn how to use their Cricut machine without feeling overwhelmed. She is a best selling author and an up and coming designer. For fun Chris enjoys designing SVG Files, hanging out with her family (preferably at the lake), traveling, and volunteering at her church. She is a wife and mom of two crazy fun kids.
Thanks for inspiring article. I will surely try.
What a super cute idea! I love that you can customize it so much and it’s really affordable. Thanks for sharing!
Love diys ! This is very cute and creative
Awe this is so cute! Love this idea!☺️