This post may contain affiliate links for your convenience. If you make a purchase through one of my links I will earn a small commission at no additional cost to you.
Last Updated on November 18, 2020 by Chris Butler
Hello crafty friends!
Today I have an embroidery hoop idea for you to try. It’s a fun and easy craft that is also pretty cost-effective, and you can customize it to fit any décor!
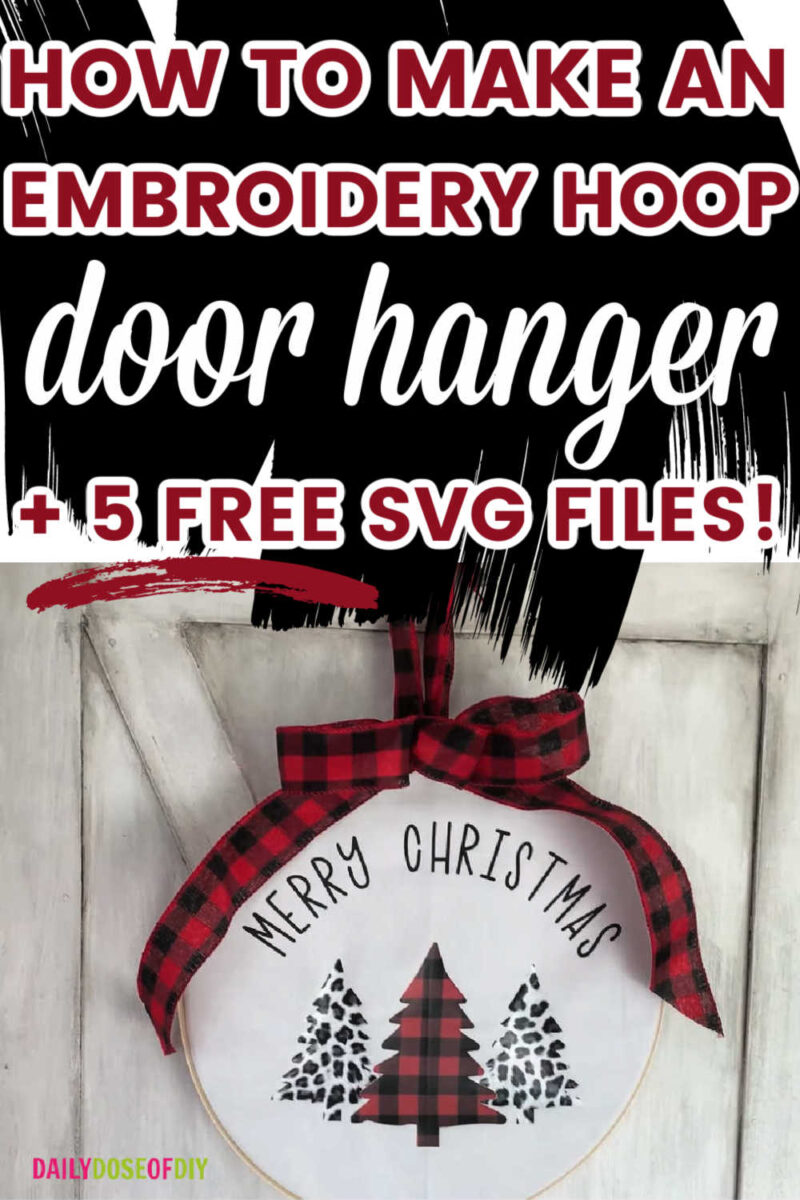
I’m going to show you step-by-step how to make a DIY embroidery hoop door hanger. And I’ll give you some free SVGs so you can customize them and make your very own Christmas door hangers.
Let’s get started!
Quick Links to Information in This Post
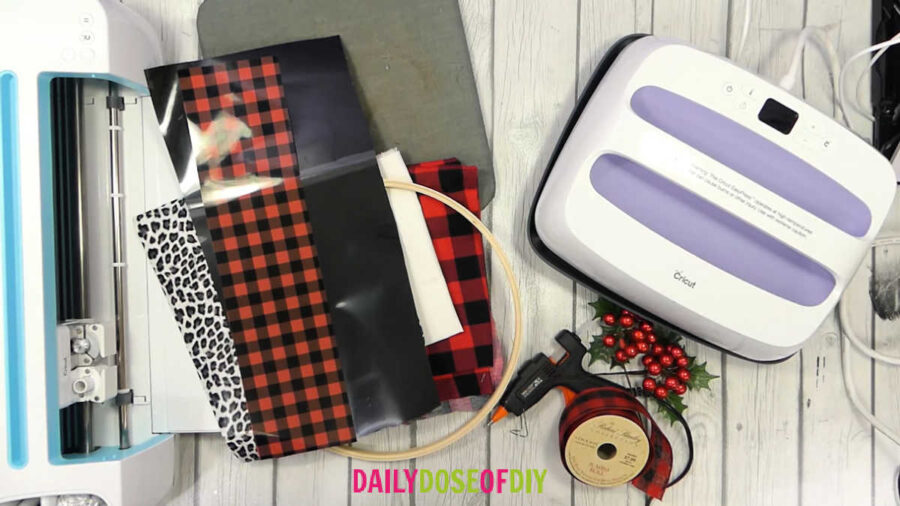
Supplies Needed for DIY Embroidery Hoop Door Hangers
- Heat Transfer Vinyl (HTV or Iron on)
- Embroidery hoop (I used a 12” hoop I found in the embroidery section at Hobby Lobby).
- Ribbon and Embellishments (I also got these at Hobby Lobby).
- Cricut Easy Press and heat press pad.
- Cutting machine (I used my Cricut Maker found here).
- Hot glue gun.
I found the Leopard Print HTV that I’m using in this tutorial on Amazon here. It has three different prints in the pack and I love them all.
The Buffalo Plaid HTV is Cricut Brand that is found here. It’s not quite as vibrant as I hoped it would be, but it still turned out nice.
DIY Embroidery Hoop Hanger Video
Step 1: Get the SVG Files and Get Ready To Cut
Start by downloading the SVG files and inserting the one you want to use into Design Space. I’ve made a set of these five SVGs down below that you can have for free to make your own.
Just click here and fill out the simple form and the SVGs will be sent straight to your inbox.
For this tutorial I am using the set of three Christmas Trees, and I also made one with Deck the Halls.
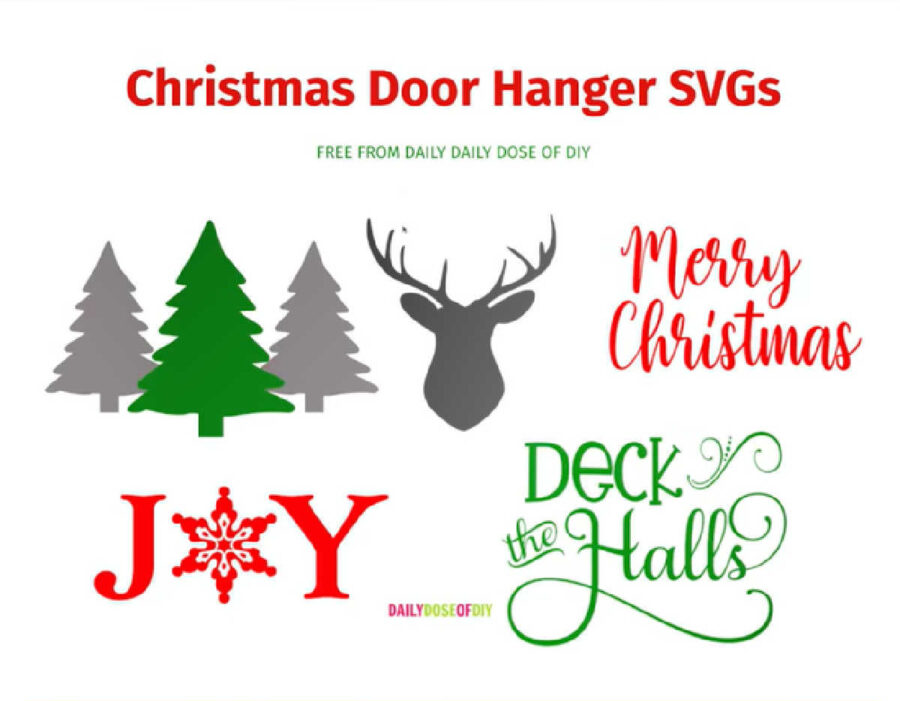
As you can see, the three Christmas trees are in two colors, so the one in the middle is different from the two outer trees. This means that Cricut will cut them out of two separate materials. If you want to cut them out all as the same color, though, you can change that in Design Space.
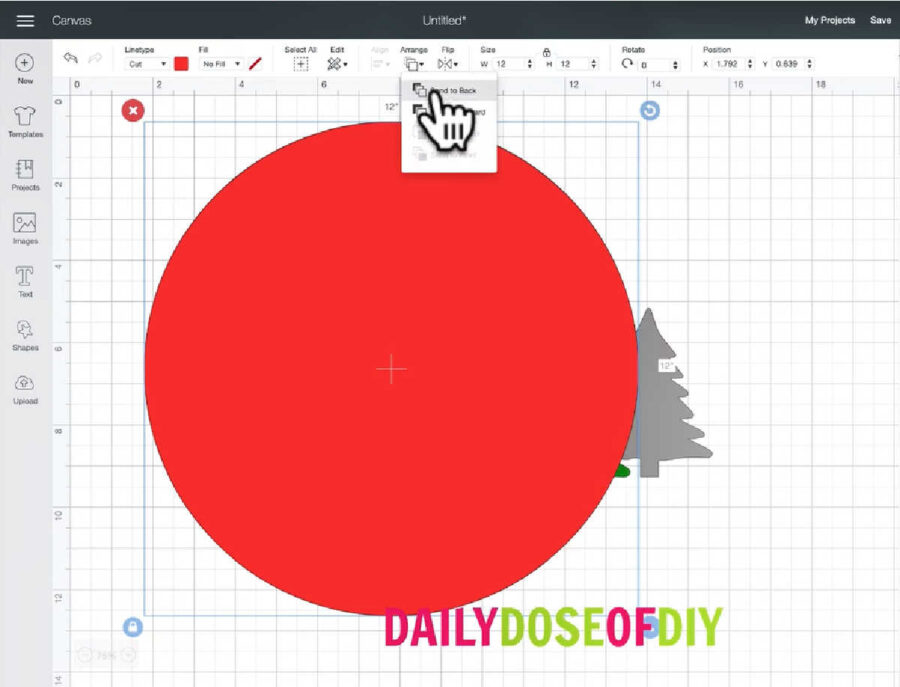
To customize your design, you’ll want to start by adding a circle. Then, using the Size menu at the top of the screen, change the size to match your embroidery hoop. Mine is 12”, so I changed the circle size to 12. I also changed the color to red, just so it would be easier to see.
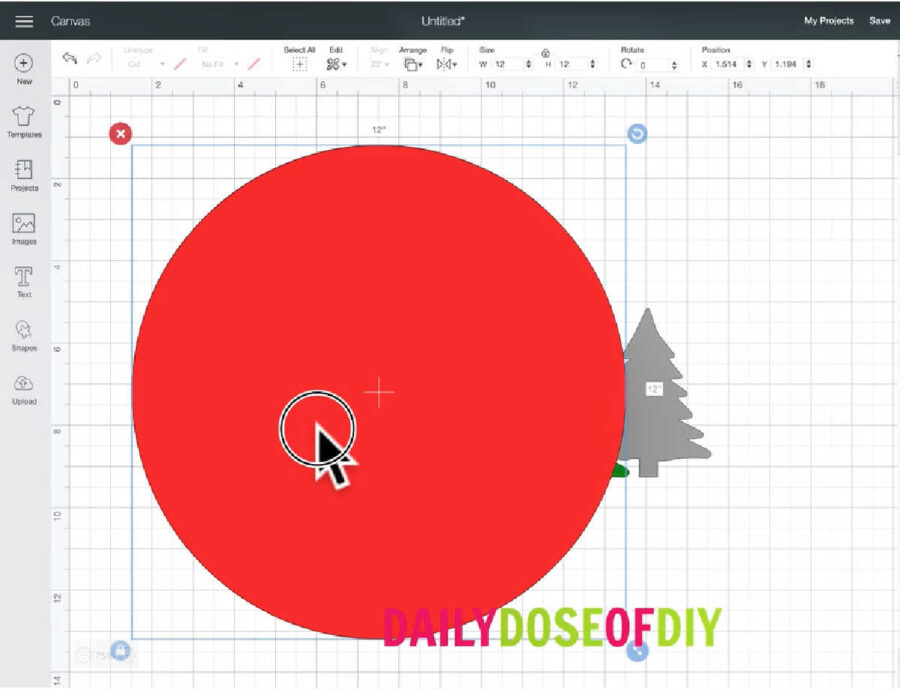
Tip: You might need to decrease your canvas size (at the bottom left corner of the screen), so you can see everything at once without having to scroll.
Finally, with the circle selected, go up to the top menu and click Arrange and then Send to Back. That will put your design in front of the circle, so you can see it.
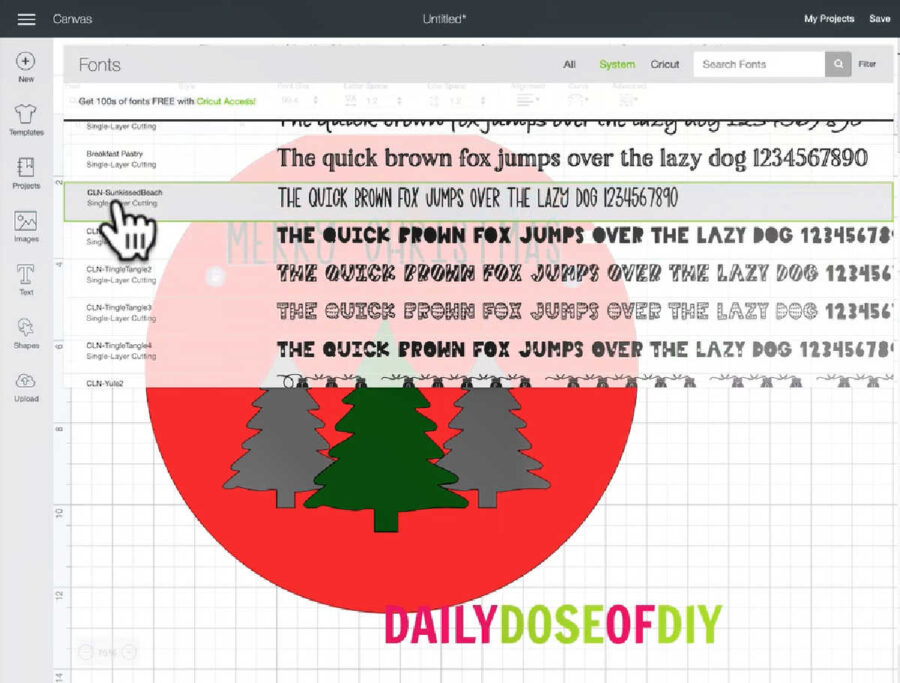
Now you can add a text box and type in any words you want to add. You can change the font using the top menu. I used one of my fonts, called Sunkissed Beach that you can find on Fontbundles.net here.
I also have a tutorial on how to add your own system fonts to Design Space, you can find that here.
Since this is for an embroidery wreath, I decided to curve the text to follow the circle of the hoop. To do this, click on Curve in the top menu and drag the point to the left or to the right, depending on which direction you want to curve your letters.
Tip: To get your curve exactly aligned to the circle, drag the letters up to the very top of the circle and curve them until they touch the edges of the circle all the way across.
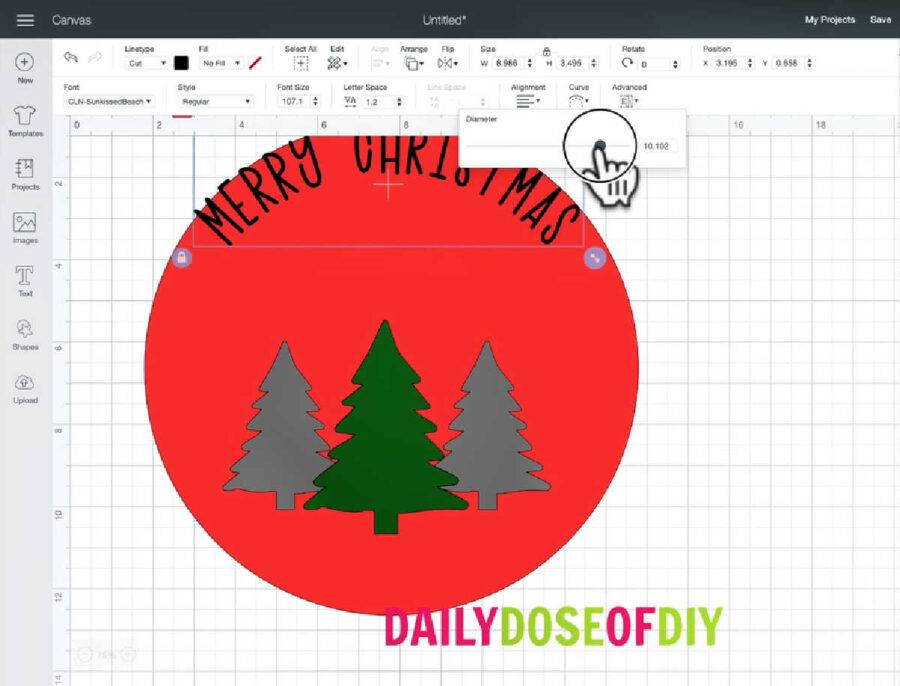
Also make sure to center your text within the circle. With your text selected, hold down the Shift key and click on the circle. Now you should have both the text and the circle selected. In the top menu, click Align and the Center.
Once you have your text curved the way you want it, you can go ahead and delete the circle.
Select your text again and click Attach at the bottom of the Layers menu, so that it all goes together on the cut mat.
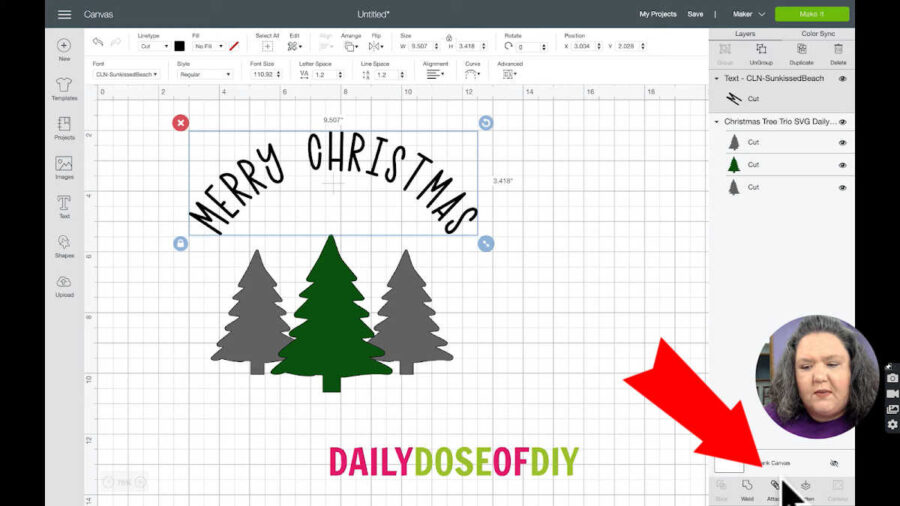
Now, you want the two outer trees to stay spaced apart. With the trees selected, click Ungroup at the top of the Layers menu. Select one of the outer trees, then hold down the Shift key and select the other tree, and click Attach again.
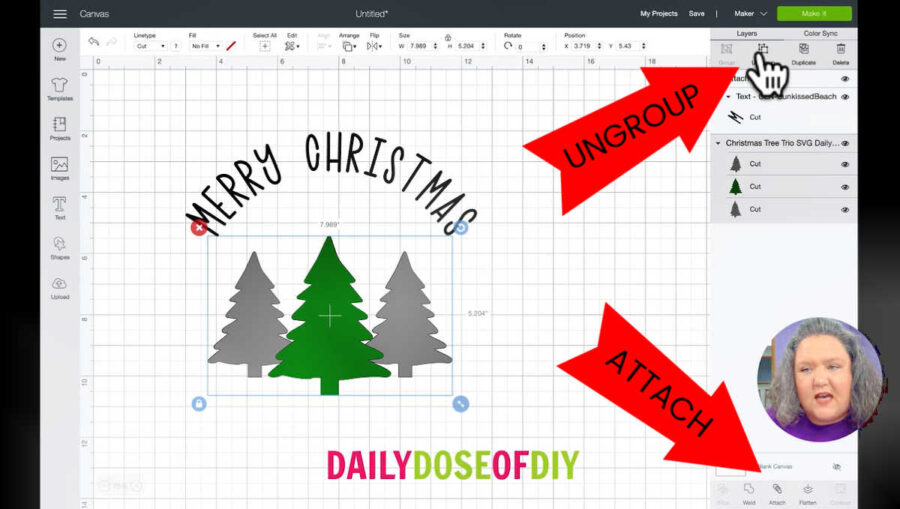
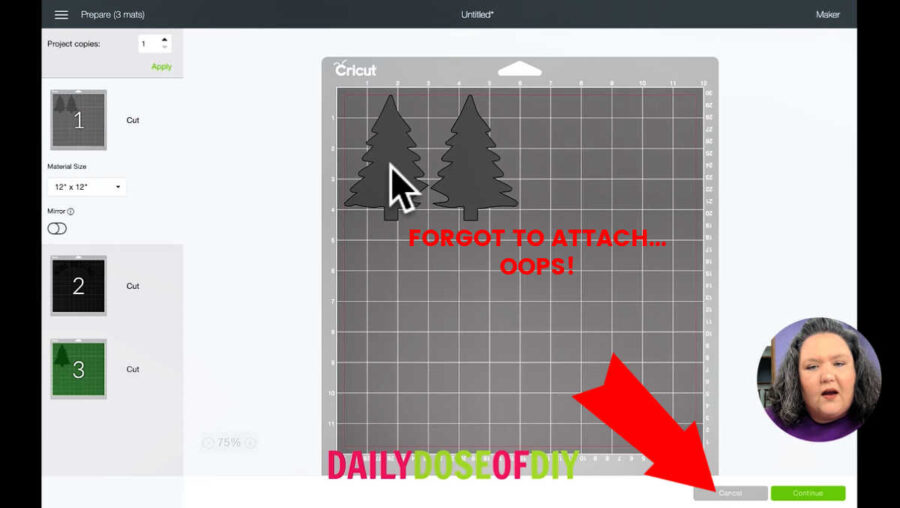
You’ll notice in the video that I forgot to ungroup and attach the trees at first, so it put them too close together on the cut mat. If that happens, or something else doesn’t look quite right on the mat, you can just hit cancel to go back and fix it.
Now you can Click Make It!
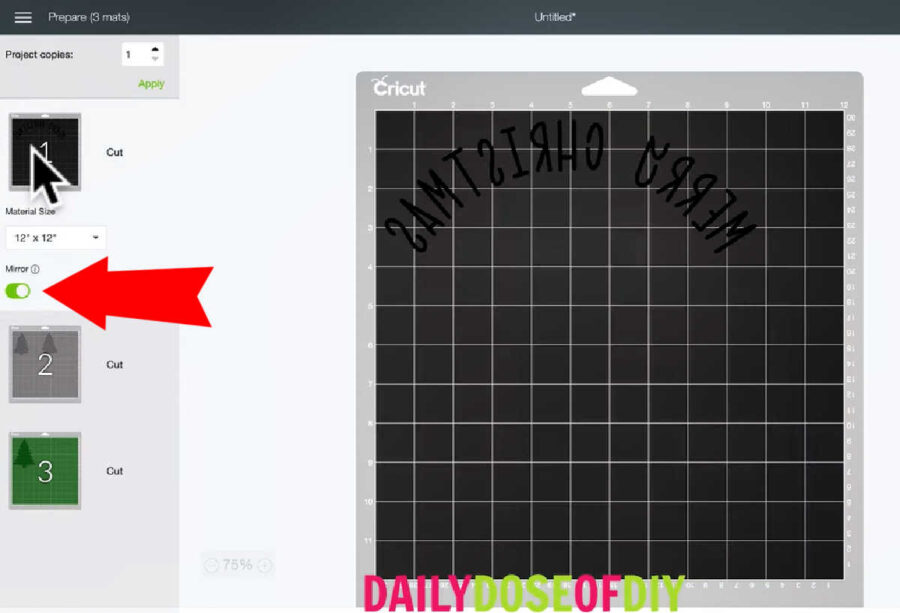
Since we are using HTV (heat transfer vinyl), we need to click Mirror on each of our mats. Once you have selected Mirror on each mat, go back to the top and select Mat #1 again so Cricut will cut that first. Then you can hit Continue.
If you’re on an Explore, go ahead and set your dial to HTV or Iron-on vinyl. And if you’re on a Maker, select the material you’re going to use first. (I started with the black material, so I selected Everyday Iron-On. Then, after that was cut, I selected the pattern vinyl.)
Now it’s time to get the mats ready to cut!
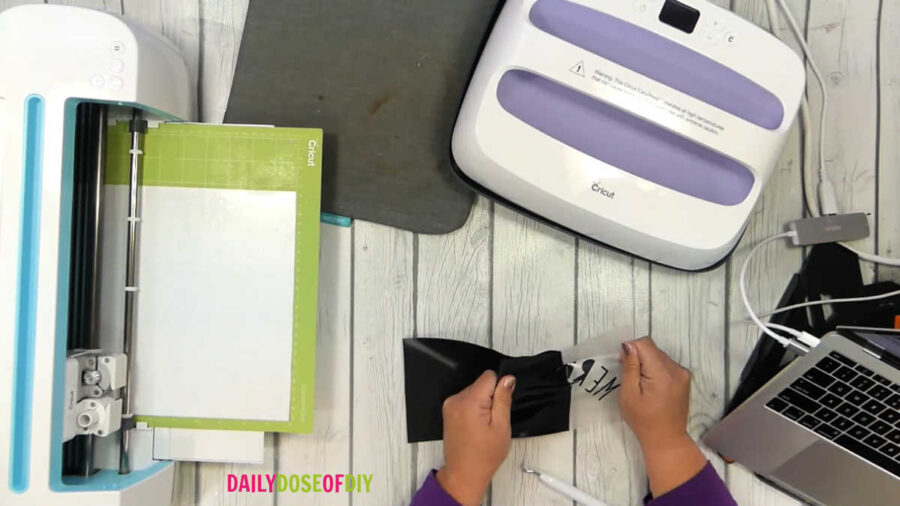
Step 2: Cut the HTV
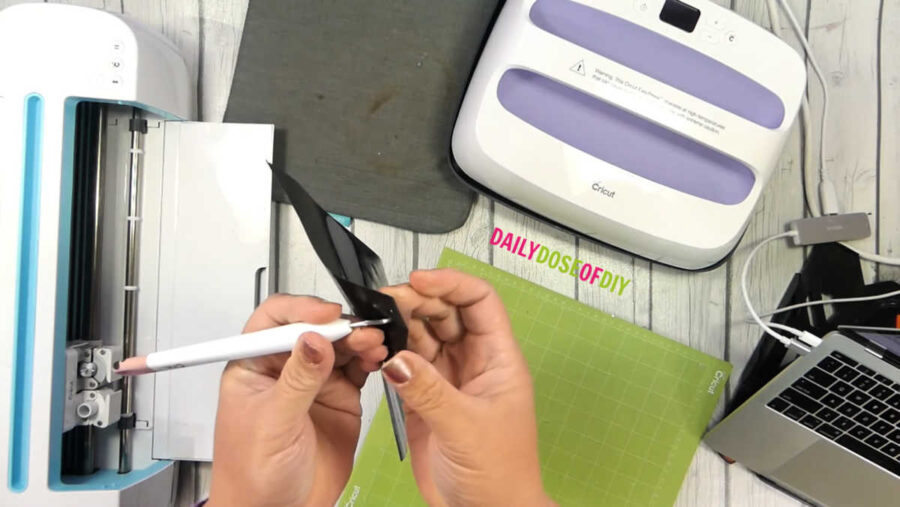
Place your vinyl on the cut mat vinyl side up. And then insert your mat into the Cricut to have the design cut.
Tip: To easily find out which side to place up, take your weeding tool and poke the edge of one corner. If you can poke through the vinyl and lift it up off the carrier sheet, you know you’re on the vinyl side that needs to face up.
After it’s finished cutting, hit the unload mat button. Be sure to flip the mat over and remove the mat from the vinyl. Load up the next color so it can cut, and then you can go ahead and start weeding while the next color is cutting.
It’s pretty easy: just pull the extra vinyl off the carrier sheet, and be sure to go back and get the centers of your letters out, too.
Step 3: Heat Press
Next, get ready to heat press. Cut out your fabric sheets so that they’re about two inches around each side bigger than the embroidery hoop. Since my hoop is 12”, I cut my fabric sheets into 16”x16” squares.
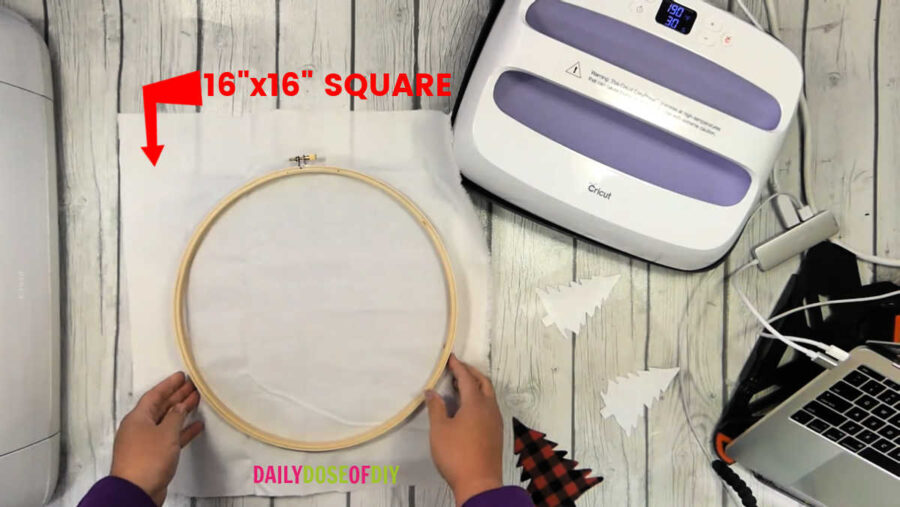
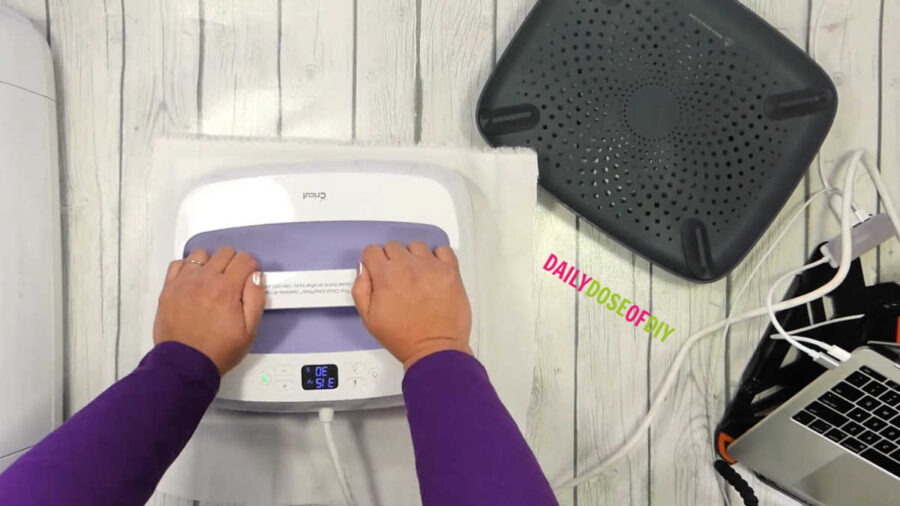
The first thing you need to do is get the fabric warmed up. Take your heat press and move it around over the fabric to preheat it and get all the wrinkles and moisture out.
Then place the hoop in the middle of the fabric square and trace all around the outside. Don’t worry about erasing this later, because as long as you trace along the outside of the hoop, nobody will ever see it. The point of this circle is to help you place your HTV.

Once you have your circle drawn, fold the fabric in half, lining up the edges of the circle. Then press it again over the crease. This will help you center everything on the hoop.
Next, take your HTV and fold it in half so that the sticky sides aren’t touching. Make a small crease, so that you can line up your two creases and center the HTV on the fabric. Now you’re ready to tack it down with your Easy Press, which just means to heat press it for a few seconds.
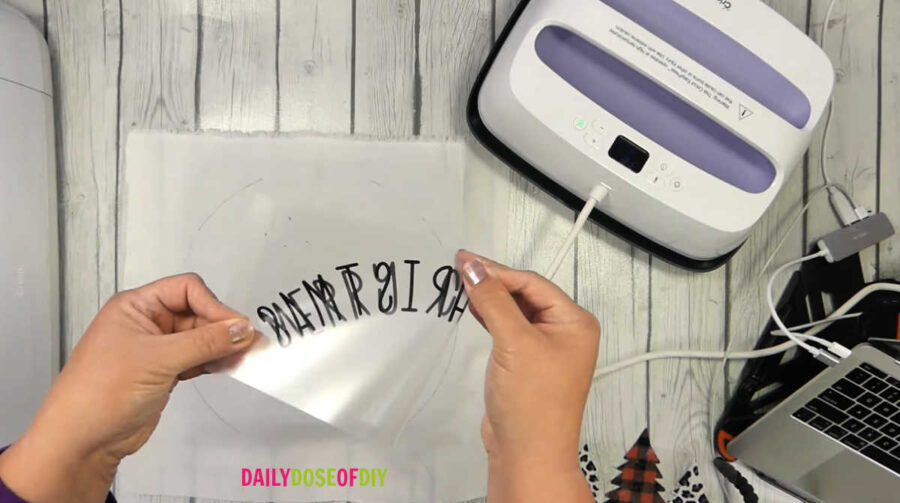
Once it’s cooled for a bit, you can remove the carrier sheet and get it out of the way. Start with the middle tree and line it up right on that crease so it’s centered. Cover this layer with parchment paper or a Teflon sheet and tack it down, too. Then let that layer cool, remove the carrier sheet, and heat press the next one.
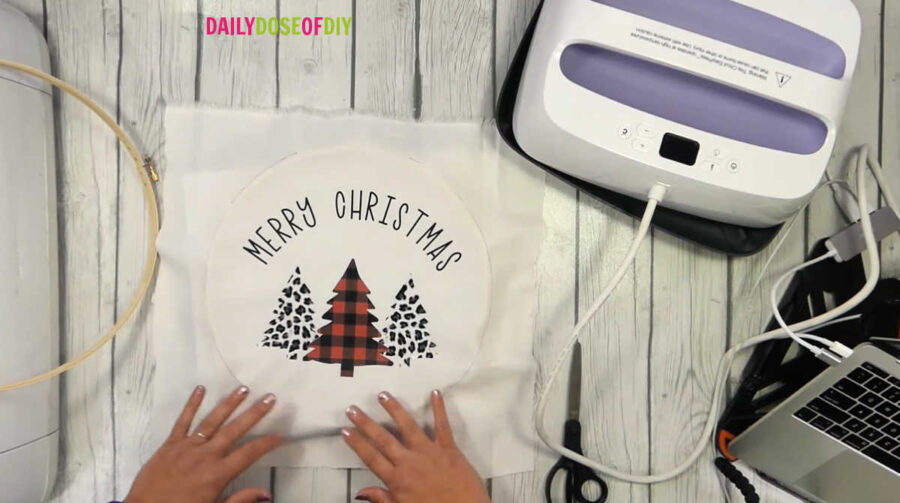
For your final layer, make sure to heat press it for the entire time and temperature that you need for the material you are using. (When you download the SVG files, you’ll also get a list of the time and temperature needed for different types of materials!)
Once it’s all heat pressed and cooled, you’ll need to flip it over and press the back for 15 seconds. Remember to use your parchment paper or Teflon sheet underneath the vinyl to protect your heating pad!
Step 4: Place the Hoop
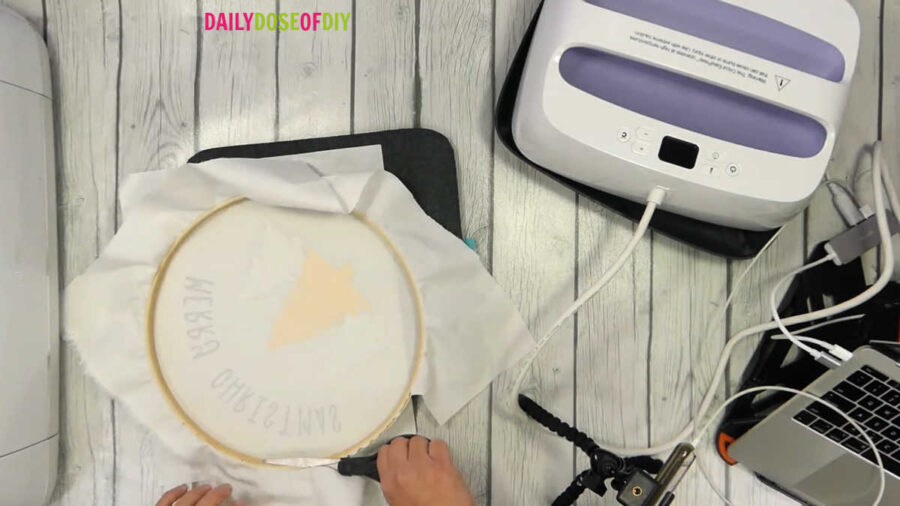
Next, you’re going to place the hoop on. Unscrew the top and slide the inner piece of the hoop out. That inner piece will be the back of your door hanger. Place your cloth on top of it and line up the circle you drew just to the outside of the hoop.
Make sure everything is nice and smooth, and then you can press the outer ring on top of it. Tighten it up to make it nice and snug, and pull through any parts of the fabric you need to so it’s completely smooth. Then you can grab your scissors and trim away the excess fabric, right up to the back of the hoop.
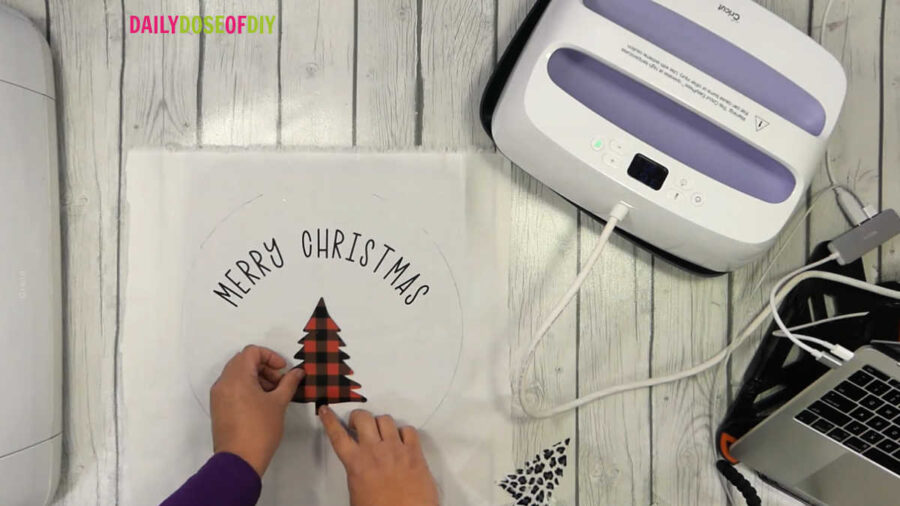
Step 5: Add Ribbon and Embellishments
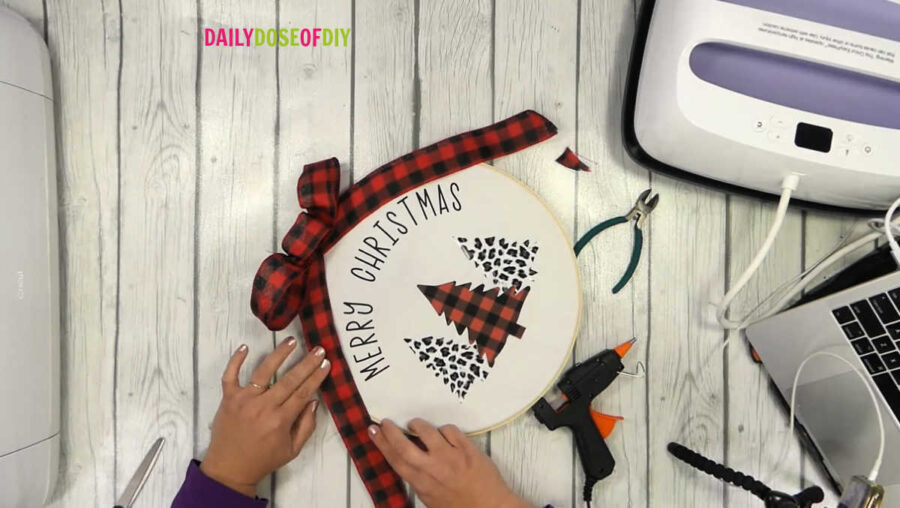
All that’s left now is to add ribbons and embellishments! The first thing you might want to add is a ribbon so you can hang your embroidery hoop art. You can eyeball it to get the right length, then wrap it around the hoop screw and tie a bow. Secure the ribbon to the hoop with a dab of hot glue.
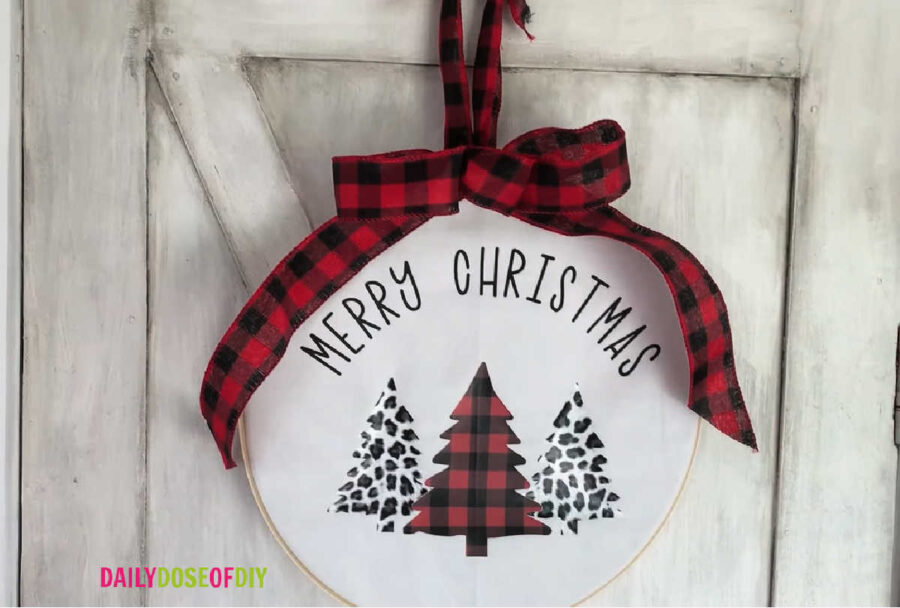
Then you can use hot glue to add more bows and ribbons if you want. I added a buffalo plaid bow and glued down the edges of the ribbon so I could see my Merry Christmas. Don’t you just love how that animal print looks with the buffalo plaid?
Now you know how to make beautiful embroidery hoop door hangers. Thanks for crafting with me today!

Chris Butler has helped thousands of crafters learn how to use their Cricut machine without feeling overwhelmed. She is a best selling author and an up and coming designer. For fun Chris enjoys designing SVG Files, hanging out with her family (preferably at the lake), traveling, and volunteering at her church. She is a wife and mom of two crazy fun kids.
Chris,
I watched the video, but never see a clue for the bonus word, I loved the project. Help me.
Thanks so much for the ideas you are sharing. You definitely make that easy and so detailed!
hello. trying to figure this out. mine is only giving me the option of a print then cut or if i do a basic cut it only gives me an option of one colour
It sounds like you’ve uploaded a PNG or JPEG image. Look for the SVG format to get a cut file