This post may contain affiliate links for your convenience. If you make a purchase through one of my links I will earn a small commission at no additional cost to you.
Last Updated on October 31, 2020 by Chris Butler
Quick Links to Information in This Post
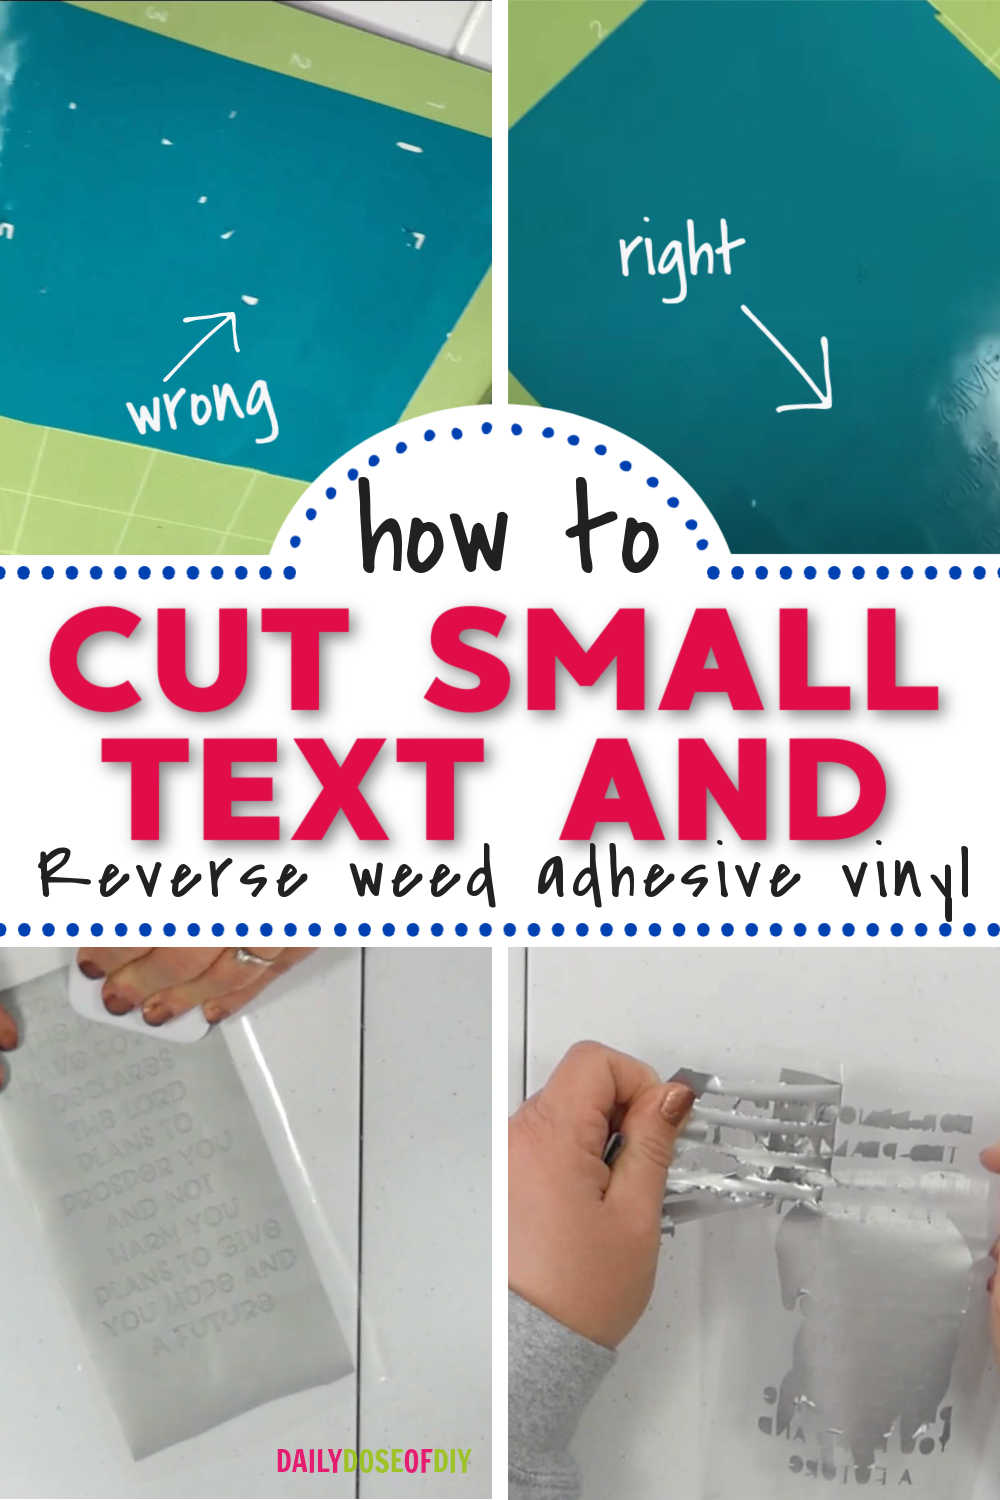
How to Cut and Weed Small Vinyl Letters
Hello crafty friends! Today I’m going to help you out with two little tips for cutting and weeding vinyl: how to cut small vinyl letters and how to go about weeding intricate vinyl designs.
These can be tricky, because the small letters can easily get lost, and you may find that your Cricut doesn’t cut them cleanly. So these two tips will help you keep each letter intact and accounted for.
Let’s get started.
Supplies Needed
- Adhesive Vinyl (I use Oracle brand found here)
- Transfer Tape
- Weeding Tools like these
- Tin Foil
- A Cutting Machine (I use Cricut)
How to Cut Small Vinyl Letters
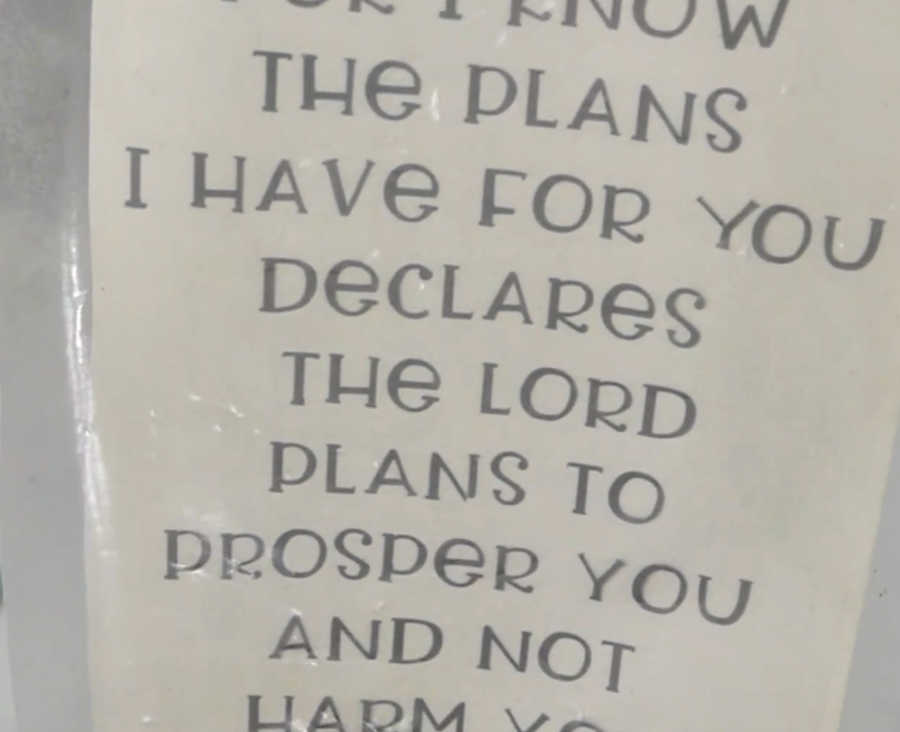
In the video, you can see that my daughter wanted a Bible verse on the back of her phone case, and my first attempt didn’t work so well. When my Cricut cut the letters, some pieces were missing, and others got caught and torn.
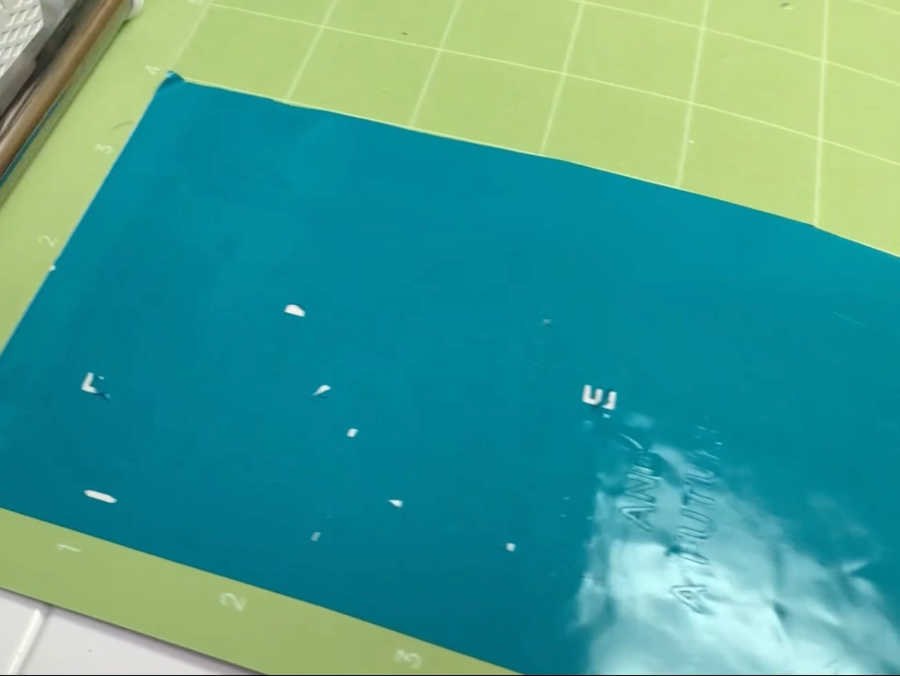
There are two parts to fixing this problem:
Step One: Clean Your Blade
Pop the blade out of your Cricut Maker or Explorer. They both use the same kind of blade, so this step will be the same no matter which Cricut you have. Depress the plunger on the end so you can see the blade. Sometimes things like glitter or bits of paper or vinyl get stuck in there, and it just needs to be cleaned off.
This is super easy to do. Grab a ball of foil, depress the plunger again, and stick the blade into the foil.
Tip: It’s a little bit easier to keep the blade depressed if you use your thumb.
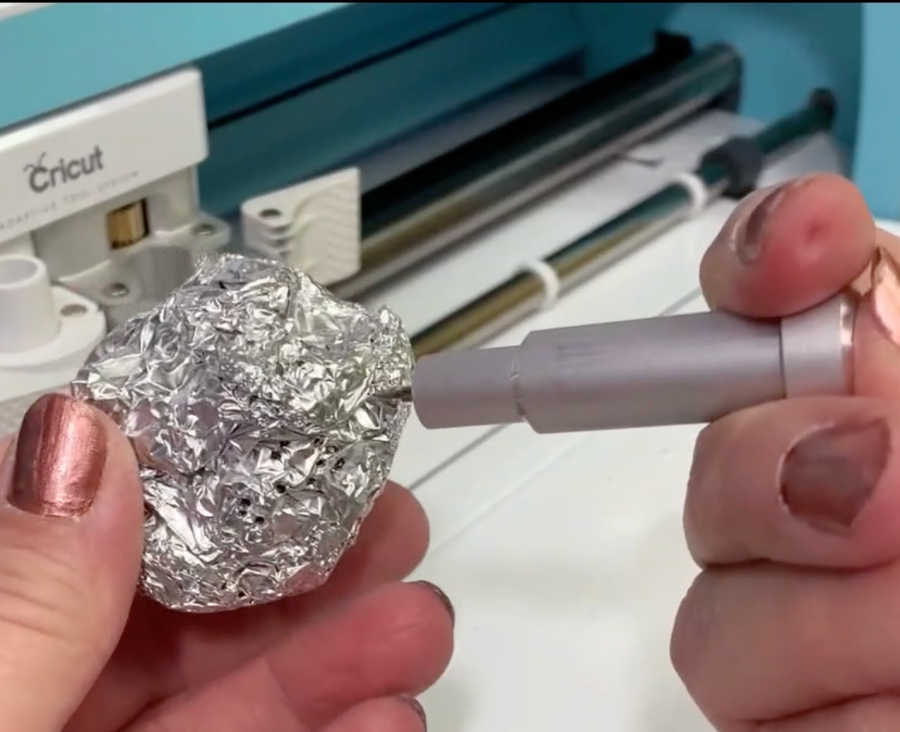
Stick the blade into the foil several times to make sure you get it good and cleaned off. If the blade happens to pop out while you’re doing this, go ahead and poke it back in. Then, once the blade is clean, stick it back in the machine.
So that’s step one: make sure your blade is clean. If there’s stuff on it, it will wreck your project.
Step Two: Set your Cricut to “Washi Sheet”
On a Cricut Explore: Turn your dial to the “Custom” setting.
On a Cricut Maker: In “Set Material” go to “Browse All Materials.”
For either machine, doing this will take you to the materials. Search for “washi” and select the “washi sheet” setting. Cutting your regular vinyl on a washi sheet setting makes the cuts smoother. It will still cut all the way through the vinyl, and now that your blade is clean it will cut your small letters flawlessly.

Now you’re ready to weed the vinyl, and I have a special tip for you on how to do that as well.
Let’s take a look at what Cricut Weeding is first.
Loving these tips? Check out my book –The Ultimate Guide to Crafting with Vinyl here, it’s only $5 for a very limited time.
What Is Weeding in Crafting?
Weeding vinyl is when you remove the excess material from the pieces that you are cutting out.
The problem is that when you weed small letters, they tend to disappear on you and show up in random places like the dog or your hair. So I’m going to show you a method called reverse weeding. By reverse weeding small letters, you can keep them all together and not lose a single one.
Reverse Weeding Permanent Vinyl
Video
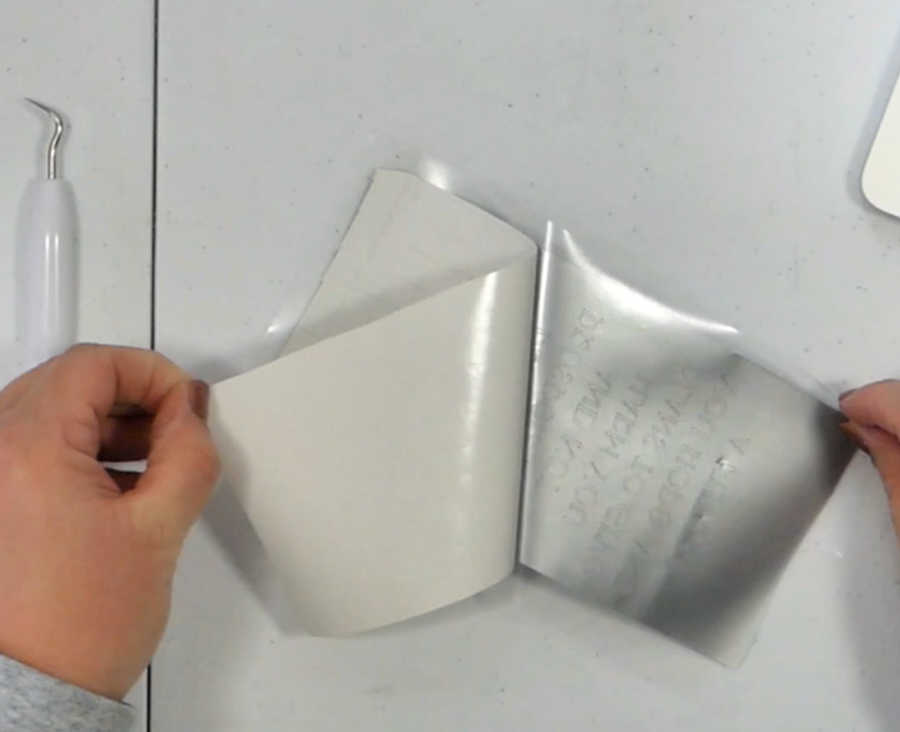
The first thing to do is apply transfer tape to the vinyl.
Tip: I use Oracle brand vinyl that you can find on Amazon here, and I use Duck brand clear shelf liner for my transfer tape. I have had the most success with these two materials, as Cricut vinyl isn’t quite as sticky as Oracle.
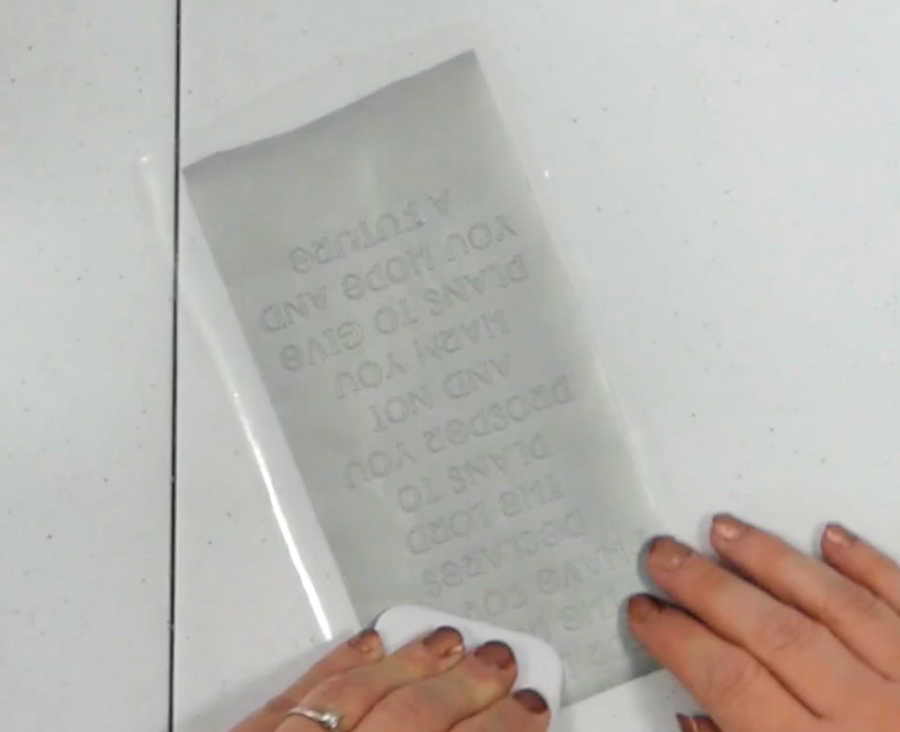
Next, burnish the vinyl to the transfer tape very well. (Burnishing means rubbing hard with your scraper tool to make sure the materials stick together.) Do this very hard on both the front and back, and then I usually flip it over once more and burnish the front again. You want to be sure the whole thing sticks to the transfer tape and not to the backing.
Once you have burnished the whole thing, front and back and front again, you can go ahead and take that backing off.
Now everything is stuck to the transfer tape. Be very careful, because the back of the vinyl is sticky too. It’s very easy for this to turn into one big sticky mess!
Tip: I would not recommend using this method for large projects. If you want to try reverse weeding mandala designs, for example, I would stick with small ones. The bigger the project, the harder this method is going to be.
Reverse Weed by Removing the Excess Vinyl
Start in one corner of the vinyl. You may need to use your weeding tool to get it started. Very carefully peel up the vinyl and pull it off of the transfer tape.
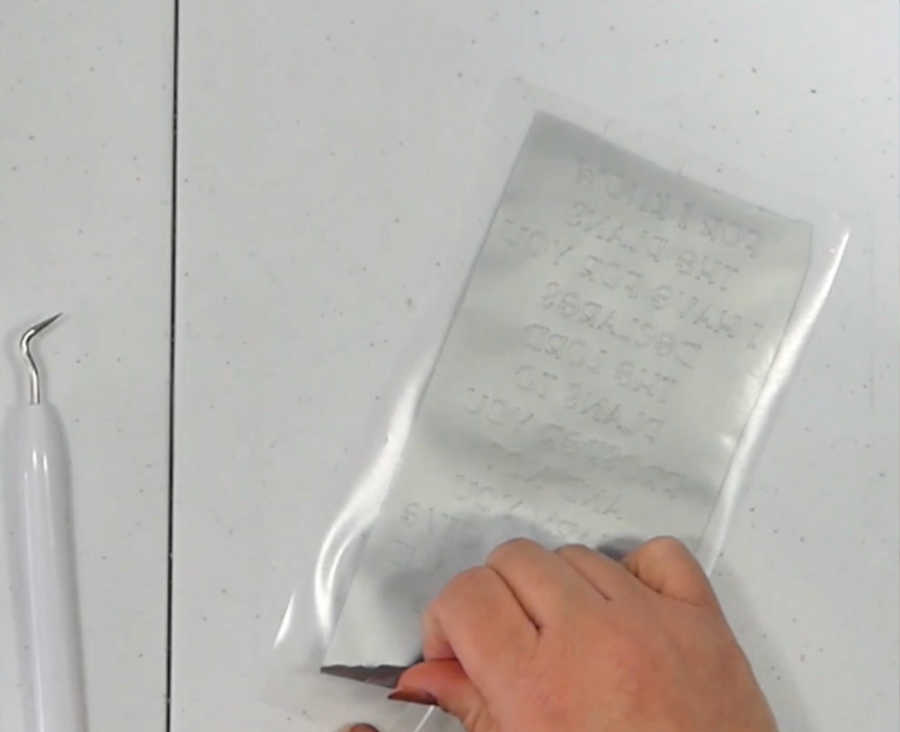
This is why I don’t recommend using this method on large projects: you have to keep hold of the vinyl as you peel it off to make sure it doesn’t stick to the pieces that you have cut.
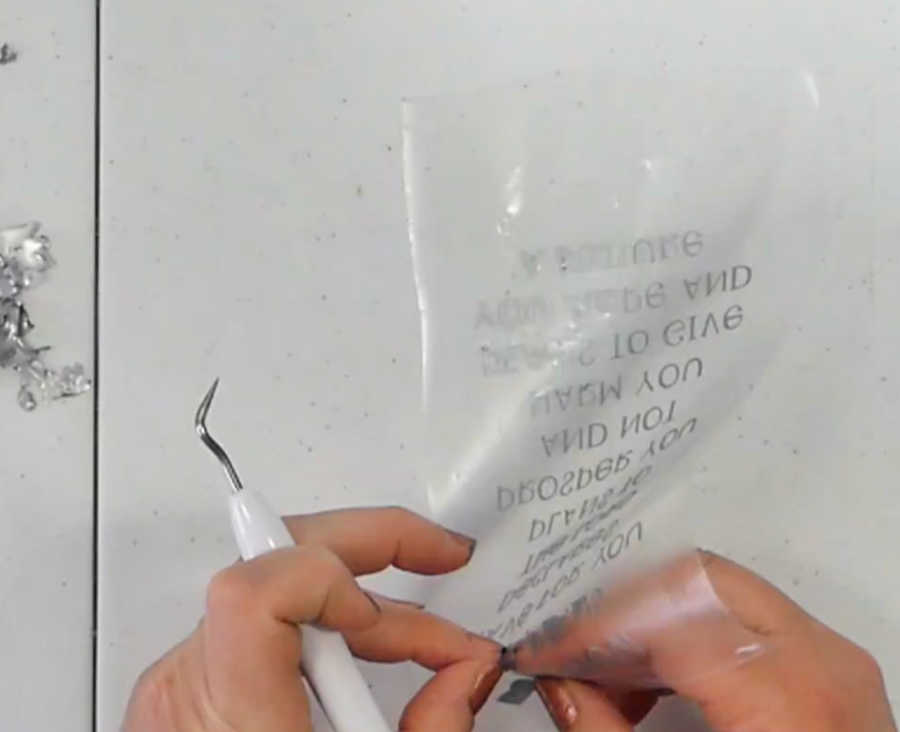
You can see in the video that the corner of my vinyl folded over and stuck to itself as I peeled it off. Fortunately, it didn’t stick to any of my letters, so I was able to keep going. If it had stuck to a letter, my project would have been ruined, and I would have had to start over.

Keep pulling and working the vinyl off the transfer tape. Take your time! This is not a quick and easy method, but it does keep all of your letters together. My project took about 20 minutes.
That might even out to the same amount of time if you lost a letter while weeding and had to re-cut your project, but reverse weeding small letters does save you on materials and the stress of hunting for lost pieces.
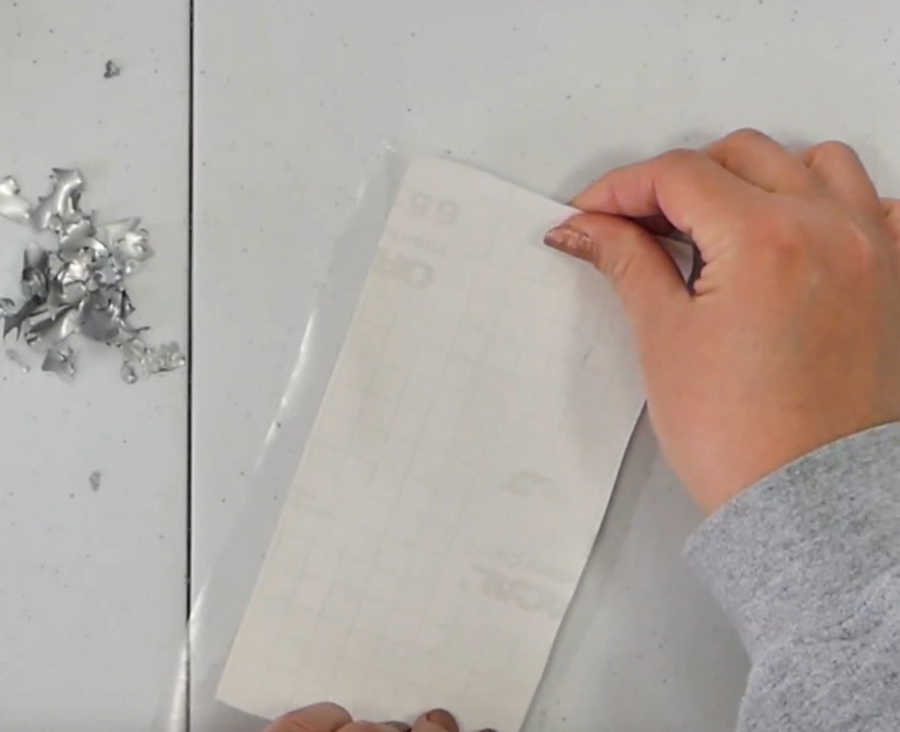
Once you finish removing the outside vinyl and the insides of the letters, put the backing on again and scrape it down so it sticks. Now it’s ready to transfer onto your project!
Remember: be patient. Reverse weeding permanent vinyl is harder and takes longer than regular weeding. But it is worth it to keep all your letters together in one place.
Now you know some tips for how to cut small vinyl letters and for reverse weeding intricate vinyl designs. I hope you find these tips helpful for your small projects.
Thanks for crafting with me today!

Chris Butler has helped thousands of crafters learn how to use their Cricut machine without feeling overwhelmed. She is a best selling author and an up and coming designer. For fun Chris enjoys designing SVG Files, hanging out with her family (preferably at the lake), traveling, and volunteering at her church. She is a wife and mom of two crazy fun kids.
How does this work if you need to do this with HTV?
What if you stuck it to the mat while you reverse weed?
It only cut the bottom 3 lines of what I needed. 😭
Hi Chris, thanks for this. I have been working on an order for over a week. Maybe even close to 2 weeks. I can not get the small letters to cut and I have done so in the past. Not sure what’s going on. I have added a small offset, I made sure to weld, I have used less pressure and now I tried the washing setting. Still no luck 🙁
Starting to think that maybe it’s the vinyl. It’s brand new but it is Oracle Brand, which I have used successfully in the past. I have wasted so much time and materials. I am definitely going to be making a loss on this order.
I love the way you ‘spoke’ to us as if we were right there. Great tip!
I recently figured out something that helped me with weeding larger intricate projects. If you take your exacto knife and slice around different sections of the project you can easily take off smaller sections of the background vinyl to keep it from sticking to other sections of the project.