This post may contain affiliate links for your convenience. If you make a purchase through one of my links I will earn a small commission at no additional cost to you.
Last Updated on December 19, 2023 by Chris Butler
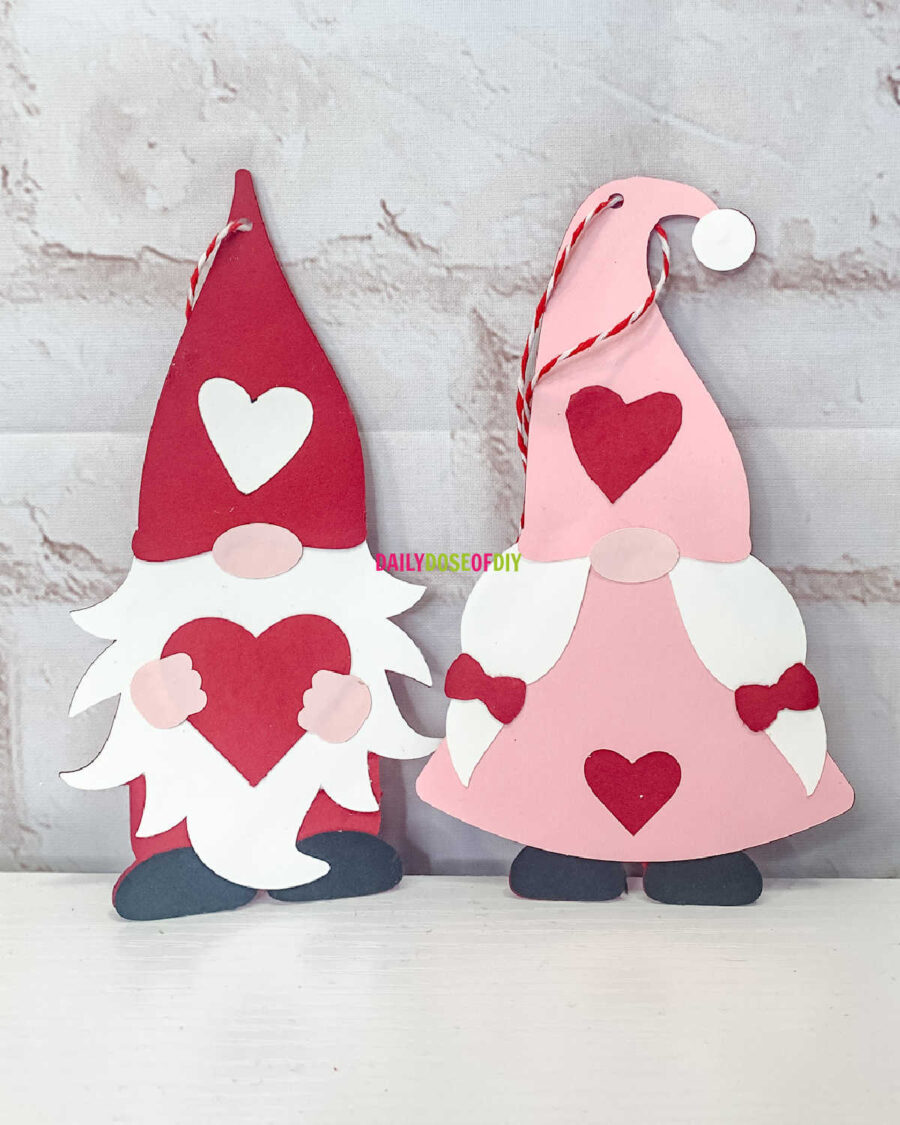
This Valentine’s Day Gnome DIY is both super cute and super easy. Plus, I have the valentine gnome SVG I made is free for you to use as well. Woohooo!
I am using my Cricut Maker to cut the pieces for the Valentine Gnome, but you can use any craft cutter like Silhouette or Brother Scan and Cut. Other Cricut Machines will work as well such as the Cricut Explore or even the Cricut Joy.
You’ll learn how to prepare the SVG to cut, and use up some of your scrap pieces or cardstock to make it. I’ll also show you how to assemble the gnomes step by step and end up with the cutest valentines gnome ever.
You can also use these free SVG files for heat transfer or adhesive vinyl projects.
Lets get to it.
Quick Links to Information in This Post
Supplies Needed for Valentine Gnome DIY
- Cardstock- I’m using 65lb in Red, Pink, Light Pink, Black and White. This is a great craft to use your scraps, but you will need a full sheet of red.
- Fine Tip Craft Glue
- Cutting Machine – I’m Using Cricut
- Optional String or Jute Twine
- Valentine Gnome SVG File (more details below) The file is free for personal use. You can purchase a commercial-use license here
All of our free SVGs and Designs are kept in a library for your convenience. Fill out the simple form and we’ll send you the link and password to access the SVG files right away.
Already have the password? Enter the Library HERE
Valentine Gnome DIY Video
Written step-by-step instructions are below the video.
How to Make a Valentine’s Day Gnome
Step One: Download the Gnome Valentine SVG File
Download the SVG from the SVG Library. It’s full of free SVGs and they are listed in alphabetical order. You will find the free cut files for this craft under “g” for gnome or under “v” for Valentine’s Day. It’s an instant download once you click the download here link, so be sure to check your downloads folder after you click.
All SVGs are in a zip file so next unzip the SVG file and upload it Cricut Design Space or your cutting machines software. SVG files will work in Silhouette Studio if you have the Silhouette Designer Edition. They can also be used on Brother Scan n Cut.
For help downloading SVGs and Uploading them to Cricut Design Space, see this post.
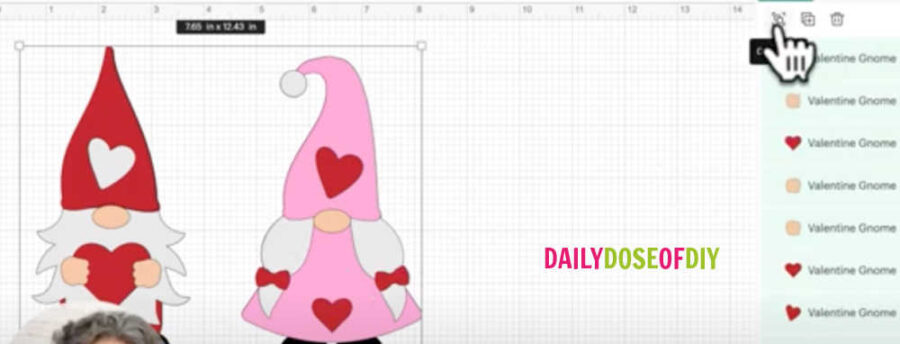
The Gnome cut files contain four Valentine Gnomes. There’s a Boy and a Girl. One set is solid, and the second set has a hole at the top if you want to add string.
Once you have the free gnome SVGs downloaded, upload them into Design Space. The first thing you’ll need to do is ungroup it. The ungroup button is on the Top of the Layers Menu. Then select and delete the gnomes that you don’t want to cut.
Step Two: Cut Out the Gnome Pieces
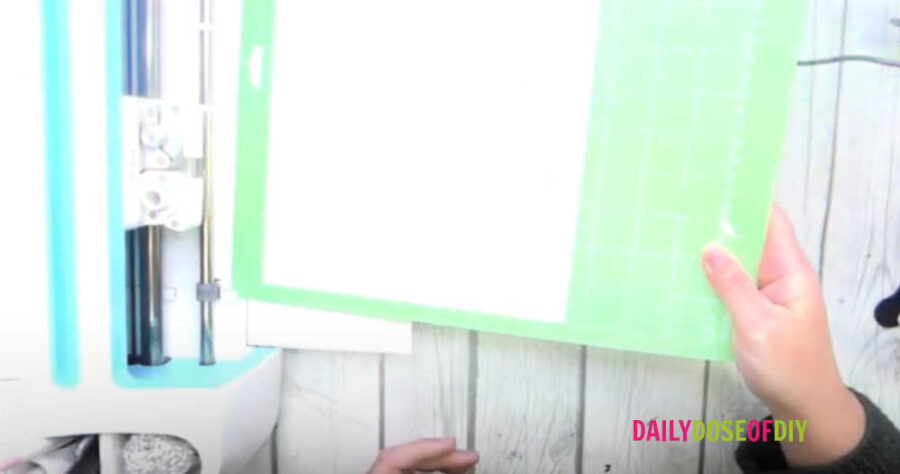
I’m using Cricut’s green standard cut mat you can use the blue cut mat as well. (learn all about cut mats here). You want to make sure your mat is clean, any little pieces of paper or other bits could mess up your cut.
Load the cardstock onto your mat and insert it under the tabs on your Cricut machine. Hit the load mat button and then the flashing go button. Go through and cut all of the different colors. Remember to flip your mat over and remove your mat from the paper to help prevent curling and tearing.
Step Three: Layout the Valentine Gnome Pieces
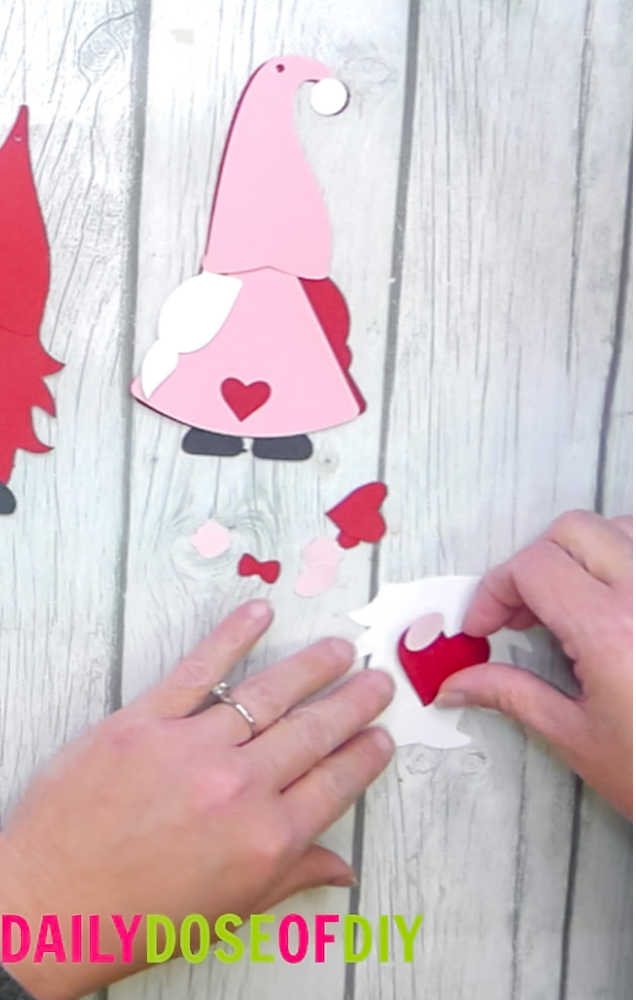
Before you start gluing, lay out all of the pieces how they should go. You can refer back to the SVG file if you need to. This is important as you don’t want to put glue on the wrong side of the cardstock. I’ve done that a time or two and it’s soooo frustrating to have to cut it over for such a silly mistake.
Related: 37 Valentine’s Day Crafts You Can Make with Your Cricut
Step Four: Assemble the Valentine’s Day Gnome.
We’re Going to start at the bottom and work our way up.
For the girl, glue on the feet first. Next glue the dress, then the hair pieces. Next is the hat and the little circle. Finally, add the nose, hair bows, and heart.
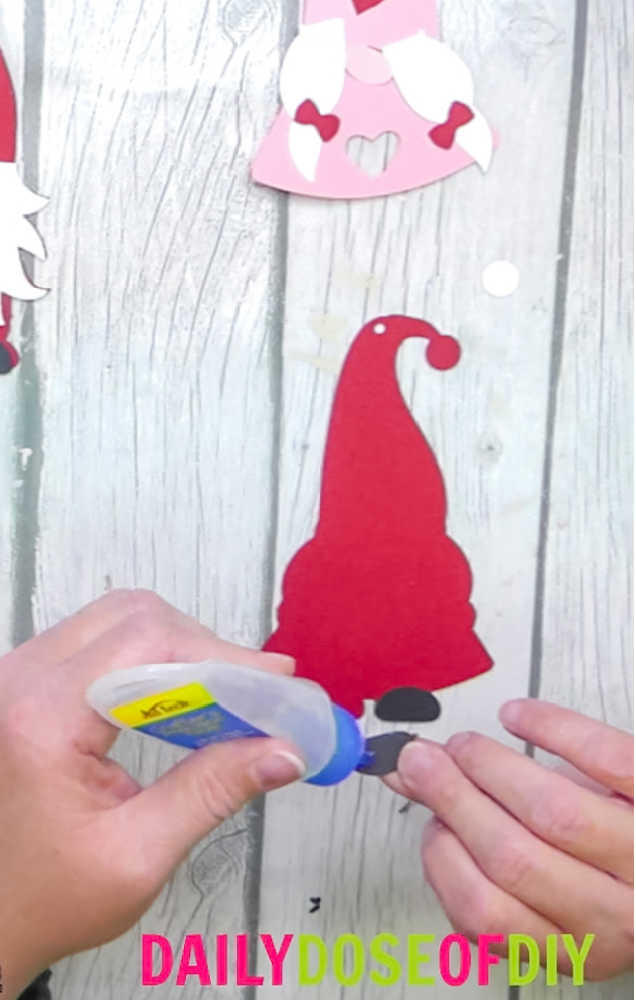
For the boy, you will also start with the feet first. Next glue on the board and then the hat. Glue the small heart to the hat and the large heart to the center of the beard. Finally, add the cute little hands.
If you used the SVG that will allow you to add string, I recommend bakers twine or jute twine. Thread the string through the hole and tie it off and then trim the edges.
You’re all done! Aren’t the gnomes super adorable?
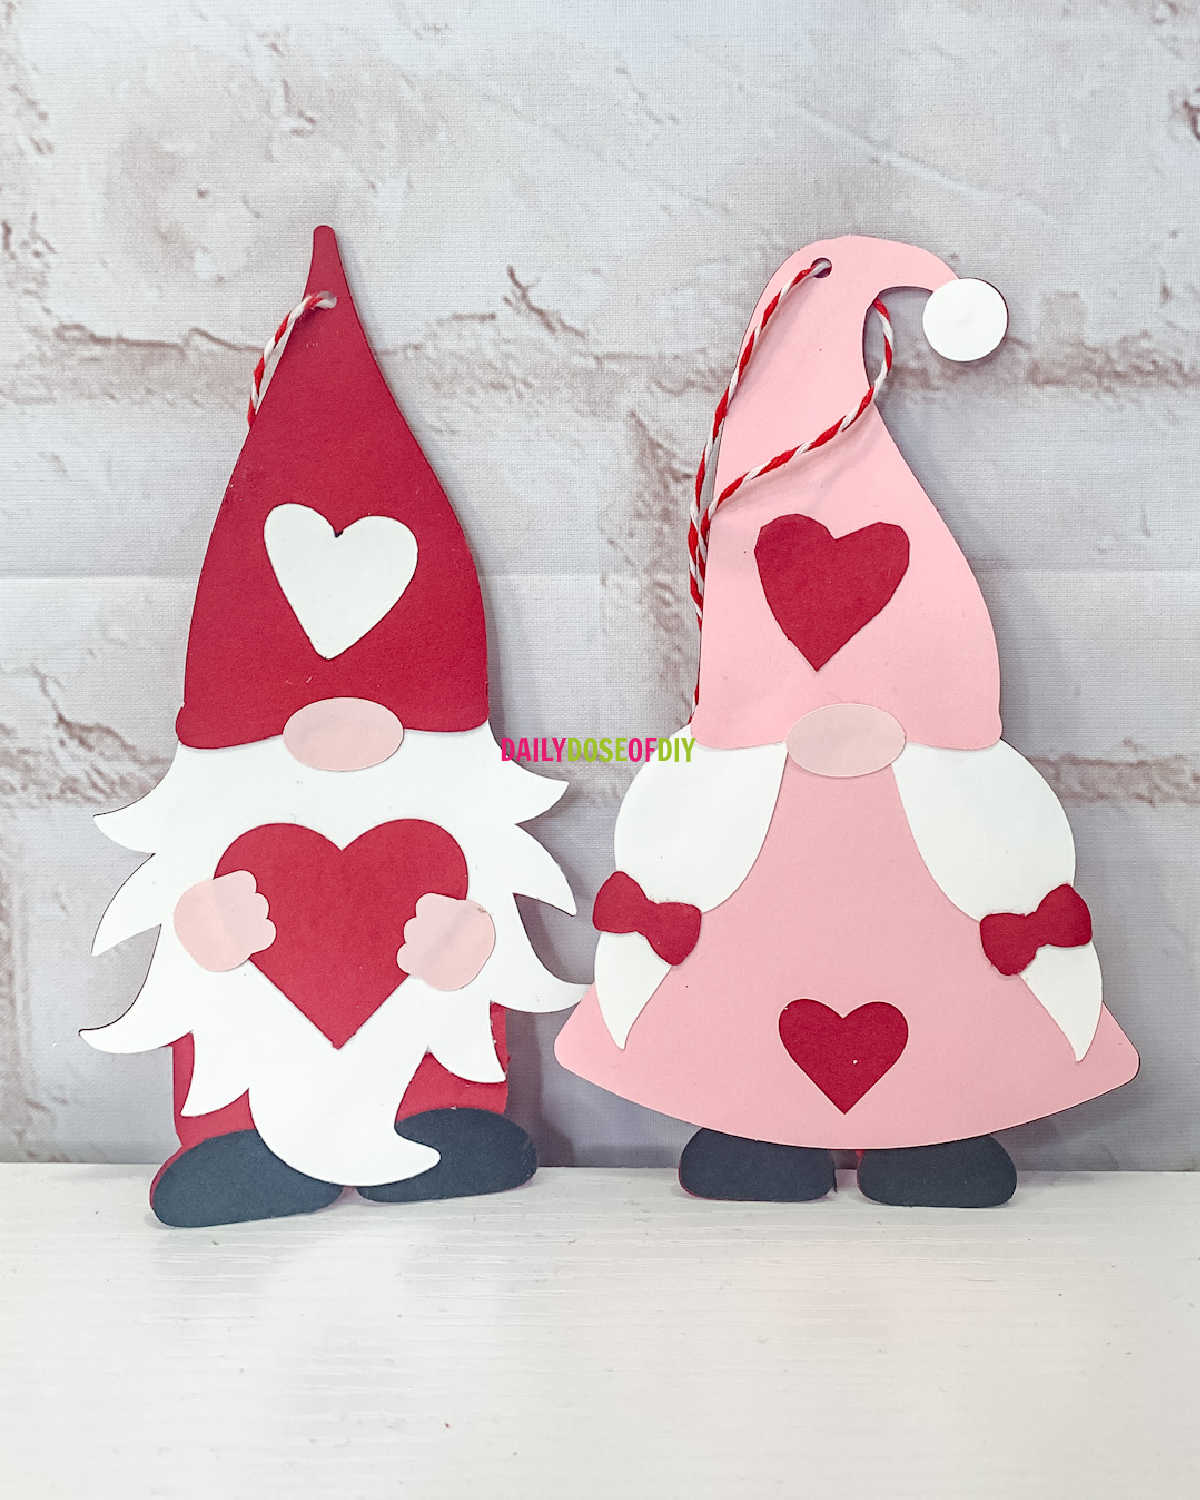
You can get creative with these files and add the Valentine’s Gnomes to signs for home decor, add them to cards, shirts, mugs and so much more.
I hope you enjoyed this fun and cute DIY project. Find more paper craft projects here.
Grab my Valentine’s Day SVG Bundle Here – dailydoseofdiyshop.com
More Valentine’s Day Cricut Projects:
Make A Valentine’s Day Heart Box
37 Valentine’s Ideas to Make with Your Cricut
Thanks so much for crafting with me today, don’t forget to grab your free gnome SVG and pin the image below!


Chris Butler has helped thousands of crafters learn how to use their Cricut machine without feeling overwhelmed. She is a best selling author and an up and coming designer. For fun Chris enjoys designing SVG Files, hanging out with her family (preferably at the lake), traveling, and volunteering at her church. She is a wife and mom of two crazy fun kids.

Leave a Reply