This post may contain affiliate links for your convenience. If you make a purchase through one of my links I will earn a small commission at no additional cost to you.
Last Updated on August 15, 2023 by Chris Butler
Quick Links to Information in This Post
Easy Bandanas for Dogs Using Cricut and Easy Press
Hi Crafty friends!
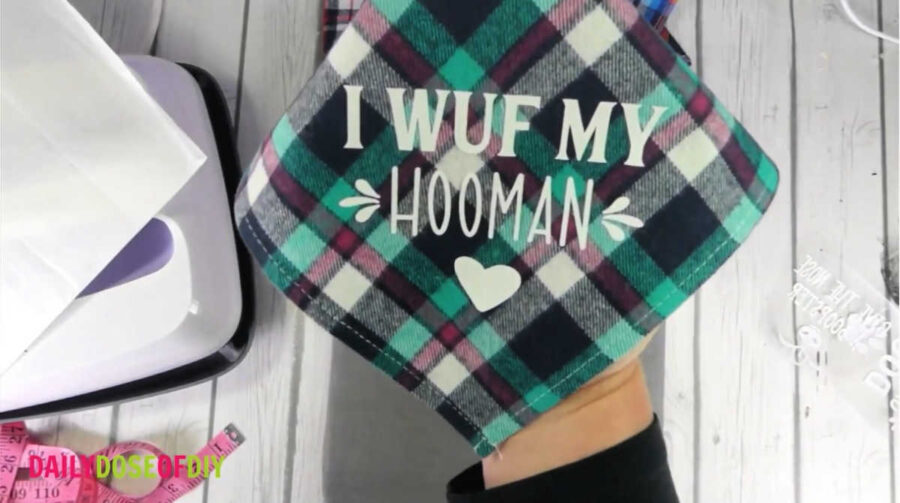
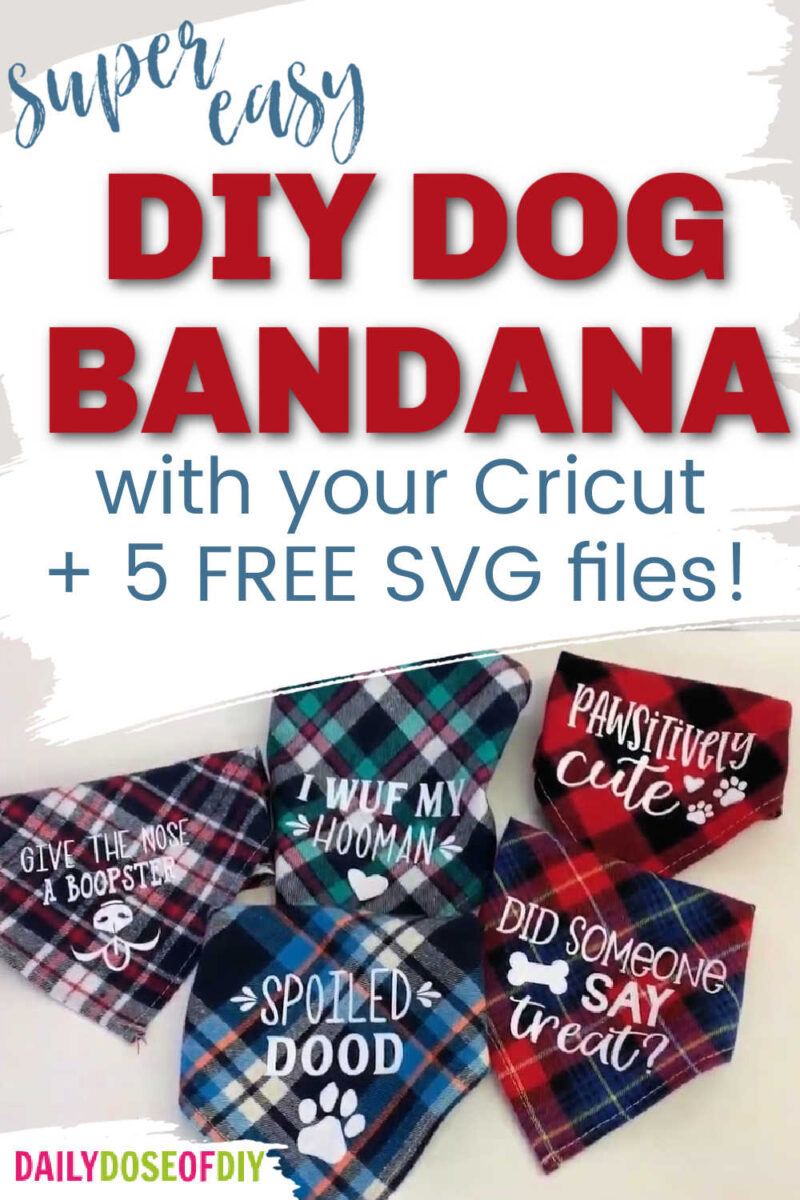
Today I have a super cute idea for all of you dog lovers looking for Cricut dog projects. I’m going to show you how to customize those dog bandanas that you often see dogs wearing around their neck.
I have five different SVG files for you to make these personalized dog bandanas with, inspired by my family’s own beloved dogs! Plus you’ll learn how to cut HTV with your Cricut and then how to use your Easy press to apply the vinyl.
Let’s get started.
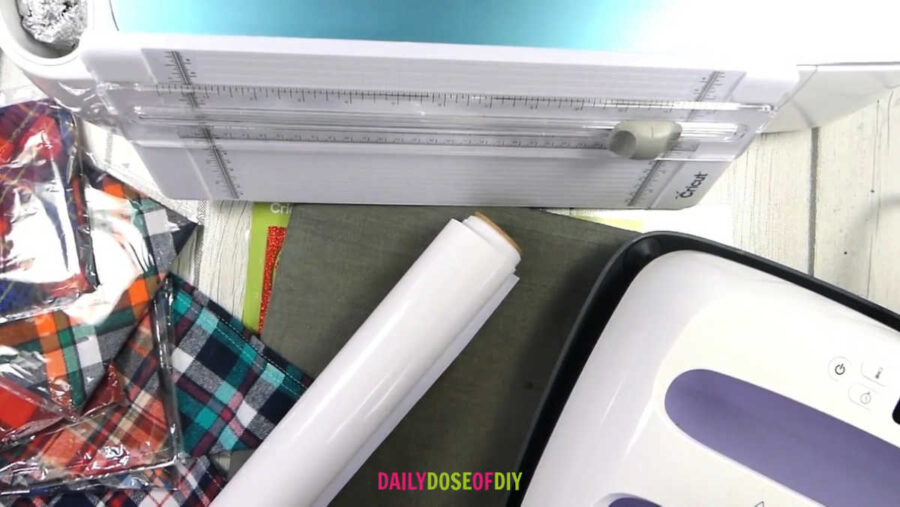
Supplies Needed for Custom Dog Bandanas
- SVG Files – Grab them here https://dailydoseofdiy.lpages.co/svg-library/
- Dog Bandanas I found these cute ones on Amazon-https://amzn.to/3sXbQN4
- HTV (I used White) – https://amzn.to/3c5eOs7
- Cricut Cutting Machine – https://amzn.to/3c9HQXN
- Cricut Easy Press or another Heat Press – https://amzn.to/30f859t
- Teflon Sheets – https://amzn.to/3kR4Mic
- Cutter – https://amzn.to/3uY7uam
Custom Dog Bandana Video
Step One: Get the Free SVG
Here is the link to sign up for the free SVG files https://dailydoseofdiy.lpages.co/svg-library/ All of my SVGs are kept in a free Resource library for you. They are in alphabetical order, so scroll down to the ‘D’ section once you’re in.
Download the SVG image and upload them into Design Space. If you need more help Downloading and Uploading SVG files see this post
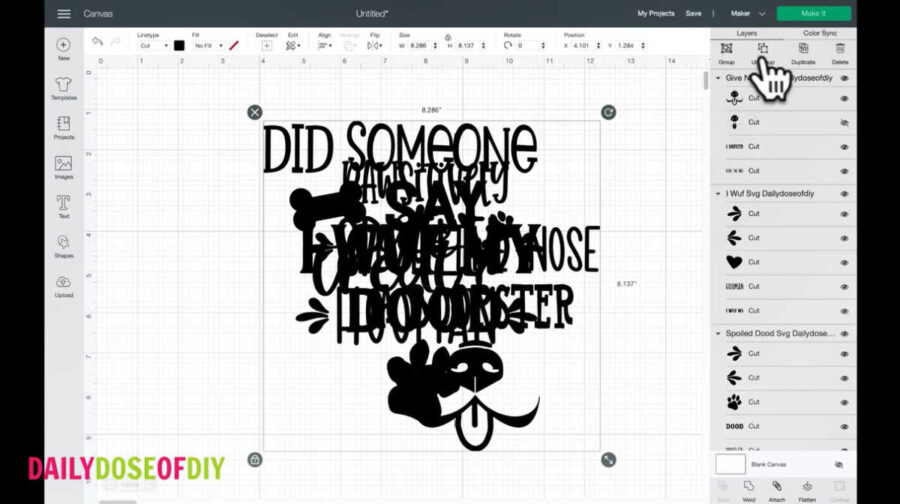
Once you have your designs uploaded, you can select them all at once. Select one to start, and then hold down the Shift key as you continue to select each of the designs you want to cut. There will be a green outline around the ones that have been selected. Once you have them all selected, click “Insert Images,” and that will bring them all into Design Space at the same time.
Tip: If your designs come into Design Space all in a messy group like mine did, Design Space may have glitched. If this happens, select the designs and click “Ungroup.” Then you may need to select everything within each design and click “Attach” to keep the design together on the cut mat.
Make sure you pre-measure the bandanas before the designs are cut out, so you know what size you need. I adjusted the size of my designs from 6.73” down to about 5”.
Once they’re the size you need, select each group and click “Attach.” If you don’t attach them, Cricut will place them to cut in the least amount of space available. That means the designs will get all mixed up instead of remaining separate.
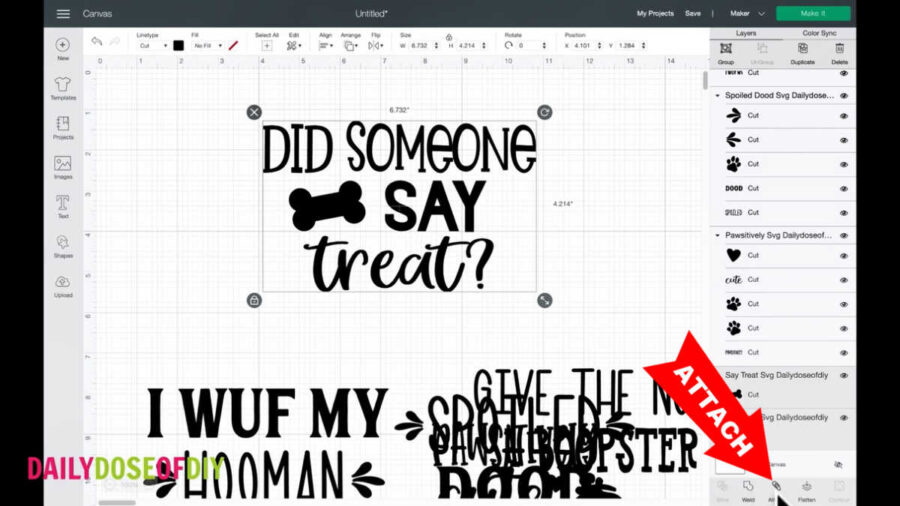
Be sure to select the image and click “Attach” for each design. Once that’s done, you can go to the top and click the Make It button.
Mirror and Get Ready To Cut
Once you get to the mat, you can go ahead and spread the designs out a little so they’re not super close to each other. Simply select each design and move it over.
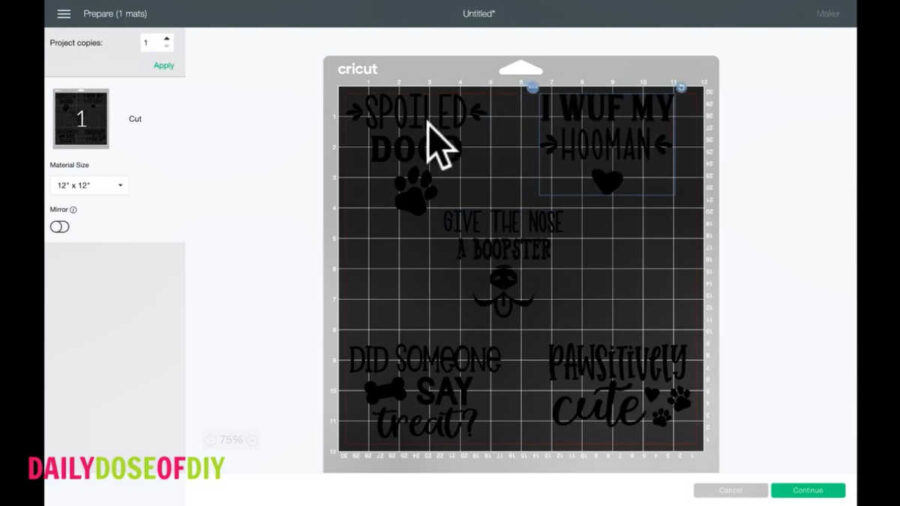
You’ll also need to toggle the Mirror option on, since you will be heat pressing these. Then click Continue.
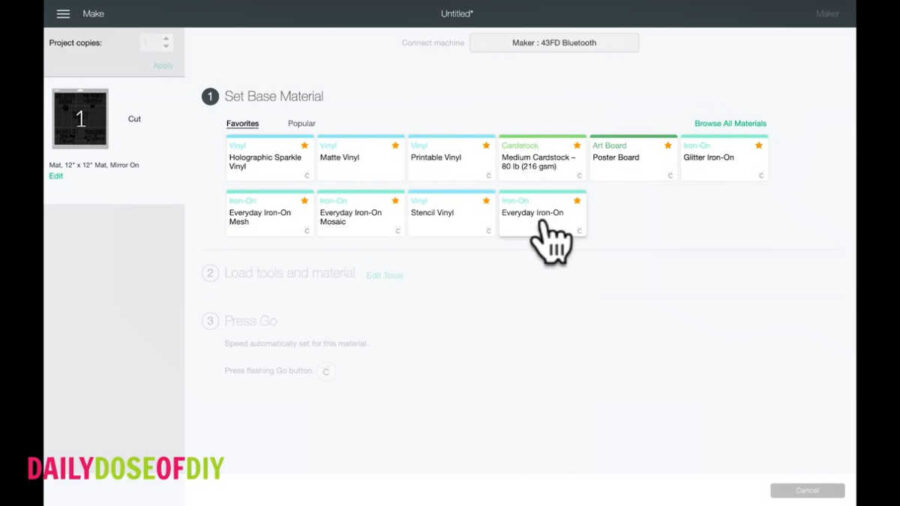
If you have a Cricut Explore, go ahead and set your dial to “Iron-on.” If you have a Cricut Maker, select “Everyday Iron-on” from the list of materials.
You’re ready to get your mats loaded and get it cut!
Step Two: Cut and Weed
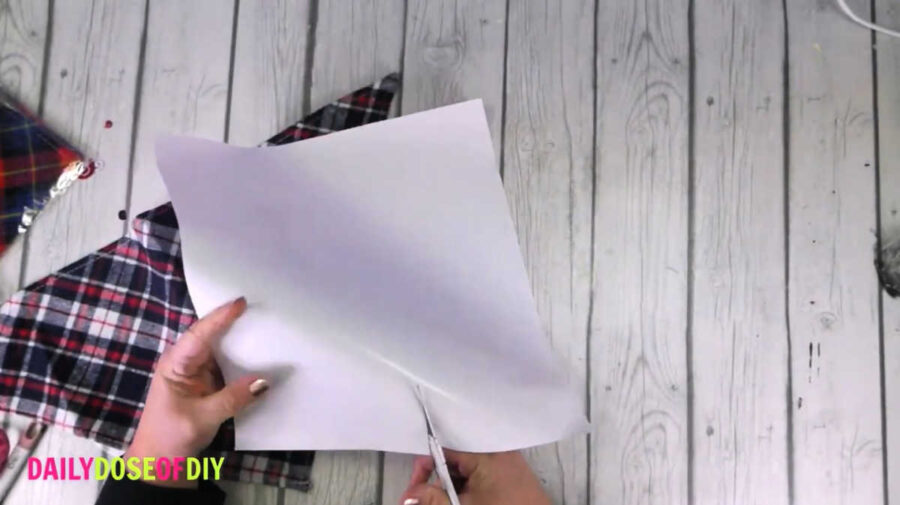
Grab your 12′ sheet of HTV. Place it vinyl-side-up on the cut mat by lining it up in the top corner and smoothing it down.
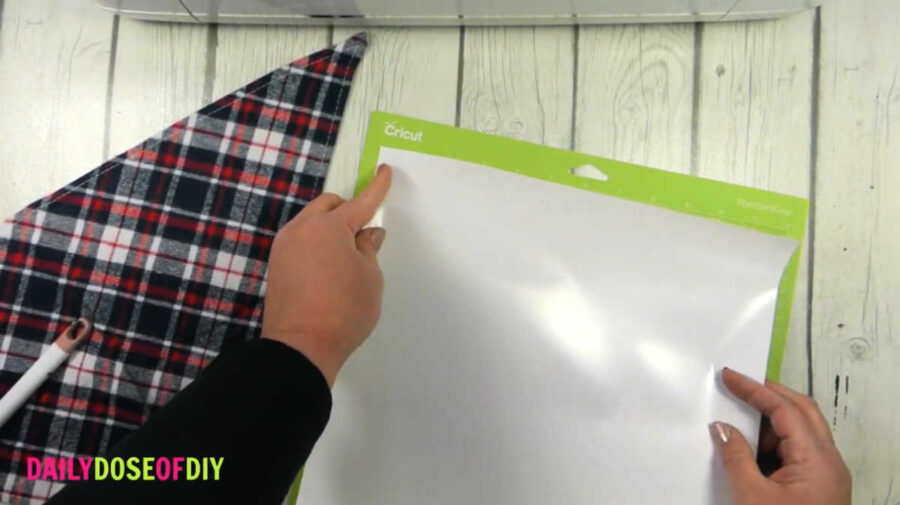
Tip: The HTV has a carrier sheet on one side and vinyl on the other. It’s hard to tell sometimes which is which. My trick is to take a weeding tool and try to poke through just a corner of the vinyl. If you can poke through, that’s the vinyl side. But if you can’t poke through, that’s the carrier side.
Next, place your cut mat under the two tabs on your Cricut, slide it up to the roller bar, and hit the flashing arrow button. Hit the flashing Start button, and Cricut will cut your designs for you.
After it’s finished cutting, hit the flashing Unload Mat button, and Cricut will spit the mat back out. Flip the mat over and gently remove the mat from the vinyl. Since there are five different designs on one mat, you may want to cut between the designs to separate them before weeding them.
Weeding Tips
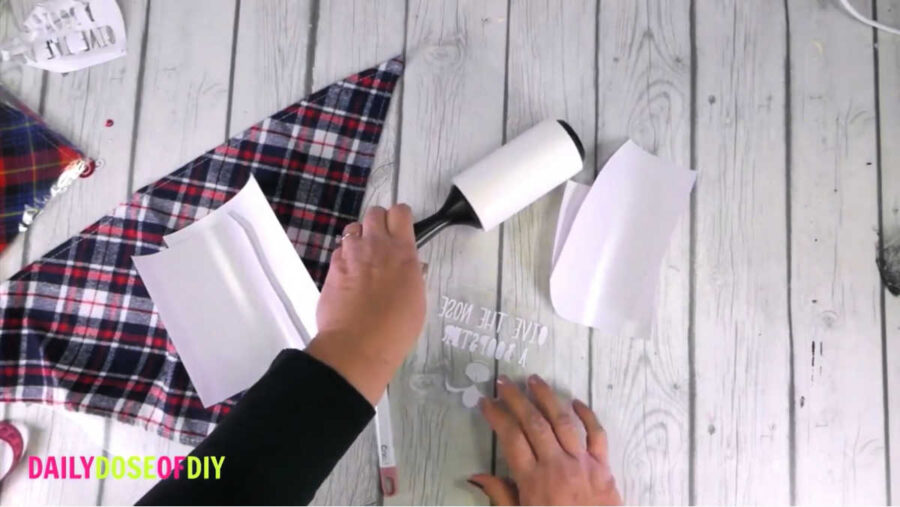
To weed the design, I just start in a corner with my weeding tool and poke a piece of that vinyl. Then I can pull it off the carrier sheet pretty easily. Once most of the excess comes off, you can go through and individually weed out the centers of those letters and any other part that you missed.
Tip: A lot of the time, those little center bits of the letters and other tiny pieces of vinyl get static and end up sticking everywhere. I like to use a lint roller for this: just stick them right to the tape as you pull them off, and you don’t have to worry about them getting in your way again!
Step Three: Heat Press
I included a free time & temp sheet in your SVG download. Since I used everyday iron-on and cotton bandanas, the temperature I needed was 350 degrees, and I heat pressed for 30 seconds.
While your heat press is heating up, fold all of the bandanas in half and pre-press them. You can do this while it’s still coming up to temp. You just want to put the easy press over it for a few seconds to get all the wrinkles and some of the moisture out.
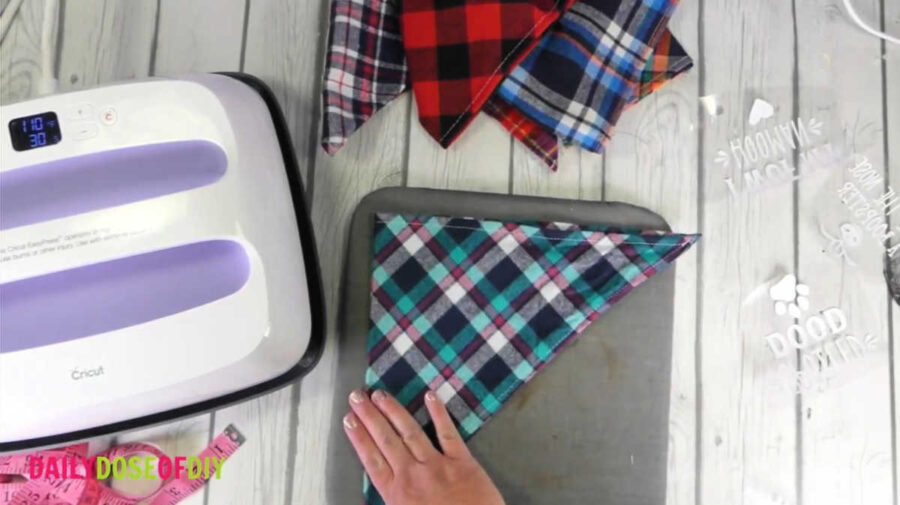
Pre-press both the front and back of each bandana. Once you’re finished and you unfold the bandana, you’ll be able to see the crease down the center. That will help you center your design when you press it.
Then, to find the center of your design, take it and fold it in half backwards. (You don’t want the sticky sides touching!) Just put a little crease in it so you can see where the center of the design is, and line it up with the center crease line you made on the bandana.
Before you press the design, it’s a good idea to cover it with a piece of parchment paper or a Teflon sheet to protect everything. Put the easy press over it, and then hit the timer button.
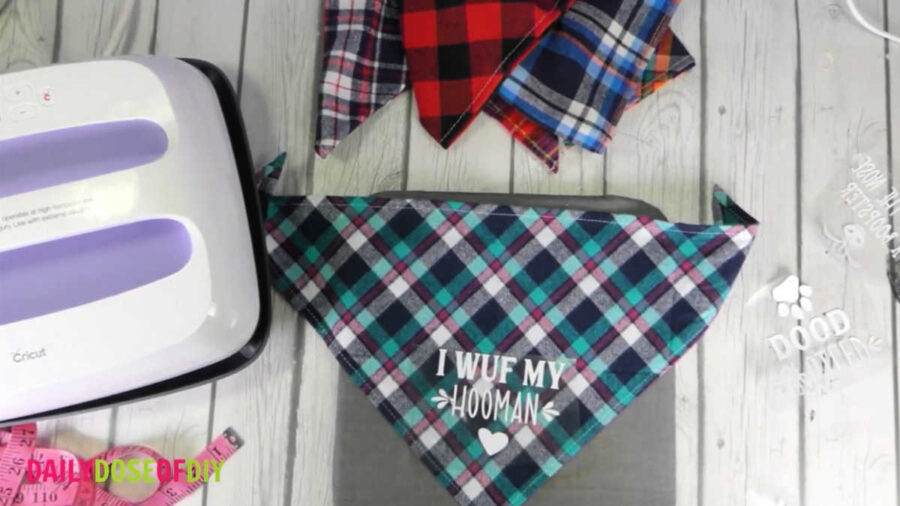
Apply firm pressure until the timer counts down to 0. Then you’ll want to flip it over and press the backside for an additional 10-15 seconds. Remove the carrier sheet, and it’s all finished!
I just think these personalized dog bandanas are so adorable, don’t you? I imagine your dog will be the most talked-about dog on the block when you take him for walks wearing one of these cute little customized bandanas.
To grab the free SVG files fill out the simple form below.
All of my free SVG files and Designs are kept in a library for your convenience. We will send you the link and password right away, and you’re free to use all the resources you want in the library.
Already have the password? (It’s at the bottom of every email) Enter the Library Here
Now you know how to use you r Cricut to cut HTV, plus a couple of tips to cut it the right way. And we learned how to use our Cricut Easy Press to apply HTV to our dog bandanas to make custom designs.
Thanks so much for crafting with me today!

Chris Butler has helped thousands of crafters learn how to use their Cricut machine without feeling overwhelmed. She is a best selling author and an up and coming designer. For fun Chris enjoys designing SVG Files, hanging out with her family (preferably at the lake), traveling, and volunteering at her church. She is a wife and mom of two crazy fun kids.
I cannot find the svg for the dog bandana, I have searched your library, clicked on all the links and it’s not there. Every time, I click on the svg it takes me to your sign up. Could you please tell me what I”m doing wrong.
It sounds like you’re clicking on the view the tutorial link. Click the link directly above that one that says ‘Dog sayings SVG Click HERE to download’