This post may contain affiliate links for your convenience. If you make a purchase through one of my links I will earn a small commission at no additional cost to you.
Last Updated on June 27, 2024 by Chris Butler
Quick Links to Information in This Post
Welcome to Daily Dose of DIY!
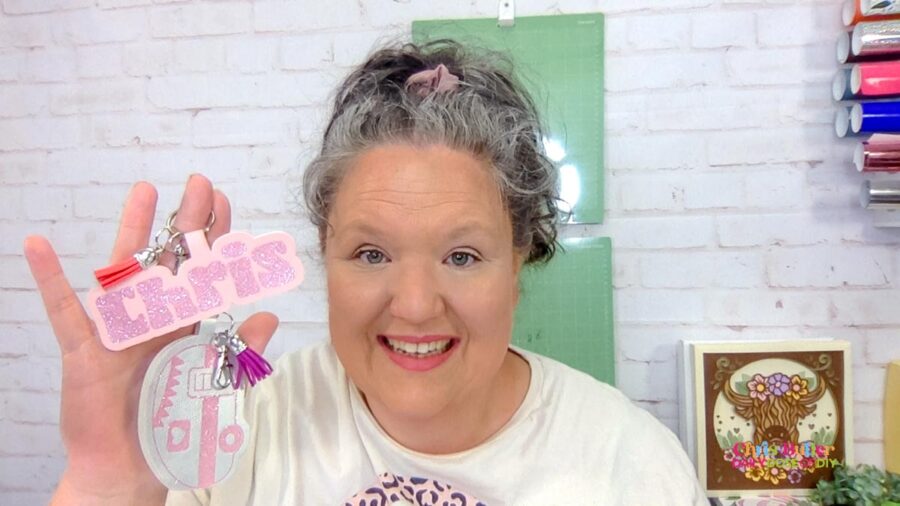
Hey y’all! Welcome to Daily Dose of DIY. If you don’t know me yet, my name is Chris, your guide to making amazing Cricut Crafts. Today, I’m excited to show you how to create your very own faux leather keychains.
Not only will I guide you through the crafting process, but I’ll also teach you how to design your own keychains in Cricut Design Space. These keychains are super fun, a bit addicting to make, and they make perfect little gifts. Plus, it’s a fantastic way to use up scrap heat transfer vinyl. I’ve even included some free SVG images for you to use.
Ready to get started? Let’s dive in!
Supplies You’ll Need
To make faux leather keychains, you’ll need a few supplies:
- Faux leather (smooth style preferred) – Love this seller on Etsy
- Parchment paper
- Heat press (a mini press or home iron without steam will also work) – https://amzn.to/4cjw2jp
- Keychain parts with tassels – https://amzn.to/45LbUnT
- Heat transfer vinyl (HTV) – https://amzn.to/3VIEWjB
- Glue (I use Aleene’s Fabric Fusion) – https://amzn.to/3ROubuW
- Cricut machine (Maker, Explore, or Joy)
- Standard grip mat (or strong grip mat if your mat isn’t sticky enough)
Grab the Free SVG Files
All of my free SVG files and Designs are kept in a library for your convenience. We will send you the link and password right away, and you’re free to use all the resources you want in the library.
Already have the password? (It’s at the bottom of every email) Enter the Library Here
Step-ByStep Video
See the step-by-step process in the video below, keep scrolling for written instructions.

Designing Your Keychain in Cricut Design Space
Getting Your SVGs
First, you’ll need to get the free SVGs by filling out the simple form above. Once in the library, everything is in alphabetical order with pictures. You’ll find my keychain designs under “K” for Keychain.
For help downloading SVG Files and uploading them to Design Space see this post.
Uploading and Ungrouping
Open Cricut Design Space, upload your SVG bundle, and add it to your canvas. Click the ungroup button in the layers menu to select the objects you want for your keychain and delete the rest. You can also use Cricut images if you have Cricut Access.
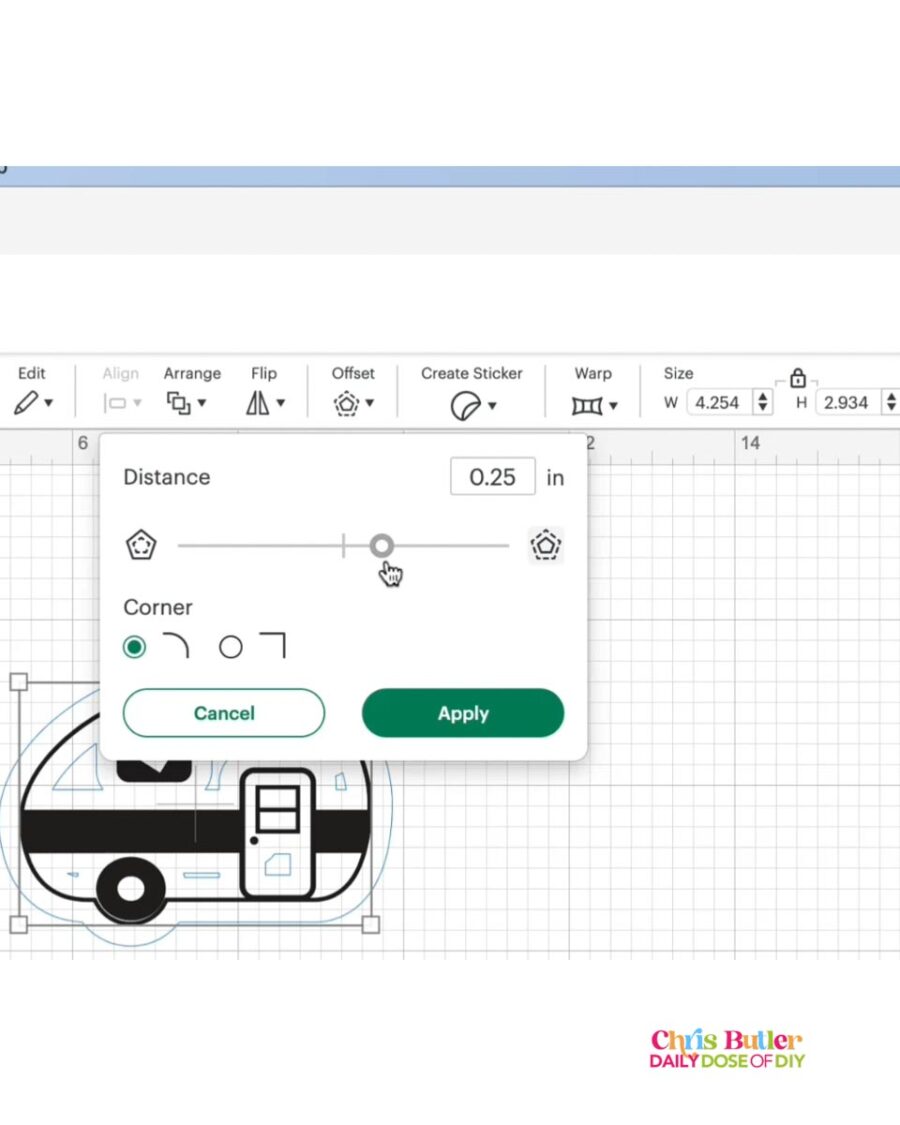
Creating the Offset
Select your desired object (like a camper) and add an offset by clicking the offset button. The default setting of 0.25 inches with rounded corners works well. Click apply. You’ll now have your original SVG and an offset layer.
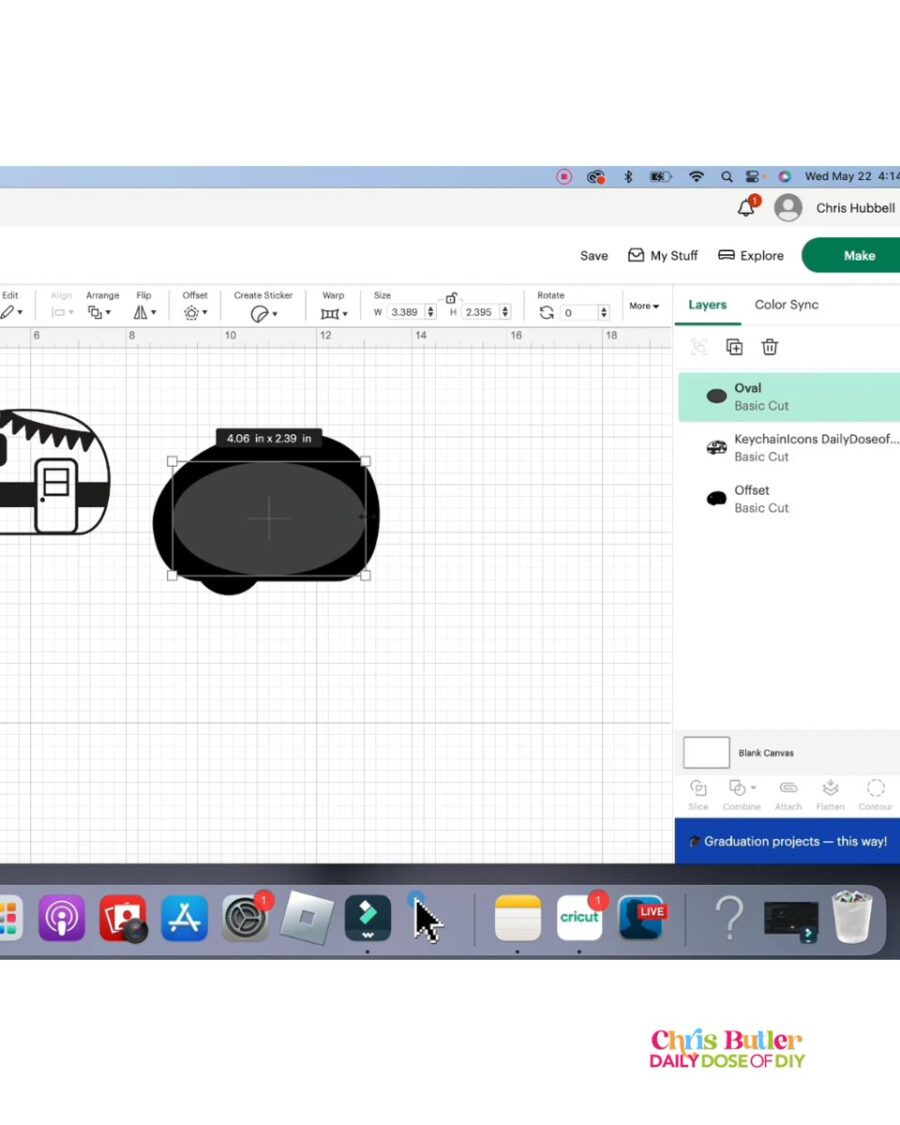
Cleaning Up the Offset
To ensure the offset is solid, cover any unwanted holes with an oval shape. Unlock the aspect ratio to adjust the shape as needed. Once the holes are covered, select both the oval and the offset, then click unite in the combined menu.
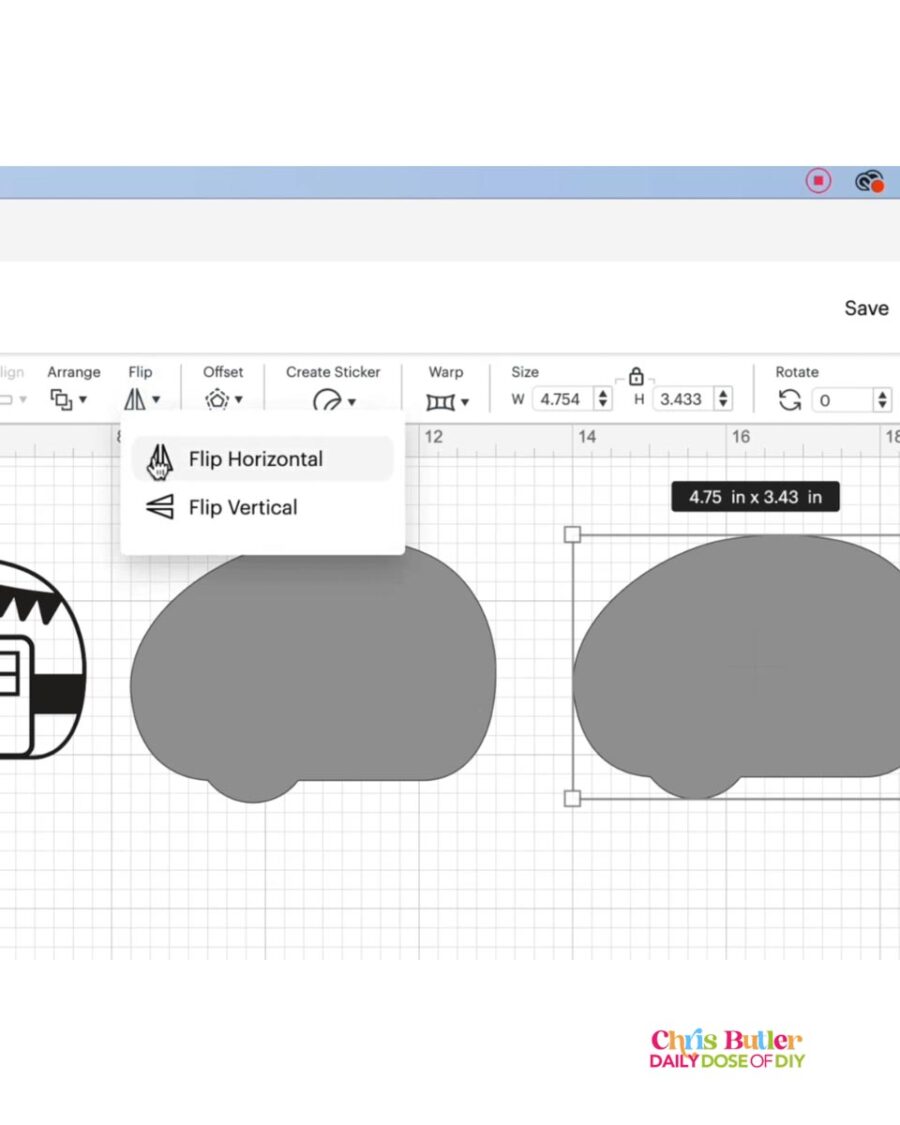
Duplicating and Mirroring
Make a copy of your offset layer by pressing Ctrl+C to copy and Ctrl+V to paste, or use the duplicate button. Flip the duplicate horizontally to create a mirror image.
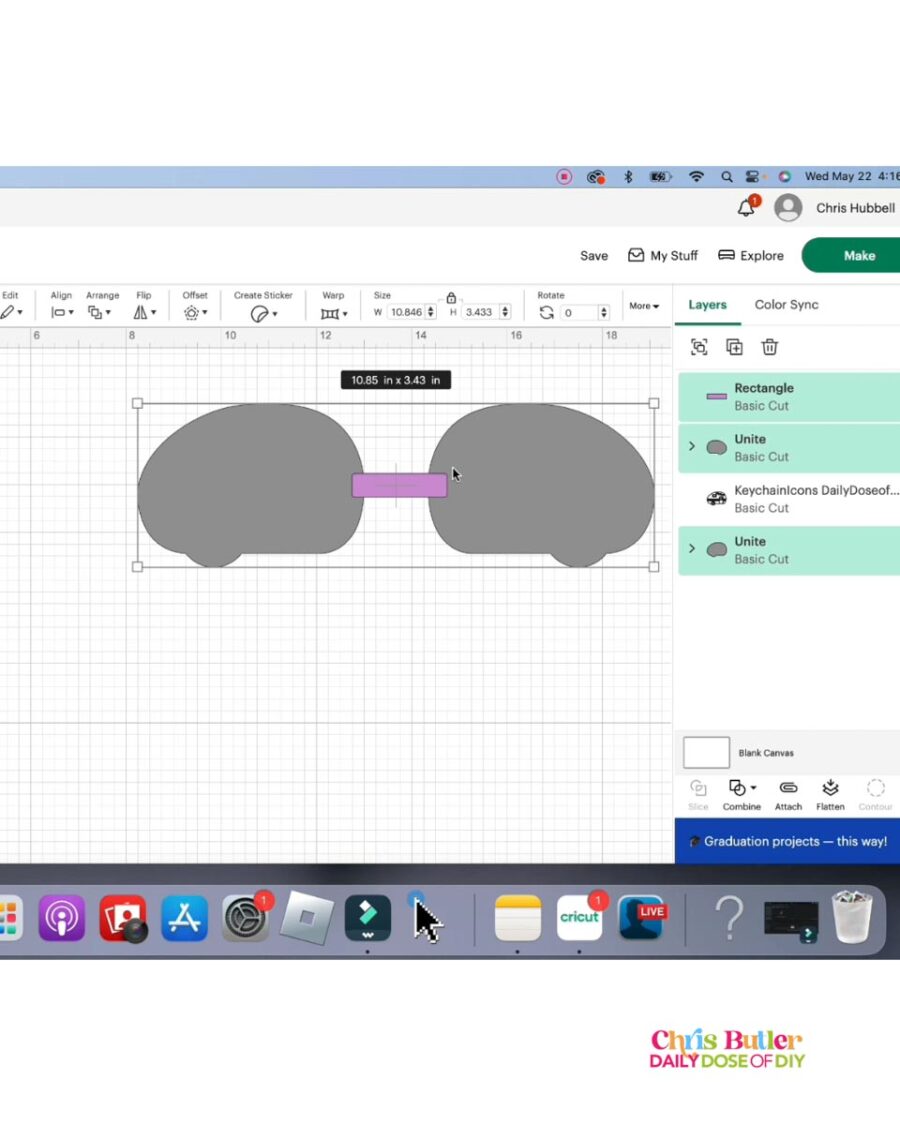
Connecting the Pieces
To connect the pieces, add a rectangle shape, unlock it, and set the width to 2 inches and the height to 0.5 inches. Align and unite all three pieces (the two offsets and the rectangle) to create a unified shape.
Next select all three objects and click “Combine” at the bottom of the layers menu and then click “Unite”
Making a Name Keychain
Adding Text
Type out the name or saying you want for your keychain. Adjust the size to fit within the typical keychain dimensions of 3 to 4 inches. Choose a font from Cricut’s options or upload your own.
Related: How to Find Free Fonts and Download them to Cricut
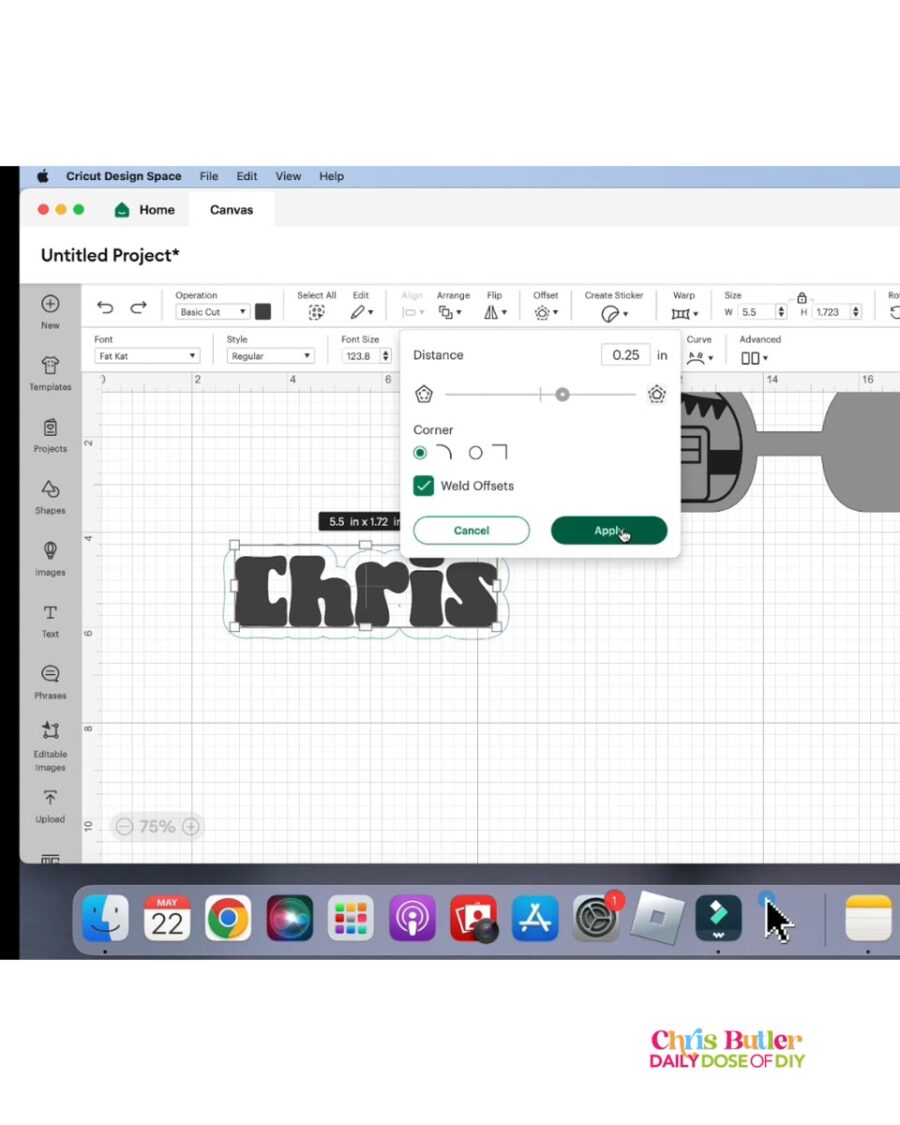
Creating the Offset for Text
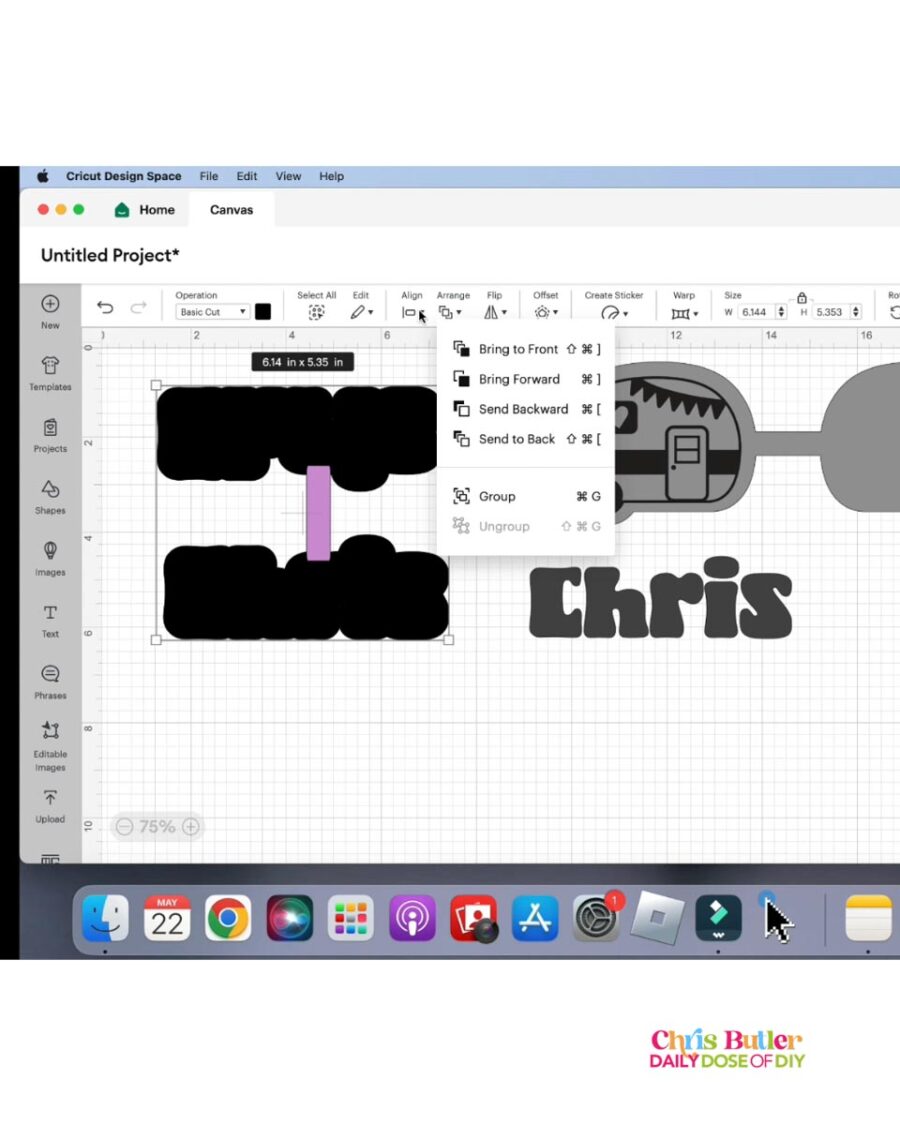
Add an offset to the text just like you did with the camper. Make a copy, flip it vertically, and connect the pieces with a rectangle shape. Align and unite all elements to create your keychain design.
Final Adjustments
Check the size of your designs to ensure they fit within your desired keychain dimensions. Adjust as necessary, then click the make it button.
Cutting the Faux Leather and HTV
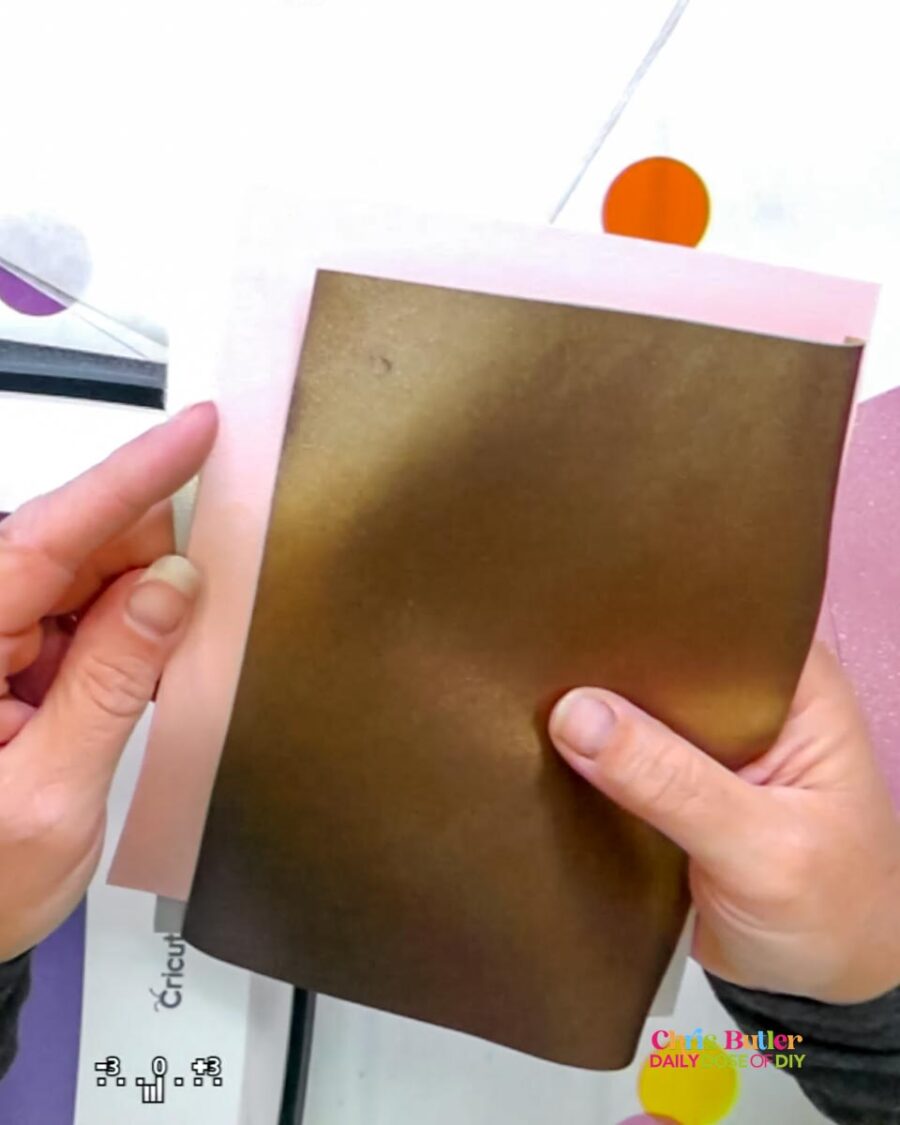
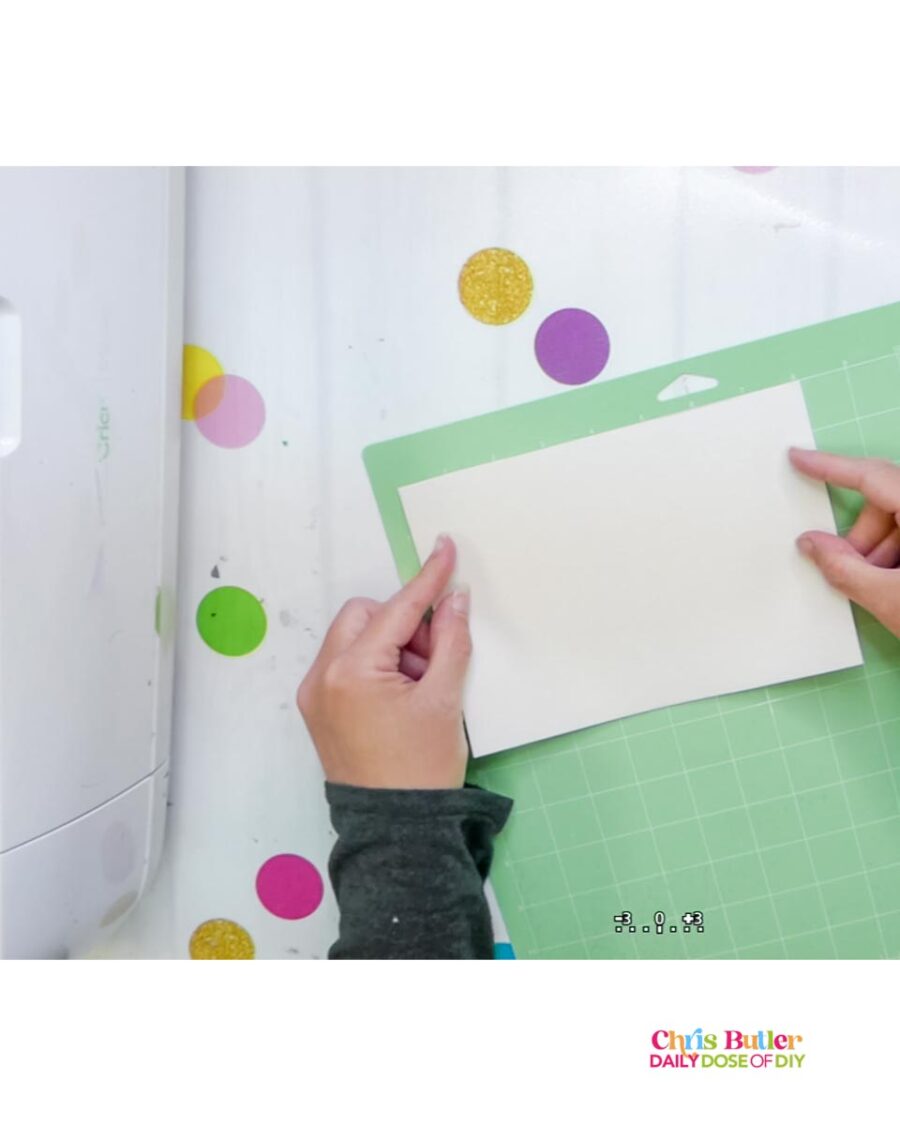
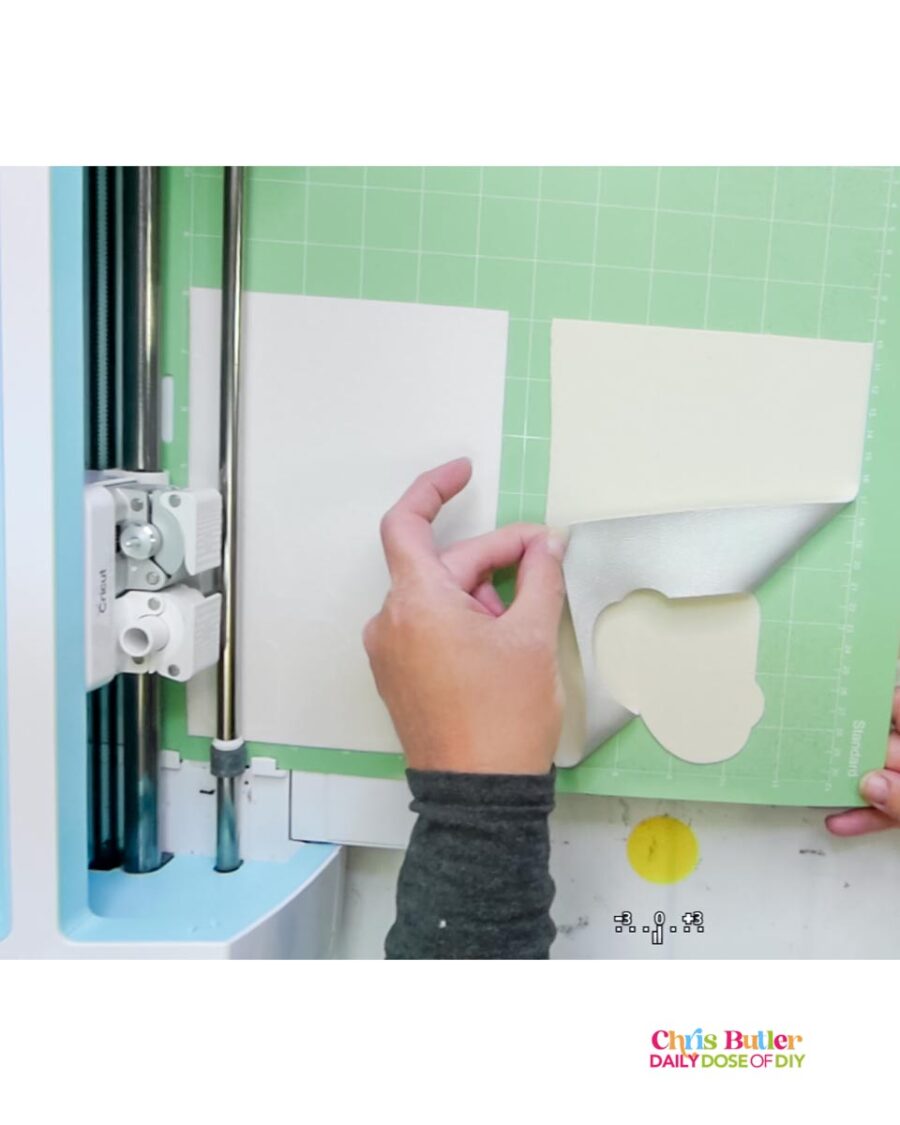
Preparing the Mat
Place the faux leather leather side down on a sticky green mat. Load it into your Cricut machine, set the material to faux leather paper thin, and start cutting. Check to make sure the cut went through before unloading the mat.
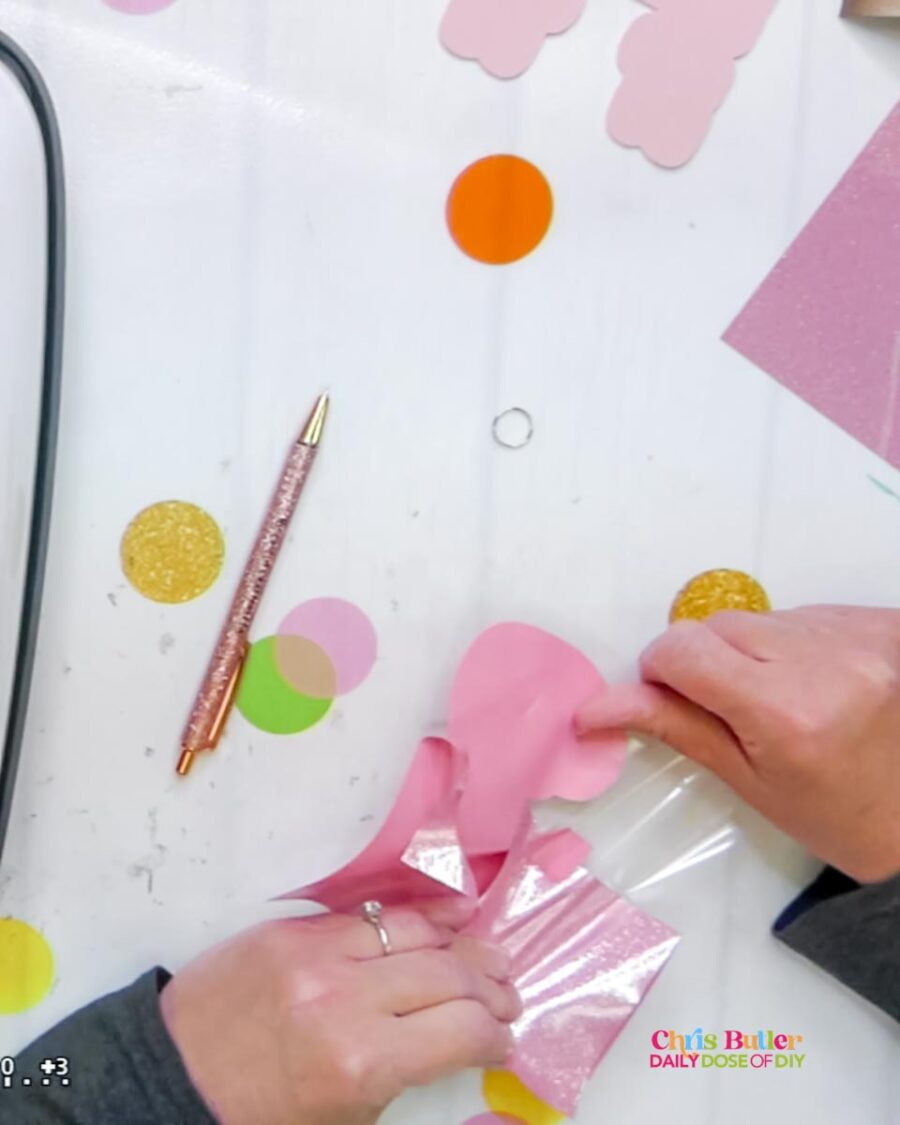
Cutting the HTV
Set your material to glitter iron-on and load the HTV shiny side down on the mat. Cut it with your Cricut, ensuring the mirror setting is on. Weed the excess vinyl from your design.
Assembling the Keychain
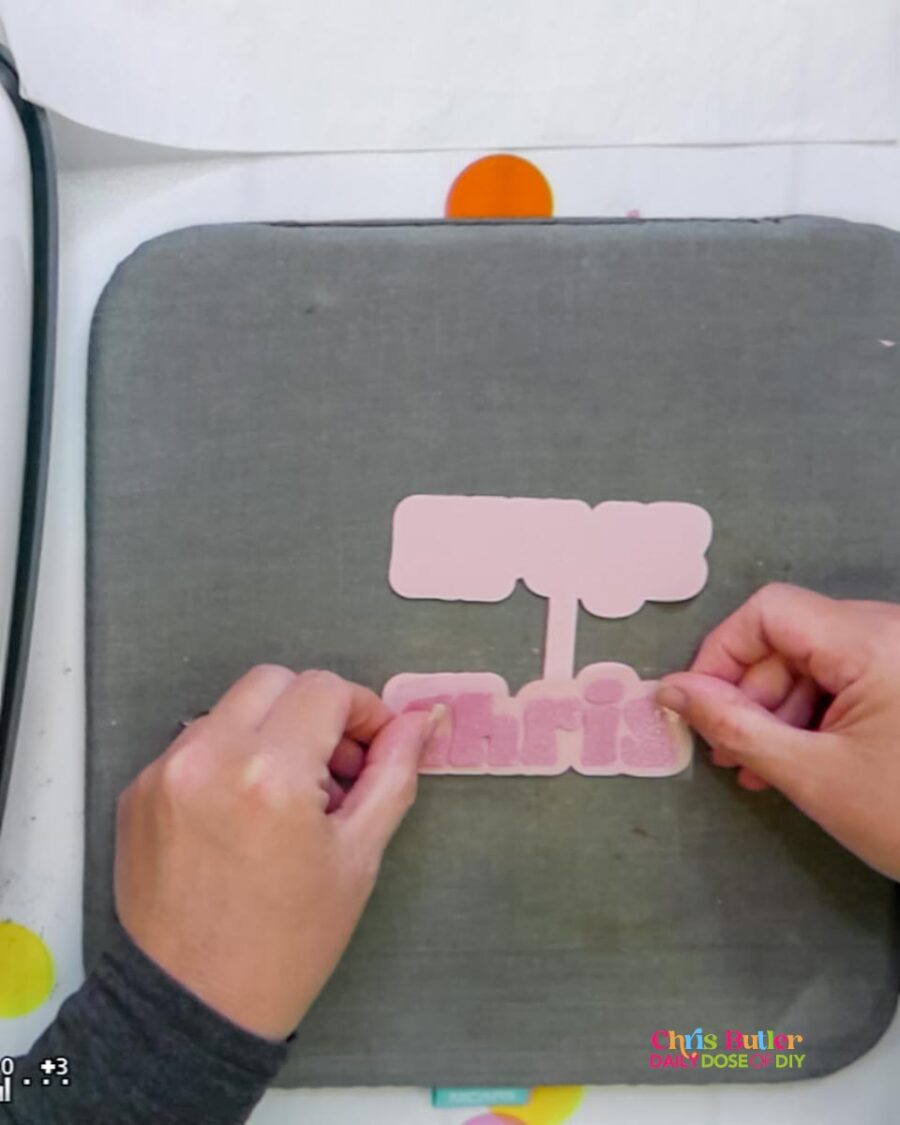
Pressing the HTV
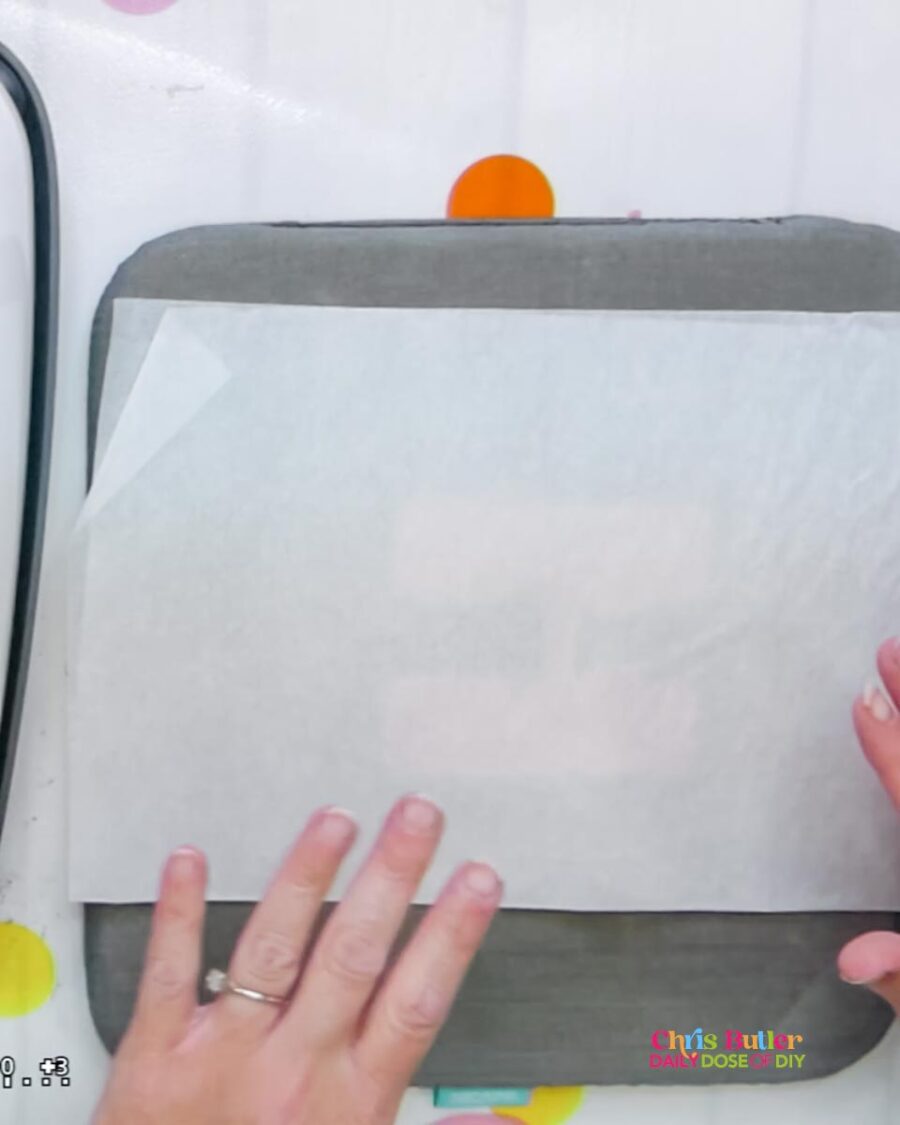
Preheat your heat press to 305°F. Position the HTV on the faux leather, cover with parchment paper, and press for 10 seconds. Remove the carrier sheet and press again for 3-5 seconds.
Place your Faux Leather under a book or something flat until it cools down so the edges don’t curl.
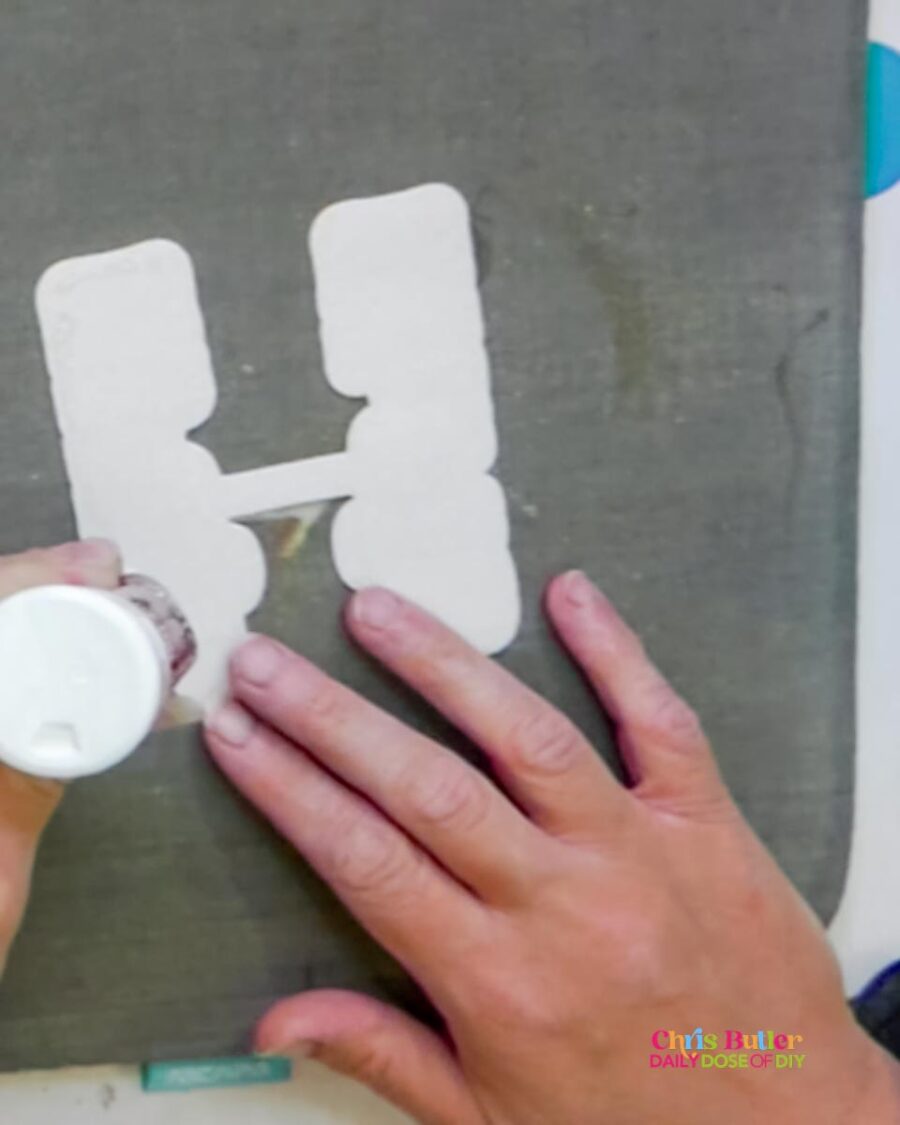
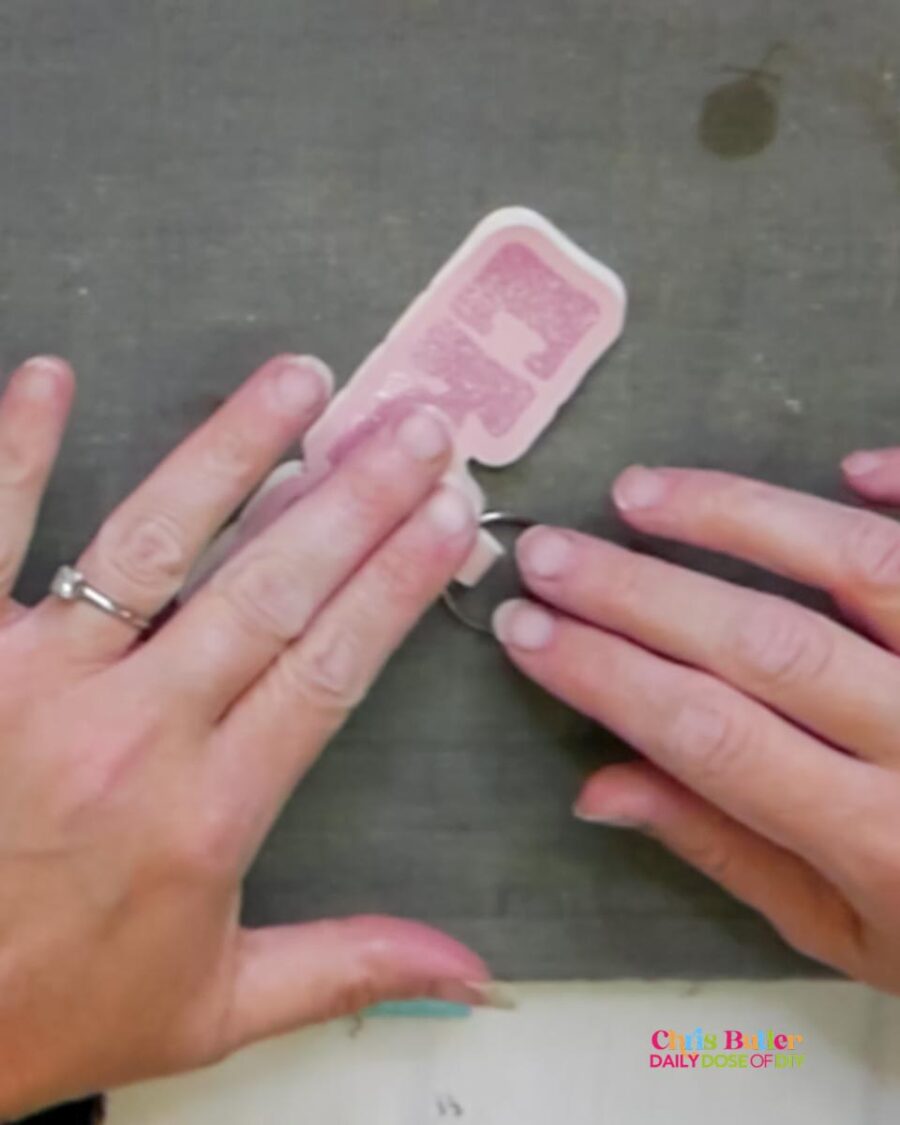
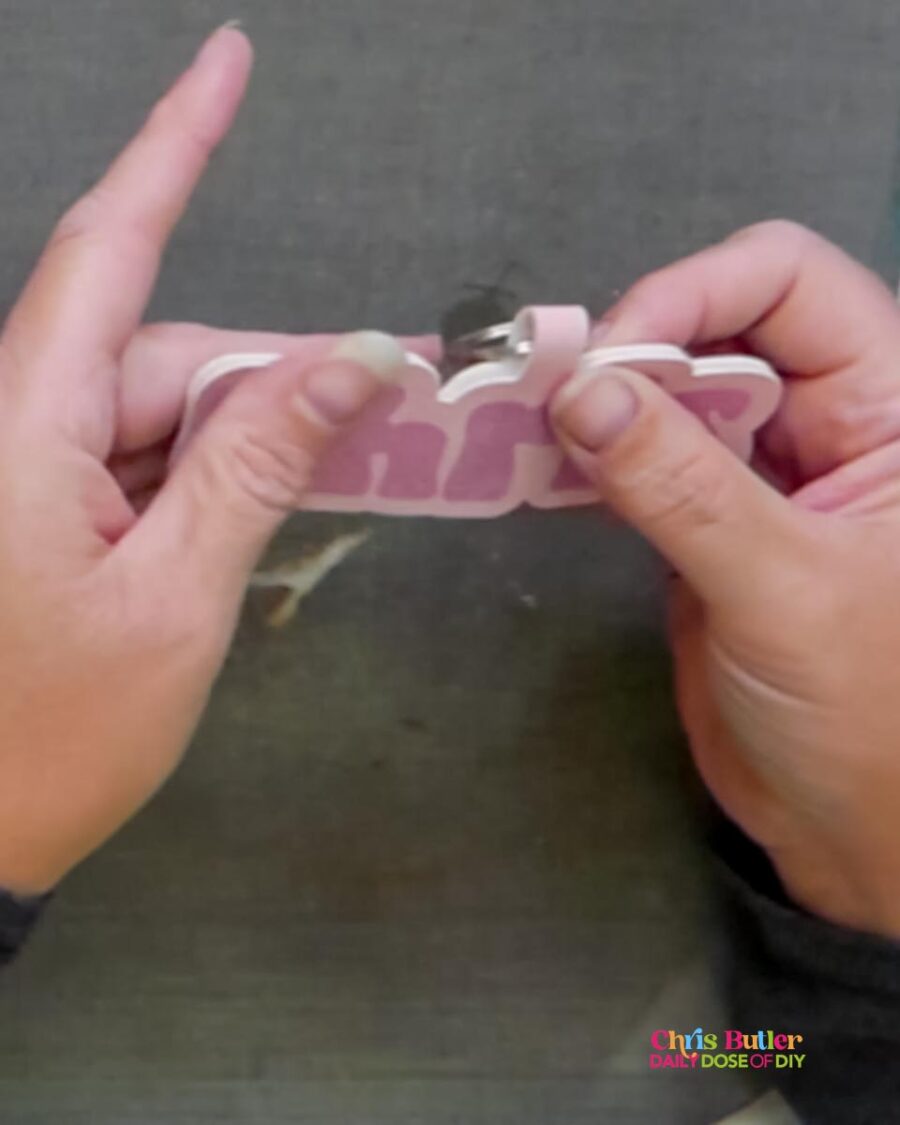
Gluing the Pieces
Apply glue around the edges of the backside of the faux leather and fill in the middle generously. Insert the keychain ring before folding the pieces together. Line up the edges and press under a heavy object until the glue sets (2-4 hours).
Final Touches
If your faux leather has white edges, you can use a Sharpie or fine paintbrush to color them in if you wish. Once the glue is set, your custom keychain is ready to use!
Enjoy Your Custom Keychains!
And there you have it! Your very own custom faux leather keychains. If you try this project, let me know how it goes. Ask any questions in the comments below, and be sure to like and subscribe for more fun Cricut crafts and tutorials. Don’t forget to grab your free SVG files. Happy crafting!

Chris Butler has helped thousands of crafters learn how to use their Cricut machine without feeling overwhelmed. She is a best selling author and an up and coming designer. For fun Chris enjoys designing SVG Files, hanging out with her family (preferably at the lake), traveling, and volunteering at her church. She is a wife and mom of two crazy fun kids.
Leave a Reply