This post may contain affiliate links for your convenience. If you make a purchase through one of my links I will earn a small commission at no additional cost to you.
Last Updated on January 15, 2024 by Chris Butler
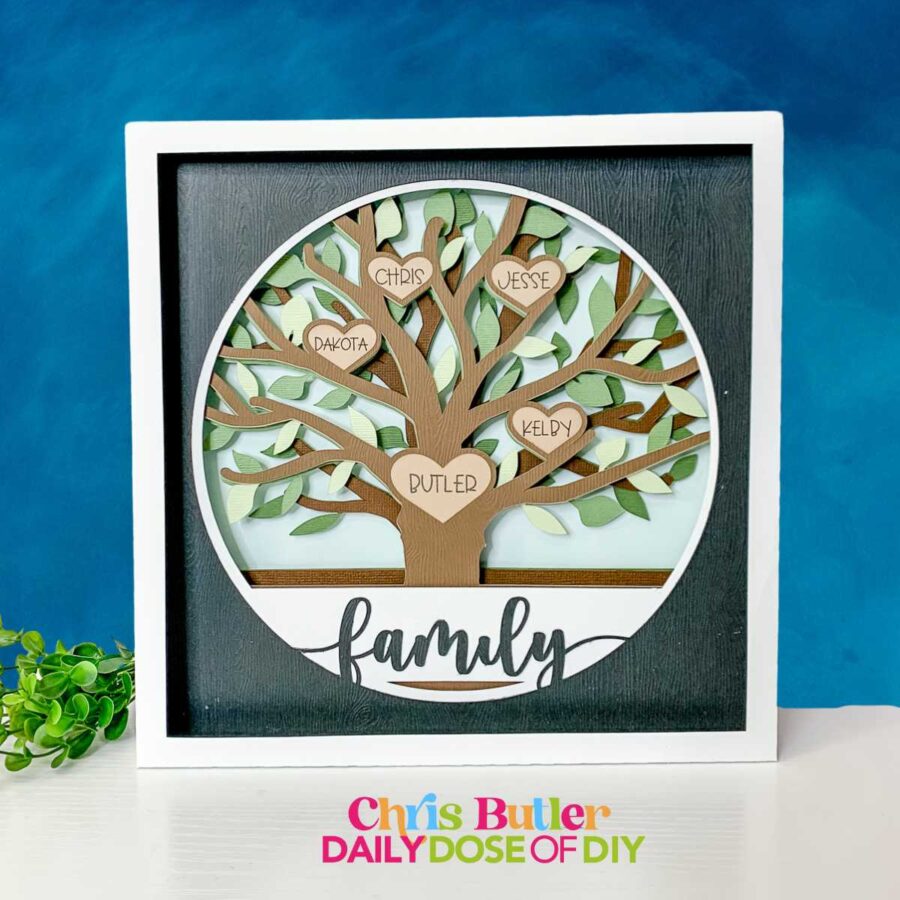
Today you’ll learn how to create your own family tree using a Cricut machine. This project is perfect for adding a personal touch to your home decor or as a thoughtful gift for a loved one.
SVG files are included for a family of three all the way up to eight family members, so no matter the family size, you can make this papercraft.
Let’s get started!
Quick Links to Information in This Post
Supplies Needed
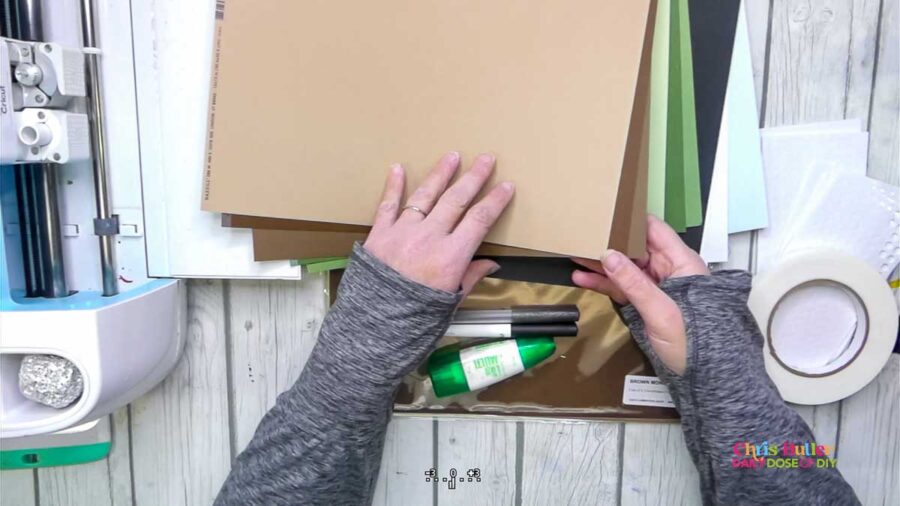
- Card stock in various colors I used:
- 3 sheets of white 12×12 Cardstock (65lb)
- 3 Shades of Brown 12×12 Cardstock from the Brown Mono Pack Here
- 3 Shades of Green 12×12 Cardstock from the Forest Green Mono Pack here
- 1 sheet of black 12×12 Cardstock from the Woodgrain Pack Here
- 1 sheet of light blue 12×12 Cardstock (65lb)
- Cricut Pens I used fine point and the glitter gel pen
- *Optional Shadow box frame (9×9 inches) There is an SVG available to make your own frame as well.
- Glue – https://amzn.to/48pUzkZ
- Foam tape and foam dots – https://amzn.to/3TWXZaB
- SVG Files – More details below
Tools:
- Scraper tool
- Cricut Blue Cut mat or Used Green Mat
- Cricut Cutting Machine – Cricut Joy Xtra, Cricut Maker or Maker 3, Cricut Explore Air or 3
Step 1: Download the SVG File and Upload to Design Space
The full video tutorial and SVG files are available through the free Cricut Craft Fest event hosted by Abbi Kirsten.
Grab your free event ticket Click Here
This workshop will be available on Wednesday, February 7th, along with many others. Don’t want to wait?? Grab the VIP Instant Access Pass to start crafting now (and get loads of bonuses too!)
You don’t want to miss this event! It’s a great way to learn many Cricut Crafts with over 50 free tutorials and many giveaways and prizes.
The tree templates are named 3 through 8 for the number of members in your family. Choose your template size and download that SVG. If you’re using the provided frame download that SVG as well and upload both files to Design Space

Related: How to download SVG files and Upload them to Design Space
Step Two: Add Family Names to Your Tree
Once the design is upload to Design Space, add it to your canvas. Reduce the canvas size on the bottom left to 50% so you can see everything. Next you want to ungroup the design and pull the light brown layer with the solid hearts to the side. This is where we will add our family names.
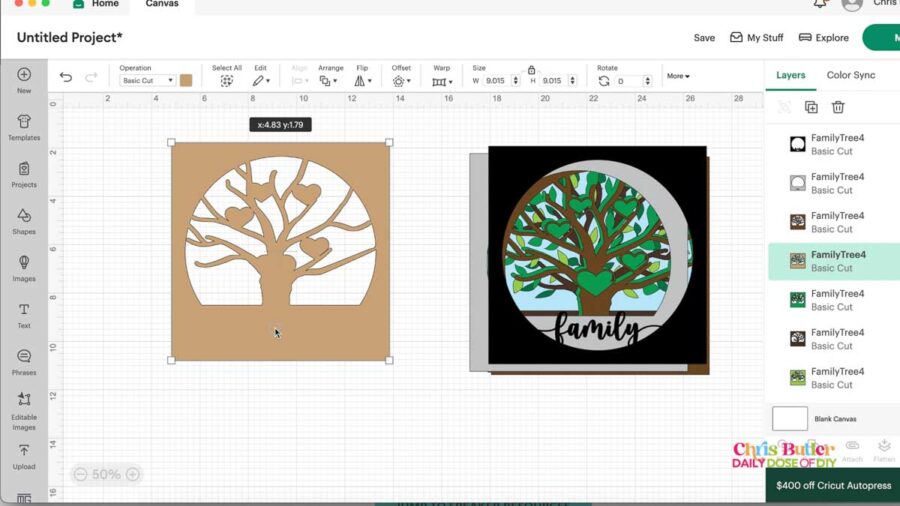
Click on the text button on the left menu and type out your families last name. Next go to the operation type on the top menu and change the operation from cut to pens.
Then you can click on the outlined square right next to the operations and choose your pen type and color. I’m using the Cricut Glitter Gel Pen for the last name.
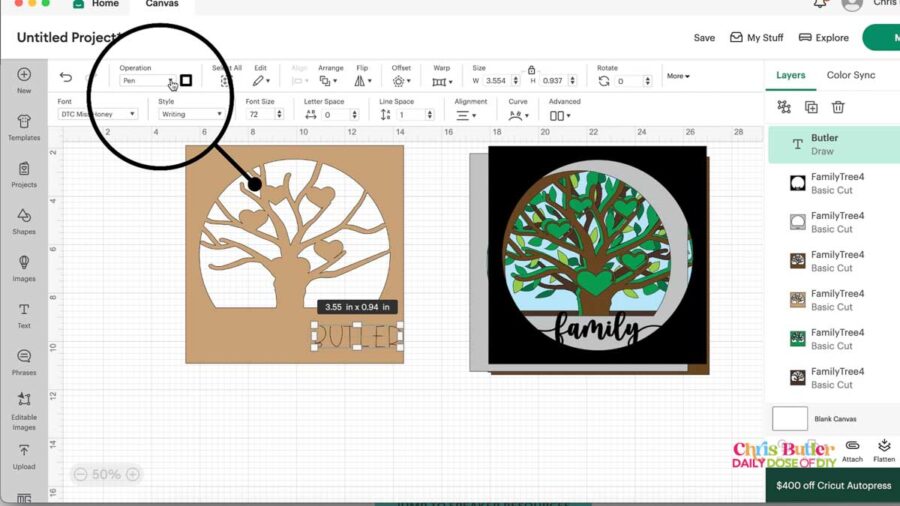
Once that is done resize the last name and position it over the largest heart on the bottom center of the tree.
Now that we have the last name done, the easiest thing to do is copy and paste this for the rest of our names. To do this, simply hit Ctrl+C to copy and Ctrl+V to paste. If you’re on a Mac, you would use Command+C and Command+V.
To change it to the person’s name, double-click on it to get the cursor, delete the letters, and type in the new name. For example, I’m going to type out my name, which is Chris.
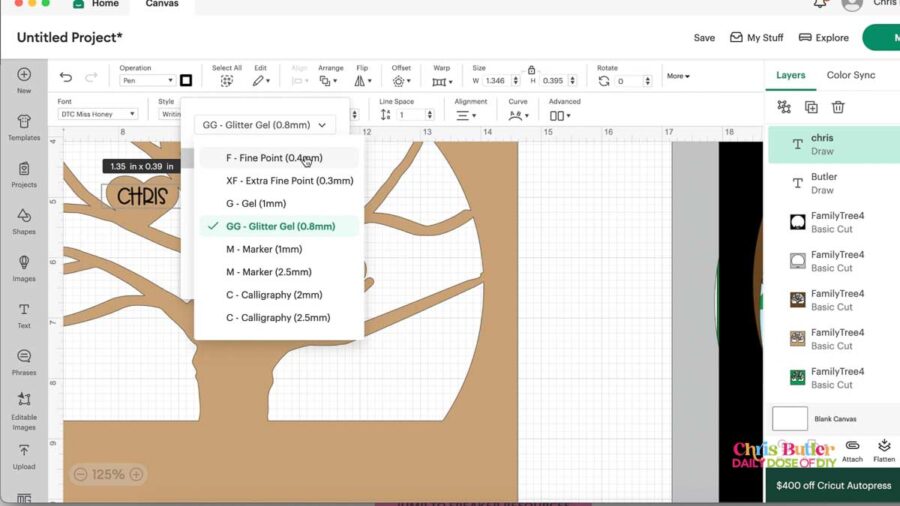
I will select Cricut’s fine-point pen for the rest of the names. To do this, go back up to the top menu click the outlined square and set your pen type and color.
If you’re having trouble selecting the name, you can also go to the right layers menu and select it directly from there. You can also zoom the canvas in from the bottom left corner.
Once you have selected the pen, duplicate that name for the rest of the names in your family so they all have the same font and pen size. Then, move your duplicated names over to the remaining hearts.
To change the name on each heart to the remaining names of your family double click on the text box to delete the name that’s already there and change it to the other name you want.
Depending on the letters in your remaining names, you may have to reduce the size and reposition them. It’s also easier to use the cursors on your keyboard to move the names over when working with smaller text like this.
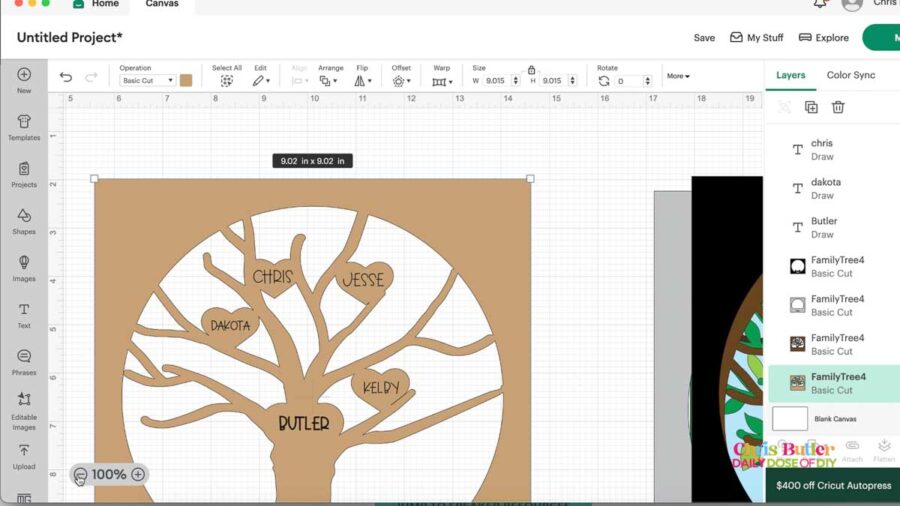
Once you have the name of each person in place, we are going to test it with the layer that goes over it. Reduce the canvas size again so you can select the dark brown layer that has the heart outlines and put it over this one. Grab that layer and drag it over to the left so it’s on top, and we’ll see how our names line up.
If adjustments need to be made, reduce the names a little bit more and center them. Once all your adjustments are made, move the dark brown layer back out of the way.
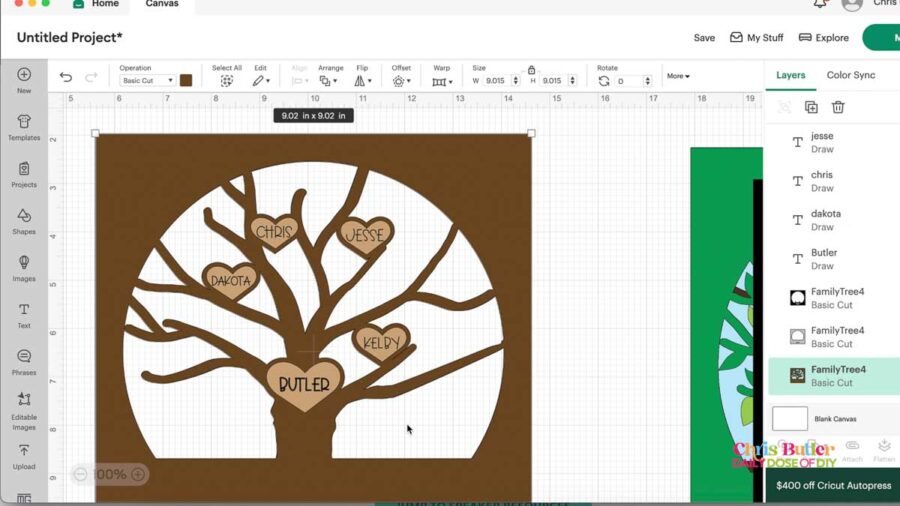
Step Three: Attach the Names and Tree Layers
Now that we have all the names in place, we need to select everything – the names and the light brown tree. Go to the bottom of the layers menu and click “Attach”. This will keep our names in place when we make it.
Once that is done, we’re almost ready to cut your family tree. The finished size of the shadow box is 9×9 inches. If you want to reduce the size to use in your own 8×8 shadow box frame, first you need to select all of the layers. Then, on the top menu, click “Align” and then “Center”. With everything still selected, go to the width on the top menu and change it to 8 inches. This will reduce all the layers together so it will fit in an 8×8 shadow box.
If you’re going to keep the shadow box 9×9 inches and you’re using the provided frame, don’t forget to go back over to the layers menu and find your frame and click that little eye icon again so that it comes back on the screen.
Now we’re ready to click the “Make It” button on the mat screen. I like to scroll through the mats and make sure everything is there. I also make note of what order the mats are going to cut in and then put my cardstock sheets in the same order of the mats.
You can place your sheets on Cricut’s handy dandy little ledge so you’re ready to load your cut mat.
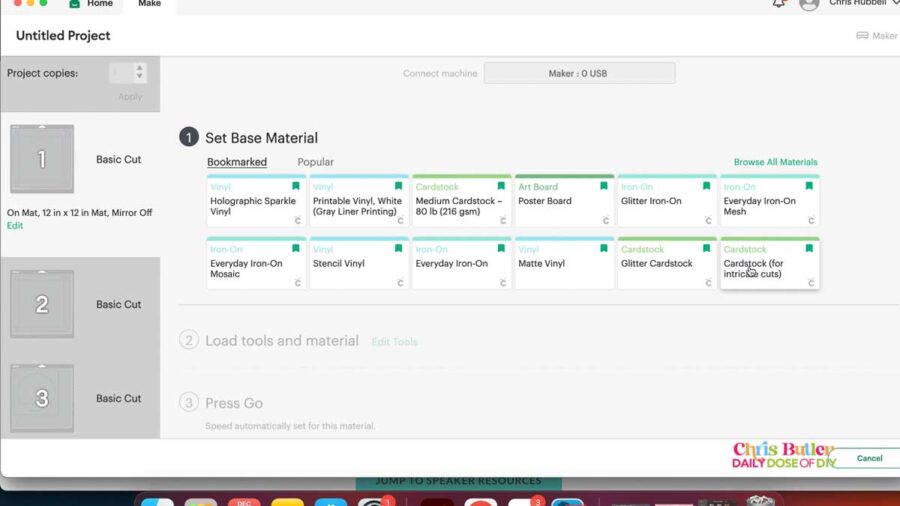
Once that is finished, make sure mat one is still selected and then click “Continue”. If you have a Cricut with a dial, set your dial to “Custom” so you can browse all materials. From the materials list, we want to choose “Cardstock for Intricate Cuts”. You can browse all materials and just search “intricate” and it should come up.
Now we’re ready to load the paper.
Step Four Load the Paper and Cut
- Take a sheet of cardstock and line it up along the left edge and the top line of the mat. You can use a well-worn green cut mat or a light blue cut mat made for cardstock.
- Insert the mat into the Cricut machine and click the arrow button to load the mat. The C button should start flashing.
- Click the C button to start cutting the cardstock.
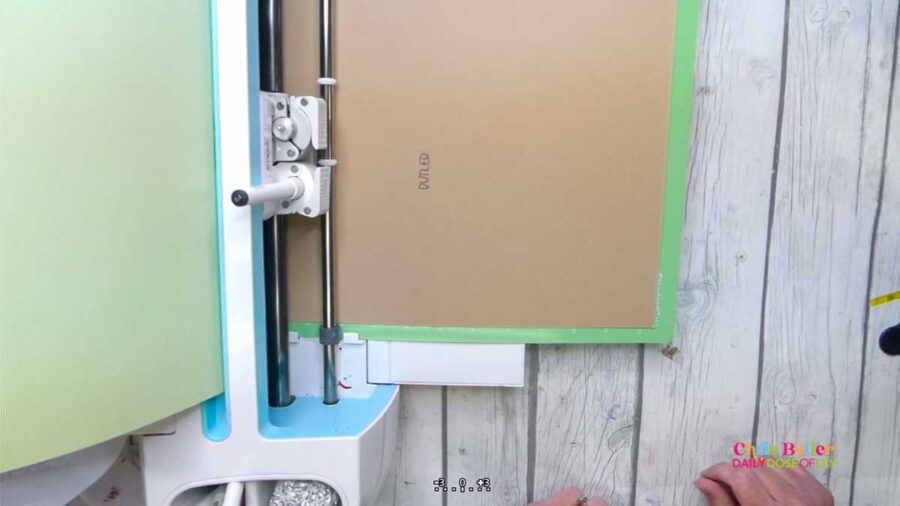
- Once the cutting is complete, flip the mat over and gently curl back the mat to remove it from the project. This prevents the paper from curling or tearing.
- If you’re using thicker cardstock like wood grain cardstock, you may need to make adjustments to ensure a clean cut. In Design Space, click the little arrow to see your materials in the right of your screen. Then, click “Browse All Materials” at the bottom of the menu.
- Scroll down to find “Cardstock with Intricate Cuts” and click the edit button. Change the number of passes from two to three and click save.
- Load the new sheet of cardstock and repeat the cutting process. Use a scraper tool to remove any small bits of paper left on the mat.
Step Five: Using Cricut Pens to Write the Names
- Load the light brown sheet of cardstock and follow the instructions in Design Space to load the gel pen into clamp A. Press the go button and Cricut will write the names for that pen.
- When Cricut stops writing Design Space will prompt you to load the next pen. Switch out your pens and click the go button. Once the writing is complete, the machine will automatically switch to cutting the cardstock.
- Remove the sheet from the mat and proceed to cut all the remaining sheets.
Step Six: Assembling the Shadow Box Frame
To start assembling the frame, fold in on all the perforated lines, including the tabs. Make sure to fold them all the way around. Then, place a dot of glue on each tab and glue it to the side next to it. This will secure the frame and keep it in place.
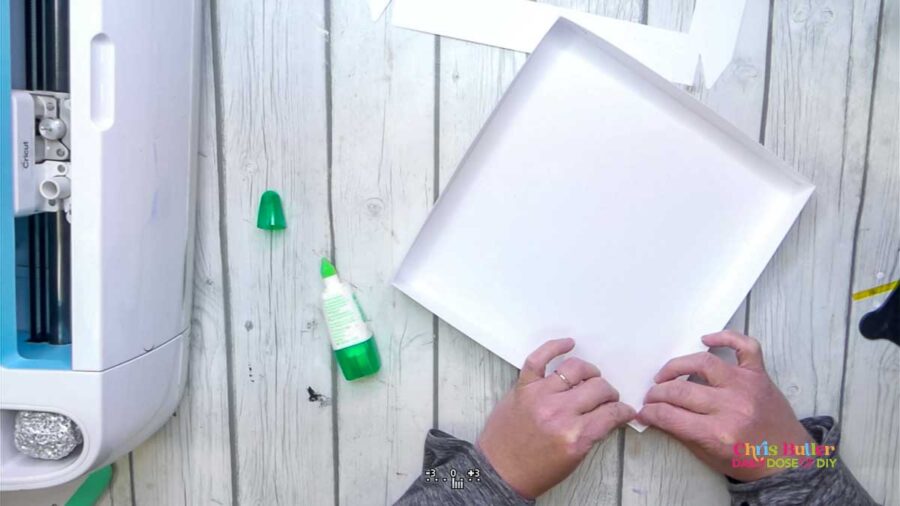
Repeat this process for the top of the frame as well. Once you’re done, the frame will be ready for your shadow box to go into it.
Step Seven: Arranging the Layers of the Tree
Next, we need to arrange the layers of our tree in the right order. If you’re following along in Design Space, you can take a screenshot of the screen or go back to Design Space to see the order in which the layers came in.
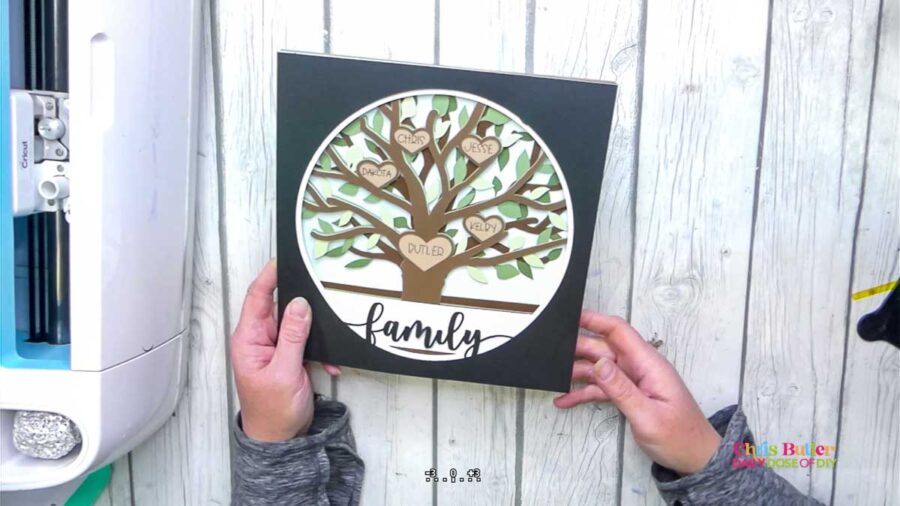
Start with the black family layer and then place the white layer behind it. After that, arrange the layers in the following order: medium brown, light brown, light green, medium green, dark brown, dark green, and finally, the blue layer.
Make sure to get all your layers in the correct order before we start gluing and taping.
Step Eight: Gluing and Taping the Layers
Now, there are two options for attaching the layers together. You can either straight-up glue the pieces together from front to back, or you can add some foam tape to give it a 3D effect.
If you choose to use foam tape, you don’t have to tape all the layers. You can glue some layers and tape others. It’s up to you and the effect you want to achieve.
Start by gluing the family layer to the white background. Add glue to the back of the family layer and flip it over. Then, add it to the next layer, making sure to line up the edges.
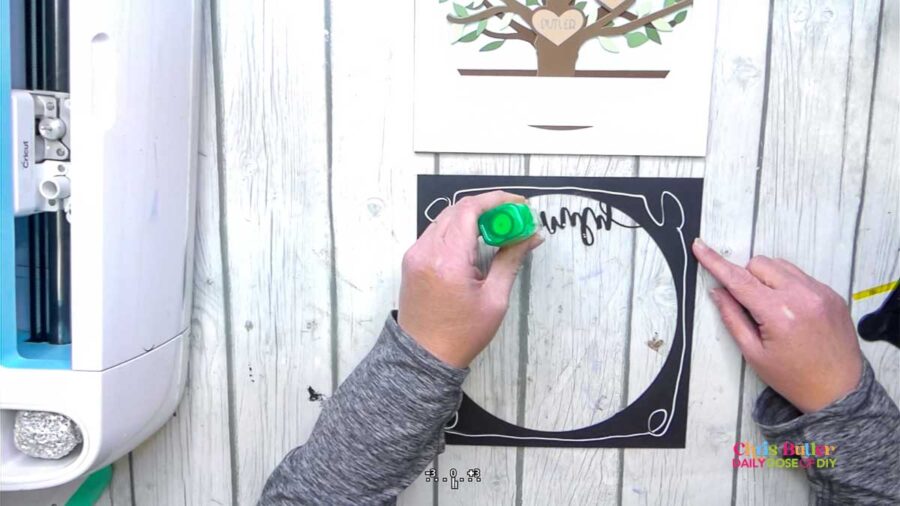
Once it’s set, flip it over and grab your foam tape. Add a strip of tape down each edge. Remove the paper backing from the tape and flip the layer around. It’s easier to line up the tape from the bottom. Take the next layer, which should be the brown tree with the heart outlines, and line up the bottoms. Make sure the sides are even and the bottom is aligned. Then, lay down the brown layer over the tape and press down.
For the next layer, which outlines the hearts of the next layer, use glue instead of tape. Place glue on the back of this layer, making sure to get some on the branches and tree trunk. Then, carefully line up the next layer and make sure everything is facing the right direction before gluing it down.
Continue this process for the remaining layers, I used foam tape on the remaining layers. Important note: do not to add tape to the leaves, as each layer has different leaf placements. Take your time to ensure that each layer is perfectly straight and aligned.
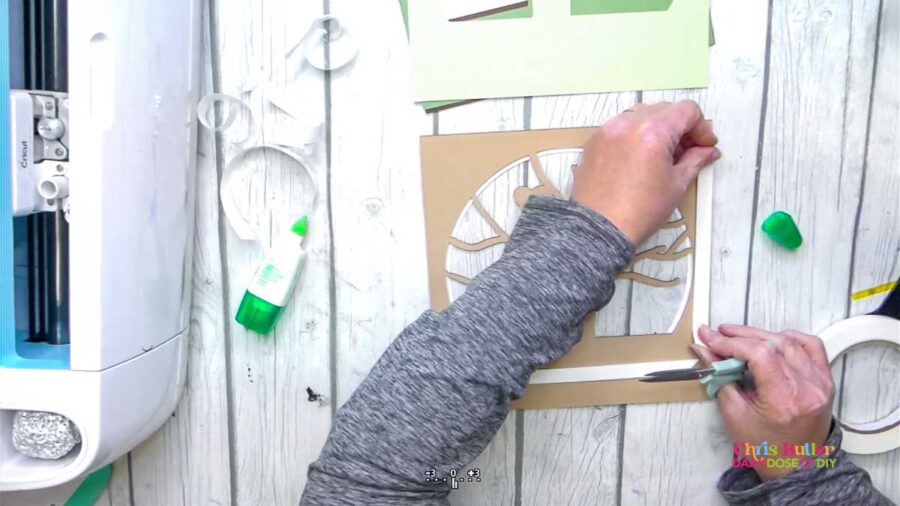
You can add smaller strips or foam dots to the back of the hearts for the layers that have hearts.
When you reach the back of the trees, there are no hearts to add tape to. Again be careful not to add any tape to the leaves, as each layer has different leaf placements.
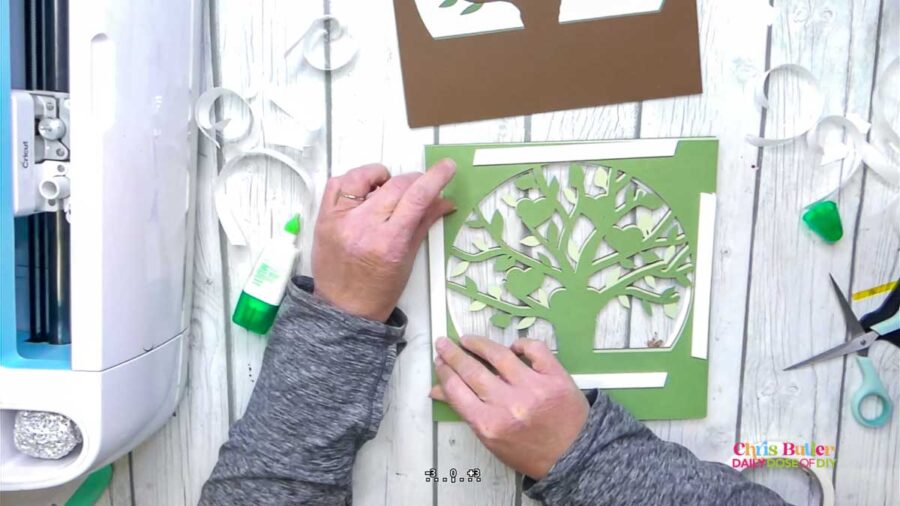
Step Nine: Add Your Layered Family Tree to the Frame
Now that the layered family tree is complete, it’s time to put it into the frame. Flip the family tree over and add a generous amount of glue to the back. Then, place it in the base of the frame, making sure it fits nicely.
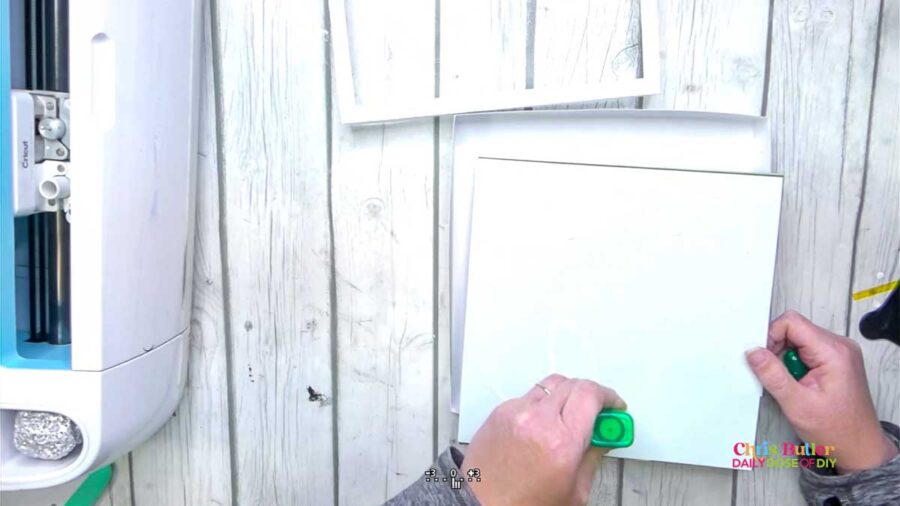
Next, add glue to each edge of the inside of the frame where it will touch the next box. Place the frame top over the shadow box and push the sides together to ensure the glue sets. Allow the glue to dry completely before moving or displaying the framed family tree.
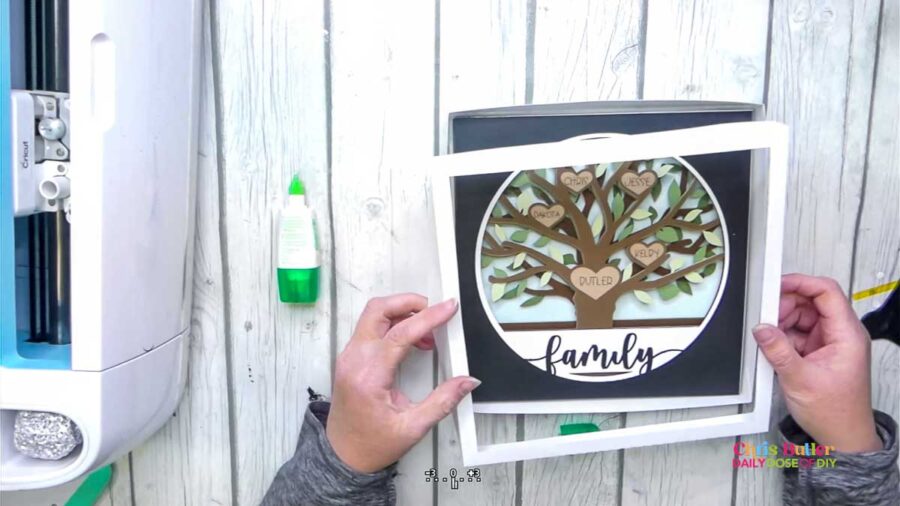
And there you have it! Your layered family tree is now complete and ready to be displayed. This project is a fun way to showcase your family history and create a meaningful piece of art.
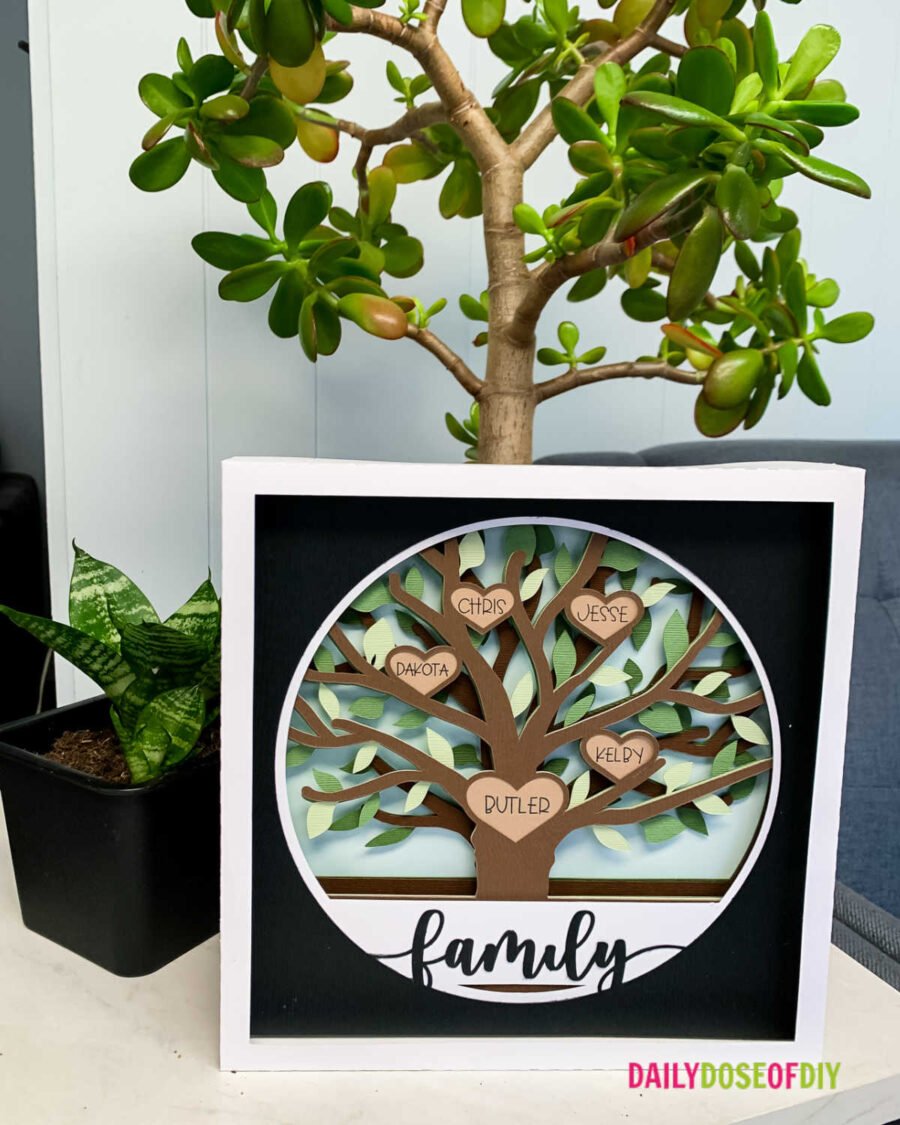
Thank you so much for crafting with me today. I hope you had fun creating your own layered family tree. I can’t wait to see what you come up with. If you have any questions or need further assistance, feel free to reach out. Happy crafting!
God bless.

Chris Butler has helped thousands of crafters learn how to use their Cricut machine without feeling overwhelmed. She is a best selling author and an up and coming designer. For fun Chris enjoys designing SVG Files, hanging out with her family (preferably at the lake), traveling, and volunteering at her church. She is a wife and mom of two crazy fun kids.
Leave a Reply