This post may contain affiliate links for your convenience. If you make a purchase through one of my links I will earn a small commission at no additional cost to you.
Last Updated on August 15, 2023 by Chris Butler
Hey crafty friends! Happy Fall to you 🍁
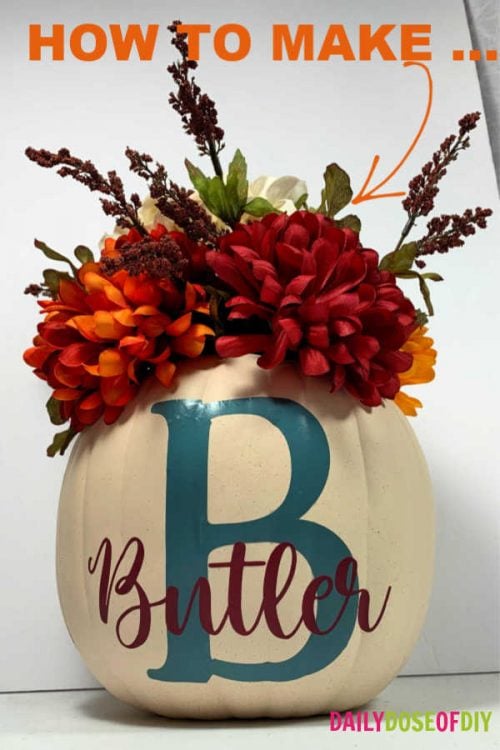
Today you’re going to learn how to make a Personalized Pumpkin and add some flowers to make a beautiful Fall centerpiece.
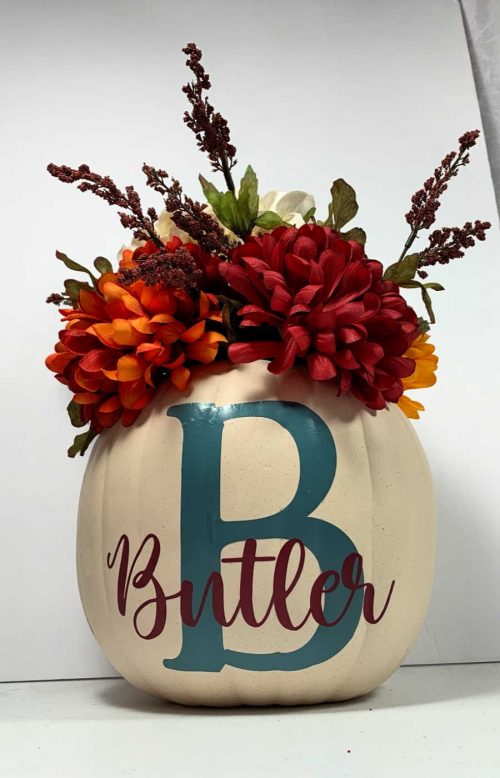
I made this using a faux carvable pumpkin and a Cricut cutting machine to cut the vinyl. In the video just below, I’ll show you how to make the big letter and your last name in Cricut Design Space.
Let’s get started:
Quick Links to Information in This Post
DIY Personalized Pumpkin Supplies Needed
- Faux Pumpkin (grabbed mine from Joanne’s, I believe its a 10″)
- Faux Fall Flowers (Mine are from Joanne’s)
- Vinyl in two colors I used:
- Cricut Sage Blue Vinyl found here
- and Cricut Dark Red Vinyl found here
- Transfer Tape
- Scissors
- Knife
- Weeding Tools
- Cutting Machine (I use the Cricut Explore or Maker)
Personalized Pumpkin How-To Video
Don’t forget to subscribe
Cutting the Vinyl for your Personalized Pumpkin Centerpiece
As I mentioned I use a Cricut cutting machine to cut my vinyl for crafts. If you’ve been wanting to get a cutting machine check out my post on ‘The Best Cricut to get for Beginners’
You’re going to make your name is Design Space. For my last initial, I used AdornS Serif Font. Be sure to measure your pumpkin to see how big you can make this letter.
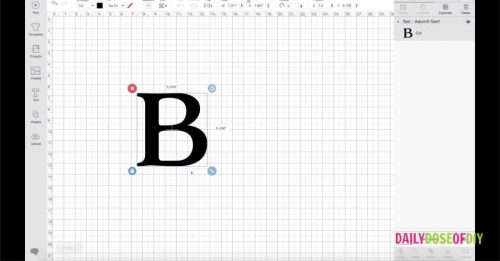
I cut my ‘B’ using the Cricut Sage Blue Vinyl
Next, you’ll need to type out your last name and connect the letters. Don’t forget to weld after they are connected. If your unfamiliar with how to do that in Design Space I cover all the details in the video up above.
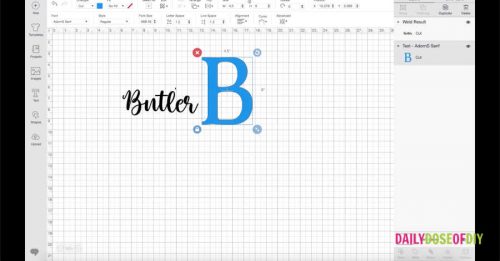
For the last name, I am using the font Europia that I found over here.
After your last name is ready to go you can click the make it button.
If you are using a Cricut Explore turn your settings dial to vinyl. And if you are using a Maker select the type of vinyl you are using from the menu in Design Space.
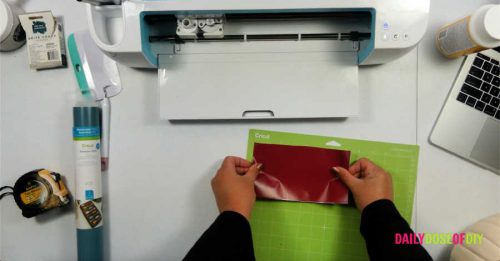
Place your vinyl on the cut mat and load it into your machine. After the Cricut has finished cutting, unload the mat and weed out the extra vinyl with your weeding tool.
Next you’re going to apply the transfer tape to the vinyl. Trim around your name and initial as close as you can to make it easier to transfer to the round surface of the pumpkin.

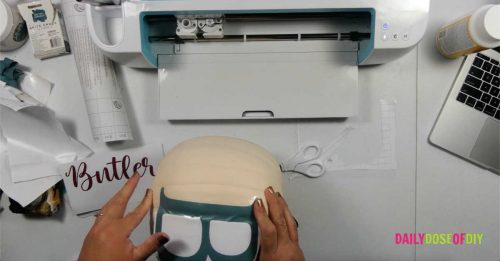
Transfering the Vinyl to the Pumpkin
The bigger the design, the harder it will be to place on a curved surface. And to make it even more difficult letters like ‘B’ and ‘O’ do not like to lay down flat.
That said it’s still possible to get the vinyl on, laying flat and looking nice.
I pull one edge of the backing off first and stick the vinyl down a little bit at a time.
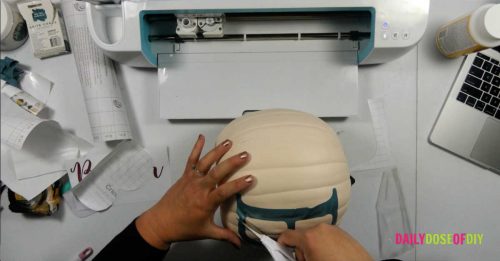
A big part of the issue with curved surfaces is the transfer tape. That’s why we trimmed the vinyl as close as possible.
Another trick is to pull the transfer tape up where the vinyl is already stuck. So you stick down some vinyl and then pull the transfer tape up and then stick down more vinyl and pull up more transfer tape.
This will give you a little more flexibility to get the vinyl smooth.

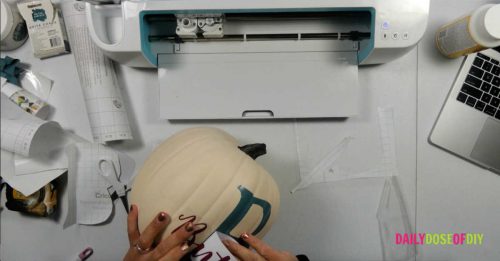
Now those enclosed letters are going to be an extra pain and you may have to cut the vinyl to get it smoothe.
You can try a blow dryer and warm up the vinyl first before you try cutting. Sometimes warming it up will help it stretch where you need it.
I ended up cutting my vinyl at the top and bottom of the ‘B’ where it connects to the side. This allowed it to lay super flat and you can only notice if you’re up close.
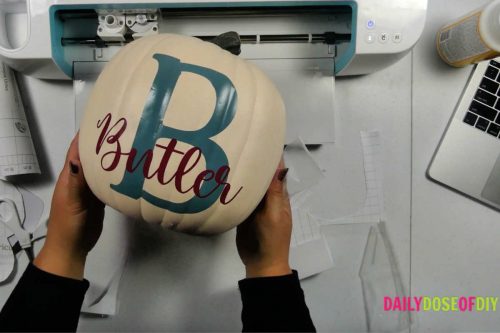
Now for the good news…. The smaller letters of your name will go on much much easier, even if you have a lot of those enclosed letters.
Pull the backing off a little at a time just as you did with the larger letter. You can remove the transfer tape as you go if needed. I didn’t need to for this one, it went on nice an smooth.
Now that our vinyl is on, let’s get to cutting open this pumpkin.
Cutting a Faux Pumpkin
Carving a Faux Pumpkin is a lot like carving a regular pumpkin, just less messy. Carefully use a large sharp knife to remove the top of the pumpkin. I just repeatedly stabbed the knife around the top.
It was a little harder to get the knife through than I expected, so be sure to be extra careful and go slowly.

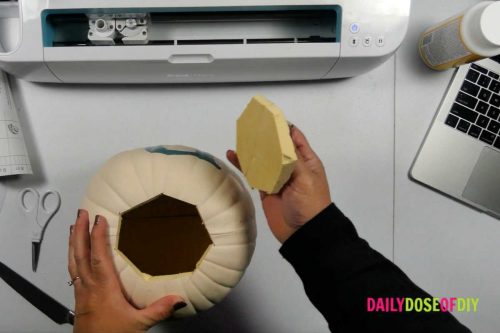
Once you make it all the way around, remove the top.
Adding Faux Flowers to your Pumpkin Centerpiece
I found these flowers at Joanne’s fabric store. I got a few bunches and cut the stems from the bunch to place in the pumpkin.
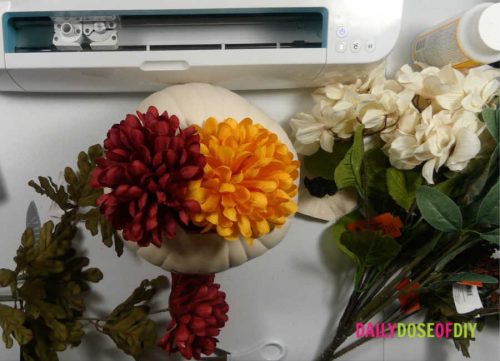
Adding foam to the center of the pumpkin for the stems to stick in is probably a good idea. But I skipped that step and it all worked out. My flowers haven’t’ moved.
Disclaimer: I’m not an expert flower arranger. I remember from watching a master gardener that your potted plants should have a filler, a spiller, and a thriller. So I was aiming for that concept.
The filler is the flowers that will take up the most space and fill out your space. The thriller is flowers or plants that will stand up higher than the rest. And the spillers are plants that will hang down over the edge.
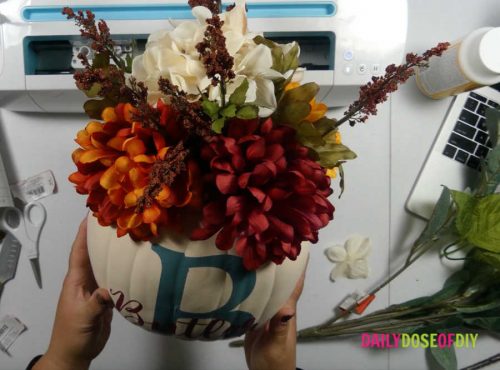
I don’t really have a spiller, but I think it looks good with just the filler and thriller. That’s something for you to keep in mind when you’re picking your faux flowers.
Be sure to follow me on Pinterest for more fun Cricut crafts

Chris Butler has helped thousands of crafters learn how to use their Cricut machine without feeling overwhelmed. She is a best selling author and an up and coming designer. For fun Chris enjoys designing SVG Files, hanging out with her family (preferably at the lake), traveling, and volunteering at her church. She is a wife and mom of two crazy fun kids.
This is so pretty! Thank you for sharing the how to process. Loved all the flower selection and font – just perfect for the fall season!