This post may contain affiliate links for your convenience. If you make a purchase through one of my links I will earn a small commission at no additional cost to you.
Last Updated on November 21, 2022 by Chris Butler
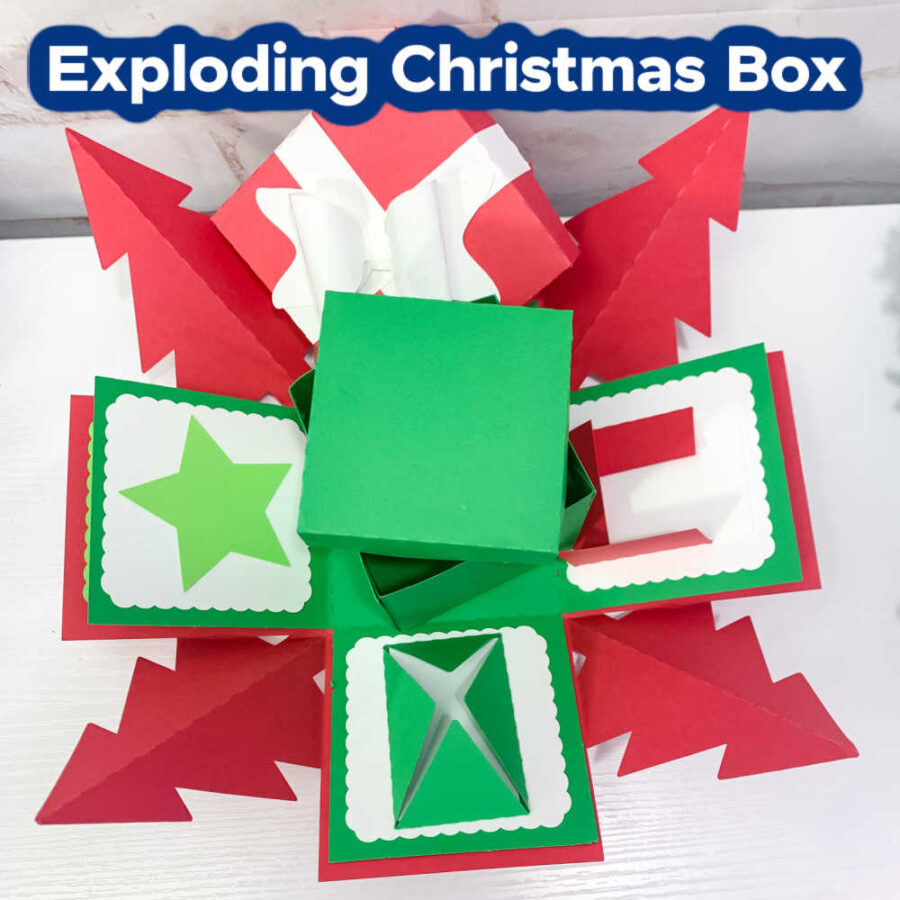
WOW! I can’t believe we’ve finally made it to the final day of our Christmas Craft Kickoff 2022. To celebrate, today we’re making a super fun exploding gift box. These are great to put small gifts, candy, or gift cards in.
Whoever gets this gift box is sure to love all the fun things that just keep popping out! There are also a few places to add some personal notes or other fun surprises. Just thinking about it makes me excited!
Let’s get started!
This Exploding Gift Box Craft is Day 14 of our Christmas Craft Kickoff for 2022!
If you love paper crafts, you’ll love all of these projects, See them all HERE
Quick Links to Information in This Post
Supplies for the Exploding Gift Box
- 12″x12″ 65lb Cardstock in Your Choice of Colors – https://amzn.to/3UW8yIm
- Quick Dry Tacky Glue – https://amzn.to/3tOavuI
- Glue Tape
- Cricut Cutting Machine & Tools – https://amzn.to/3hZM4rA
- Blue Cut Mat (Or Well-Used Green Mat)
- SVG File for the Paper Gingerbread House – More Details Below
Exploding Gift Box Step-by-Step Video Tutorial

Step 1: Download the SVG File and Upload it to Design Space
For help downloading SVG Files and uploading them to Design Space see this post.
The SVG file for the Exploding Christmas Gift Boxes is free from 9:00 am November 21st until 9:00 am November 22nd. Simply fill out the form below, and we’ll email you the file right away.
Or Grab the all-access pass here and get instant access all 14 projects, 25+ SVG Files, step-by-step videos, and printable instructions.
Once your design is on the canvas, there’s nothing you need to do. Just click ‘Make It’.
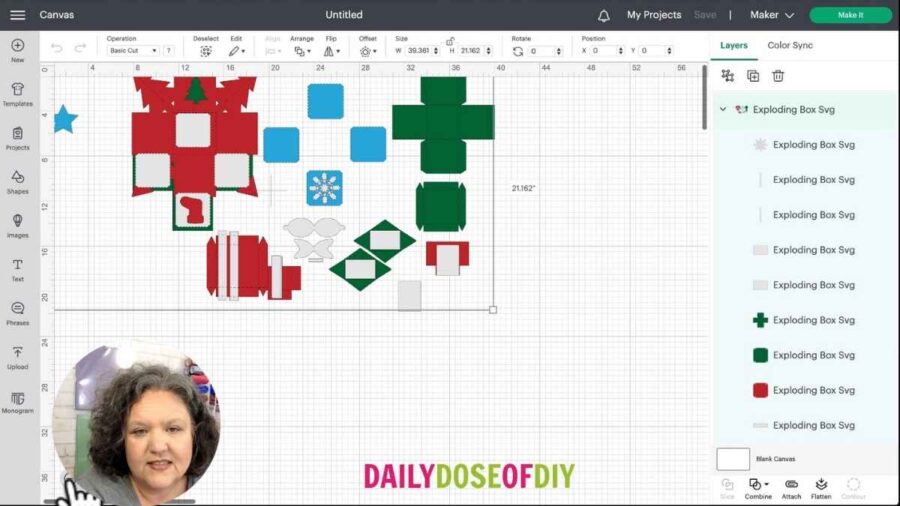
On the mat screen, check to see that Cricut has optimized all of the cutting space on each mat. I had a small piece on mat 2 that I needed to move to mat 1. If that happens, select the object, click the 3 dots in the corner and click ‘Move object’. Select the mat you want to move it to. Then, click ‘Continue’.
Step 2: Cut the Exploding Gift Box Design
Now you’re ready to cut. If you have an explore, set your dial to cardstock. If you have a Maker, select cardstock from your material list (I hope you have it favorited by now after all these fun paper crafts!).
Put the cardstock on your mat, place the mat into your Cricut, and press the flashing green ‘C’ button to load the mat.
Once the design has been cut, flip the mat over and peel it away from the cardstock to prevent curling or tearing.
Before assembling, take a few minutes to sort out all of your pieces.
Step 3: Assemble the Layers
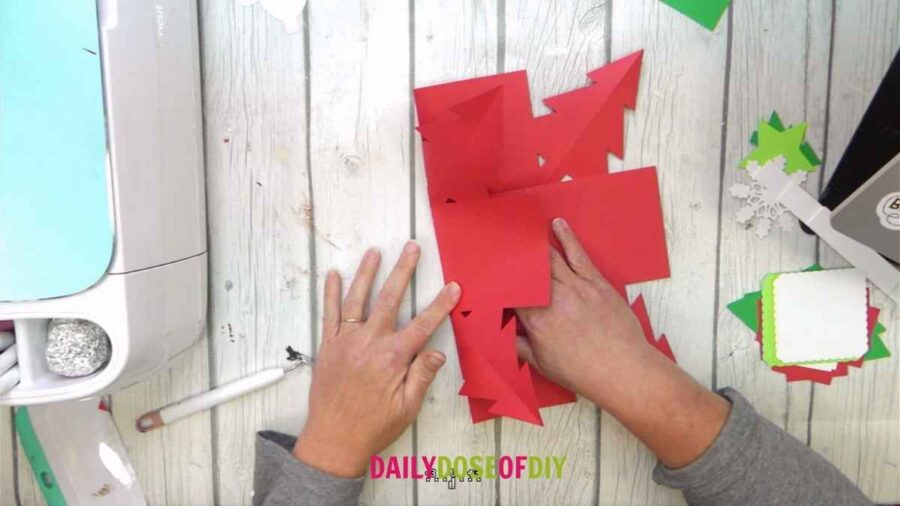
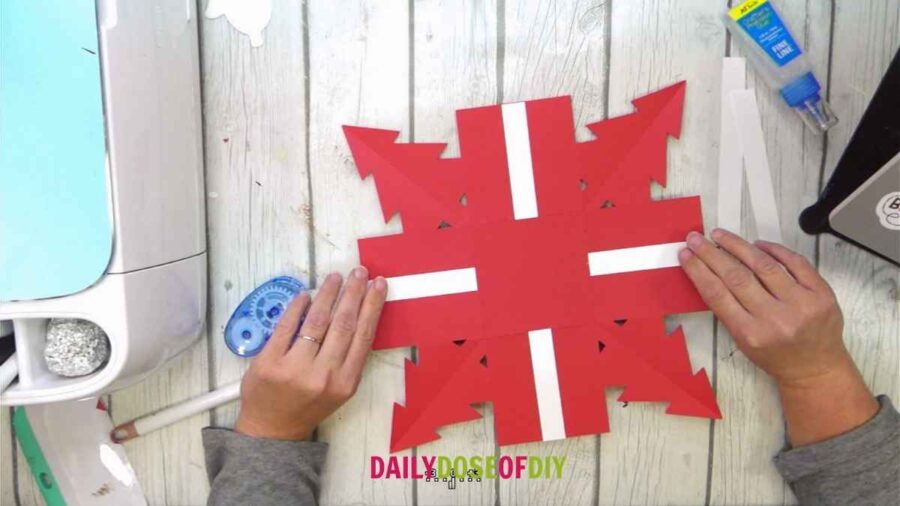
Start creating your box with the base layer. This is the one with trees on it. Begin by folding the trees the opposite way from the side flaps so that the crease is on the inside. Then fold the side flaps in toward the middle.
Next, glue the scalloped squares to each of the sides of the box.
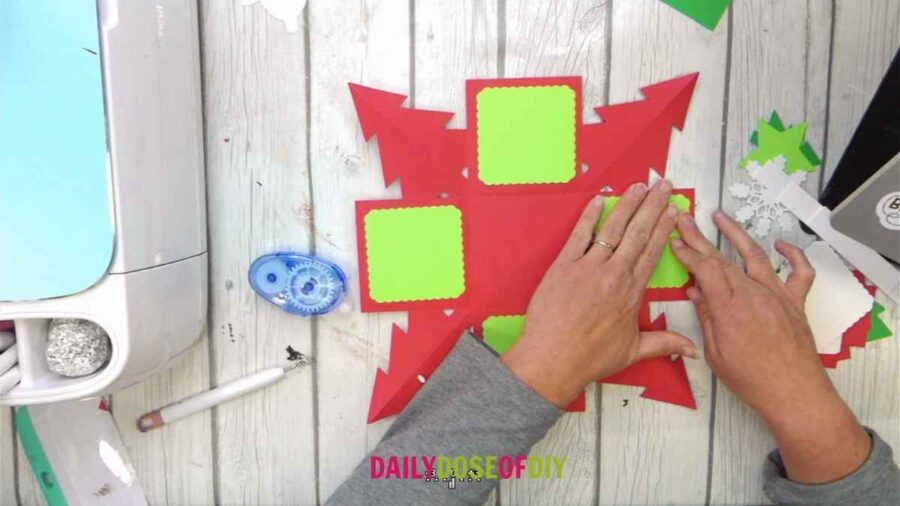
On top of the squares is a great place to add pictures, or you can add the embellishments or write a message on the small envelopes we cut.
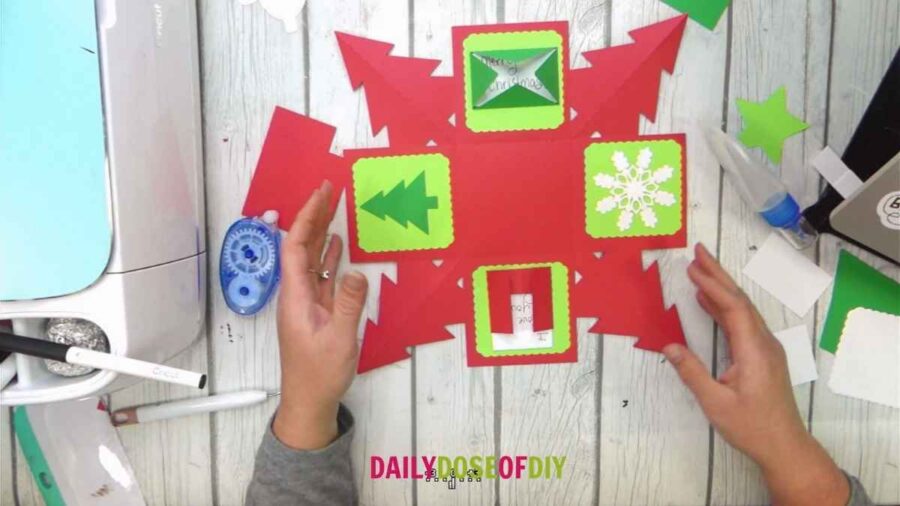
That completes the first layer. To start the second layer, glue the middle of layer 2 to the middle of layer 1.
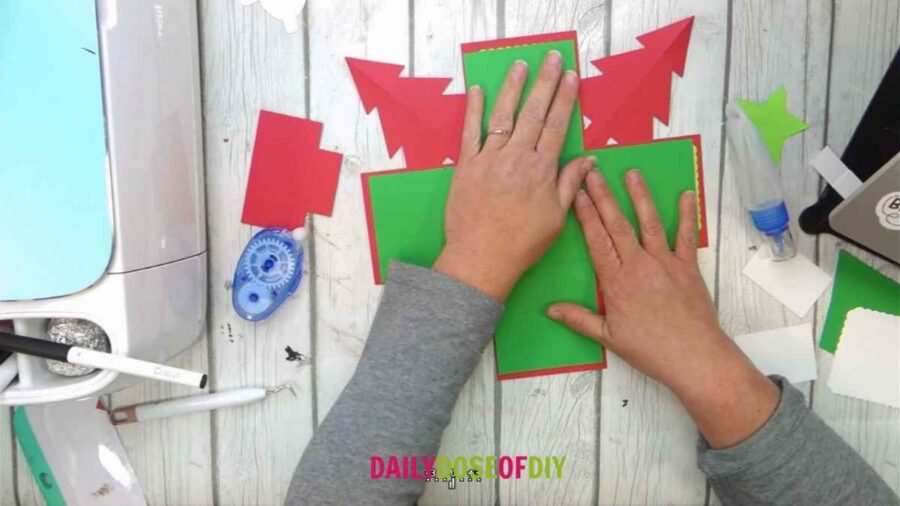
Complete the second layer by repeating the same process as layer one. First, add the scalloped squares, then the embellishments.
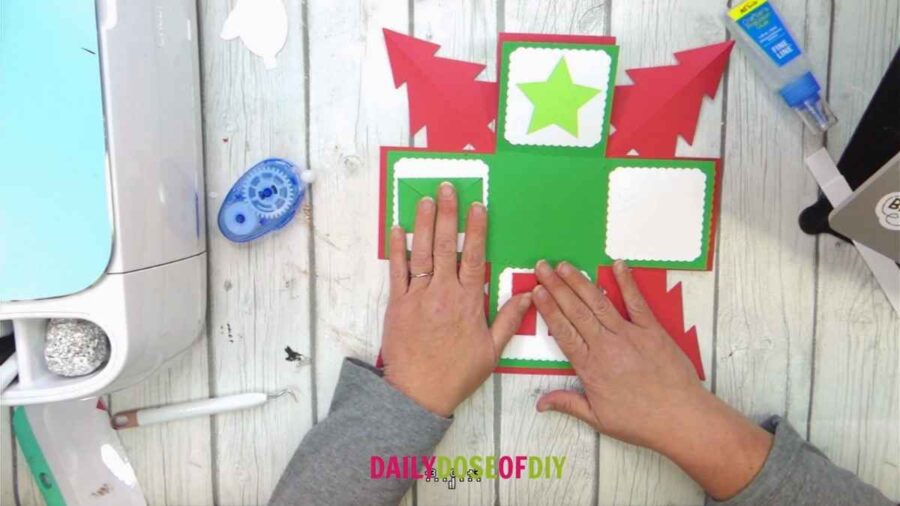
Now, flip the layers over. You have 4 short white strips that are for decorating the outside of the box. Glue them in the center of each side flap.
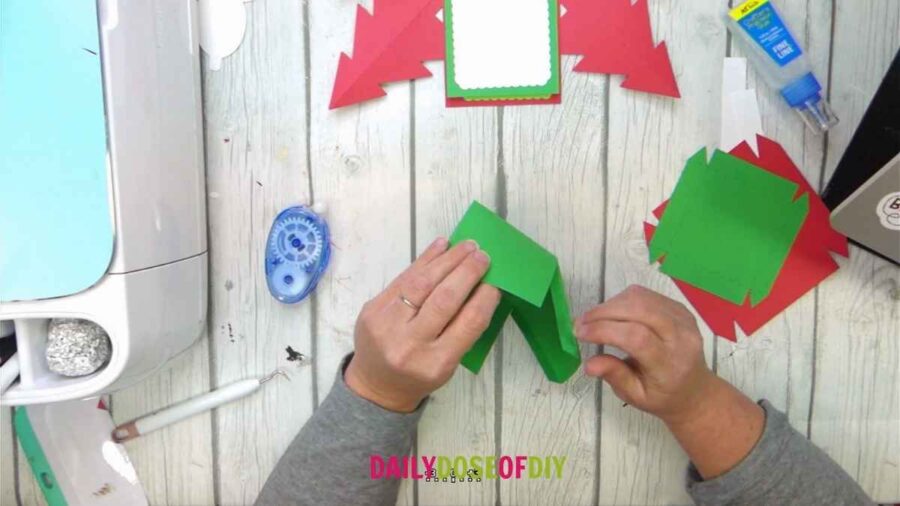
Step 4: Make the Box Insert
Next, we will make a box insert. This is the box that the actual gift will go in. It sits right in the center of all the layers.
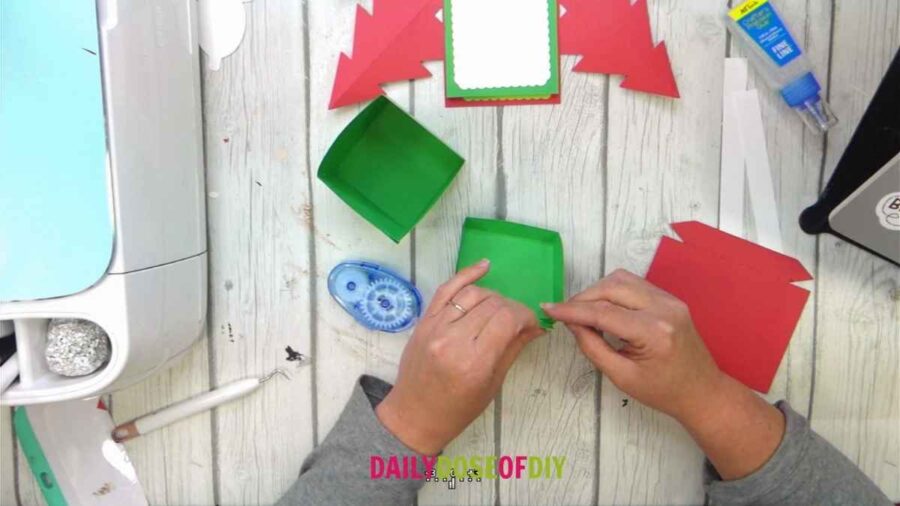
Start by folding all of the sides and connector tabs in toward the middle. Place a strip of glue along each tab and connect it to the neighboring side flap.
Assemble the lid by folding in the sides, placing glue on the triangle tabs and connecting it to the sides.
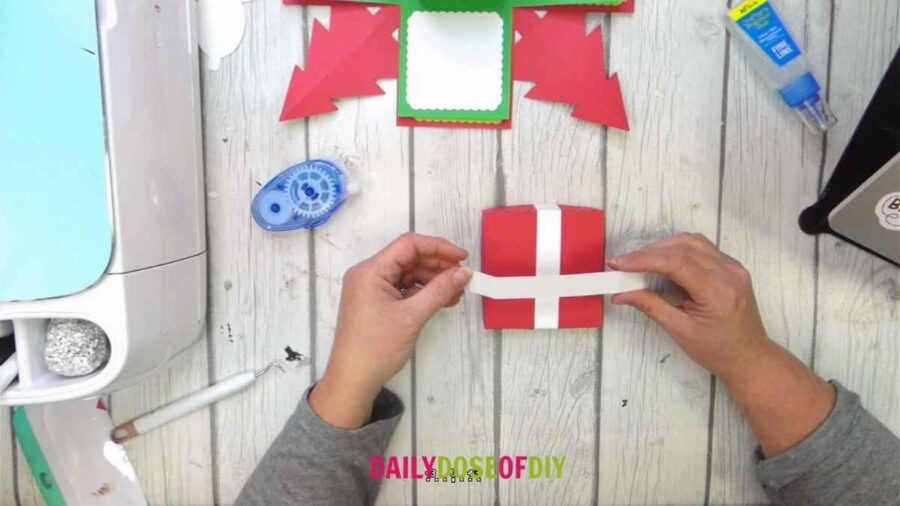
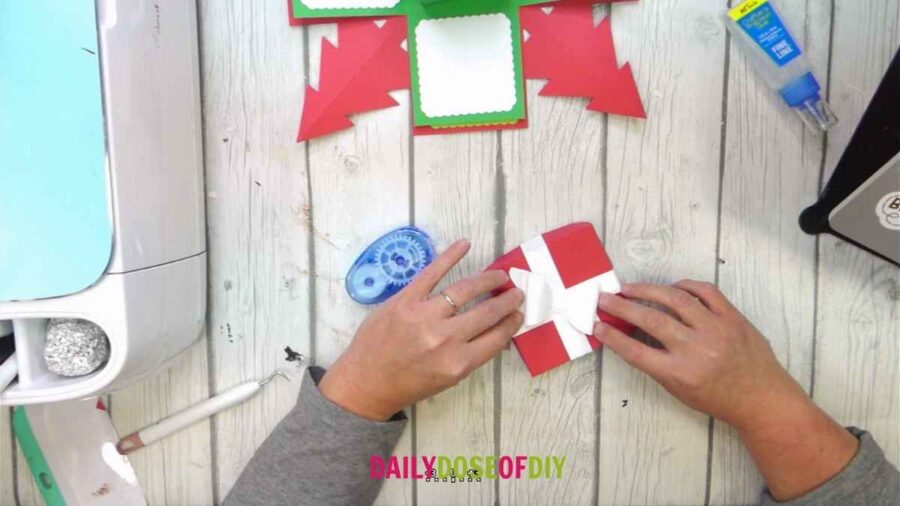
Assemble the outer lid the same way as the inner box lid. Then, glue the remaining 2 long white strips across the top of the lid. Fold them at the perforation to wrap all the way around the sides of the lid.
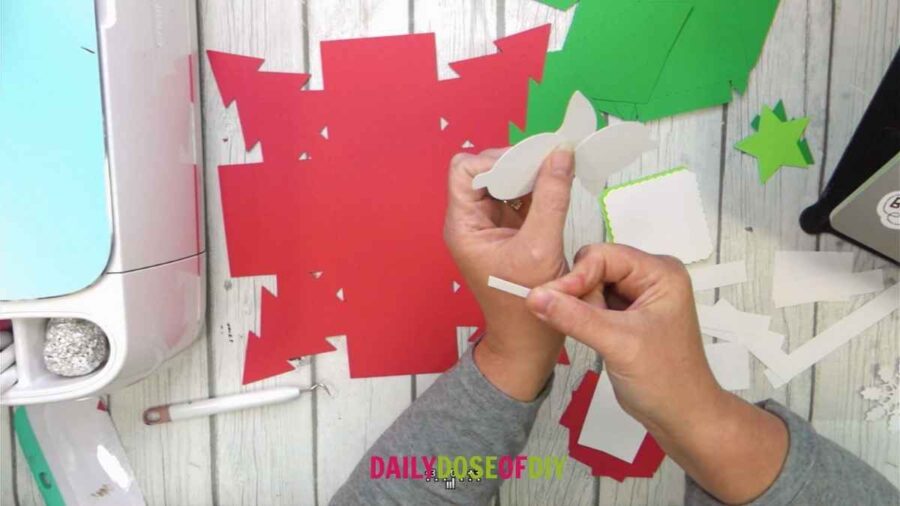
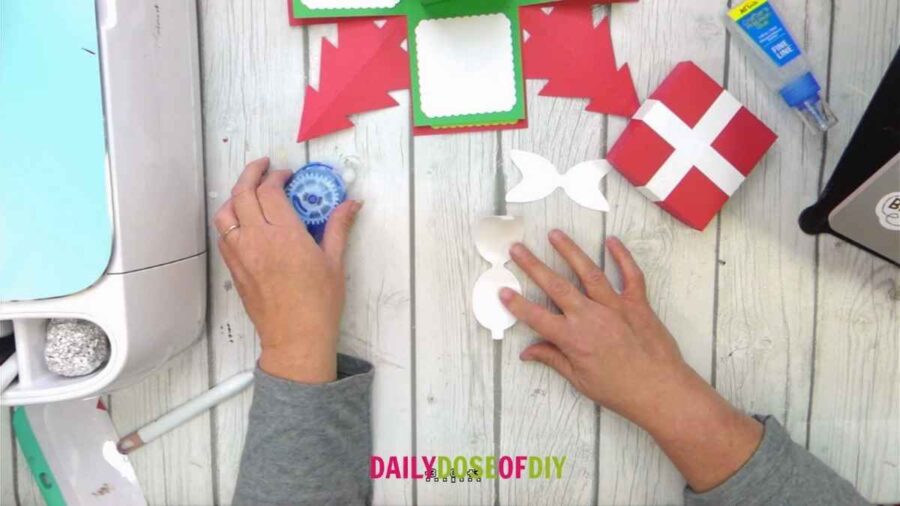
Next, we’ll make the bow. Curl the circular parts of the bow around your finger and glue the small outer tabs to the center. Then, place glue on the thin white strip and wrap it around the center of the bow.
Glue the bow to the bowtie shaped piece, then glue the entire bow to the top of the box.
Step 5: Finish the Exploding Gift Box
Now that all of the pieces are ready, we can assemble the entire box. Start by filling your box insert with the gift of your choice. This size box is great for candy, gift cards, or other small gifts. Then, place the inner lid on the box and set it down in the middle of the exploding layers.
Start folding the inner layers in. This part may be tricky. If you start by folding the trees to the inside, you should be able to get all the layers in.

Once you’ve gotten a hold on all of the layers, place the lid of the box on. Start with one side and work it on all the way around.
Now your box is complete and ready to be gifted!

Thank you so much for joining me for the Christmas Craft Kickoff 2022! I hope you’ve had as much fun as I’ve had. If you’ve missed any projects, you can see all 14 of them HERE.
Remember, this SVG file is only available for 24 hours or you can purchase the all-access pass to gain entry to all 14 days of the craft event with printable PDF instructions, ad-free videos, and 30+ SVG files!
Thanks for crafting with me! I hope you have an incredible holiday season.

Chris Butler has helped thousands of crafters learn how to use their Cricut machine without feeling overwhelmed. She is a best selling author and an up and coming designer. For fun Chris enjoys designing SVG Files, hanging out with her family (preferably at the lake), traveling, and volunteering at her church. She is a wife and mom of two crazy fun kids.
Thank you for all the gifts. They are all fantastic and I have a few uploaded to Design Space ready to cut.
Have a Happy Holiday season