This post may contain affiliate links for your convenience. If you make a purchase through one of my links I will earn a small commission at no additional cost to you.
Last Updated on November 21, 2022 by Chris Butler
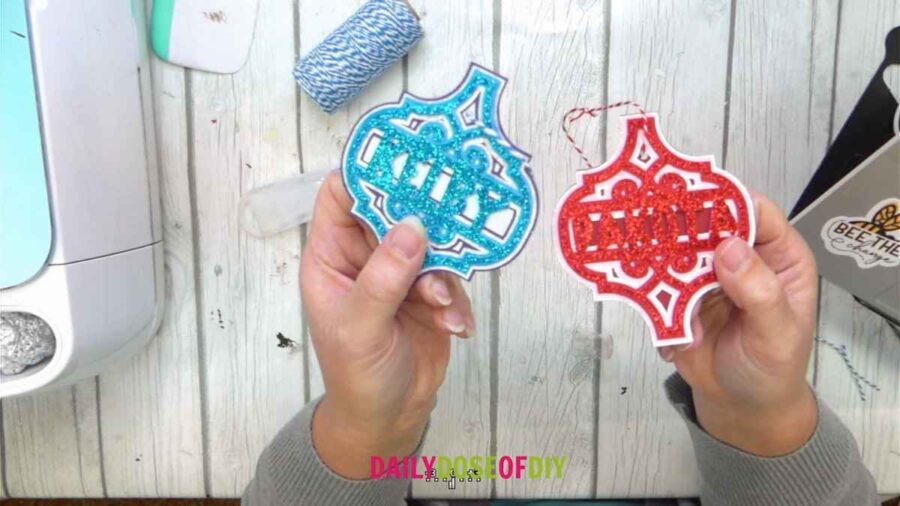
It’s Day 13 of our Christmas Craft Kickoff and today we’re keeping it simple, making arabesque name tags. Although these name tags are easy to make, they are such a beautiful addition to a gift bag, or your Christmas tree.
I’ll show you how to add text to personalize the provided SVG file. I love how special these name tags make gift giving!
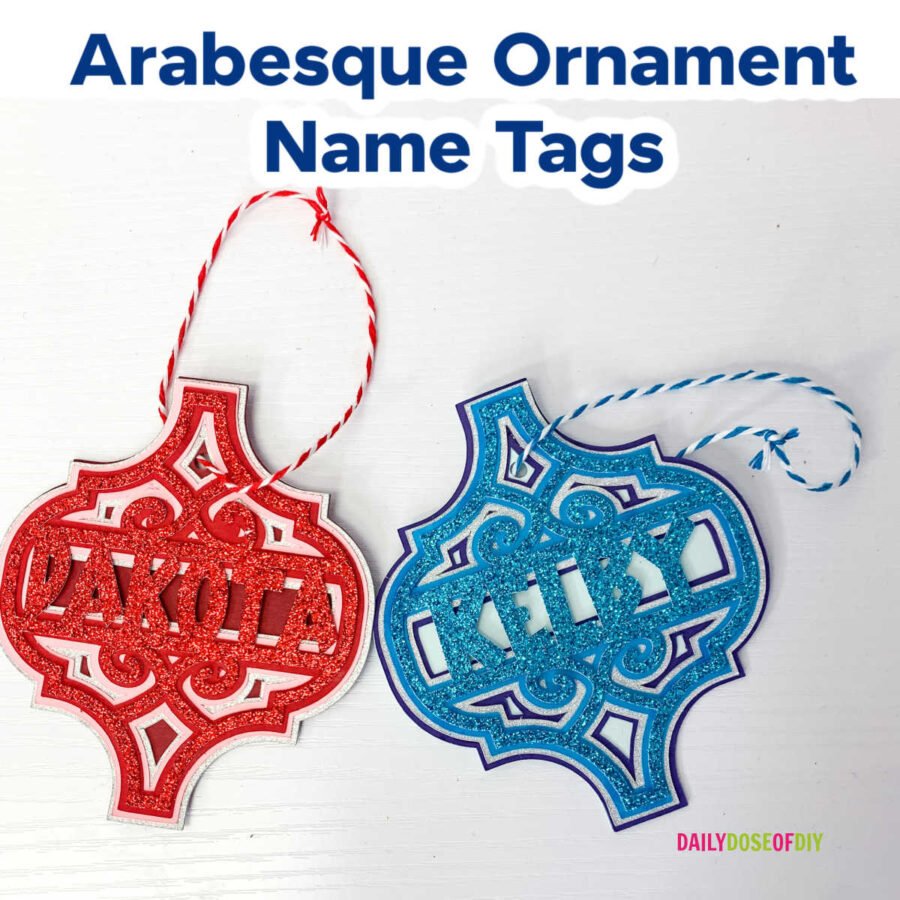
This Arabesque Name Tag Craft is Day 13 of our Christmas Craft Kickoff for 2022!
If you love paper crafts, you’ll love all 14 of these projects! View them all HERE!
Quick Links to Information in This Post
Supplies for Arabesque Name Tags
- (5) Sheets of 65lb Cardstock in Complimenting Colors
- Fine Tip Glue
- String
- Cutting Machine & Tools
- Blue Cut Mat (Or Well-Used Green Mat)
Arabesque Name Tags Step-by-Step Video Tutorial
Step 1: Download the SVG File and Upload it to Design Space
For help downloading SVG Files and uploading them to Design Space see this post.
The free SVG file for the Arabesque Name Tags has expired. You can still grab it as part of the instant access pass!
Or Grab the all-access pass here and get instant access all 14 projects, 25+ SVG Files, step-by-step videos, and printable instructions.
Once your design is on the canvas, select all the layers and resize the name tag to be whatever size you want. Then, ungroup the design and pull the top layer over to the side.
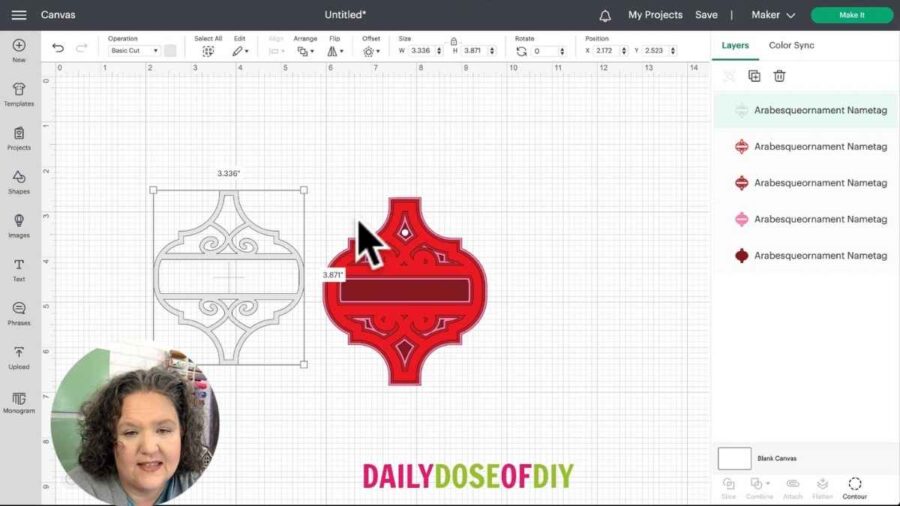
Add text from the side menu and type the name you want on the tag. To change the font, select the drop down from the top menu and select from system fonts. A chunkier font will help the name tag keep its structure and won’t rip or tear easily.
Pull the text over to the name tag and resize it to fit between the horizontal lines. Make sure it is touching the top and the bottom line.
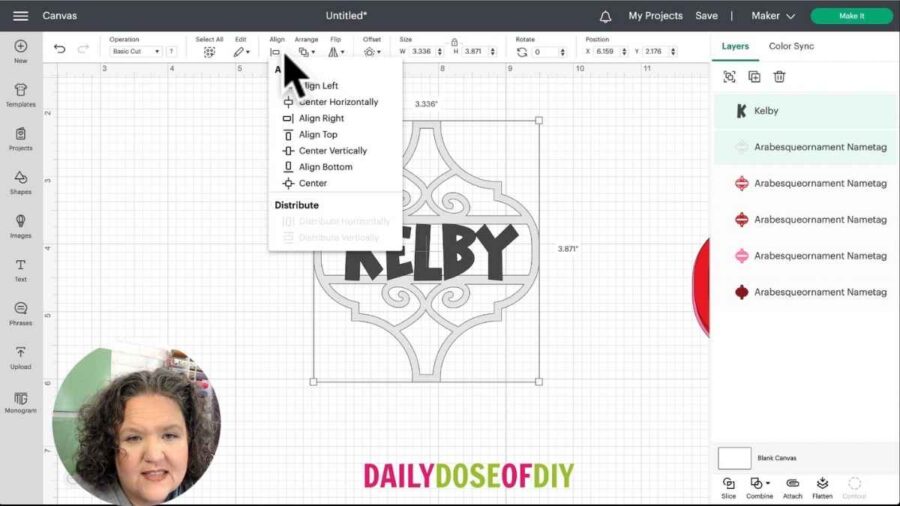
Select both the text and the name tag. From the top menu, select ‘Align’ and from the dropdown click ‘Center Horizontally’.
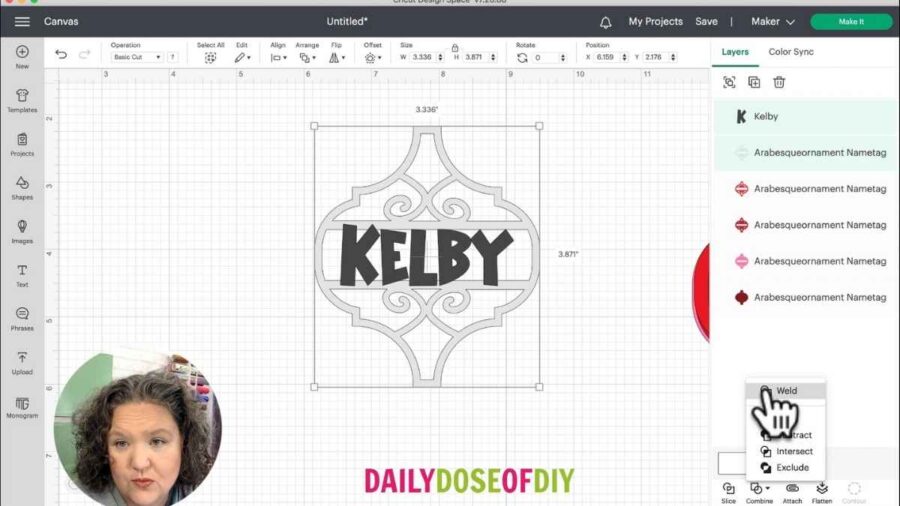
With both layers still selected, click ‘Weld’ from the bottom menu. Or if Design Space has already updated for you, click ‘Combine’ first, then you can either use ‘Weld’ or ‘Unite’. Weld will not allow changes, whereas Unite will allow you to click the text and change it if you wish.
Once your design looks that way you want it to, click ‘Make It’.
Step 2: Cut the Name Tags
If you have an Explore, turn your dial to cardstock. If you have a Maker, select cardstock from the materials list.
Put the cardstock onto your mat, place the mat into your Cricut, and press the flashing green ‘C’ button to load the mat.
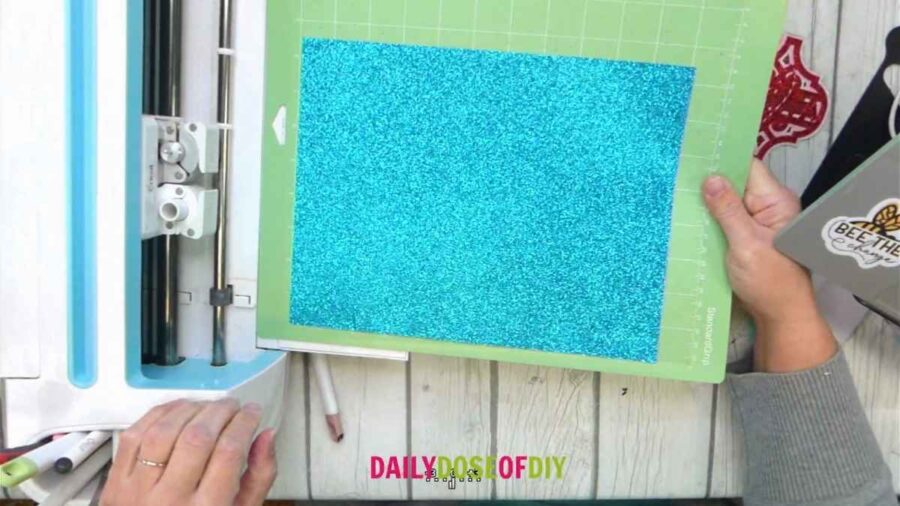
To remove the cardstock from your mat, flip it over and peel the mat away from the cardstock to prevent curling and tearing. Remove the small left behind bits from the mat with your scraper tool.
If any small pieces get stuck in your design, you can poke them out with your weeding tool.
Once all of your layers have been cut, arrange them in the order that they will be put together.
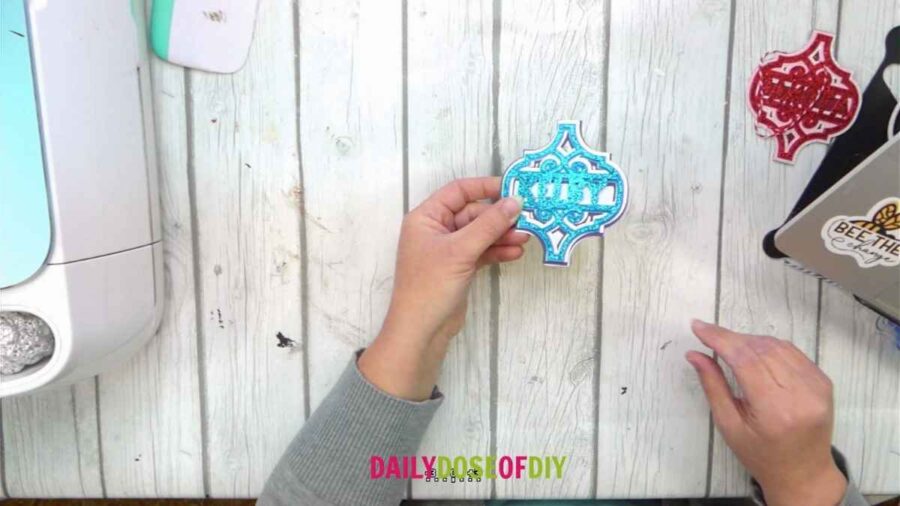
Step 3: Assemble the Name Tag
Turn over the top layer of your name tag, place glue all around the edges, and place it onto the second layer. If you’re using a liquid glue, you’ll have just a moment to slide it around to get it perfectly centered.
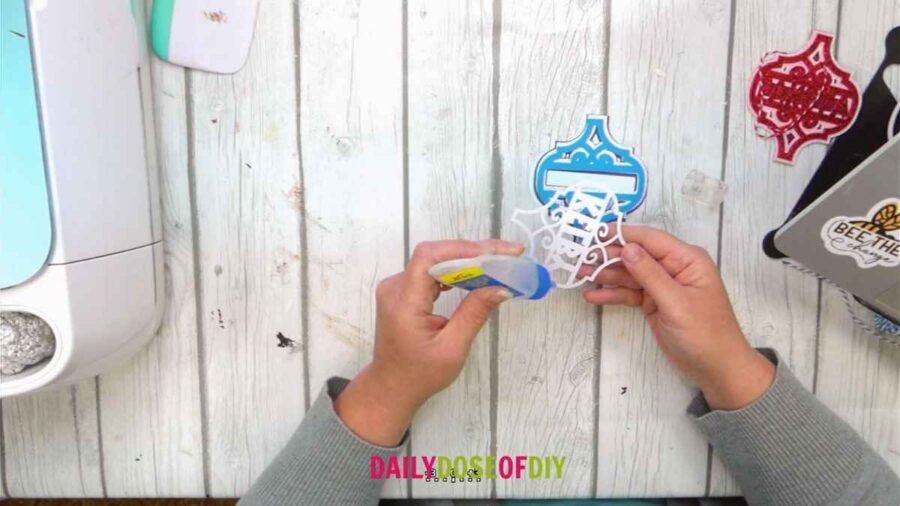
Repeat this process for every layer until your name tag is complete.
To finish, cut a piece of string, thread it through the top hole and tie it off for a hanger.
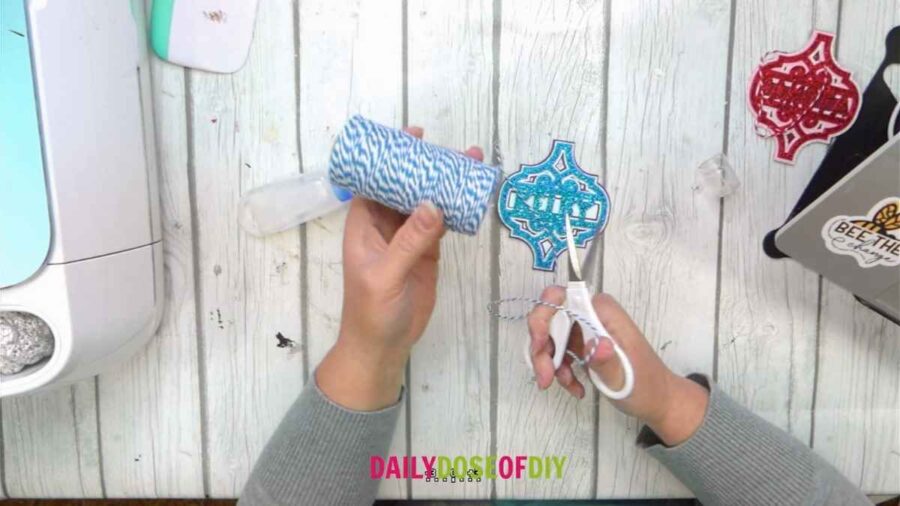
And that’s it! Simple, right? These name tags can be tied to gift bags or taped down. You can also use them as an ornament. There are so many possibilities!

Chris Butler has helped thousands of crafters learn how to use their Cricut machine without feeling overwhelmed. She is a best selling author and an up and coming designer. For fun Chris enjoys designing SVG Files, hanging out with her family (preferably at the lake), traveling, and volunteering at her church. She is a wife and mom of two crazy fun kids.

Leave a Reply