This post may contain affiliate links for your convenience. If you make a purchase through one of my links I will earn a small commission at no additional cost to you.
Last Updated on August 11, 2023 by Chris Butler
Monograms are always super popular. And if you sell crafts you know personalized products are in high demand. So today I’m going to show you how to make a free Circle Monogram on your Cricut machine.
I covered split level monograms along with a bunch of other text editing tips in design space in this post. We are going to be using some of the same techniques to make a free circle monogram.
Let’s get to it.
PIN IT
Grab a Free Circle Monogram Font
The first thing we need to do is download a circle monogram font. If you head over to dafont.com you can grab the Monogramos font for free. Keep in mind it’s free for personal use, so if you are going to be selling your end products you will need to pay for a commercial license.
If you’ve never downloaded your own font before, I cover how to do that in the text editing post found here.
It’s important to remember that if you have design space open when you download the font, you will have to close design space and re-open it for the new font to show up.
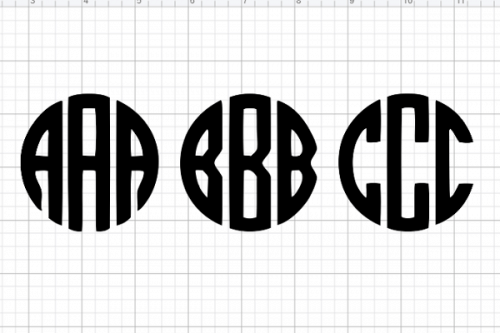
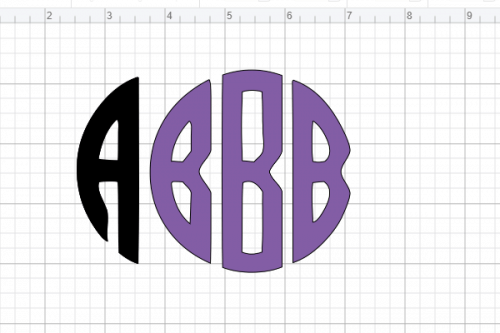
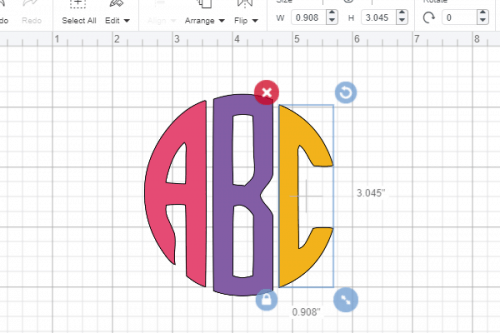
Now that you have the free circle monogram font in design space, you’ll notice that when you type one letter, such as ‘a’, you get all three parts to the monogram.
Next, I’ll show you how to fix that.
Separating the Circle Monogram Font
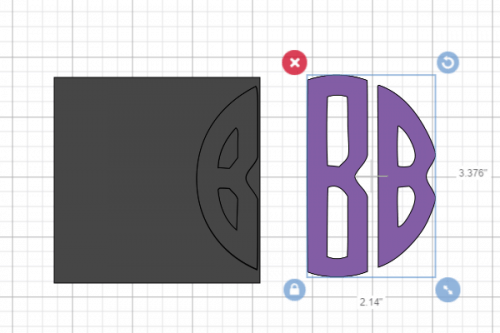
Start with typing the first letter in your monogram using the circle monogram font. Be sure to use lower case letters. Next you are going to click on shapes over on the left side and select the square.
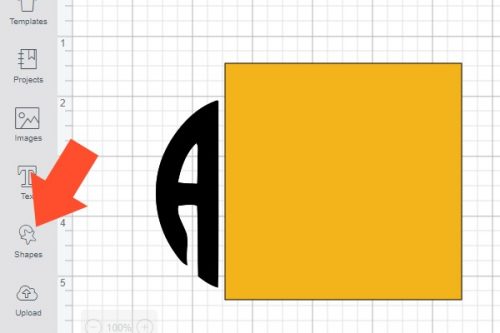
Size the square large enough to cover the last two letters in the monogram font, leaving just the first letter.

Now you are going to select both the font and the square. Once they are both selected the option to slice will appear on the bottom right menu. Click on Slice.
Now it will look like this.
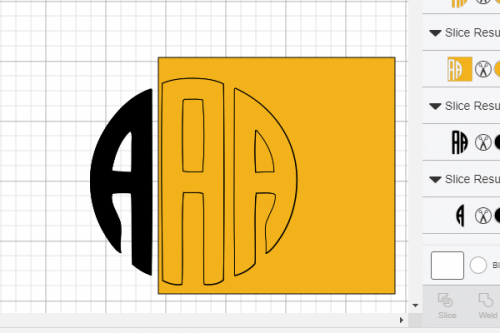
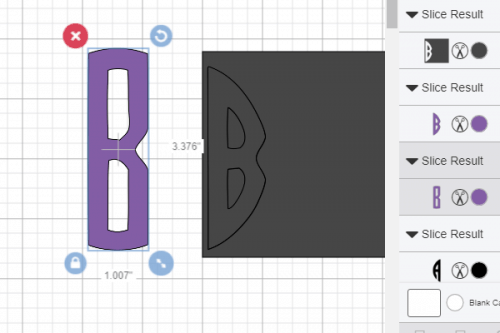
You will be able to select that first ‘A’ now and move it over. Then select all of the rest and hit the delete button.
We are going to repeat this process for both the center and the last letter of the monogram.
So select text and type the second letter of your monogram. Use the guides to make it the same size as your first letter.
Go back to the left menu bar and click on shapes and then select square. Size the square big enough to cover the first letter. We are going to have to slice the first and last letter one at a time since design space will not allow us to both at once
So Slice the first letter out. And then make another square and slice the last letter out, leaving you with just the center letter for your monogram.
Wooohoo just one letter left to go! Type in the last letter of your monogram and repeat the steps listed above to slice out the first two letters, leaving you just the last letter.
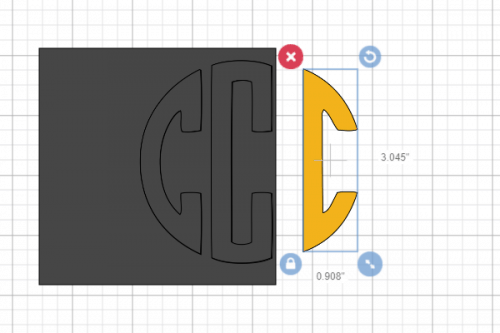
Ok now we have all of the letters we need, let’s put it together.
Free Circle Monogram Frame
Ok the letters for your monogram are separated and now we are able to move them around. Click and drag the letters back together so they once again form a circle.
And once they are all together be sure to select all of the letters and click the attach button. This will keep them together when they go to the cut mat.
But what is a circle monogram without a frame?
I’ve designed four frames for circle monograms that I have available in my shop. But since you’re an amazing reader, I’m going to give you a code to get them free.
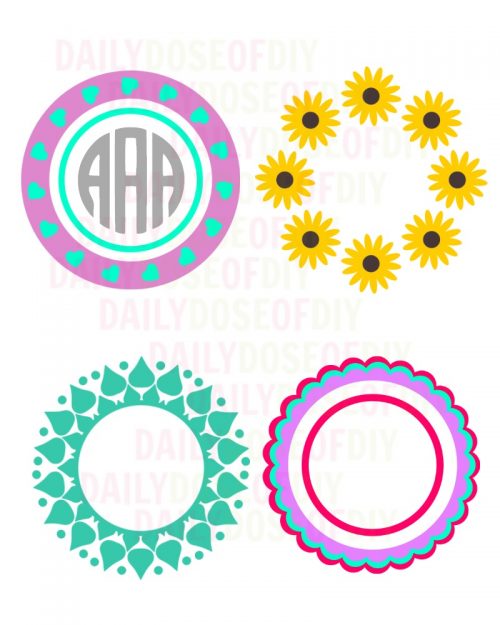
To grab the free circle monogram frames click this link. The discount will automatically be applied when you checkout. Or use the code FREEFRAME if needed.
After you get the frames downloaded to your device, upload them to Cricut design space. If you need help with downloading and uploading SVG files see the instructions on this post.
After you have the frame you want in design space, you can resize your monogram font to fit inside.

Then you’re ready to click the make it button!
Now that you have the step by step instructions for making a circle monogram, it’s not that hard, is it? Comment down below and let us know what you will be monogramming in the future.
Thanks for stopping by and be sure to follow me on Pinterest for more fun Cricut tutorials and crafts!


Chris Butler has helped thousands of crafters learn how to use their Cricut machine without feeling overwhelmed. She is a best selling author and an up and coming designer. For fun Chris enjoys designing SVG Files, hanging out with her family (preferably at the lake), traveling, and volunteering at her church. She is a wife and mom of two crazy fun kids.
I will be monogramming sweatshirts for my niece and her girls and a few tumblers for my family. Thank you this was so helpful! I did not realize how involved it would be but I am sure it will get easier .
Thanks Karen! It does get easier the more you do it.
?????????????????
Thank you for providing this in a clear, easy to understand, step by step process! So much easier in my opinion than a YouTube video. I could follow along and do it a step at a time in Design Space as I read the instructions. Wow! I’m so energized to monogram something now!
I love your site, but do have a question, we are wanting to put the state of WV on a flask and my brother only wants first and last intials in the center of the state. 3 of his grooms men do not have mddle initials. Can we still curve somehow and make it look nice. Any help or guidance would be great.
This is my first project I am attempting. I am using the ‘hearts wreath’ circle monogram. My question is, will I be putting this monogram together in 3 parts when placing it on my item? I did not attach it like I did with the initials. Does this make sense? This is all foreign to me. Thanks for your help.
Excellent! Thank you!