This post may contain affiliate links for your convenience. If you make a purchase through one of my links I will earn a small commission at no additional cost to you.
Last Updated on October 31, 2022 by Chris Butler
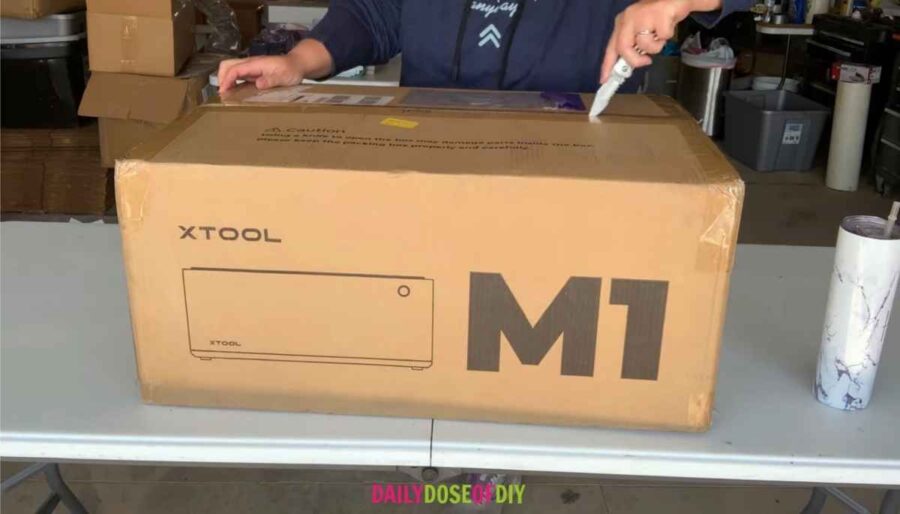
Have you thought about getting a laser cutter? Check out this xTool M1 review to see if it’s the right laser machine for you. The xtool M1 is a unique hybrid that’s a laser cutter and engraver, and it has a blade cutting tool for materials like vinyl and leather.
Will this all-in-one laser machine replace the Cricut or Silhouette and do more? I was full of hope when I got it. Let’s check and see:

Quick Links to Information in This Post
xTool M1 Laser Engraver & Cutter Features
First, let’s see what kind of features the xTool M1 has:
- The 5w machine will cut wood up to 4mm (about 1/8″) thick in a single pass – 8mm (1/4″+) for the 10w machine
- It will engrave objects up to 1/2″ thick out of the box (it will do more with add ons)
- It also has a blade cutter allowing you to cut vinyl to make DIY t-shirts
- It’s a desktop machine perfect for small spaces
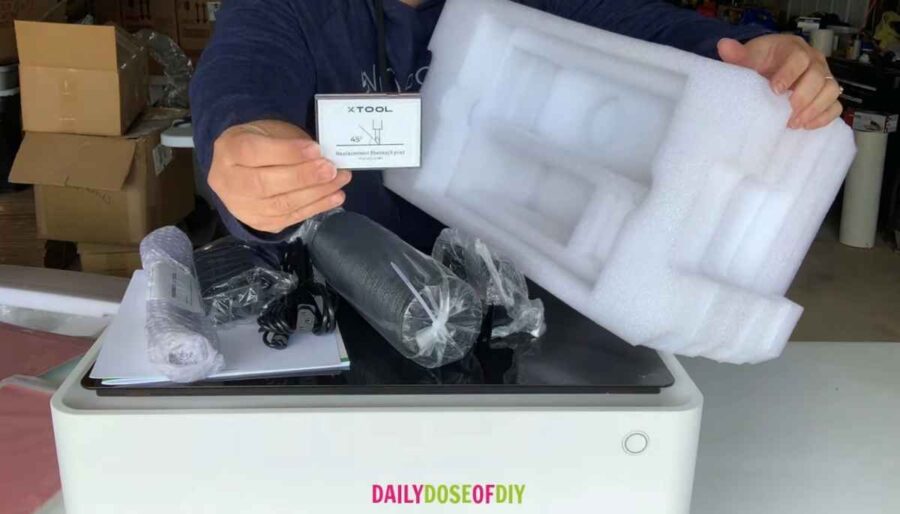
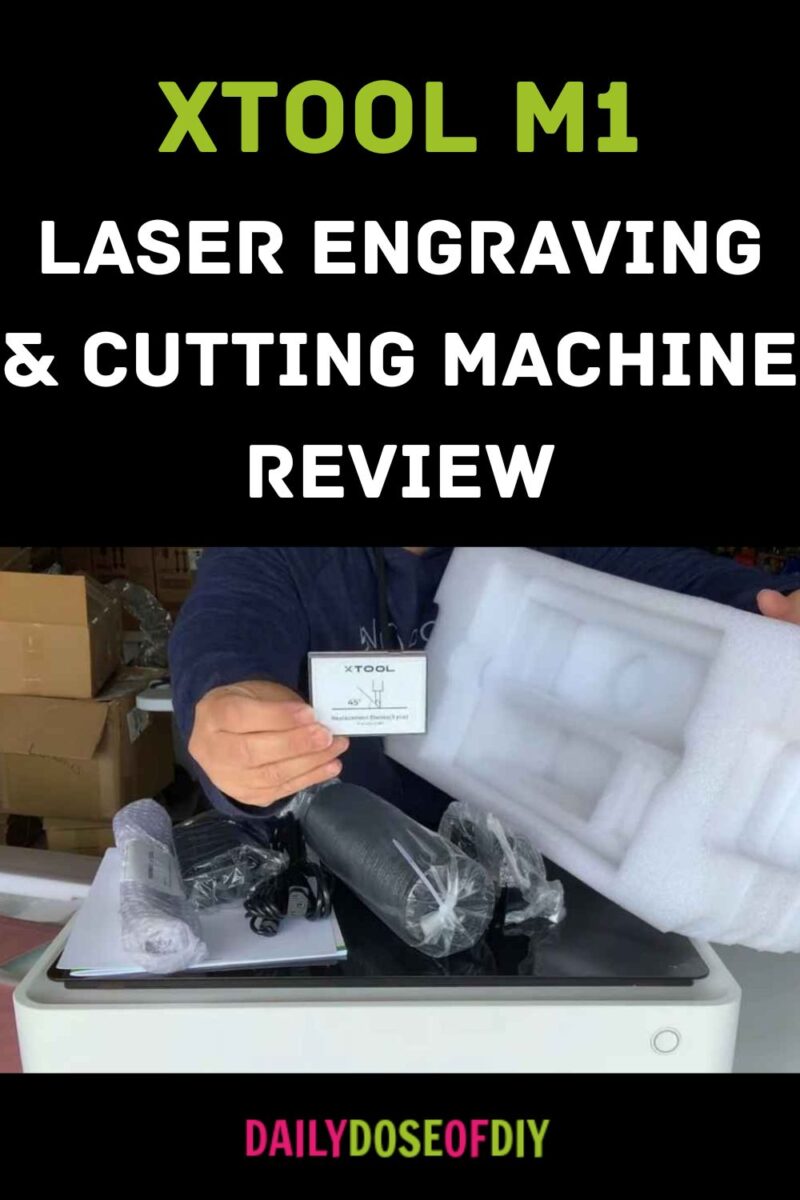
xTool M1 What’s Included in the Box
You’ll have a couple of options when purchasing the xTool M1. In the base package (Found Here) you’ll get:
- The Laser Machine
- Exhaust Hose
- Clamps
- 5 Cutting Blades for the Blade Cutter
- (2) Cut Mats
Plus, Sample Materiels:
- Sheet of Basswood
- Sheet of Vinyl
- Piece of Faux Leather
- Sheet of Sticker Paper
- Metal Dog Tag
For a little more you can get the package that includes the rotary attachment, allowing you to engrave tumblers. Find it Here.
Want to see more? Check out the video below.

Laser Set Up
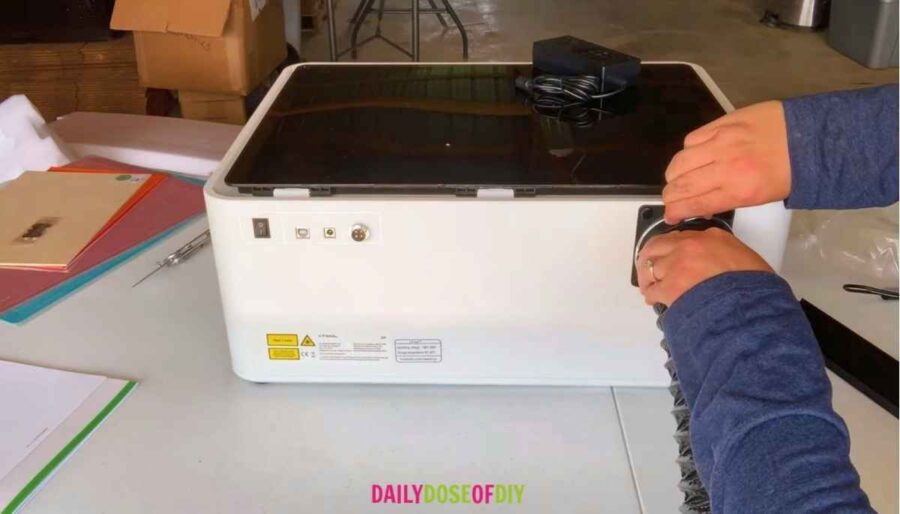
Setting up the laser is pretty straightforward. Plug in your power cord. There is a USB to connect to your computer. You can also connect via Bluetooth, and they have an app for mobile devices, so it will work on PC, Mac, IOS and Android.
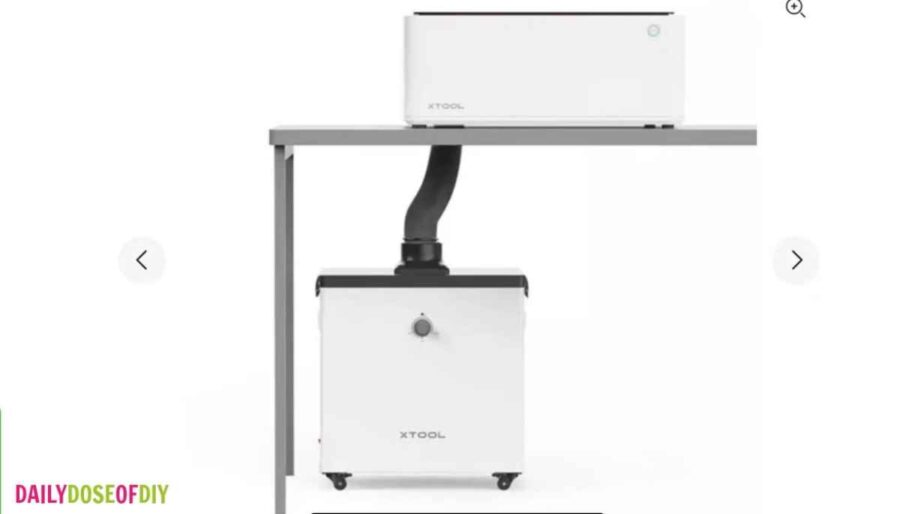
Next, attach the exhaust hose. You don’t even need a screwdriver for this step, just hand tighten the bolts on the plate and clamp on the hose. Run the other end of the hose out a window to exhaust the toxic fumes.
xTool also has an add-on hepa filter that will eliminate the need to run the exhaust out the window for an additional price. You can find it here.
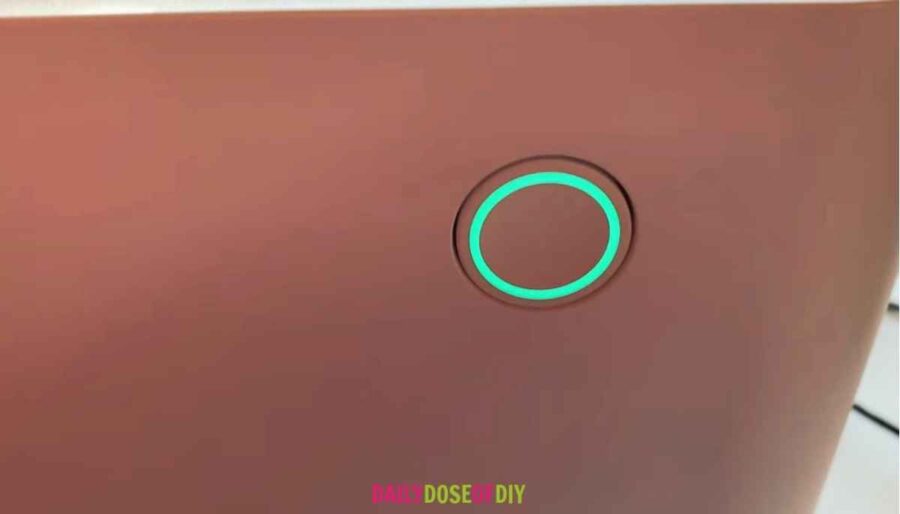
The power on and off switch is on the back and the Start Button is on the front.
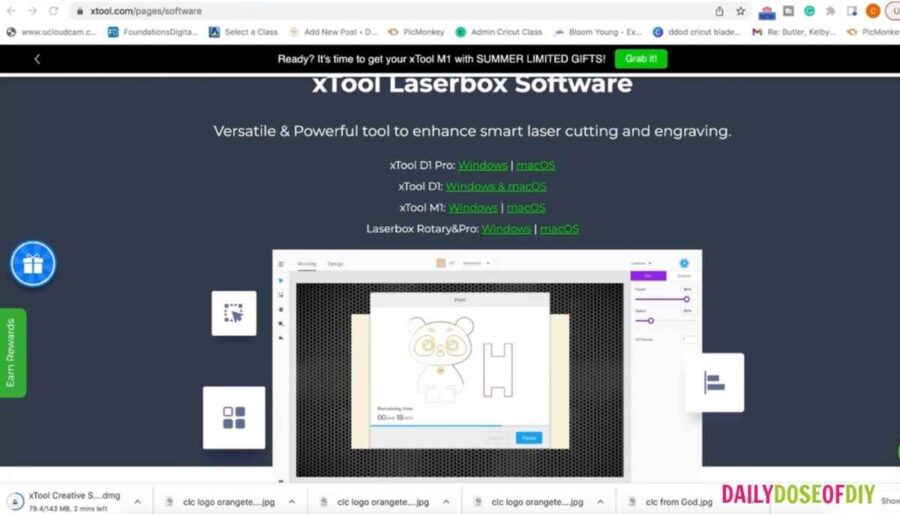
Next go to xTool Software to download xtool’s graphic design software or to the app store to get the app. The download is very straight forward just follow the directions on your screen.
If you own a Cricut you’ll be pretty familiar with the design software. The left menu has many of the same options like upload, and add text or shapes. The top menu has all of the sizing and aligning tools.
And over on the right, we will adjust settings for the cut or engrave.
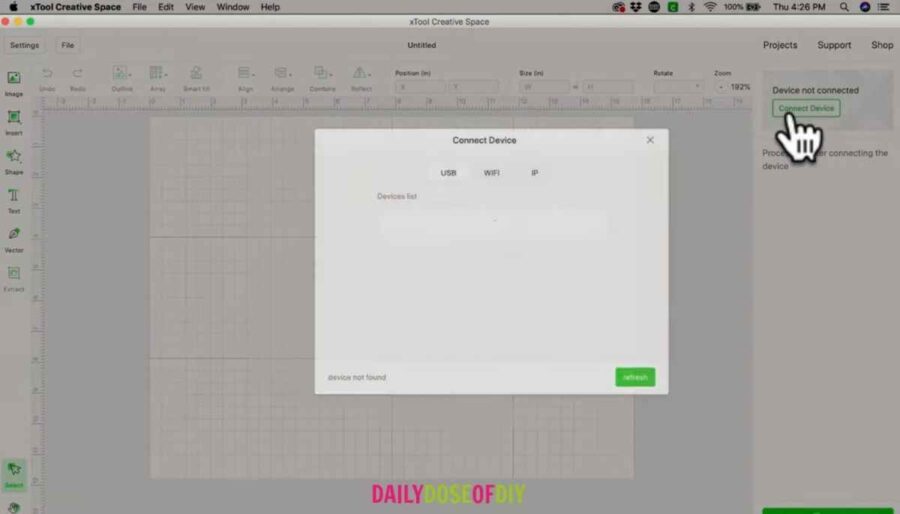
Connect your M1 Laser cutter to the software by clicking the connect button. Once it’s connected, we’re ready to start our first project.
Doing Projects with Your M1 Laser
I tested several different projects, including:
- Cutting and scoring wood
- Laser engraving wood
- Laser engraving stainless steel
- Cutting vinyl with the blade cutter
Start by placing your material in the machine and then closing the lid. Your screen view will update with a picture of the inside of your laser machine.
The camera viewer is SUPER HELPFUL to get your projects lined up just right. The high-resolution camera has super high accuracy when all of your settings are correct.
You can either make a design from scratch using the shapes and text offered on the left menu. Or you can import an SVG file of a design already made.
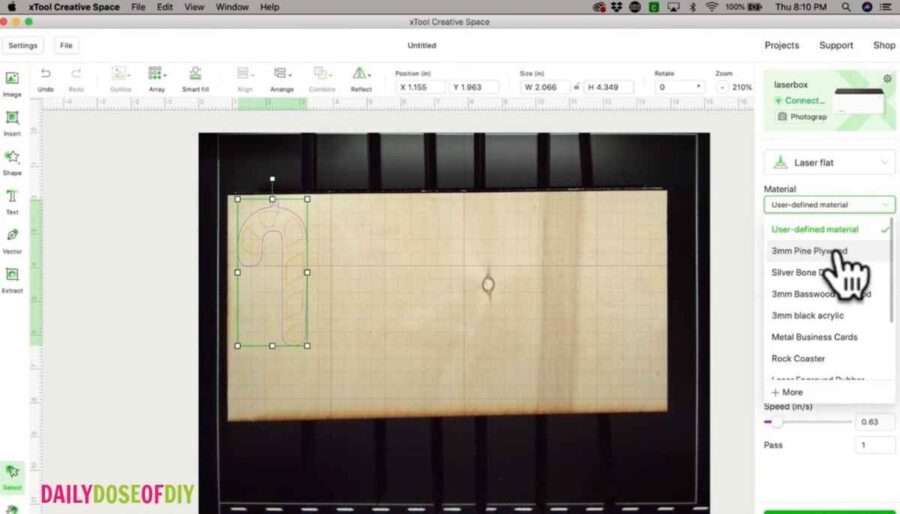
Before you place the design on the material, go over to the right menu and choose the material you are using and whether or not you are using the lifting rods. You’ll notice your screen viewer change as you adjust the thickness of the materials you are working with.
Resize and line up your design over your material where you want it to cut, engrave or score.
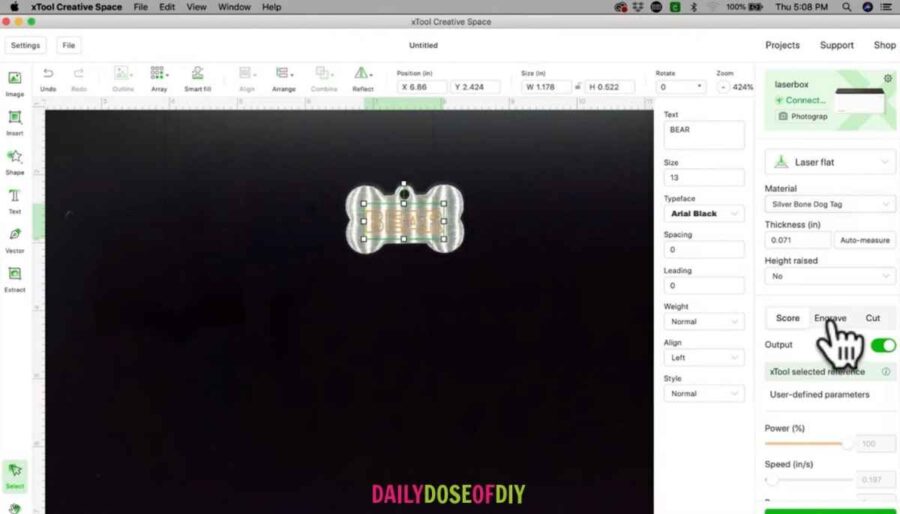
Click on the lines you want to cut and make sure they are set to the cut function. And then select any lines you want to engrave or score and set the function for those as well.
- Cut Lines Will be Purple
- Score Lines are Orange
- Engrave Lines are filled in Orange
Once everything is set how you want it, click start on the bottom. A new screen will pop up to give you the estimated time it will take.
One Downside…
This is one flaw I’ve found in the software. Sometimes the estimated time it will take is way off, by several minutes. This could be a problem for you if you are doing projects to sell and basing your price on machine time.
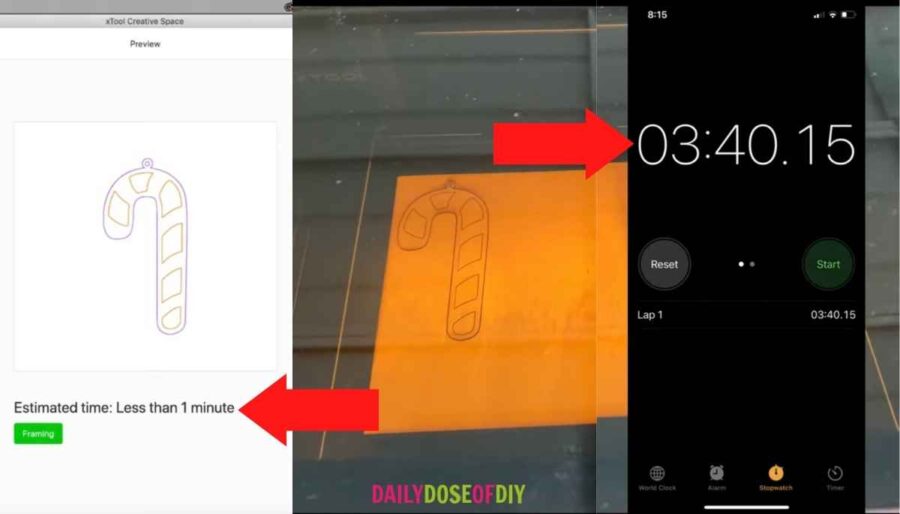
It will also throw you off on how long it would take to cut 100 orders. So, you might want to set a timer and time it yourself.
Press the start button on the front of the machine and it will get to work cutting and engraving.
It will always do the scoring or engraving first and the cutting last.
A Few Things I’ve Made
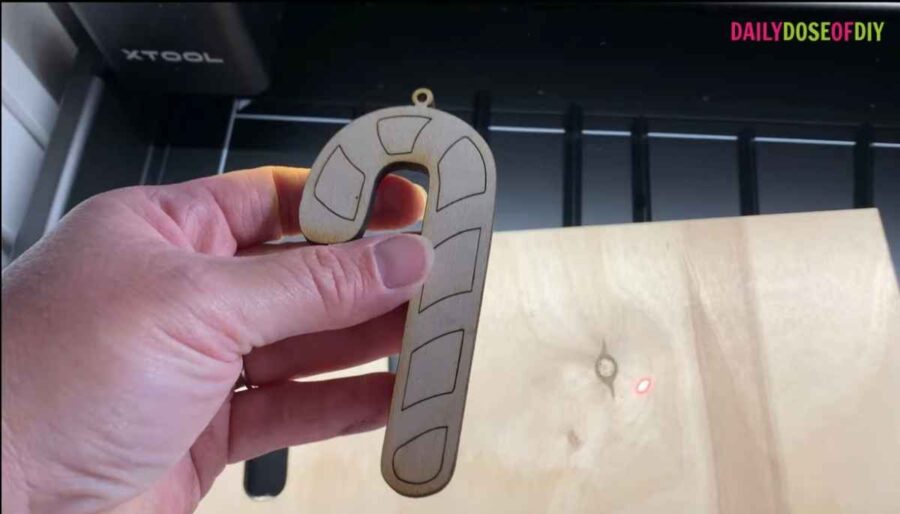
Here is a Candy Cane I cut out of ⅛ inch birch plywood. And scored paint lines on. It took two passes to cut through.
I also engraved the metal dog tag it came with it. It engraves metal beautifully. If you add on the rotary tool found here, you’ll be able to engrave tumblers and water bottles as well.
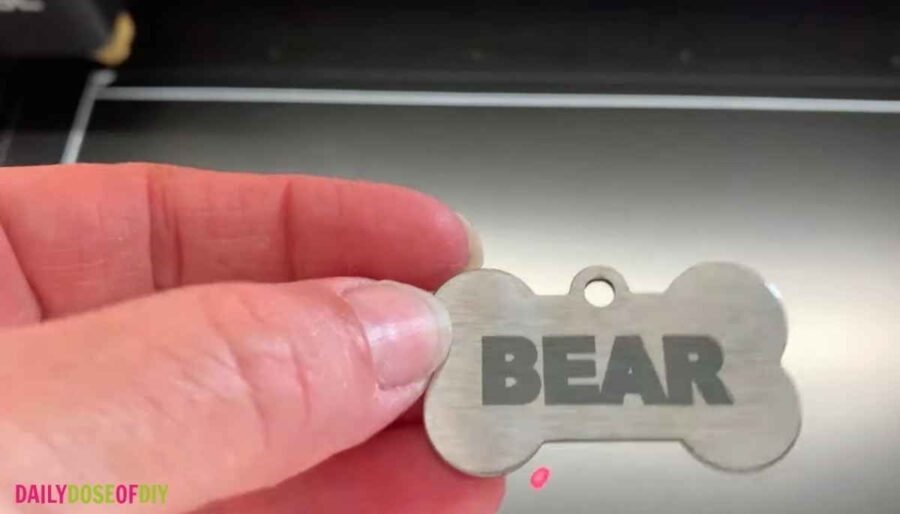
Out of the box you can engrave materials up to ½ inch thick. To engrave thicker materials along with tumblers and other cylindrical objects, you will remove the bed and add risers to the machine to get enough clearance.
xTool M1 Cutting Blade
The xTool M1 is the first Blade and Laser cutting machine available. In addition to laser cutting and engraving, the M1 also has a blade cutter. So, you can cut things like vinyl to make shirts. Or even leather, stickers and several other materials.
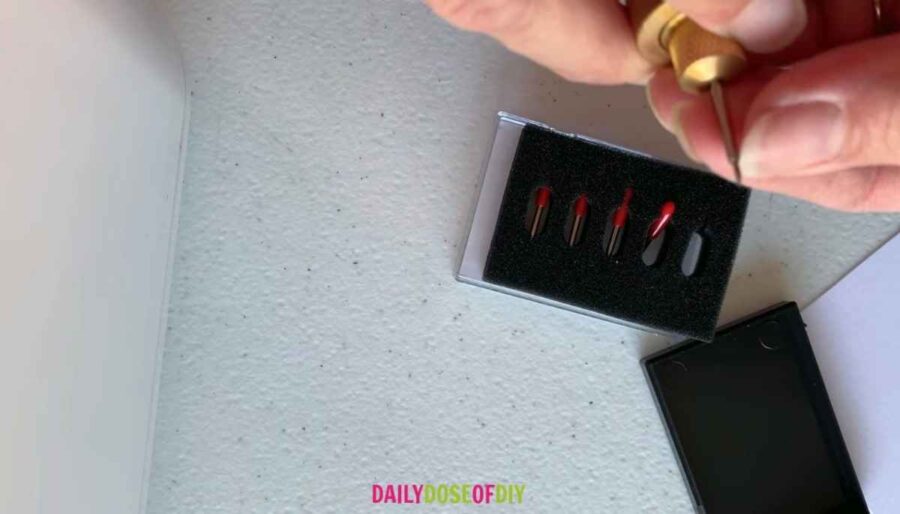
The blade housing is held in by a magnet. So just pull down to release it. You get five cutting blades with your machine. The blades are also kept in the housing by a magnet, so once you place the blade in it will stay.
Next, you’ll need to set the blade depth. Do that by spinning the nut on the end of the housing until just the tip of the blade is showing. And then pop the housing back into the xTool.
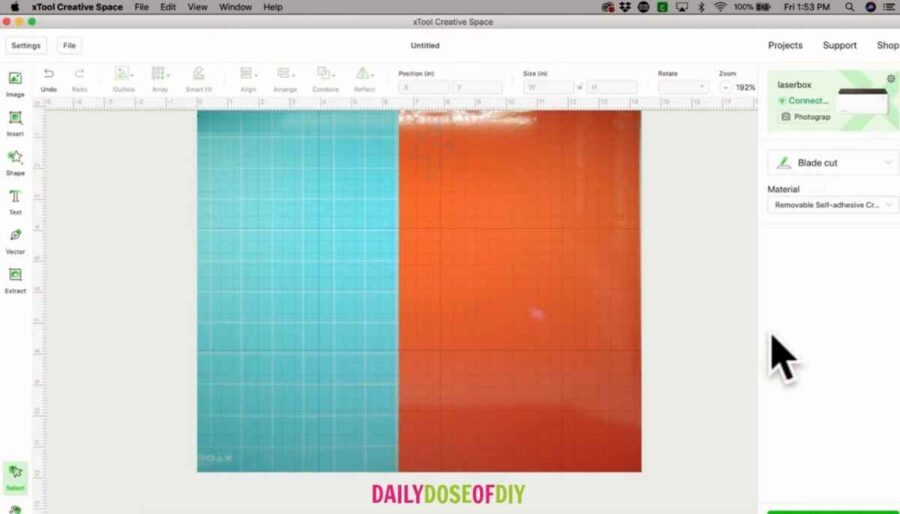
You get two cut mats in the box. The cut mats have a film on the front and back. So, you’ll remove the back film to stick your cut mat on the base. Then remove the top film to place your vinyl on the mat.
Once the lid is closed, you’ll see the camera view on your screen of the vinyl loaded. And just like laser cutting and engraving you can line your design up on the vinyl and then cut it.
There is one flaw I don’t like and that is when SVG files come in, they usually have multiple colors. xTool will change all the lines to one color for blade cutting.
Another con is the amount of time it takes to cut vinyl. If you are a Cricut or Silhouette user, I don’t see you using the xTool for your vinyl cutting needs.
However, if this is your first vinyl cutting machine, it’s a great bonus to be able to laser and blade cut with one unit.
xTool M1 Pros:
It’s super easy to set up and use. – Out of the box to cutting my first project took less than an hour.
It’s lightweight – I can pick it up and move it as needed myself. Plus, it’s not huge and doesn’t take up much work area.
It comes standard with a camera – I know this is an add-on expense for other laser machines, and having a camera is super handy
Price: You can’t beat the price for everything this machine does. At the time of writing this post the 5W machine is around $900 and the 10W machine is around $1,300.
xTool M1 Cons:
It doesn’t come with air assist – which would help blow debris out of the way and keep the flareups down.
The estimated time isn’t always accurate – In some cases, it’s so far off I wouldn’t even call it a good estimate lol
The 5w machine is a little slow. If it’s in your budget, spring for the 10W
The blade cutting is definitely slow compared to a Cricut. And having SVGs come in the software all in one color can make cutting multiple color designs difficult.
Overall, I do recommend the xTool M1 Laser if you’re looking to start your Laser and engraving journey. It’s an affordable price point and a great machine for hobbyists and small businesses.

Chris Butler has helped thousands of crafters learn how to use their Cricut machine without feeling overwhelmed. She is a best selling author and an up and coming designer. For fun Chris enjoys designing SVG Files, hanging out with her family (preferably at the lake), traveling, and volunteering at her church. She is a wife and mom of two crazy fun kids.
Leave a Reply