This post may contain affiliate links for your convenience. If you make a purchase through one of my links I will earn a small commission at no additional cost to you.
Last Updated on September 11, 2023 by Chris Butler
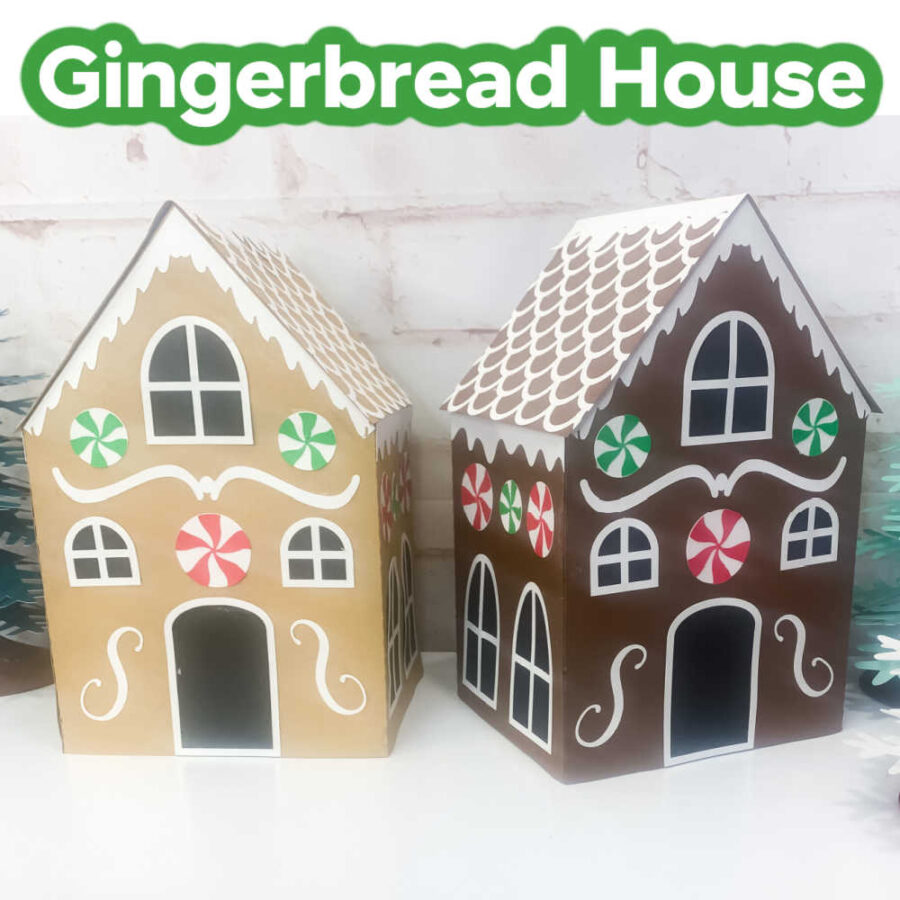
It’s basically a Christmastime rule that you have to make a gingerbread house, isn’t it? With a traditional Gingerbread House, you work for an hour to put the house-shaped cookie pieces together with icing the consistency of glue and then decorate it with stale candy.
Then you let it sit on the table for a day or two before throwing it away, so it doesn’t attract ants. Sound familiar?
Well, this year I’ve got a much better solution for you. Today we are making a paper gingerbread house. The best part is it’s all of the fun, half of the mess, and no chance of attracting bugs! This adorable cookie-themed decor can be used again and again and is fun for the whole family. Each of you can make your own gingerbread house!
This Cute Gingerbread House Craft is Day 12 of our Christmas Craft Kickoff for 2022. View all 14 Christmas Craft Here
If you love paper crafts, you’ll love all of these projects!
Quick Links to Information in This Post
Supplies to Make the Gingerbread House Paper Craft
- 65lb Cardstock – 12″x12″ in Brown. 8.5″x11″ in Black, Red, Green, & White Paper- https://amzn.to/3UU6hxu
- Quick-Dry Tacky Glue or Glue Stick – https://amzn.to/3TLyTrf
- Cricut Cutting Machine & Tools – https://amzn.to/3tHlqGi
- Blue Cut Mat (Or Well-Used Green Mat)
- SVG File for the Paper Gingerbread House – https://www.dailydoseofdiyshop.com/d4zfh
Paper Gingerbread House Step-by-Step Video Tutorial

Step 1: Download the SVG File and Upload it to Design Space
For help downloading SVG Files and uploading them to Design Space see this post.
The SVG file for the Gingerbread House is available to purchase here – https://www.dailydoseofdiyshop.com/d4zfh
Or Grab the all-access pass here and get instant access all 14 projects, 25+ SVG Files, step-by-step videos, and printable instructions.
Once you’ve added the file to your canvas, there’s nothing you need to do so you can click ‘Make It’. On the mat screen, you can change your material size to 8.5″x11″ if that’s the size cardstock you are using.
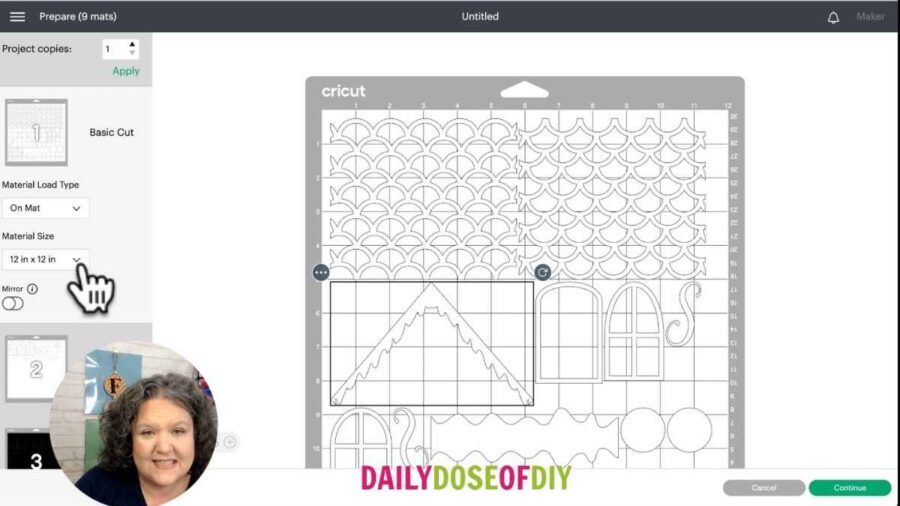
Before you go on, make sure mat 1 is selected so your mats will cut in order. Then click ‘Continue’.
If you have a Cricut Explore, turn your dial to cardstock. If you’re using a Maker, select cardstock from your list of materials.
Step 2: Cut out the Gingerbread House Template
Put the cardstock onto your mat, place the mat into your Cricut, and press the flashing green ‘C’ button to load the mat.
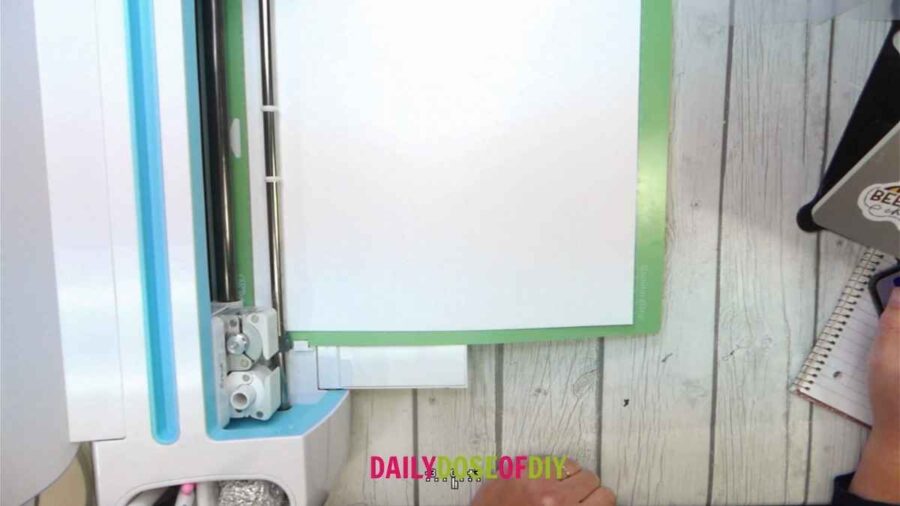
To remove the cardstock from your mat, flip it over and peel the mat away from the cardstock to prevent curling and tearing. If any smaller pieces get stuck, use your spatula tool to gently pry them off the mat.
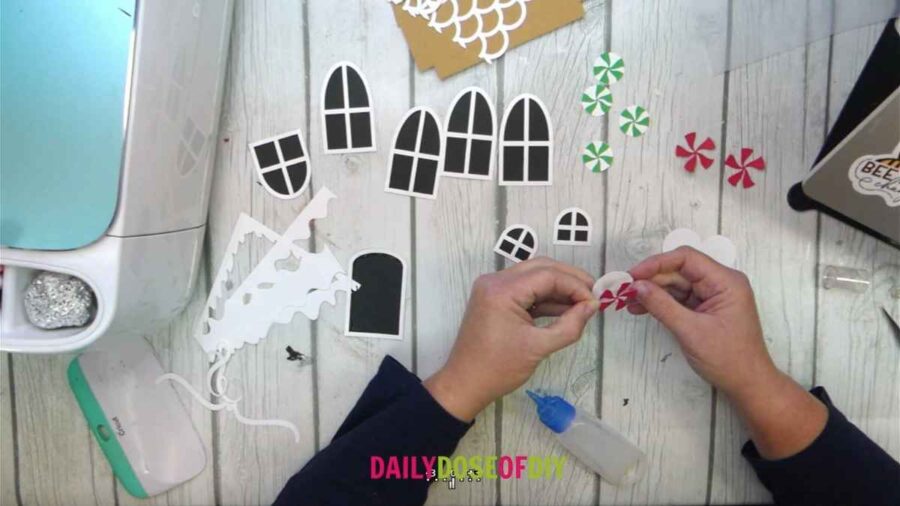
Once all your pieces are cut, sort them out. Put the windows with the matching window frames, and the red and green candy pieces with the matching white circles.
Step 3: Decorate the House
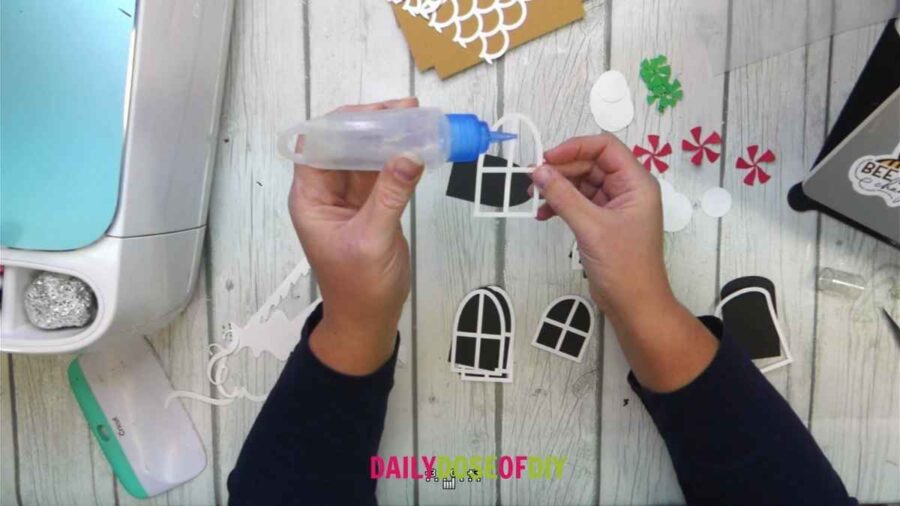
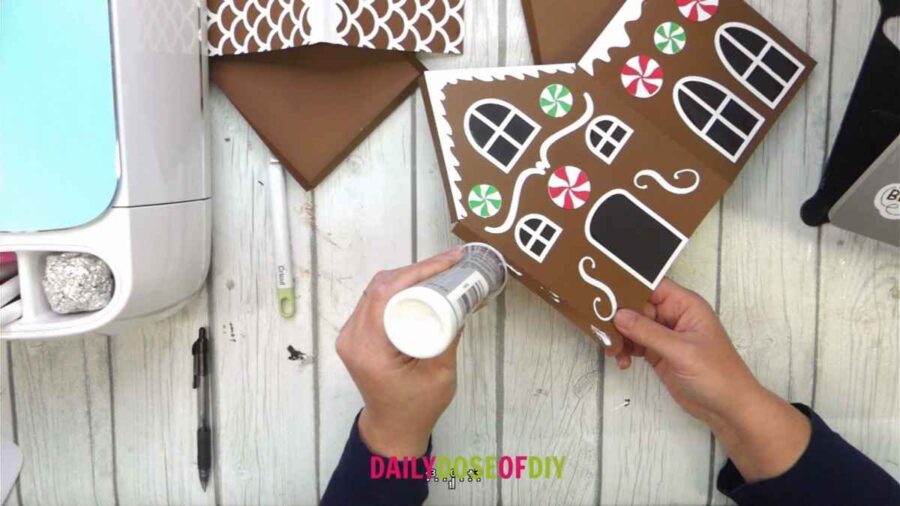
Before we can put the windows onto our gingerbread house, we have to glue the frame to the window. The frame is a bit bigger than the window, so you’ll only need to put glue on the cross bars in the middle of the frame.
We will also have to glue the red and green pinwheels to their white circles to make the peppermint candies.
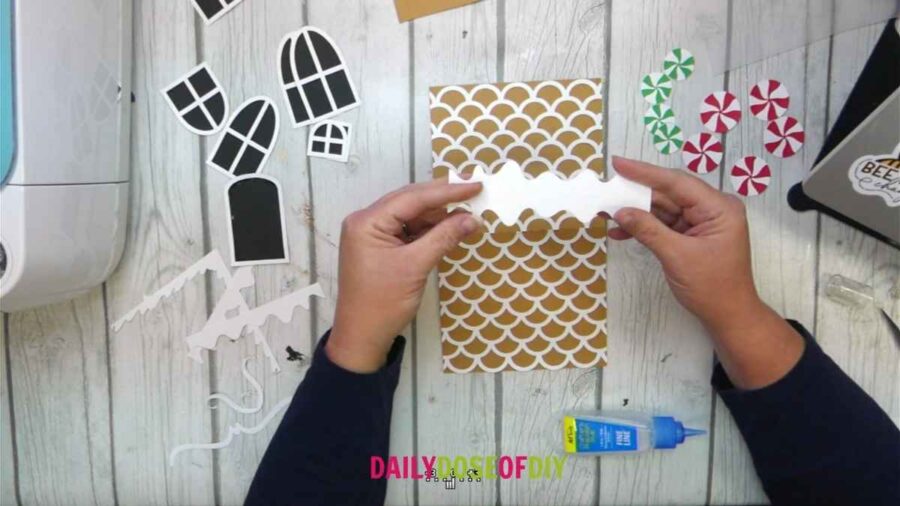
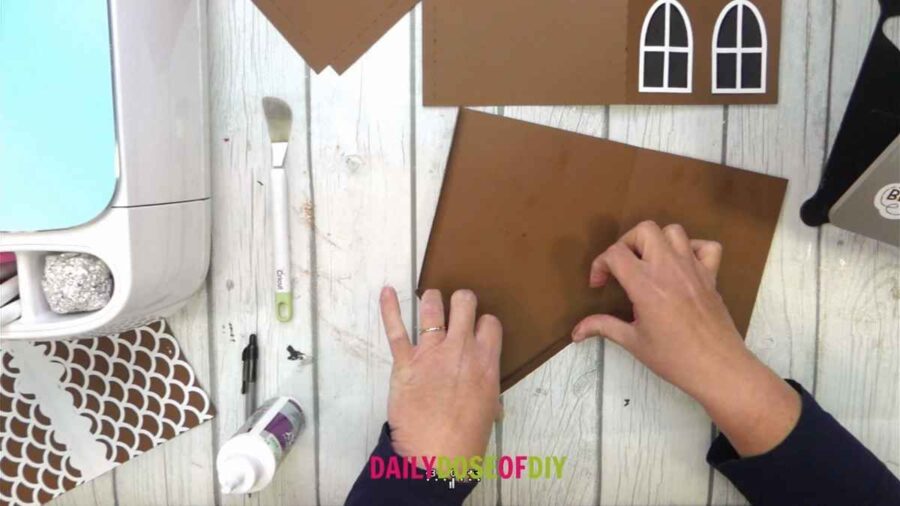
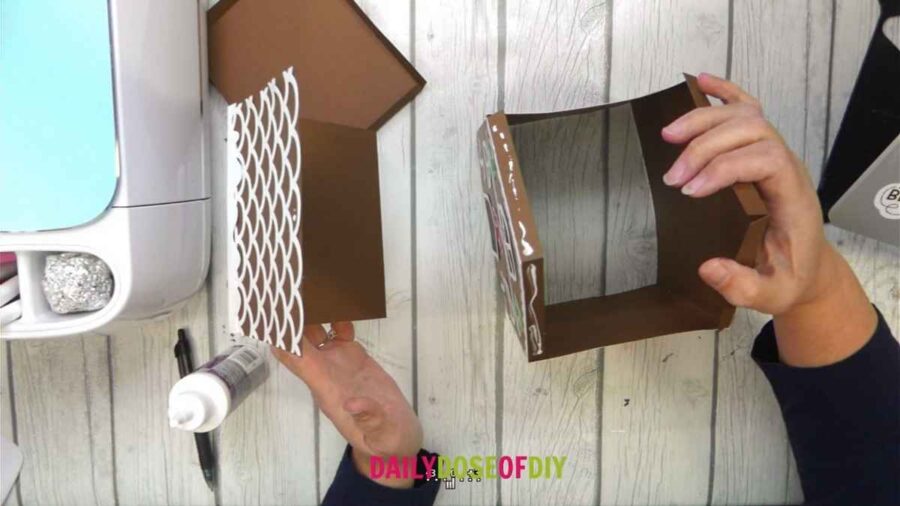
Next, we’ll glue the white lattice onto the roof. The roof is the rectangular piece with a perforation line in the middle. Glue the lattice with the top along the perforation line.
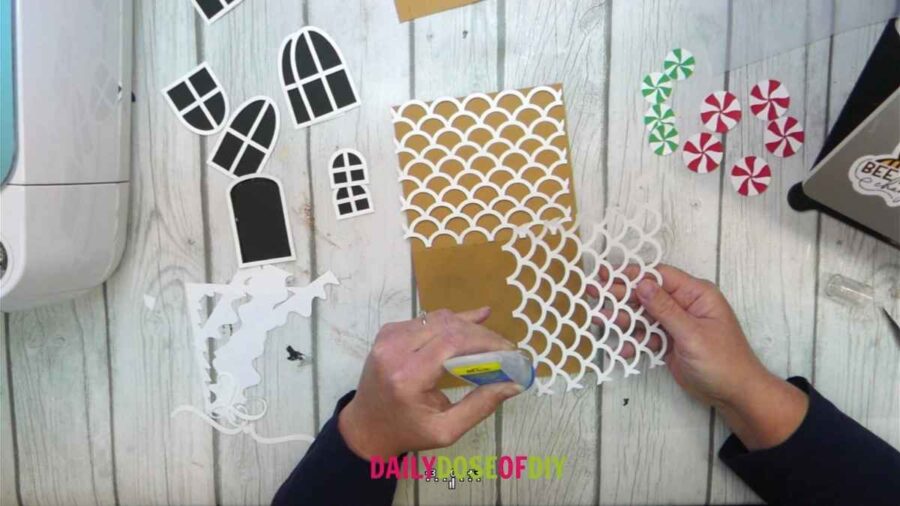
Then you can add the snowy roof cap. Fold it in half and glue it with the middle lined up to the perforation line on the roof piece.
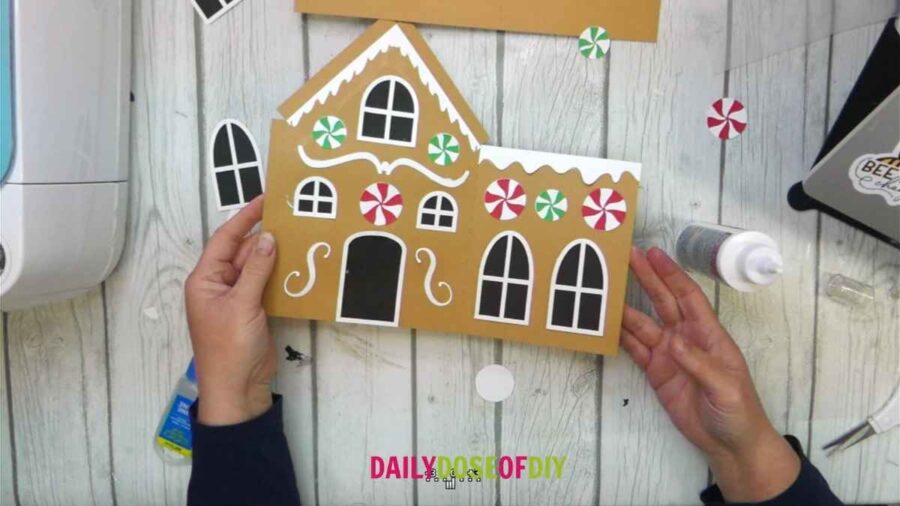
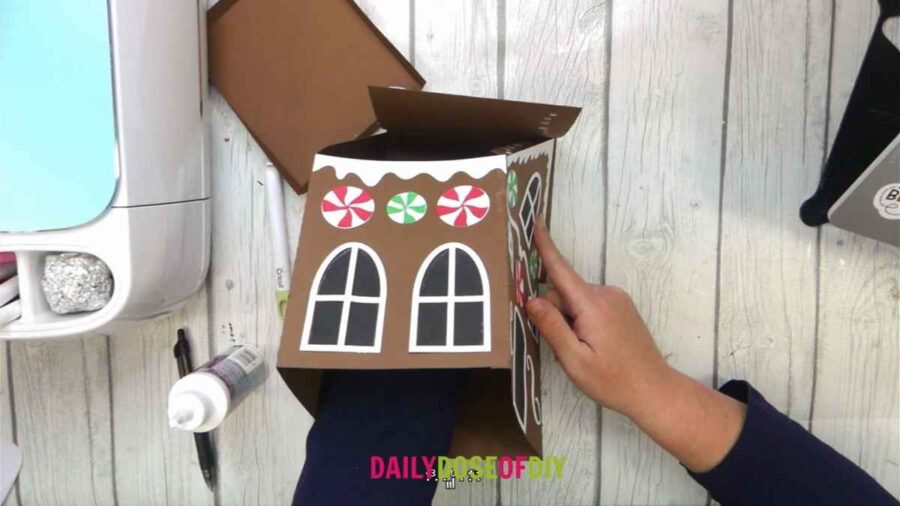
Set the roof aside to dry and grab the side of your house. Before you begin decorating, make sure the roof peak is on the left when your pieces lie flat on the table. This will keep you from gluing your decorations to the wrong side.
From here, you’ll begin decorating the front and sides of the house. If you’d like to use all the pieces exactly as I’ve designed them, look in Design Space to see the placement of each piece. Otherwise, you can place each piece however you’d like!
Make sure all of your side decorations a thoroughly dry before moving on to the next step!
Step 4: Assemble the House
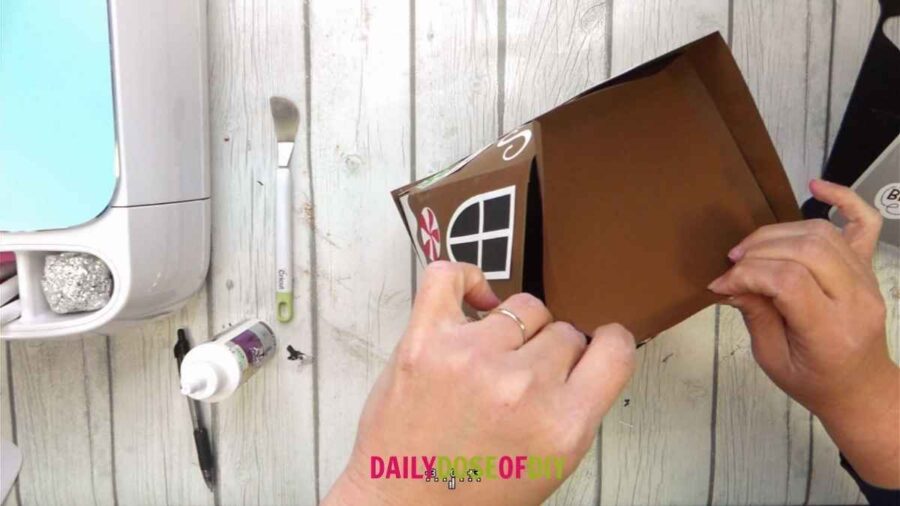
To begin assembly, fold all of the tabs in toward the middle.
Then, with the back facing down and the top facing up, place a strip of glue along the side tabs. Glue the sides together to form the house, then allow them time to dry before moving on to the roof.
Put glue on one half of the roof, then position the roof where there will be an equal amount of overhang on each side.
Then, hold the roof in place and turn the house onto its side. Reach your hand in through the bottom and line up the roof to be even. Hold it into place until the glue dries. Then flip it over to get the opposite side in place.
Repeat this process for the other half of the roof. Let it dry.
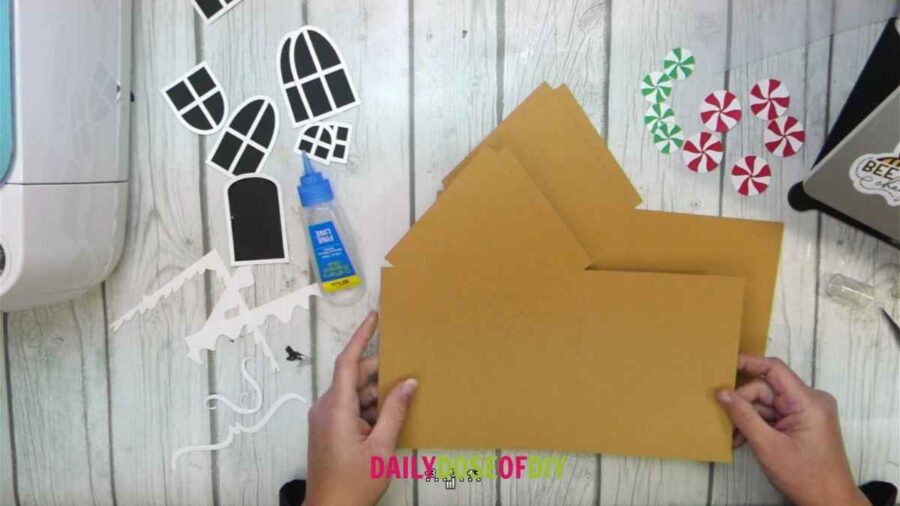
Once the roof is in place you can add the base. This step is optional, but it does help to give your house more structure.
Start by only putting glue on one side. Insert the base into the bottom of the house with the folded tabs facing down.
Then, go around and glue each tab to the house, one at a time.
And you’re finished! Make these adorable gingerbread houses with your kids or grandkids to make fun Christmas memories!

More Easy Christmas Crafts to Make this holiday season:
3D Light-up Christmas Shadowbox

Chris Butler has helped thousands of crafters learn how to use their Cricut machine without feeling overwhelmed. She is a best selling author and an up and coming designer. For fun Chris enjoys designing SVG Files, hanging out with her family (preferably at the lake), traveling, and volunteering at her church. She is a wife and mom of two crazy fun kids.
Leave a Reply