This post may contain affiliate links for your convenience. If you make a purchase through one of my links I will earn a small commission at no additional cost to you.
Last Updated on October 16, 2023 by Chris Butler
Get ready for the holidays and make some Christmas shaker cards with me! You can make these fun shaker cards for all of your loved ones this Christmas as an extra special way to wish them a happy holiday season.
These Christmas cards are fun to receive but also super fun to make (as long as you don’t spill your glitter). And, as an added bonus, today I will teach you all about using your Cricut pens to write a special note for a special card!

This Christmas Shaker Card Craft is Day 10 of our Christmas Craft Kickoff for 2022! View all 14 projects here. If you love paper crafts you’ll love these Christmas crafts!
Quick Links to Information in This Post
Supplies for Christmas Shaker Cards
- 65lb Cardstock – 12″x12″ Needed for Envelope (Your Choice of Color) – https://amzn.to/3X5k7yJ
- Quick-Dry Tacky Glue
- Chunky Glitter – https://amzn.to/3V5ODXm
- Foam Tape – https://amzn.to/3TGsyxj
- Acetate Sheets or Any Clear Plastic Sheet (A Ziploc Bag Will Work) – https://amzn.to/3TIm9BW
- Cricut Cutting Machine & Tools (I’m using my Cricut Maker) – https://amzn.to/3hFEB0w
- Cricut Pens
- Scissors
- SVG File for the Christmas Shaker Cards – More Details Below
Christmas Shaker Cards Step-by-Step Video Tutorial
Keep scrolling for the written step-by-step instructions.

Step 1: Download the SVG File and Upload it to Cricut Design Space
For help downloading SVG Files and uploading them to Design Space see this post.
Grab the SVG cut file for the Christmas Shaker Cards here. The file includes 3 designs plus an envelope to put them in.
Or Grab the all-access pass here and get instant access all 14 projects, 25+ SVG Files, step-by-step videos, and printable instructions.
Once you’ve got your design onto the canvas, you should see all the different layers of the card, including a white square. This white square is for cutting the acetate sheets. If you’re using another material, you may want to cut the square by hand and delete this layer.
I added perforation cut lines for all of the folds, so you don’t have to convert anything to score lines or use your scoring tool.

Step 2: Add Text to the Card
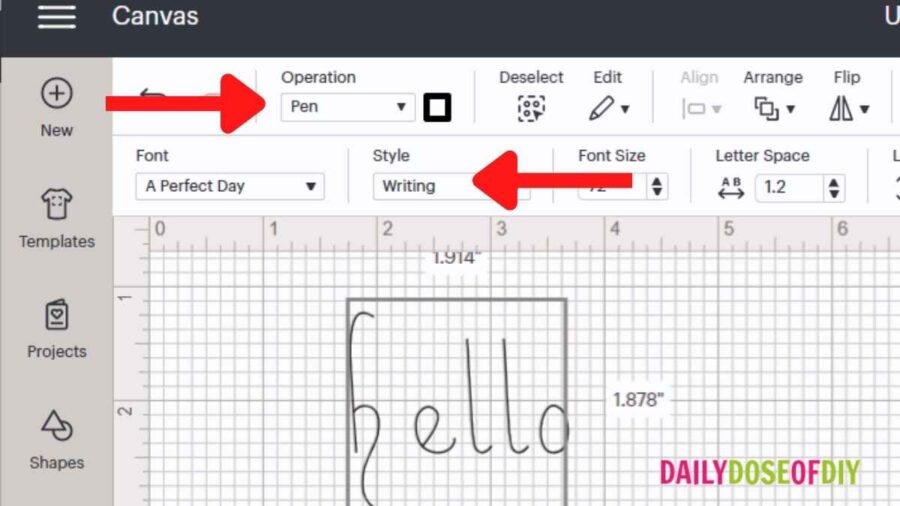
Now, before we can cut out the card, we’re going to add text to have a special written message. To use the Cricut pens, it’s best to use a writing font. If you have Cricut Access, there are a lot of writing fonts available to you. Just use the filter in the font menu to find them.
If you don’t have Cricut Access, you can choose to pay a small fee to use the writing font, or you can select a cutting font. If you select a cutting font, you can use the pen to color in the white space when your card is finished, or you will have a bubble letter effect.
After you’ve chosen your font, no matter if it is a writing or cutting font, look at the top menu to see the operation. It should say ‘Pen’. If it doesn’t, use the drop-down menu to change it. If you’re using a writing font and your letters still have a bubble effect, change the style to ‘Writing’ from the top menu.
Now, to add the text to your card, ungroup the design from the top of the layers menu. Move the top of the card to one side. The top will have the snowflake, ornament, or tree cutout on it.
Type out your text, adjust the size to be how you want it and then center it horizontally from the align menu. Now you can select your text and the front of your card and click ‘Attach’ from the bottom of the layers menu.
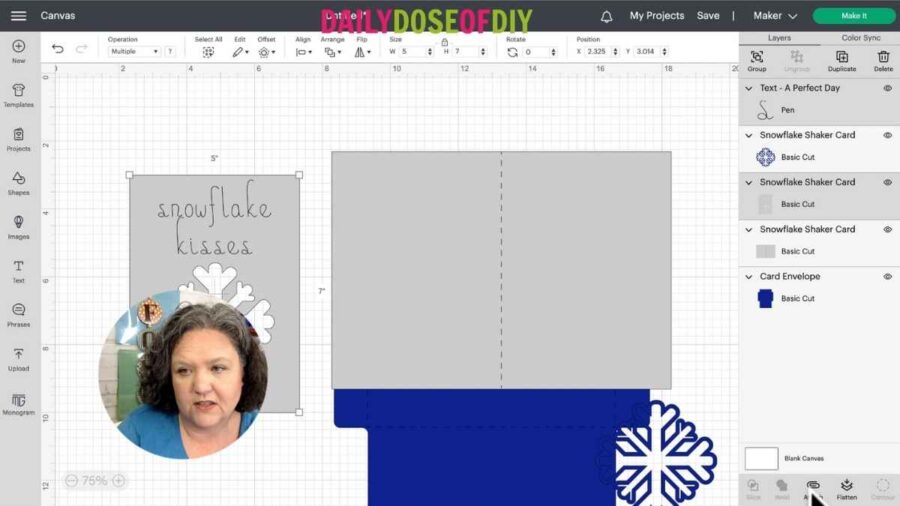
To put text on the inside of the card, type out your message and place it to the right side of the perforation line on the large rectangle. Select the card and the text and attach it.
Step 3: Write On & Cut the Cards
With your text added you can click ‘Make It’. There’s nothing to do on the mat screen, so click ‘Continue’. If you have a Cricut Explore, set your dial to Cardstock or if you have one of the Maker machines, choose cardstock from your cut list.
Because we’ve set the text to ‘Pen’, your Cricut will prompt you to add a Cricut pen to side ‘A’ and your cutting blade will remain in side ‘B’. To add the pen, open the clamp, take off the pen cap and place it tip down into the holder. Press it down until you hear a click, then close the clamp.

Put the cardstock onto your mat, place it into your Cricut, and press the flashing green ‘C’ button to load. Your Cricut pen will do all the writing first, then it will cut.
To remove cardstock from your mat, flip it over and peel the mat away from the cardstock. The design should pop right off with no curling or tearing.
When all pieces have been cut, you’re ready to assemble!
Step 4: Make the Envelope
To make the envelope, fold all of the tabs at the perforation lines in toward the middle. Then, add a thin strip of glue on the bottom 3/4 of the side tabs.
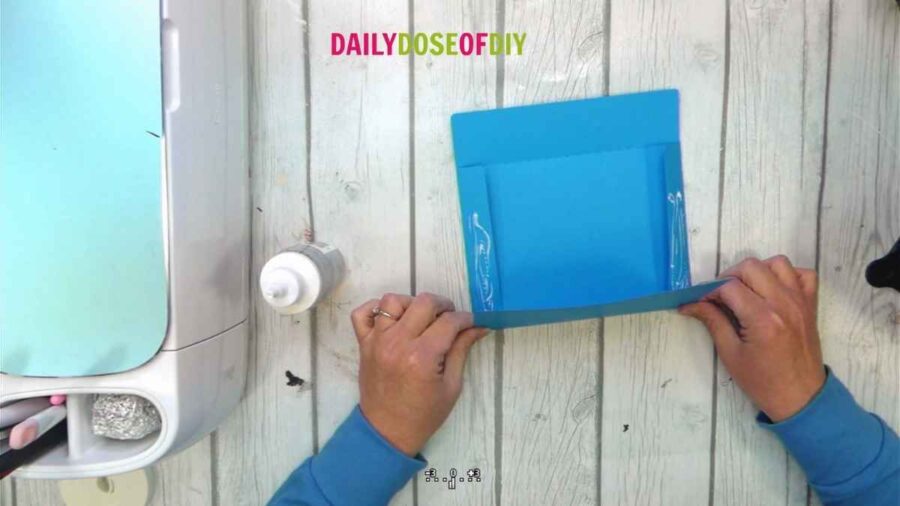
Fold the large bottom tab of the envelope up over the sides and press them down gently. Check to make sure you have not gotten glue on the inside of the envelope that may seal it shut.
Set the envelope aside to allow the glue to dry.
Step 5: Assemble the Shaker Card
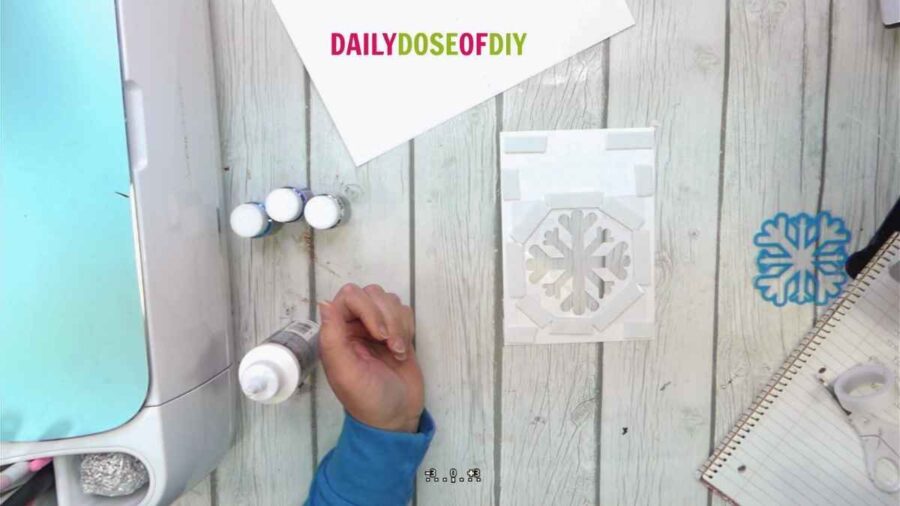
We’ll start by assembling the front of the card. First, glue down your piece of acetate square or clear plastic onto the back of the front of the white card base. It should fully cover the cutout shape. This will be your shaker window.
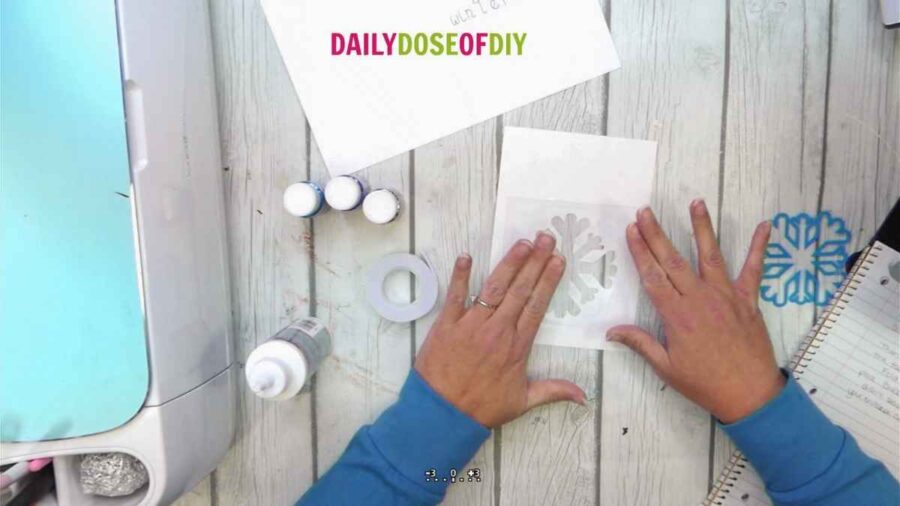
Then place foam adhesive tape over the acetate sheet. Make sure that the foam tape does not go over the design where it can be seen on the front of the card. You will also need to ensure there are no gaps in the pieces of foam tape, as this will hold the glitter in place.
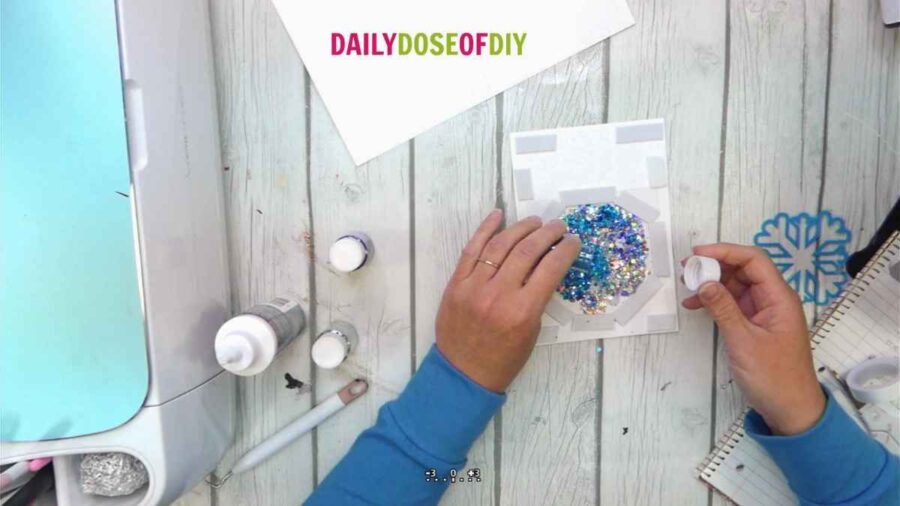
After you’ve put foam all around the design, add some to the corners and sides of the card. Then, remove the paper backing from the foam mounting tape.
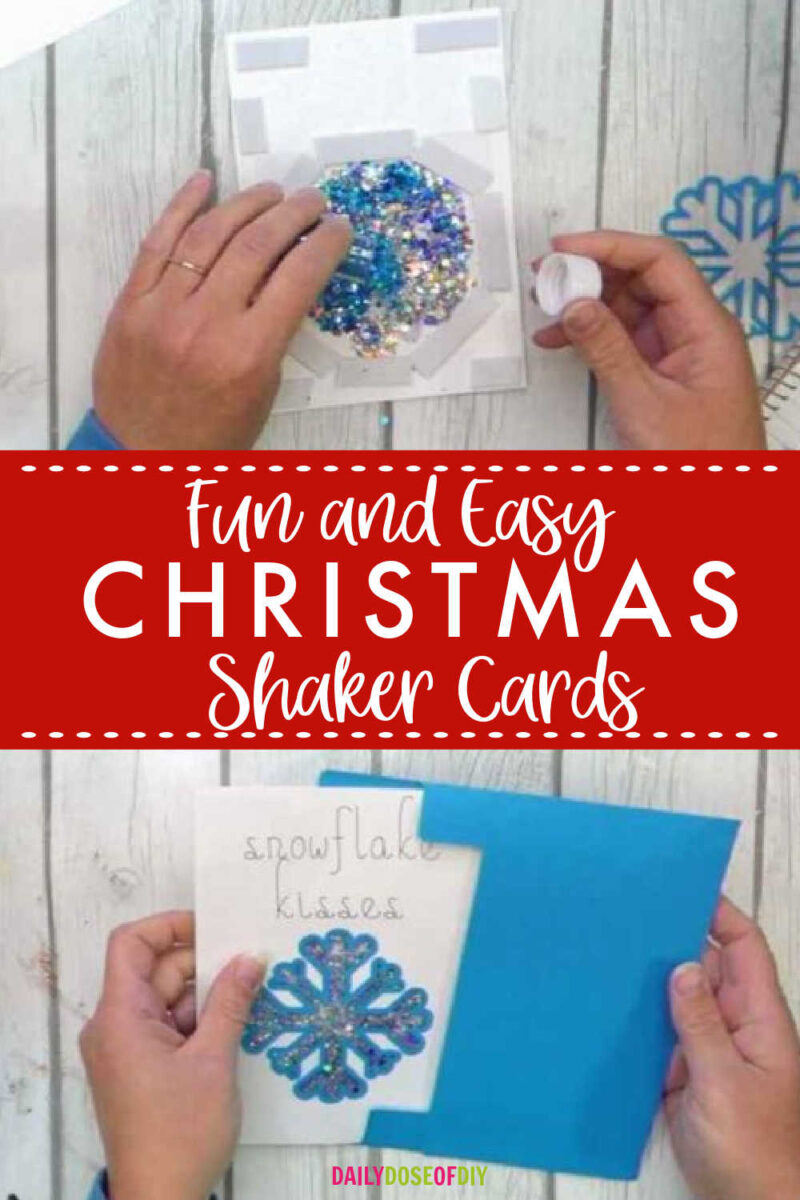
Now we’re ready to add the glitter! Use one color or as many as you’d like to cover the acetate window. Chunky glitter works best.
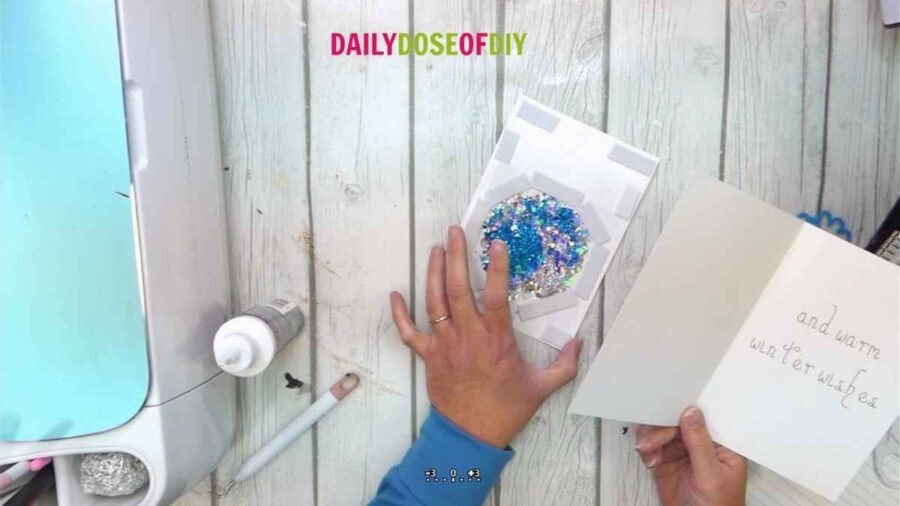
Now we can add the card insert. Take the larger rectangle and crease on the fold line, with the words on the inside. Make sure it does not get turned upside down! All of the writing should be facing the correct way before placing the insert onto the front of the card.
Carefully line up the front of the card insert to the card front with the double-sided tape on it. When you’re sure it’s aligned, press it down firmly so no glitter falls out.
Step 6: Add Embellishments
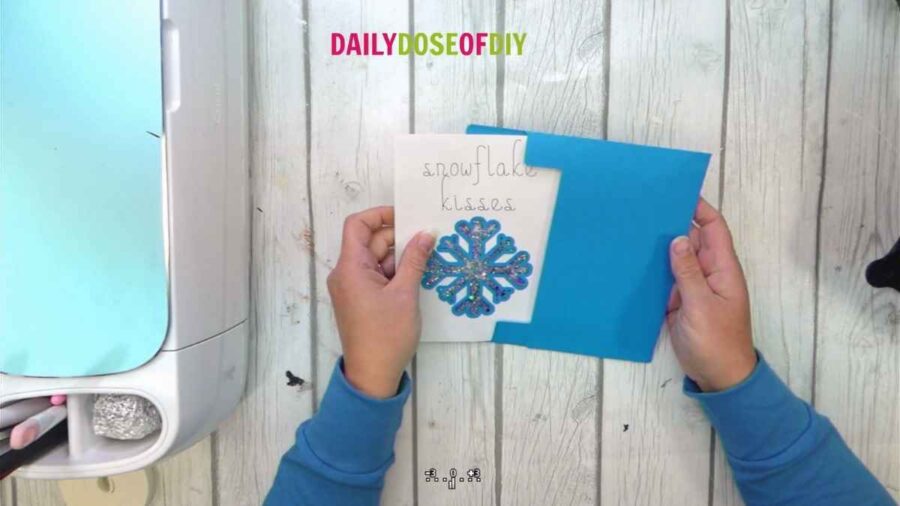
On the front of the card, add the cutout outline with a fine tip glue. You can also add any other embellishments you’d like.
Then, all that’s left is to sign your card, place it in the envelope, and send it off!
More Fun Christmas Paper Crafts You’ll Enjoy:

Chris Butler has helped thousands of crafters learn how to use their Cricut machine without feeling overwhelmed. She is a best selling author and an up and coming designer. For fun Chris enjoys designing SVG Files, hanging out with her family (preferably at the lake), traveling, and volunteering at her church. She is a wife and mom of two crazy fun kids.
Leave a Reply