This post may contain affiliate links for your convenience. If you make a purchase through one of my links I will earn a small commission at no additional cost to you.
Last Updated on August 23, 2023 by Chris Butler
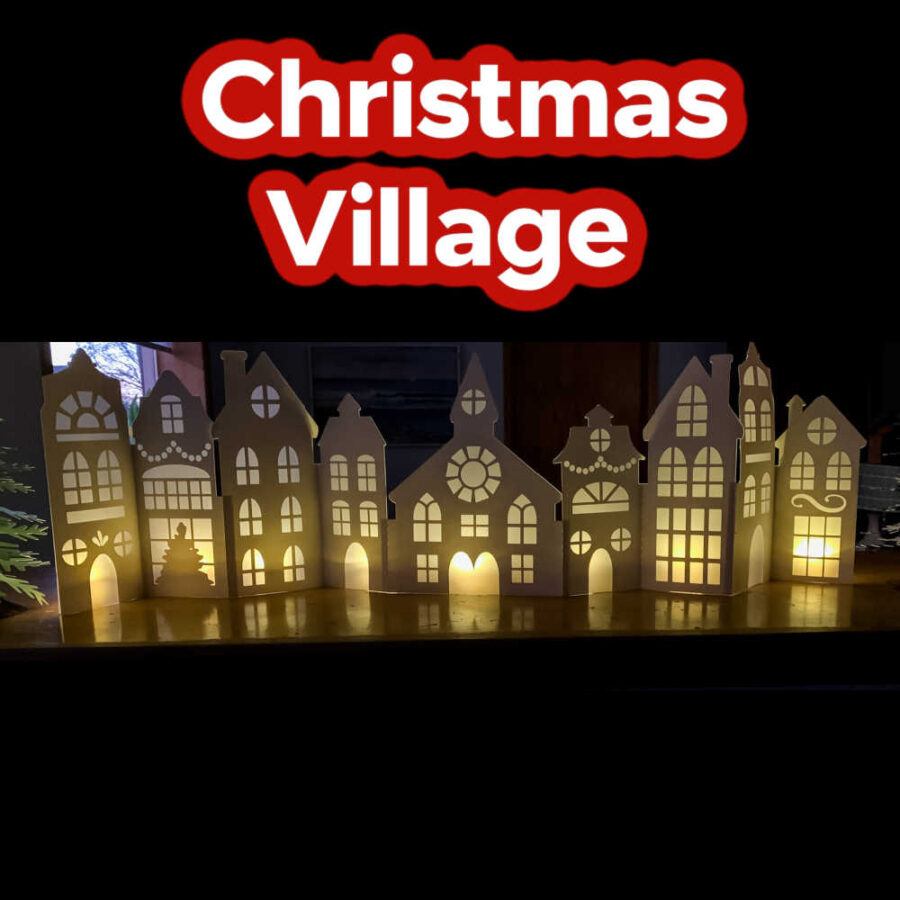
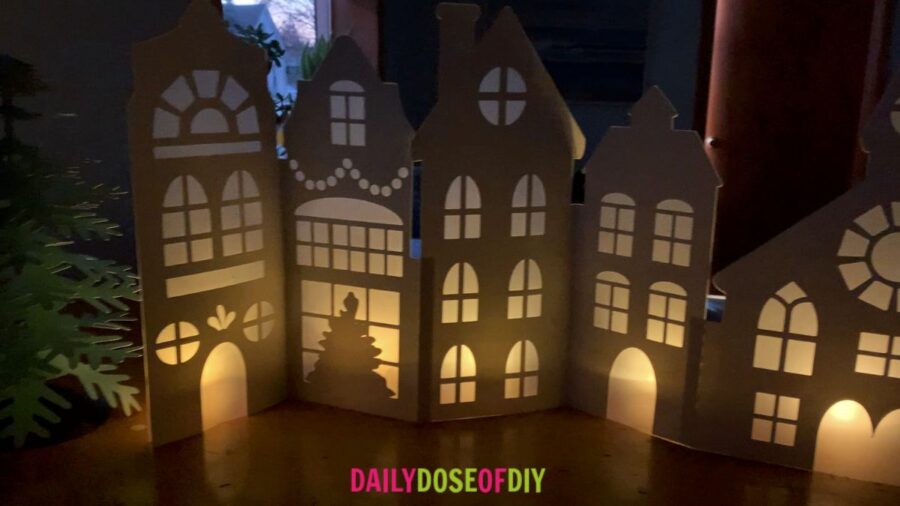
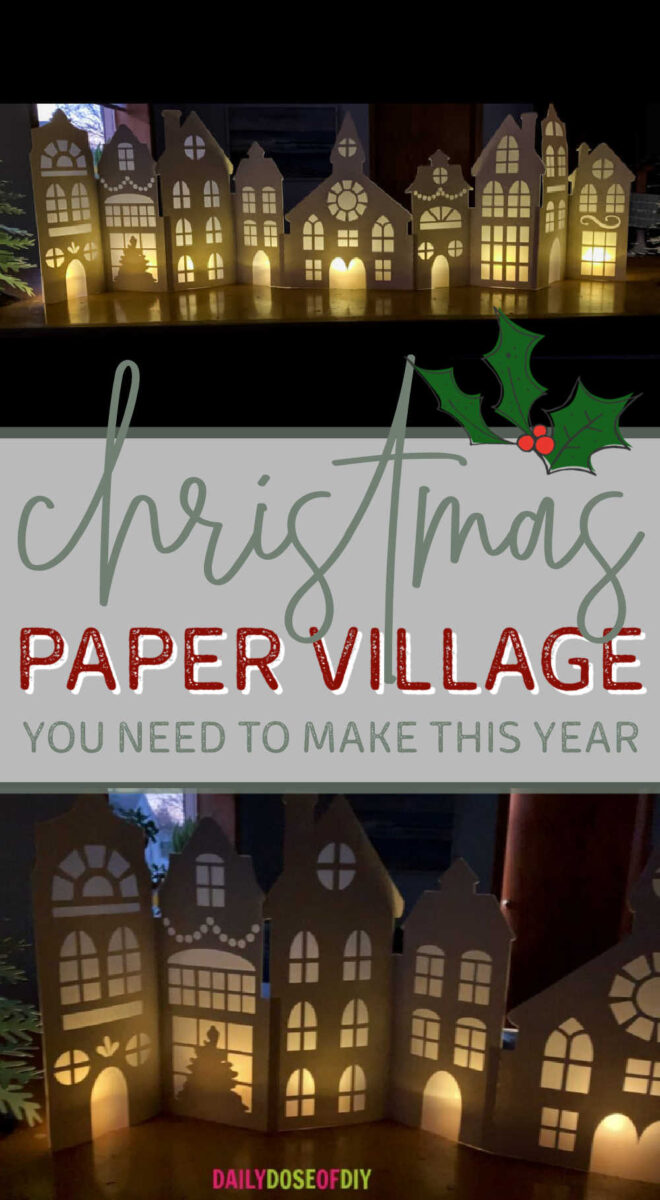
Hey Crafty Friends, today we’ll be making a paper Christmas village to make your holiday season bright. It’s Day 11 of our Christmas Craft Kickoff event, and at this point, I even surprise myself with how many truly amazing things we can make out of cardstock for the holidays!
We’ve all seen those adorable Christmas villages displayed during the holidays. They truly are beautiful, but the reality is that those scenes can cost hundreds of dollars! So, if you’ve always wanted a beautiful Christmas scene on your table, this project is for you!
It’s a great way to spruce up your holiday decor this Christmas season. The best part? This project is so incredibly simple, it’s economical, and it’s absolutely stunning.
The only supplies you’ll need to make the village is card stock, vellum or tissue paper and tape and glue. You can make the village as big or small as you’d like. When finished, it will set up accordion style. I cut the design using my Cricut machine, but any cutting machine that accepts SVG files will work.
It is perfect for decorating your mantel, dining table, or use fewer sections for a small Christmas Village on a book shelf or end table. This simple project is versatile for many needs and creating your own village that will work for you.
Let’s get started making your Christmas Village
Quick Links to Information in This Post
Supplies for the Paper Christmas Village
- (5) 8.5″x11″ Sheets of White, Heavy-Duty Card Stock – https://amzn.to/3UQfd79
- Vellum Paper (Optional) – https://amzn.to/3Og0pMx
- Glue Tape – https://amzn.to/3XbvvZL
- Quick-Dry Tacky Glue
- LED Tea Lights – https://amzn.to/3OjU2b5
- Cricut Cutting Machine & Tools – https://amzn.to/3hY5UmM
- Blue Cut Mat (or Well-Used Green Mat)
- SVG File for the Paper Christmas Village – More Details Below
Paper Christmas Village Step-by-Step Tutorial
Watch the full tutorial video below for all the details on making DIY Christmas Village Houses, or keep scrolling for the written instructions.

Step 1: Download the SVG File and Upload it to Design Space
For help downloading SVG Files and uploading them to Design Space see this post.
You can grab the SVG file for this Christmas Village craft here. It’s $1.97 and includes printable assembly instructions.
Or Grab the all-access pass here and get instant access all 14 projects, 25+ SVG Files, step-by-step videos, and printable instructions.
If you don’t plan to use the vellum liner on your Christmas village, ungroup the design and delete all of the dark blue layers once you have your SVG file on the canvas.
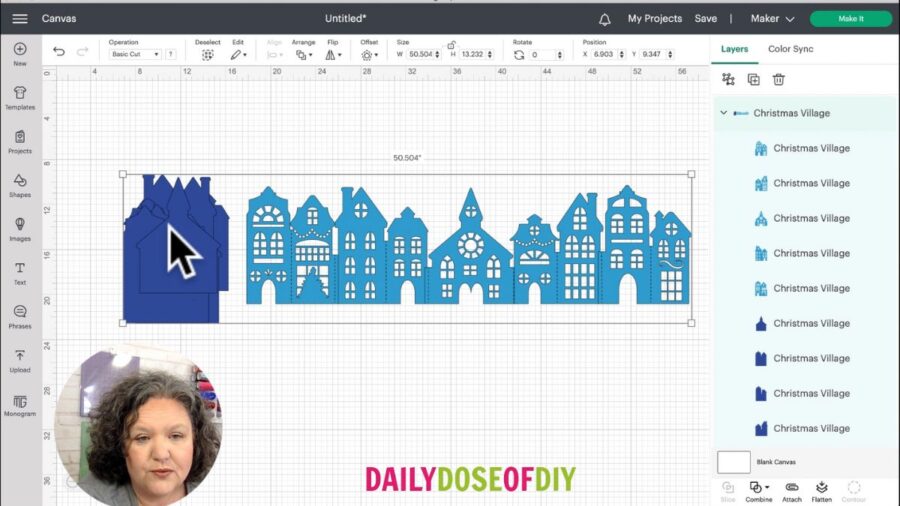
Otherwise, the design is ready to be cut. Click ‘Make It’.
On the Cricut mat screen you cannot select a material size of 8.5″x11″. This is because Design Space has a default margin of 1/2″ around the design. However, if you’re careful when placing your cardstock on the mat, the 8.5″x11″ will work fine.
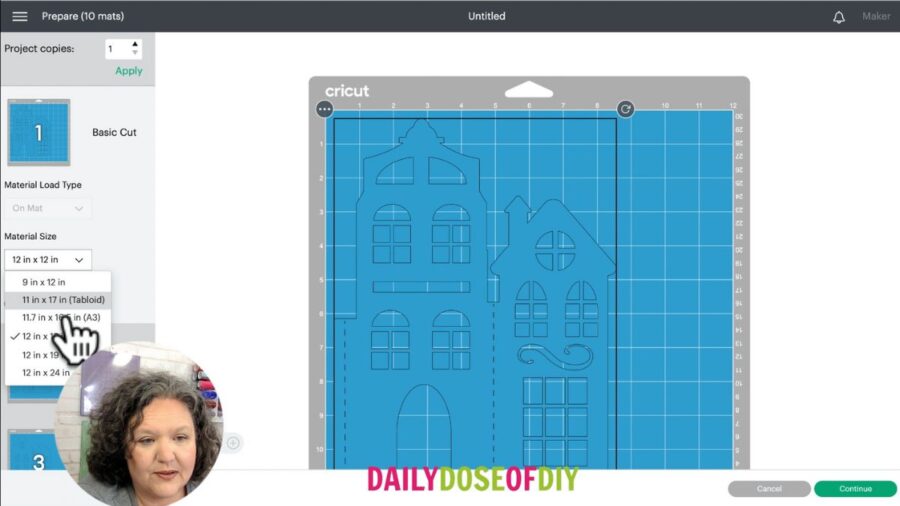
Set your material to poster board, and we’re ready to cut.
Step 2: Cut the Paper Christmas Village
Put the cardstock onto your mat, place the mat into your Cricut, and load it by pressing the flashing green button.
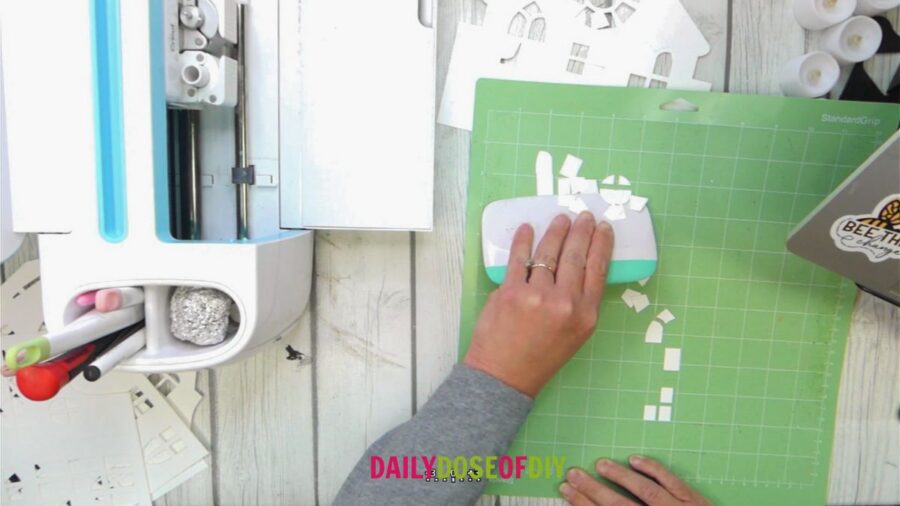
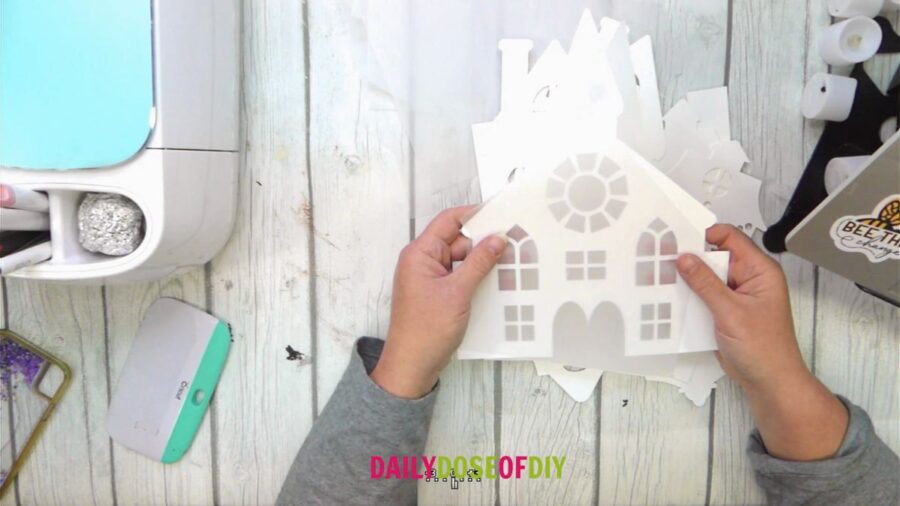
Once your design has been cut, flip the Cricut mat over and carefully peel it away from the cardstock. Your design should pop off the mat with no curling or tearing.
The cutouts from the windows may have gotten left behind on your mat. Using your scraper tool is the easiest way to get them off.
Step 3: Get Your Christmas Village Pieces in Order
After all your mats have finished cutting, find the vellum that matches your cardstock layer and place them together.
Once you’ve grouped your vellum and cardstock layers, the next step is to look in Design Space and put each layer in order. This will help you to know which side to put the vellum on.
Step 4: Assemble the Paper Christmas Village
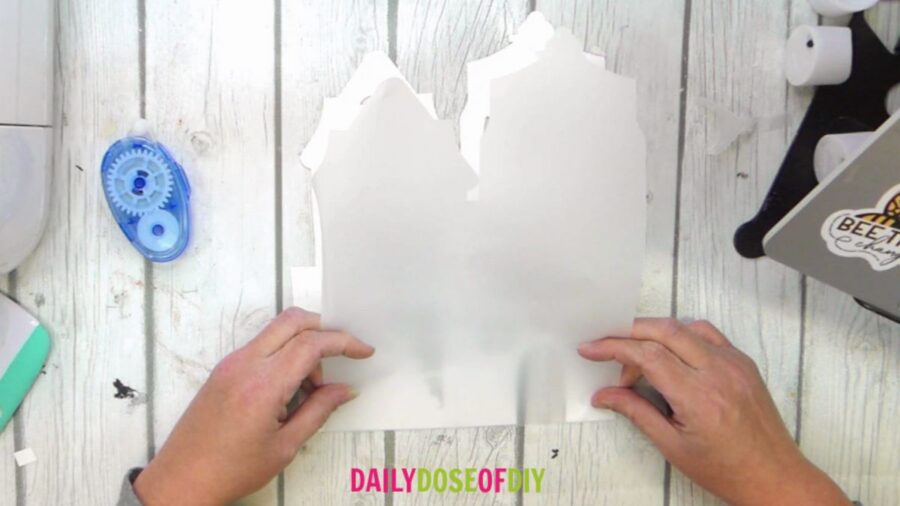
Glue the vellum to the back of each cardstock layer. I used glue tape to make this process quick and easy!
Next, put a glue strip on the front of the short connector tab of the first (far left) layer. Then, overlap the 2nd layer, line it up at the bottom of the connector tab and press it into place.
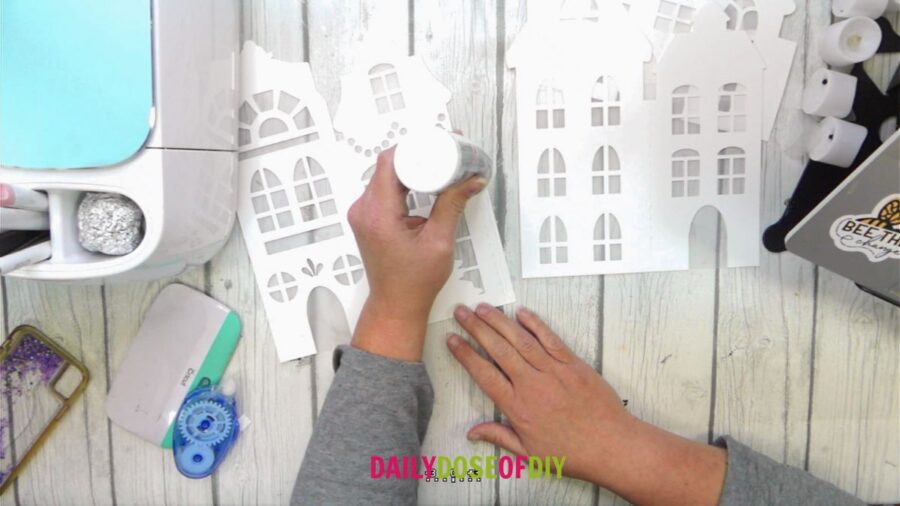
Give the glue a little time to dry, then repeat the process with the rest of the layers.
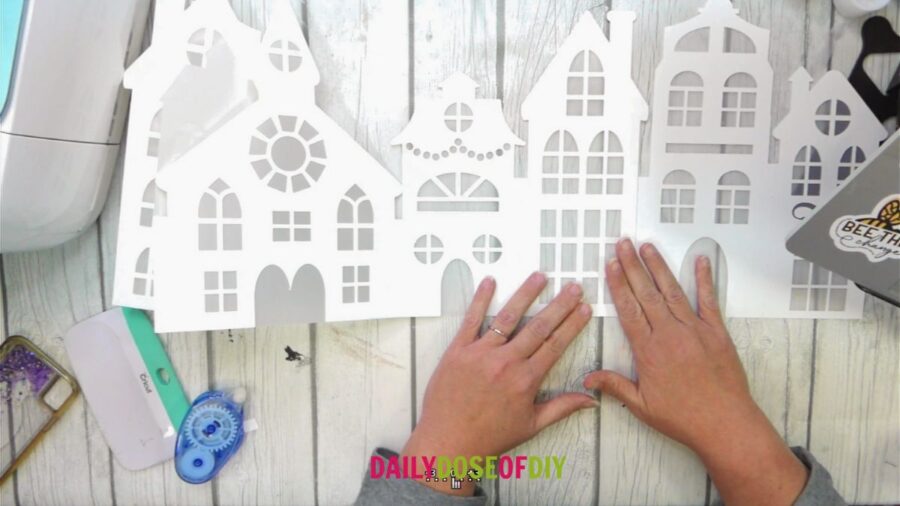
Now fold each perforation line back and forth, accordion style. The church will be the middle of the design, so start by folding the layers on each side of the church to the back.
The unfold the village, and it will set up accordion style. You can also add some fake snow to the tops by putting a little mod podge around the roofs (or wherever you want snow) and shaking faux snow or white glitter over it.

Now you can set your entire village up wherever you’d like to. Place your LED tea lights behind it for a beautiful display! Add some paper evergreen trees to your DIY holiday Christmas village with this tutorial. This is an easy way to dress up your fireplace mantel for the whole family to enjoy.
Thanks for making a Paper Christmas Village with me today! After the holidays are over you can easily fold up your Christmas Village and store it with the rest of your Christmas Decorations for next year.
Here are more fun paper Christmas Crafts You’ll Enjoy:
3D Layered Christmas Shadowbox

Chris Butler has helped thousands of crafters learn how to use their Cricut machine without feeling overwhelmed. She is a best selling author and an up and coming designer. For fun Chris enjoys designing SVG Files, hanging out with her family (preferably at the lake), traveling, and volunteering at her church. She is a wife and mom of two crazy fun kids.
Can I purchase the Christmas Village separately, I just missed the time slot to download.