This post may contain affiliate links for your convenience. If you make a purchase through one of my links I will earn a small commission at no additional cost to you.
Last Updated on June 30, 2022 by Chris Butler
Hey there Cricut crafters! I am so excited to show you how to use color changing vinyl with your Cricut. This craft is super simple and you’re going to love how it turns out!
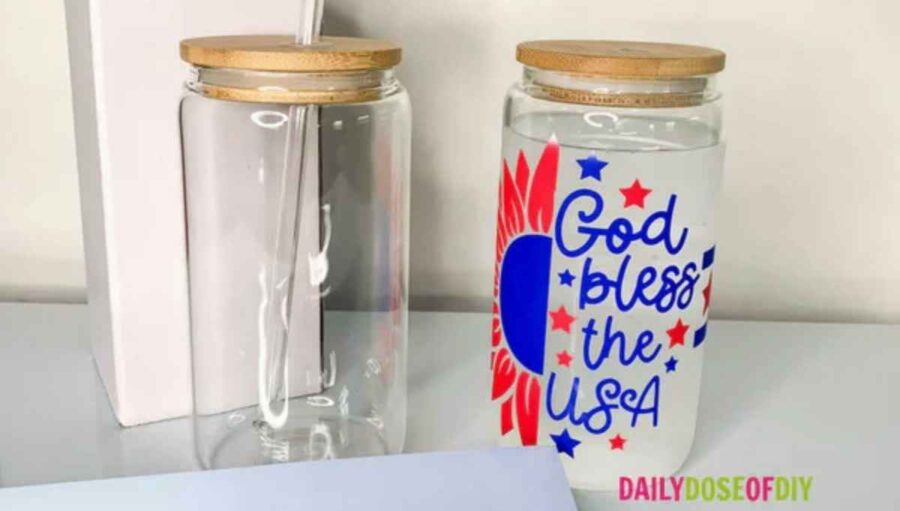
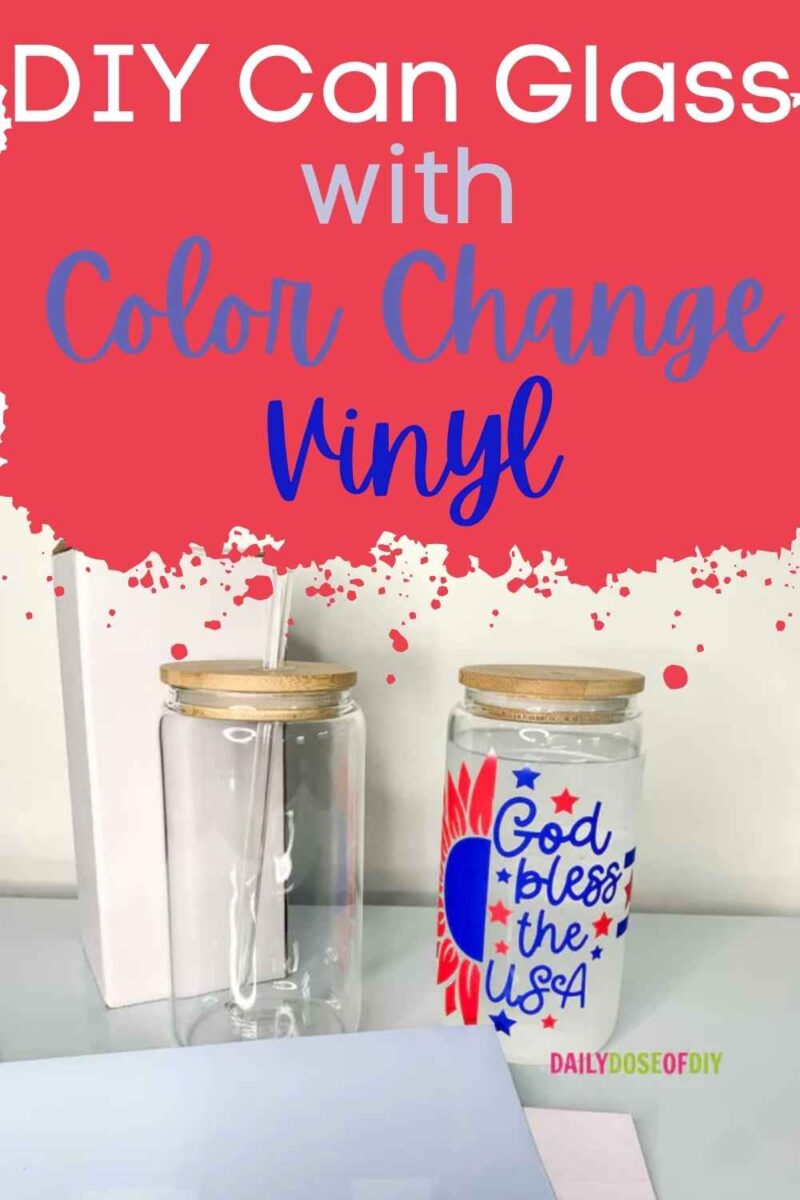
Today I’ll show you how color changing vinyl is activated by cold temperatures. I’ll also demonstrate how to overlap two layers of vinyl and get it perfectly straight (the easy way!). To do this we’re making a patriotic glass can. Now you can keep all of your drinks cold this summer in style!
We made glass cans with color change vinyl in our Cricut Crafters Club box in June and everyone was loving how it turned out. Join the club and don’t miss out on next month’s crafty fun!

Quick Links to Information in This Post
DIY Glass Can with Color Changing Vinyl Video
Watch the video below for step-by-step instructions on how to make a glass can using color changing vinyl with your Cricut. Then check out the supply list below to make your own and get your free SVG file.

To grab the free SVG for this craft fill out the simple form below
All of my free SVG files and Designs are kept in a library for your convenience. Simply CLICK HERE to get access. We will send you the link and password right away and you’re free to use all the resources you want in the library.
Already have the password? (It’s at the bottom of every email) Enter the Library Here
Glass Can Supply List
To make a glass can with color changing vinyl you will need:
- Glass Can Find them with the Bamboo Lid and Straw Here
- Red Teckwrap Color Changing Vinyl -Found on Amazon https://amzn.to/3npHO3Q
- Blue Teckwrap Color Changing Vinyl – Found on Amazon https://amzn.to/3npHO3Q
- Transfer Tape
- Parchment or Wax Paper
- Cricut Mat & Tools
- Free ‘God Bless the USA’ SVG File from the library
Step 1: Upload & Cut Your Design
First, we need to download the free SVG File and upload it to Design Space. If you need extra help with downloading please see this post.
Once you have your file uploaded you’ll see that it is already sized to fit a glass can. All you have to do is click ‘Make It’.
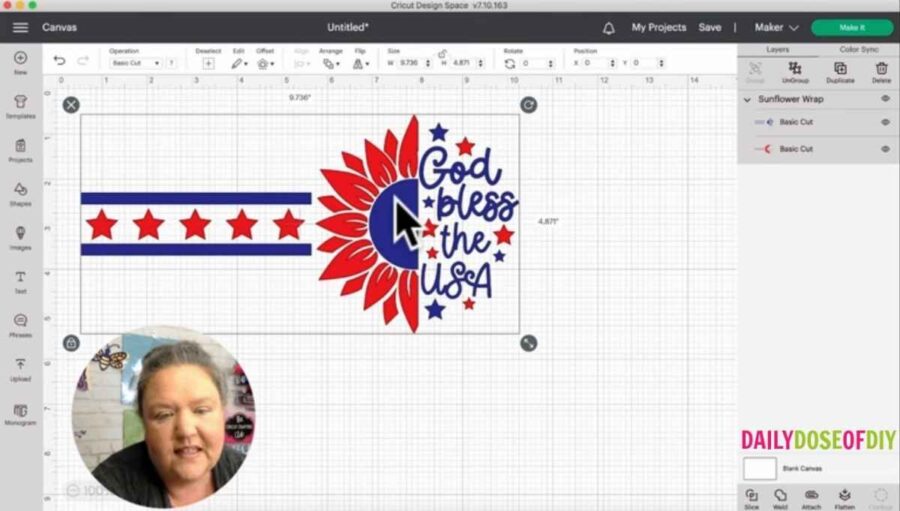
On the mat screen there’s nothing you need to change, so click ‘Continue’. Turn on your Cricut and set your material to Matte Vinyl.
On my Cricut Maker, I sometimes have a problem with my material not cutting all the way through, so I’m also going to change my pressure to More.

Now, before you can load your vinyl onto your mat, you’ll need to take the clear protective liner off of the front of your color changing vinyl. Most adhesive vinyl doesn’t have this protective liner, so don’t forget this step!
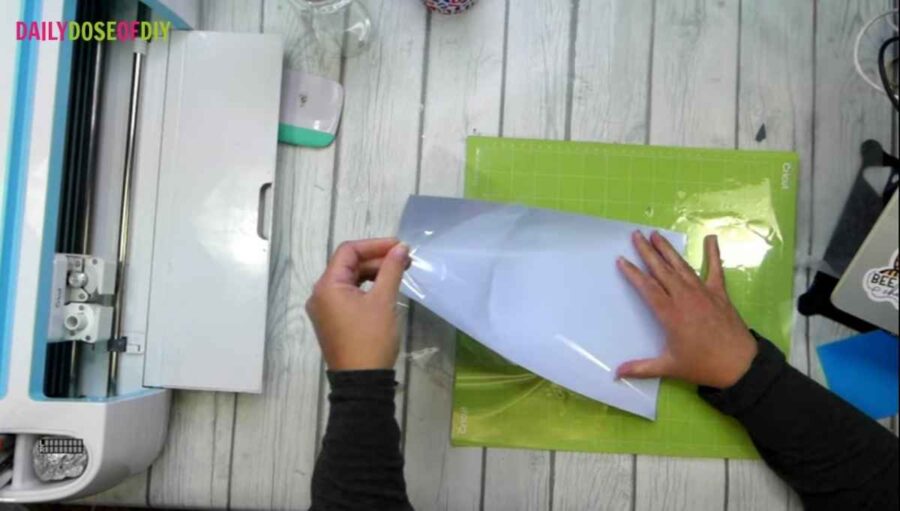
Once you’ve done that, load your mat and cut your design as you usually would. Then weed out the excess vinyl and you’re ready to move on to the next step.
Step 2: Layer Your Vinyl
Start the Transfer Tape
Once your design is weeded, you’ll need to line up your vinyl layers. To do this you’ll need your transfer tape and either parchment paper or wax paper.
Make sure when you cut your transfer tape to leave a couple inches of extra transfer tape at the top of your design. To start the transfer, peel the backing of your transfer tape on the short end and fold it over.
Line the bottom of your transfer tape up with the bottom of your vinyl layer, then stick the transfer tape down where the backing is folded. Stick part of the transfer tape to the table to keep your design still.
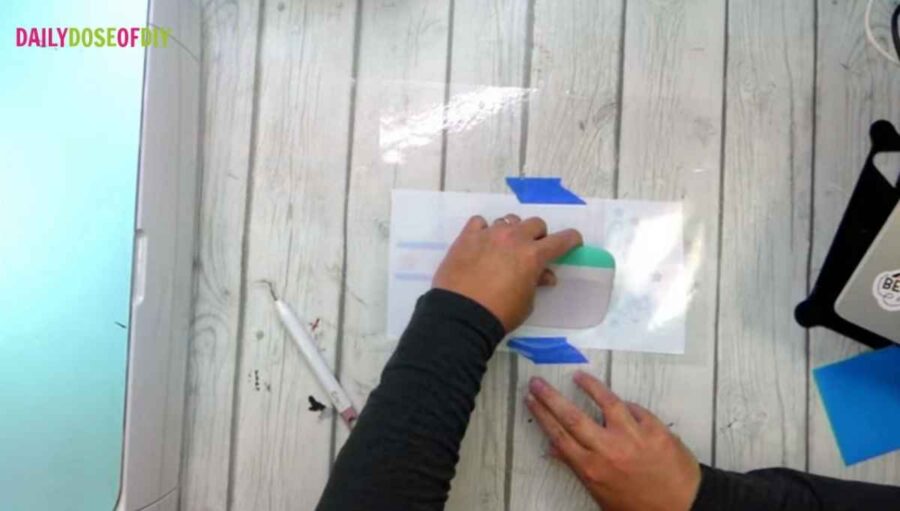
Now that the transfer tape has been started, removing the backing should be easy. Just grab the backing with one hand, and as you pull use your scraper in your other hand to press the transfer tape down.
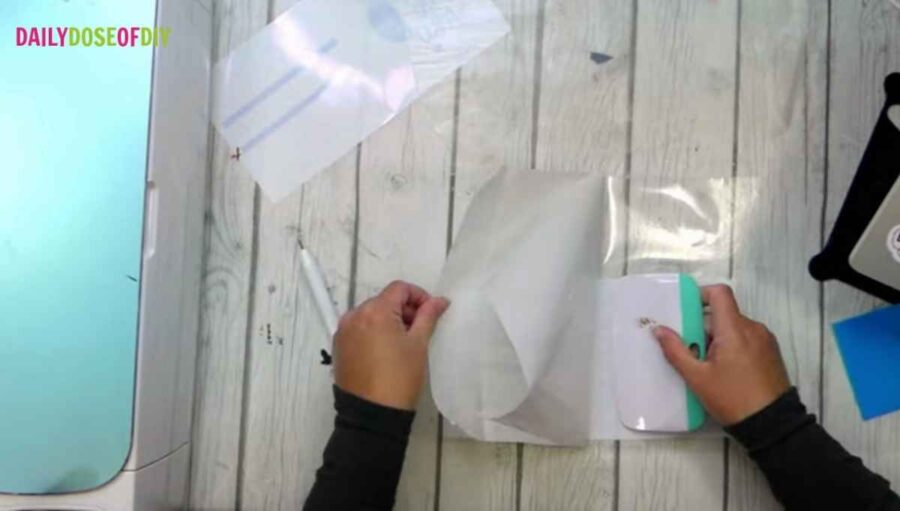
Use a scraper to rub the transfer tape and make sure it is stuck to the vinyl. This is called burnishing. Once you’ve done that you can turn the design over and remove the white backing from the vinyl.
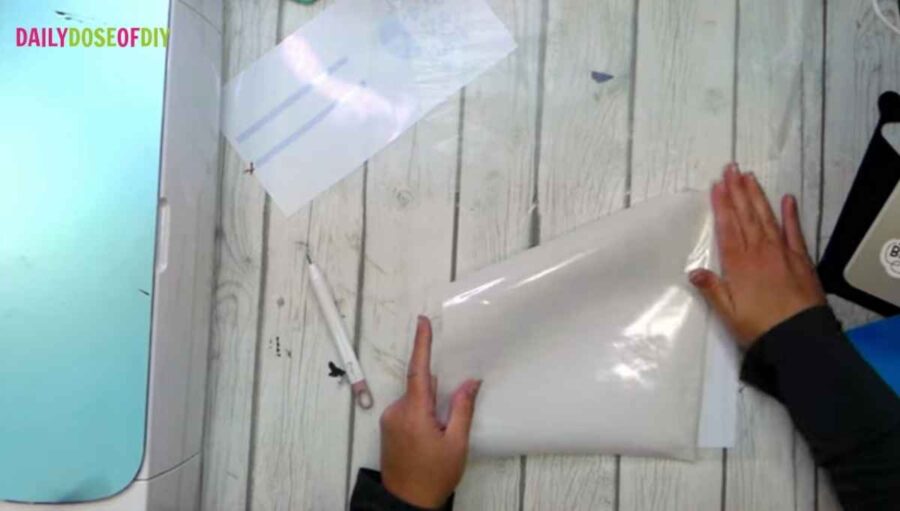
After you remove the backing, stick your vinyl design to the parchment paper. Make sure you leave the excess transfer tape above the parchment.
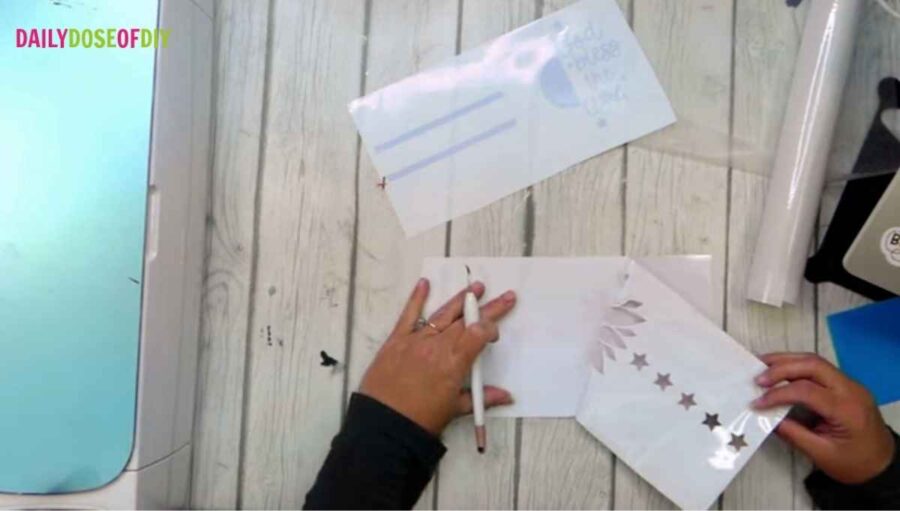
Layer the Vinyl
Now, with the first vinyl layer being covered by parchment paper you can place the second layer underneath it without them being stuck together. But because parchment paper is see-through, you’ll be able to line the layers up perfectly before putting them together.
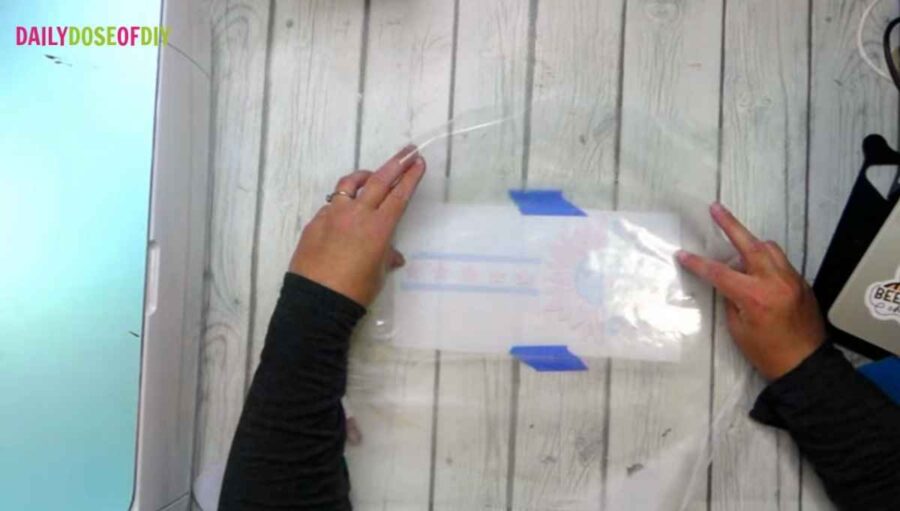
Once you have the bottom layer exactly where it needs to be, use two pieces of tape to secure it to the table. The top layer should be secured in place by the excess transfer tape that you stuck to the table.
Before your remove the parchment, place the top layer down onto the bottom layer one more time and double check that the layers still line up perfectly.
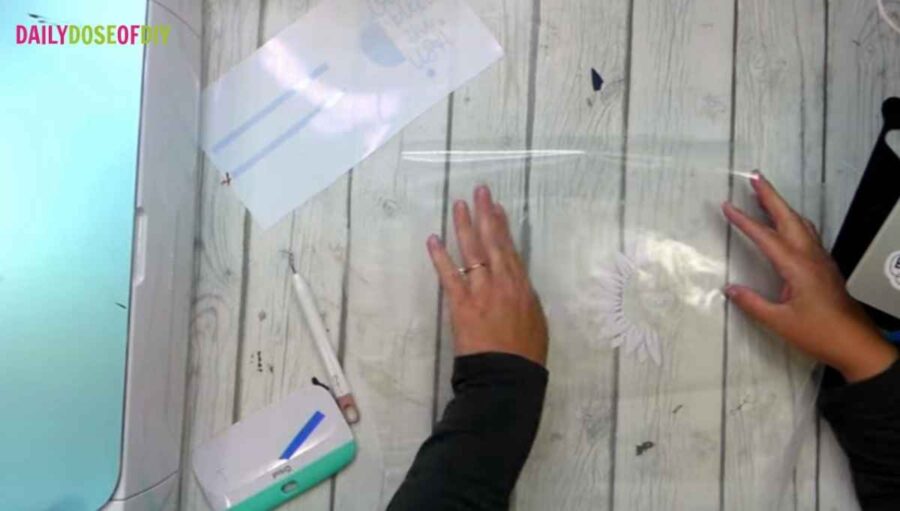
Once you’ve checked that the layers are still in place, you can fold back the top layer and remove the parchment paper. When you do this make sure that the excess transfer tape doesn’t come off of the table.
Now, to layer the vinyl, bring the top layer down by pulling it taut at a 45 degree angle and slowly bring it down onto the bottom layer. Use your scraper to burnish the layers.
Now your design is layered. You can pull it up from the table and cut off the excess transfer tape from the design.
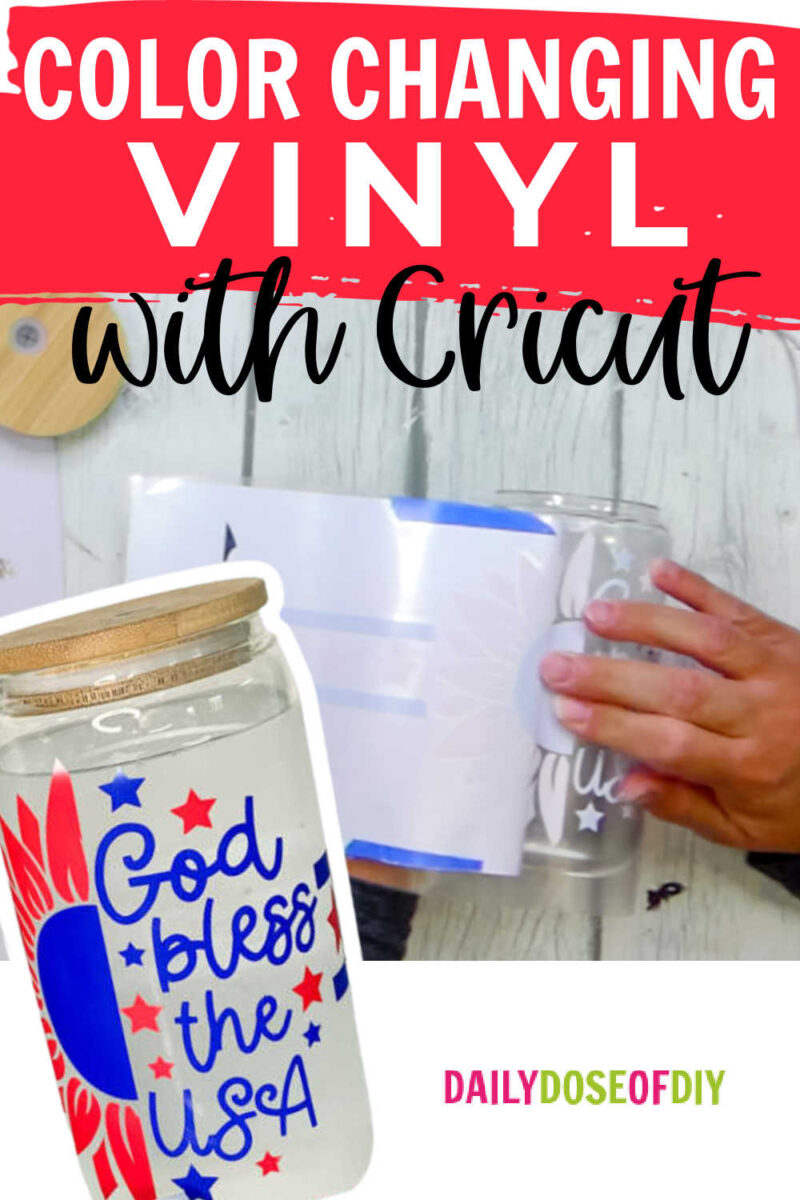
Step 3: Place the Vinyl onto the Can Glass
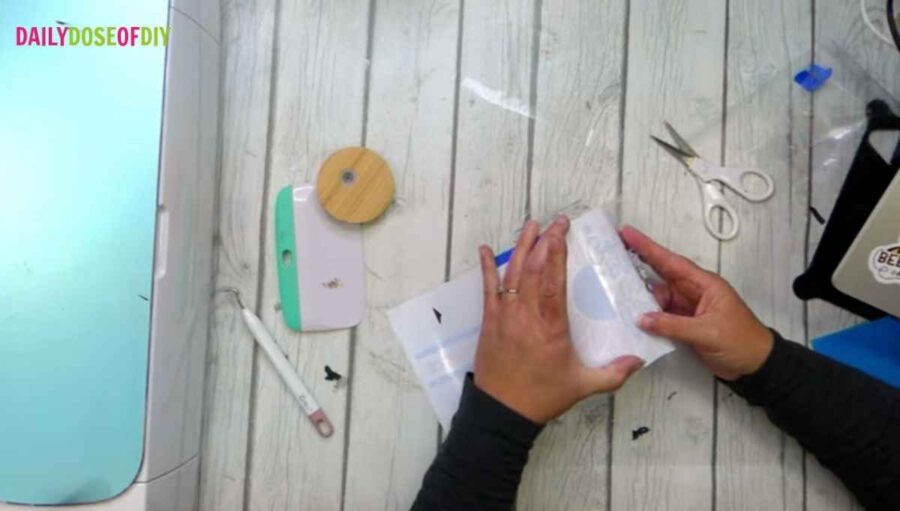
To start the transfer onto the glass, pull the backing off of one side of your vinyl and fold it down. DO NOT stick any part of the vinyl to the glass yet.
Before you put any part of your vinyl down you need to make sure the design is lined up straight on the cup.
Once you’ve aligned the design, stick the transfer tape down on the side that has no backing. Just like we did the last time, start pulling the backing away from the vinyl while smoothing it down with the fingers of the opposite hand as you go around the cup.
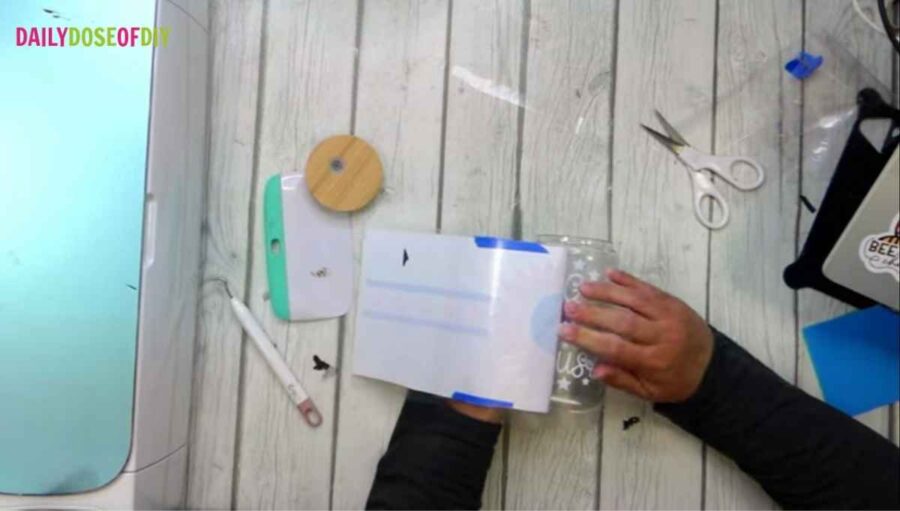
As you get close to the end of your vinyl, slow down. Before you can put the end of your vinyl onto the glass, you’ll need to start pulling the transfer tape up where you started. If you don’t do this, your vinyl could overlap your transfer tape and you won’t be able to pull it off.
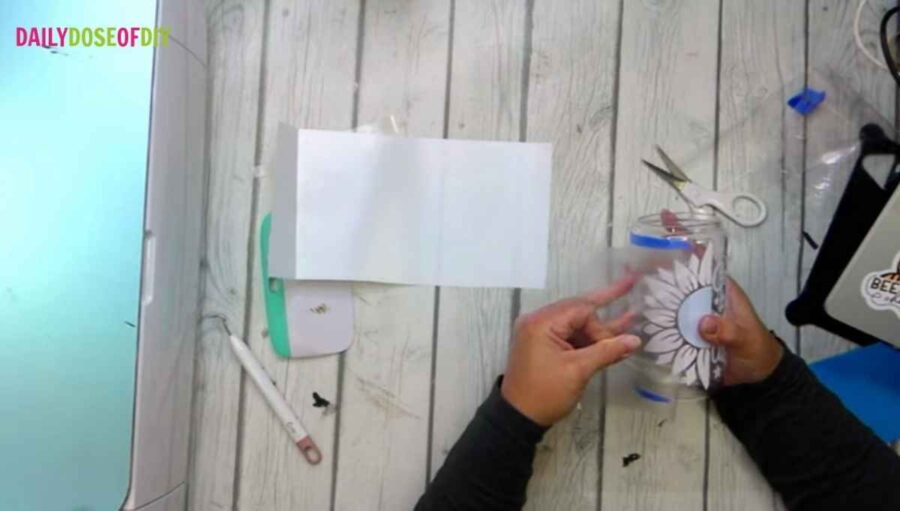
Finish smoothing down your design, then burnish the vinyl to make sure it stays on your cup. Once you’ve done that you can remove your transfer tape.
Pull your transfer tape away from your design at 180 degrees (or flat against the cup). This will help keep the vinyl on your cup and not peeling up with the transfer tape.
And that’s it! Now find some cold water to pour in your glass and watch as it changes color. It’s like magic!
Thanks for crafting with me today!

Chris Butler has helped thousands of crafters learn how to use their Cricut machine without feeling overwhelmed. She is a best selling author and an up and coming designer. For fun Chris enjoys designing SVG Files, hanging out with her family (preferably at the lake), traveling, and volunteering at her church. She is a wife and mom of two crazy fun kids.
CAN I DO THIS PROJECT WITH MY JOY CRICUT? IT IS THE DIY ON GLASS WITH COLORED VINYL .
THANK YOU!!