This post may contain affiliate links for your convenience. If you make a purchase through one of my links I will earn a small commission at no additional cost to you.
Last Updated on April 22, 2023 by Chris Butler
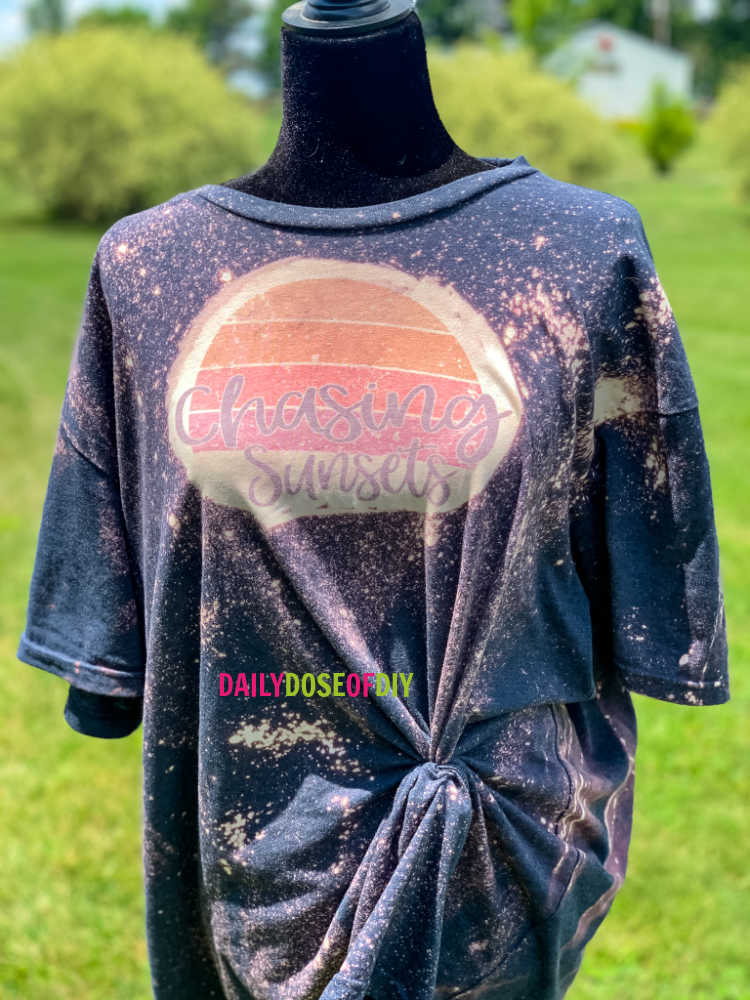
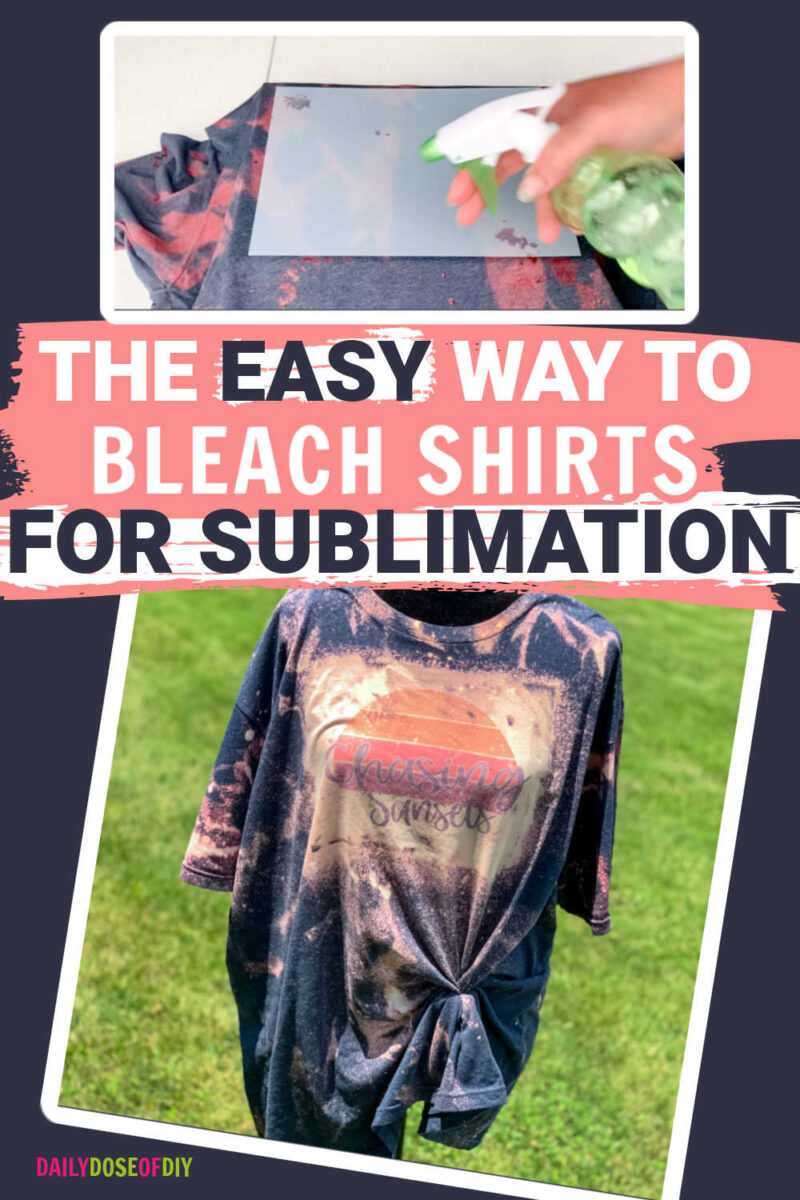
Hi crafty friends! Are you ready to try bleaching shirts for sublimation? It’s such a fun way to make shirts. In this post, you’ll learn two easy ways to bleach shirts for your sublimation crafts.
The first method we’ll sublimate our design on the shirt and then bleach it. And the second method we’ll bleach the shirt first and then sublimate. Both ways are easy peasy and I love how each shirt is unique. You will too.
If you’re new to sublimation be sure to check out my Sublimation for Beginners Post HERE. It’s the complete step-by-step guide you need to get going.
Let’s get started:
Quick Links to Information in This Post
Bleaching Shirts for Sublimation Supplies Needed:
- Shirt – at least 40% polyester. I’m using Next Level Brand found HERE -it has a super soft feel
- Bleach
- Spray Bottle
- Brush
- Cardboard or Plastic (a trash bag will work)
- Cricut EasyPress or Heat Press
- Printed Sublimation Design -Be sure to get my free Chasing Sunsets Sublimation Design, details below
- Heat Resistant Tape
- You should probably wear gloves and old clothes for the bleaching process
To grab the free SVG for this craft fill out the simple form below
All of my free SVG files and Designs are kept in a library for your convenience. Simply CLICK HERE to get access. We will send you the link and password right away and you’re free to use all the resources you want in the library.
Already have the password? (It’s at the bottom of every email) Enter the Library Here
Remember Sublimation ink bonds to polyester. The higher the polyester count in your shirt the more vibrant your transfer will be. This will not work on 100% cotton shirts.
Related: The Best Shirts to Use for Bleaching and Sublimation
The best shirts to get are usually a poly-blend. The heather colors from Bella Canvas and Next level generally have higher polyester counts. My shirt is 40% polyester which will give the design a nice faded look.
Stay tuned for the best shirts to buy for bleach sublimation shirts. That’s coming up in the next post.
Method One: Bleaching Your Shirt After Sublimation
When you bleach your shirt after sublimation you’ll start with sublimating your shirt. So get your heat press warmed up to 400 degrees.
Step One: Sublimate Your Shirt
Once your heat press is warmed up, pre-heat your shirt for 10-15 seconds. This will help remove the moisture from your shirt. In the video below I show you how I fold my shirt in half for the pre-press to mark the center of my shirt.
(Insert Video)

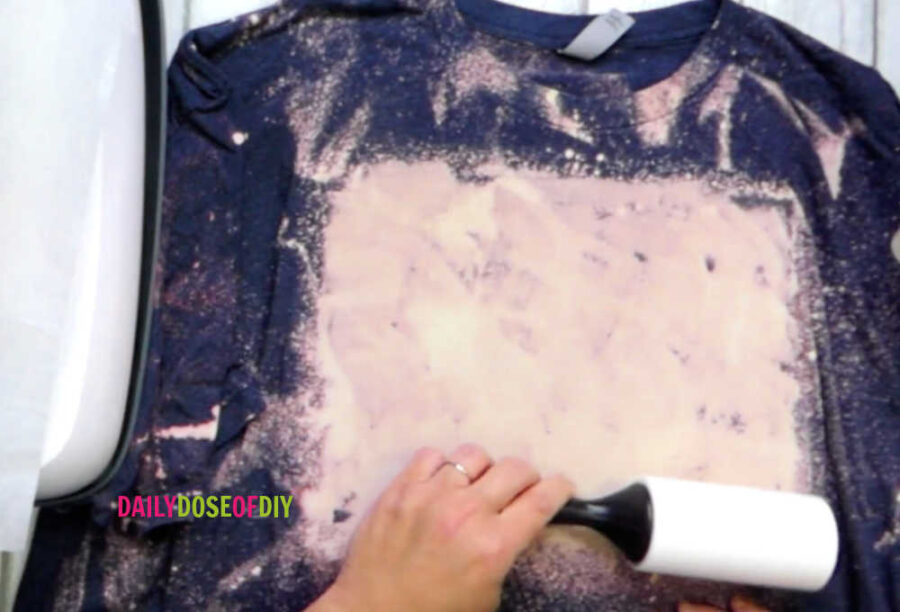
Next use a lint remover to clean your shirt. Once your shirt is cleaned off and cooled down, center your sublimation design about 2 inches down from the bottom of the collar.
Then tape down your design with heat-resistant tape on all four sides to keep it secure. Place a piece of parchment or butcher paper over your design and press at 400 degrees for 60 seconds.
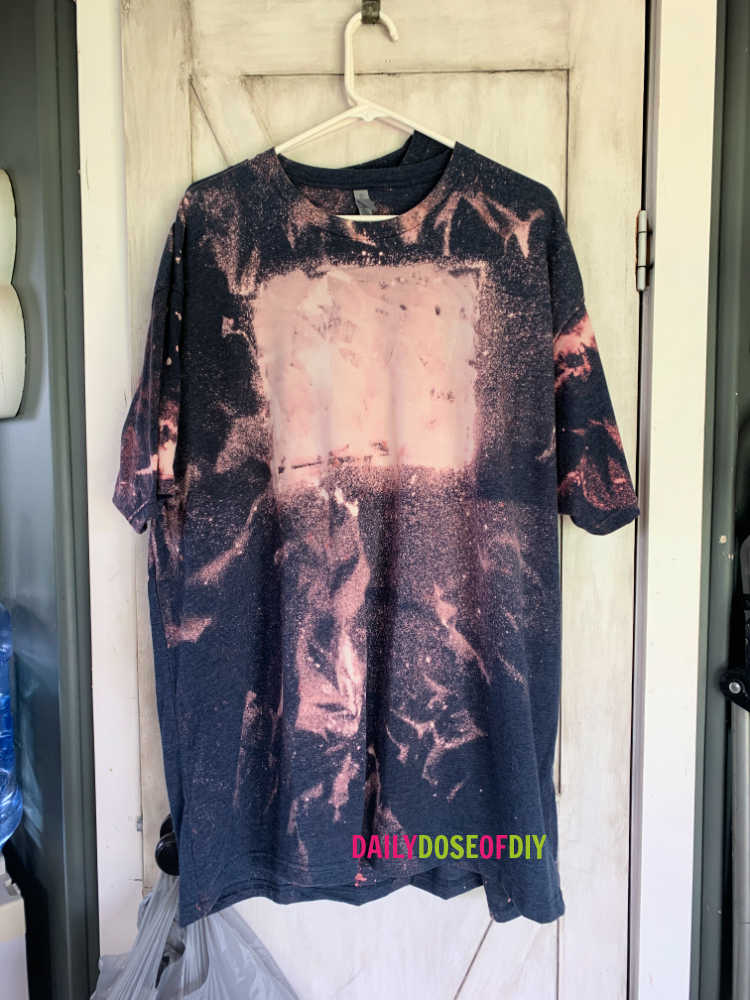
Once the shirt has cooled remove the parchment paper and the sublimation paper. Now we’re ready to bleach
Step Two: Protect Your Shirt
Grab a piece of cardboard or a garbage bag and place it inside your shirt. We don’t want the bleach bleeding through to the back of the shirt. I do think cardboard is easier to work with and I’m using a cardboard box.
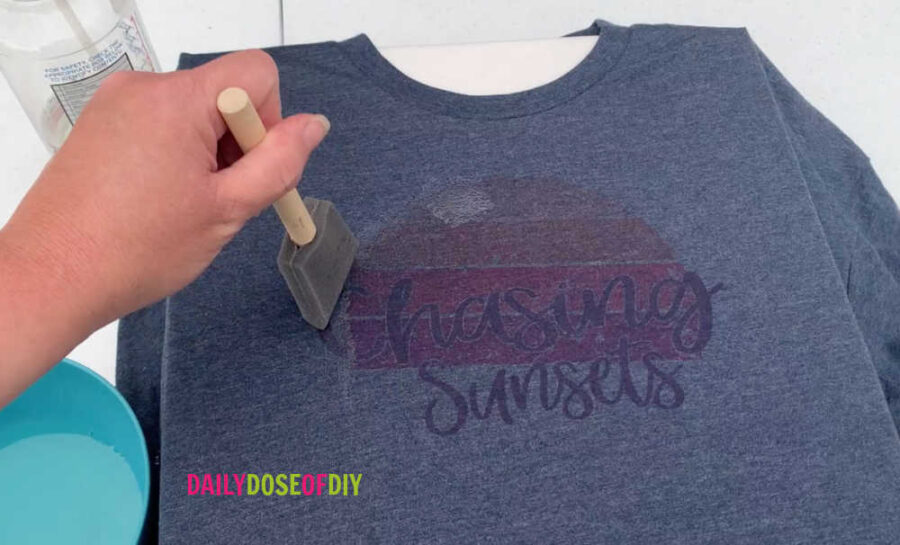
Step Three: Outline Your Design with Bleach
Next, carefully pour some bleach into a container and grab your paintbrush. I’m using a foam brush, but it’s not my favorite. It tends to stick to the fabric. A chippy paint brush or any old brush will do.
Dip your brush into the bleach and begin outlining your sublimation design. Your design will not fade or be affected by the bleach.
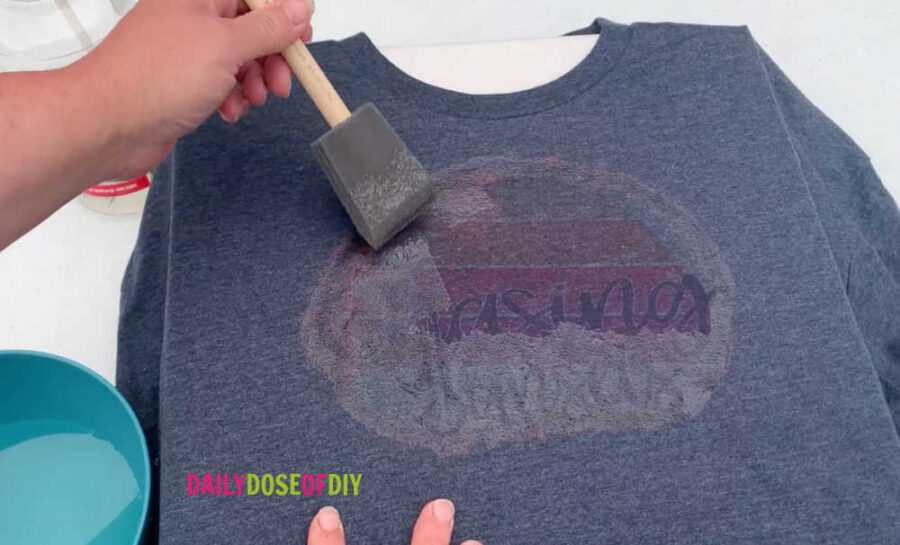
Step Four: Cover the Whole Design in Bleach
When your outline is done fill it in and bleach over your entire sublimation design. The color of the shirt will bleach out making your design pop.
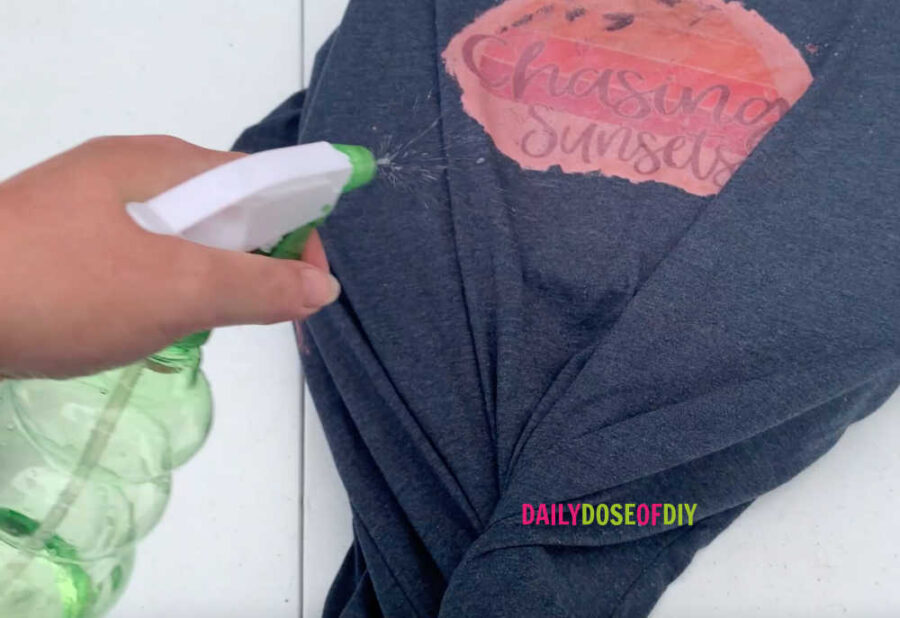
Step Five: Spray Bleach Your Shirt
Once the design area is bleached we get to have fun bleaching the rest of the shirt. You can do this by repeatedly dipping your brush in the bleach and splattering it all around your shirt. But my favorite way is to use a spray bottle.
Fill a spray bottle with bleach and begin randomly spraying the front of the shirt with light sprays. You can twist the bottom and the sleeves (or bunch them up) before bleaching for a super cool effect.
Step Six: Let the Shirt Dry
After you’re done bleaching you’ll want to hang your shirt up to dry completely. I haven’t noticed any difference in whether I hang it in the sun or not. Other than it dries faster. So even if it’s not a sunny day go ahead and bleach your shirts.
Step Seven: Rinse Your Bleached Shirt
Finally you want to rinse your shirt in cold water. I just throw mine in the washing machine on rinse cycle with cold water. If you decide to do a full wash just use a little bit of detergent and don’t use fabric softener.
Hang your shirt to dry again and then you’re ready to wash and wear it!
Method Two: Bleach Your Shirt Before You Sublimate
You can also bleach your shirt before you sublimate on it. This gives the shirt a whole different look that’s super fun. You can also use this method and apply heat transfer vinyl instead of sublimation transfers.
Step One: Bleach Your Shirt
If you want bleach shirts all over your shirt start with bunching up and/or twisting your shirt. Then grab your spray bottle and with a light mist spray all over the shirt.
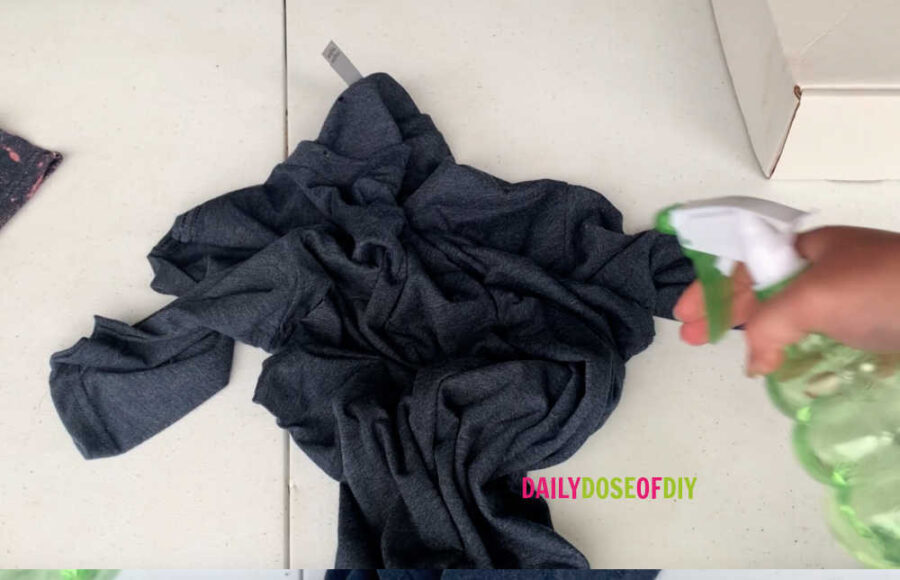
Next, I like to smooth out the shirt and switch my sprayer to the strong spray and give the shirt a few more squirts of bleach.
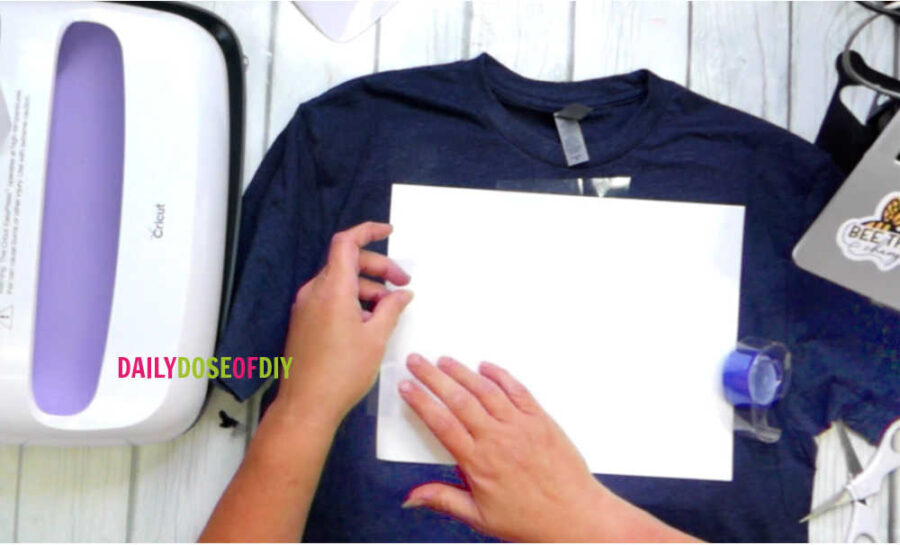
Step Two: Use a Template to Outline the Design Area
After you’re done spraying the shirt place your cardboard or plastic inside the shirt to protect the back.
I am using an 8.5×11 sheet of plastic to outline my design area. You could cut other shapes out of mylar if you want your design area a circle or something else. Just make sure to cut your template bigger than the size of the design by a few inches on each side.
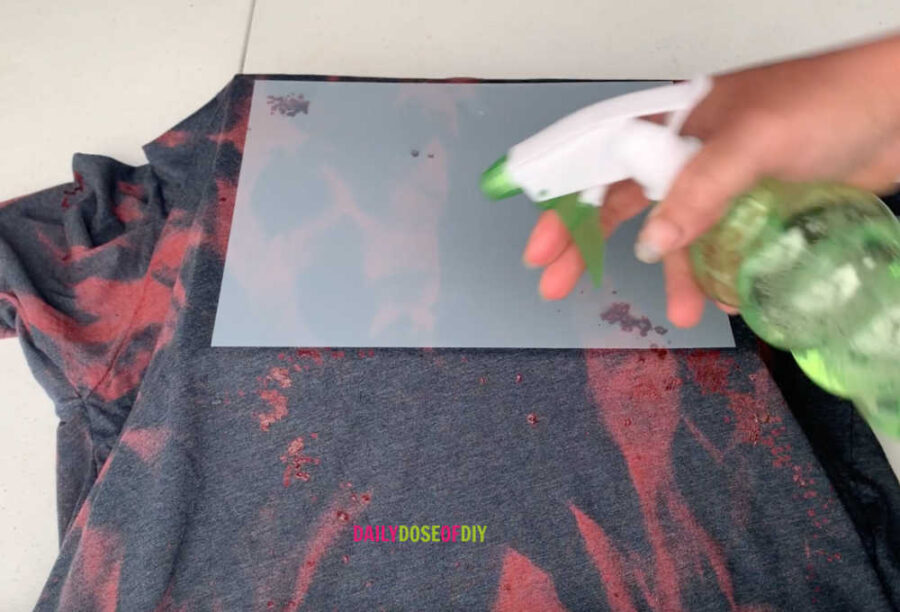
Lay your design area template on your shirt and using the light mist spray along the outer edge. This will give your design area a nice splattered edge and your design area will be nice and even.
Anyone ever start bleaching without a template and the design area keeps getting bigger and bigger as you try to even out the sides? No?? Just me? Using a template is a game changer and the easiest way to have consistent results.
Step Three: Bleach the Design Area
Once you have your outline of the design area done grab your container of bleach and a brush and “paint” with the bleach in the print area. Make sure you get all parts of the design area bleached.
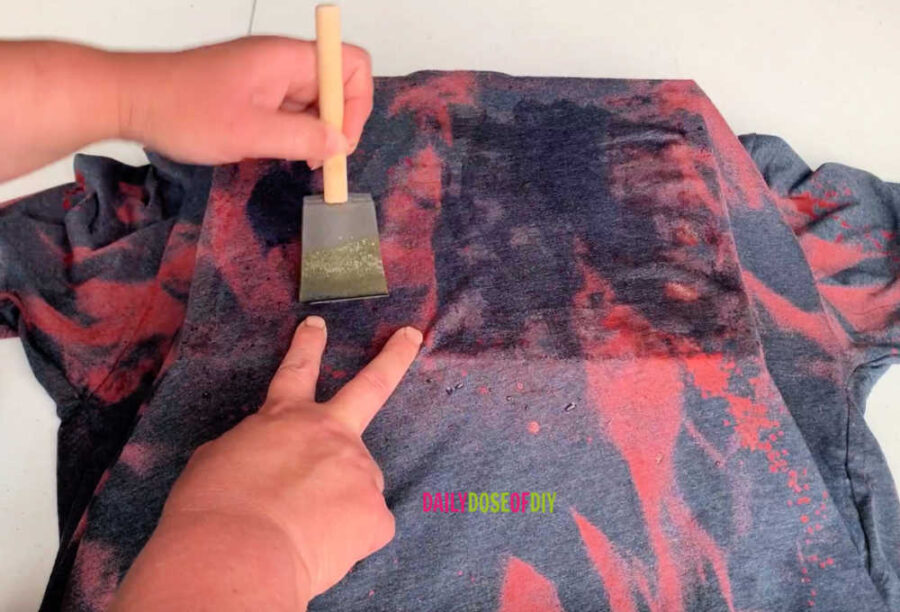
If you want a more rustic look you can use less bleach in some areas, but that might make part of your design harder to see.
Step Four: Hang Your Shirt to Dry
Once you’re done bleaching your shirt hang it up to dry. Hanging it in the sun will help it dry faster, but I haven’t noticed that it makes the bleach “activate” any more than hanging inside. It was raining when I bleached these shirts so I hung them all over my house to dry.
Step Five: Rinse and Dry Shirt
Once the bleach is dry you want to rinse your shirt in cold water and then hang it to dry again. After it dries we’re ready to add our Sublimation Design
Don’t forget to get your free Chasing Sunsets Design!
To grab the free SVG for this craft fill out the simple form below
All of my free SVG files and Designs are kept in a library for your convenience. Simply CLICK HERE to get access. We will send you the link and password right away and you’re free to use all the resources you want in the library.
Already have the password? (It’s at the bottom of every email) Enter the Library Here
Step Six: Sublimate on your Bleached Shirt
Pre-heat your heat press to 400 degrees and get your sublimation design ready. The sublimation printer I am using is the Epson EcoTank along with Hiipoo Sublimation Ink and transfer sheets.
Pre-press your shirt to get all of the moisture out and then use your lint roller to remove debris.
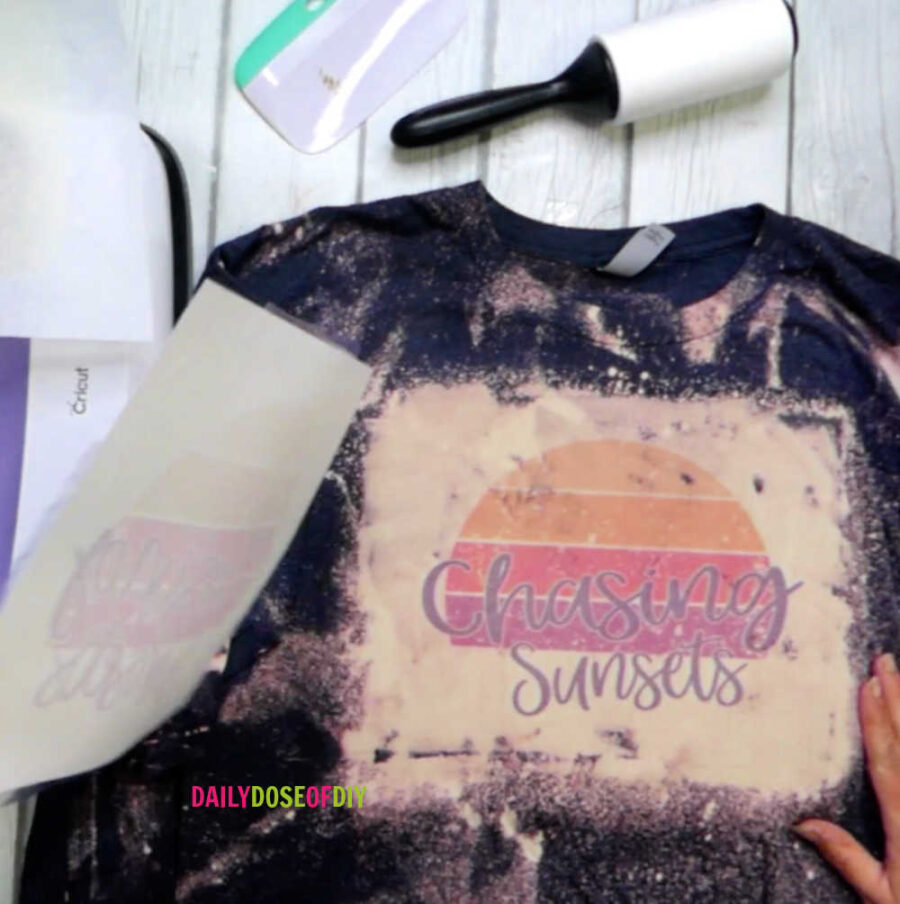
Place your design on the bleached area. You should be able to see through your sublimation paper to line up your design. Once it’s set tape down all four sides with heat-resistant tape.
Cover the design with parchment or butcher paper and press at 400 degrees for 60 seconds.
After the time is up and it has cooled down remove the sublimation paper and your shirt is ready to wash and wear.
Now you know how to bleach shirts for sublimation in two different ways. And you learned that using a template is the best way to stay consistent when you bleach your shirt first. Bleaching shirts for sublimation is so much fun, I know you’re going to love it.
Don’t forget to get your free chasing sunsets sublimation design. Happy crafting!
Related: How to Make Sublimation Designs on Cricut

Chris Butler has helped thousands of crafters learn how to use their Cricut machine without feeling overwhelmed. She is a best selling author and an up and coming designer. For fun Chris enjoys designing SVG Files, hanging out with her family (preferably at the lake), traveling, and volunteering at her church. She is a wife and mom of two crazy fun kids.
Leave a Reply