This post may contain affiliate links for your convenience. If you make a purchase through one of my links I will earn a small commission at no additional cost to you.
Last Updated on December 19, 2023 by Chris Butler
Do you have kids who like to snoop and guess what their Christmas gifts are? Well I have a solution for you today. You’ll learn how to make Pull Tab Christmas Gift Tags with your Cricut that will keep who the gift is for hidden until Christmas Day.
And hiding the names behind a pull tab gift tag adds another element of fun to gift opening time. The kids get to pull back the tabs and pass the gift to the correct recipient. And if someone pulls back the tab early, you’ll know they’re peeking!
Best of all pull-tab gift tags are super quick and easy to make with your Cricut. You’ll have a whole batch cut in no time. And I have free SVG files for you to use so you can just upload to Design Space and go.
Need More Traditional Christmas Gift Tags that you can make with your Cricut? See this post with 6 different Christmas gift tag designs.
Let’s get started:

Quick Links to Information in This Post
Pull-Tab Gift Tags Supplies Needed
One-Sided Cardstock with Christmas Designs – https://amzn.to/3EWNvh7
OR Solid Color Card Stock
Bakers Twine
Glue
Cricut or other Cutting Machine – https://amzn.to/3yzIJnm
Light Blue or a Well Worn Green Cut Mat
Cricut Christmas Pull-Tab Gift Tags Video
STEP ONE: Get the Free Christmas Gift Tag SVG
The SVG cut file you will need is in my free SVG library. Fill out your first name and email and the link and password will be sent to you right away.
All of our free SVGs and Designs are kept in a library for your convenience. Fill out the simple form and we’ll send you the link and password to access the SVG files right away.
Already have the password? Enter the Library HERE
Once you’re in the library SVG files are in alphabetical order. You’ll find these near the top of the SVG list under 2021 Twelve Days of Christmas Hidden Name Gift Tags. Of course you are free to use any of the SVG in the library that you want, so feel free to browse around.
Once you have the SVG file upload it into Design Space. If you need more help downloading and uploading SVG files see this post.
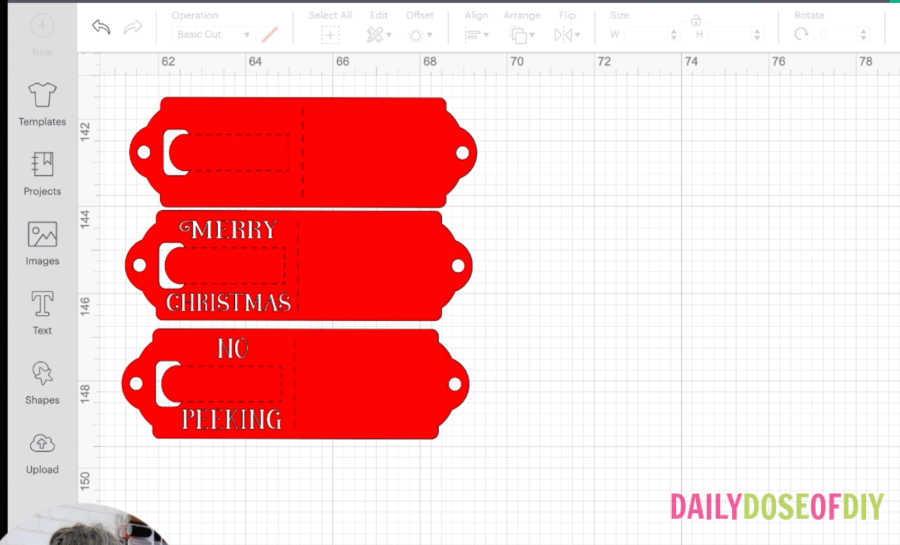
There are three designs available for you to choose from. If you don’t want to use one of the designs you can ungroup and delete it. Duplicate the designs you do want to use up to how many you need to make. Everything else is ready to go, no adjustments are needed so you can click the make it button when you are ready.
Step Two: Cut the Cricut Christmas Gift Tags
If you have an Explore set your dial to cardstock if you have a Maker or Explore 3 choose cardstock from the list of materials.
Line your cardstock up on the top left corner of your light blue cut mat with the design side up.
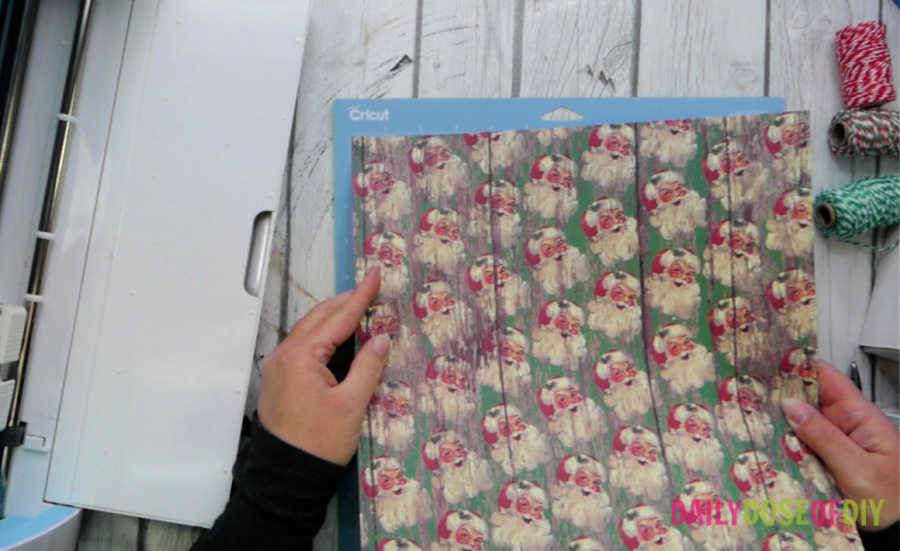
Insert the cardstock under the white tabs of your Cricut machine and press the load mat button. When the ‘C’ button starts flashing press it and Cricut will begin to cut the design.
After Cricut is done cutting flip your mat over and gently bend it back to get the gift tags to pop off the mat. This helps keep your gift tags from ripping or curling up after you remove them.

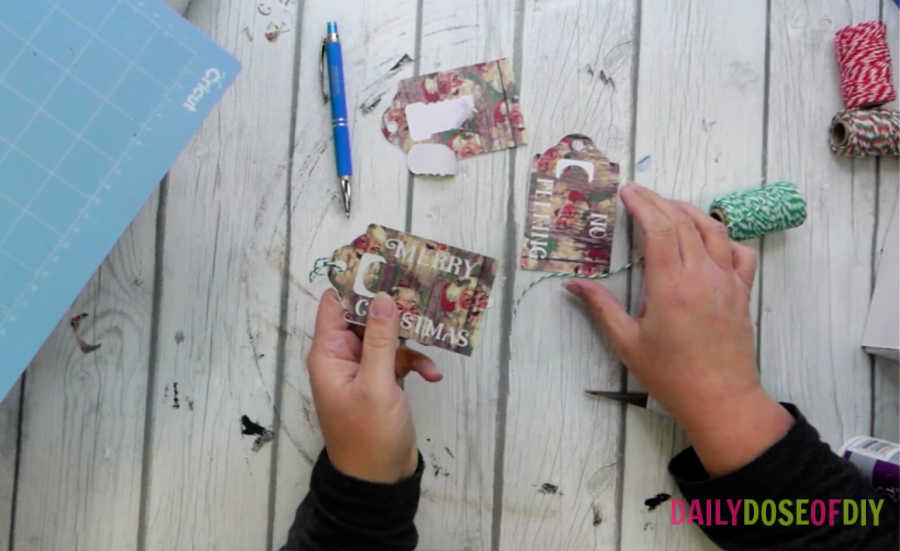
Step 3 Assemble Your Gift Tags
Fold the gift tags in half. the cut file includes perforations to make it easier to fold. Next, take a pencil and make two little marks on either side of the pull tab so you know where to write the name
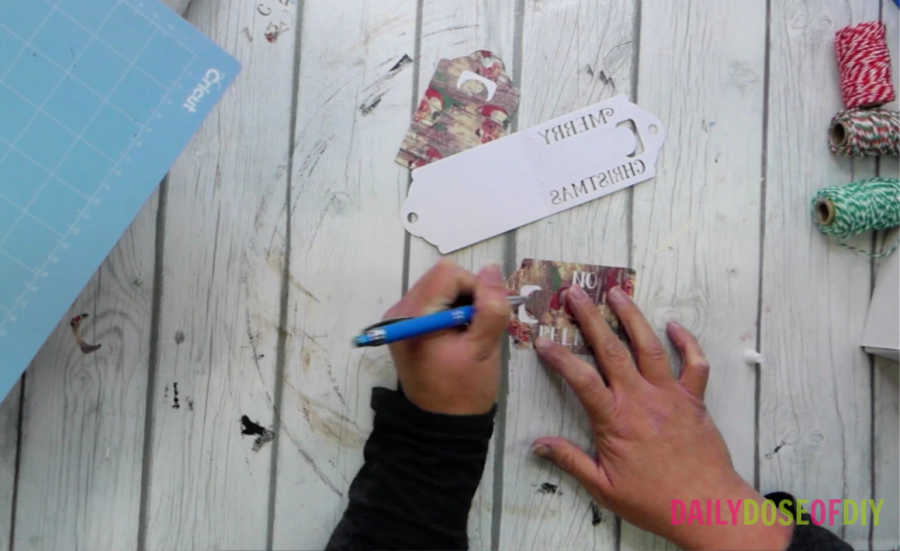
Open the gift tag back up and right your recipient’s name on the inside in between the two marks you just made.
TIP: You can make them so one person all has the same design or mix them up. I’m doing three designs per person to keep them guessing. If you use this method because you know who the gift belongs to I recommend making a note on your phone so you don’t forget.

Once the names are written on the inside grab your craft glue and glue them together. Add glue to the side where the pull tab is and DO NOT glue in between the pull tab area or you won’t be able to open your gift tag.
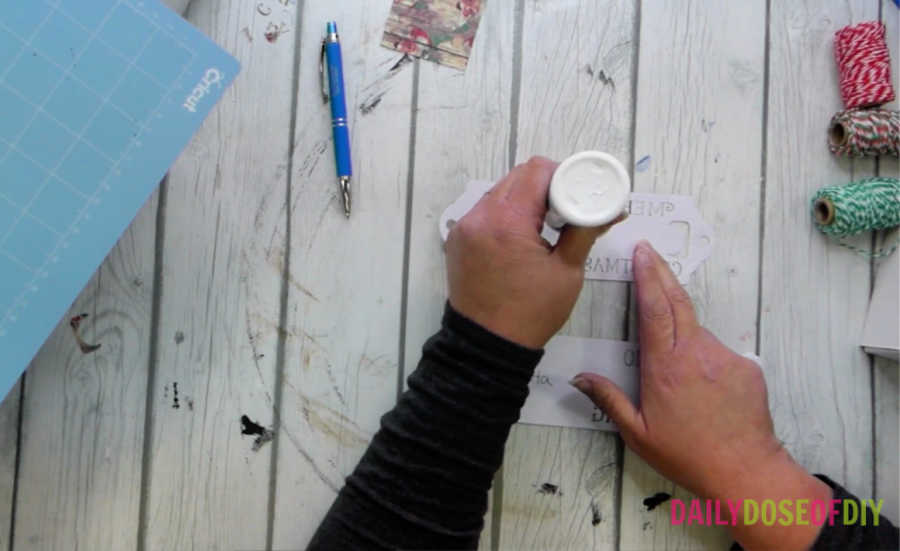
After you have applied glue to one side fold your gift tag back together and press to make sure the glue sticks. You can add a piece of tape to the back of the gift tags to attach them to wrapped presents or you can thread a piece of twine through the hole on the top to tie to a gift bag.
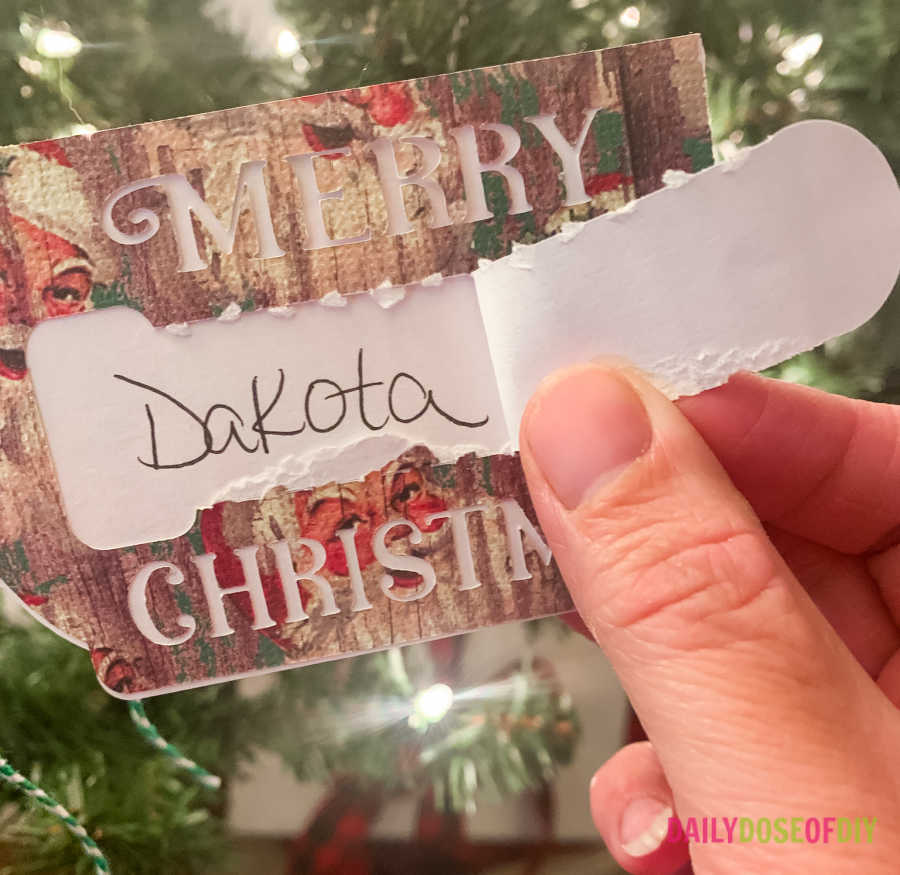
When it’s finally time to open gifts pull back the tab of the gift tag to reveal who the gift is for.
Don’t forget to grab your free SVG file to make these super fun gift tags here.
For more fun Cricut Christmas Crafts check out these projects
Make a 3D paper snowflake with your Cricut here
Make a Personalized Stocking Shaker out of Cardstock Here


Chris Butler has helped thousands of crafters learn how to use their Cricut machine without feeling overwhelmed. She is a best selling author and an up and coming designer. For fun Chris enjoys designing SVG Files, hanging out with her family (preferably at the lake), traveling, and volunteering at her church. She is a wife and mom of two crazy fun kids.
Leave a Reply