This post may contain affiliate links for your convenience. If you make a purchase through one of my links I will earn a small commission at no additional cost to you.
Last Updated on December 19, 2023 by Chris Butler
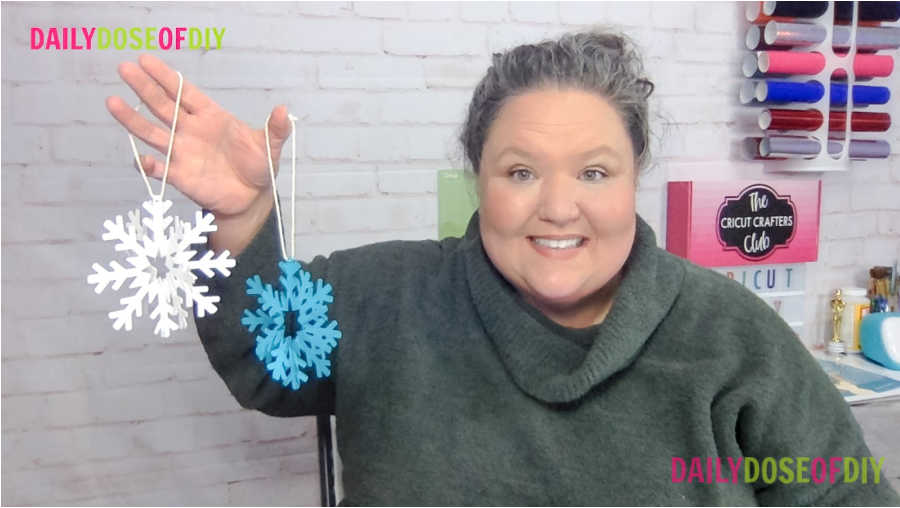
Hi Cricut crafty friends! I’m going to show you how to make these fun 3d paper snowflakes with your Cricut. You will be able to hang these snowflake decorations also to put on your tree or wherever you want to hand snowflakes. This is a great craft to get your kids involved in it’s fun and simple and easy to make.
I have a free Snowflake cut file for you to use in my free SVG library. I’ll show you how to get that in the video and in the written instructions down below.
Let’s get started!
Quick Links to Information in This Post
Hanging Snowflake Supplies Needed
- 80 Pound Solid Core Cardstock – https://amzn.to/3Ix8gSy
- Twine to Hang
- Tacky Glue
- Light Blue or a Well Worn Green Cut Mat
- Cricut Cutting Machine – https://amzn.to/3Gw15s2
- Hanging 3D Paper Snowflake Cut File (available below)
How to Make an Easy 3D Snowflake Video
How do You Make a 3d Snowflake?
The process to make a 3D paper snowflake is pretty easy. It’s made even easier with a cutting machine to do most of the work for you. I am making my snowflakes with a Cricut Maker, but you can also use a Cricut Explore or any cutting machine that uses SVG files.
To start you’re going to want to grab the 3d paper snowflake SVG file. I keep all of my SVGs in a library for your convenience. There are many SVG files to choose from. They are in alphabetical order and you’ll find this one at the very top of the SVG list under the heading 2021 Twelve Days of Christmas 3d Paper Snowflakes
To access the Free SVG library simply fill out your first name and email and I’ll send you the link and the password to access all of the SVGs.
All of our free SVGs and Designs are kept in a library for your convenience. Fill out the simple form and we’ll send you the link and password to access the SVG files right away.
Already have the password? Enter the Library HERE
Step One Upload the SVG File into Design Space
Once you get the SVG downloaded you’ll need to upload it into design space or your cutting machine’s software. For detailed instructions on how to download and upload SVG files see this post.
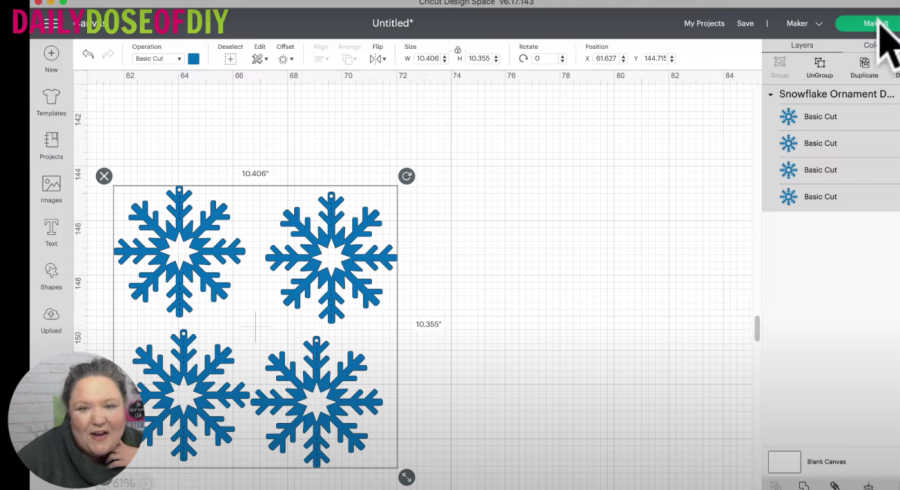
Once it’s in Design Space you do not need to do anything special. The file is ready to cut as is so you can click the Make It Button on the top right.
As is, this will make 3d Snowflakes that are about 4-5″ high. If you want to make large or giant paper snowflakes you can use the arrow on the bottom right corner of the file to adjust them as big or as small as you want.
Keep in mind that Cricut cuts a maximum of 11.5″ wide, but as far as snowflakes go, that will be pretty big!
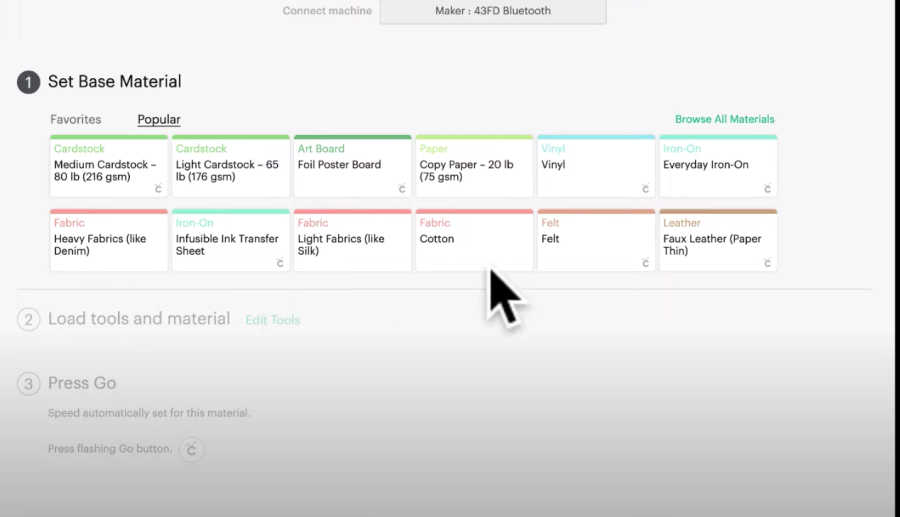
You also will not to make any changes on the mat screen, unless you want to adjust your paper size. So click continue. And then on the next screen you’ll want to choose 8lb cardstock from the materials list. If you’re working with a Cricut Explore turn your dial to custom and you’ll be able to see those materials.
Step Two: Load and Cut Your Paper Snowflake
Now we’re ready to place our cardstock on the cut mat. You’ll want to use your blue-cut mat for cardstock as it has a lighter grip. You can also use a well-worn green cut mat. When they are new green mats are so sticky it may tear your paper.
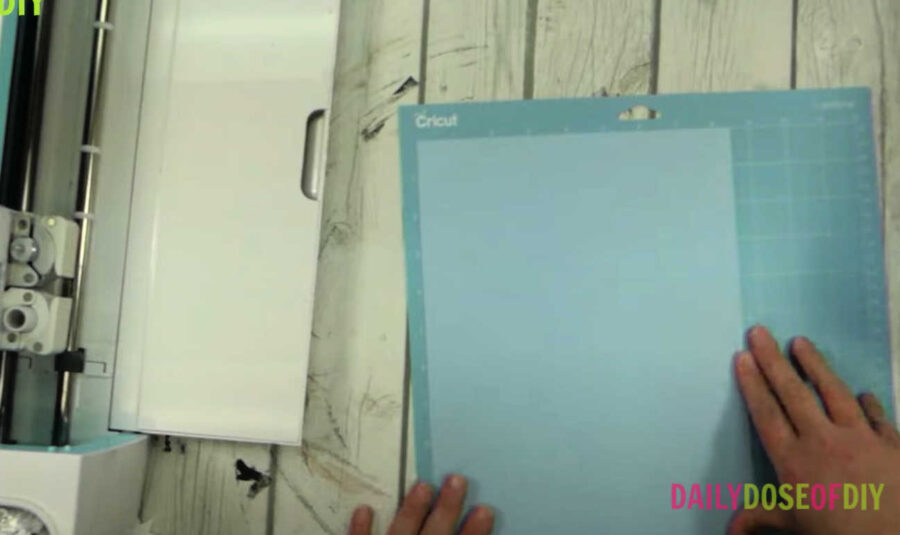
Line your cardstock up on the top left corner of your cut mat and smooth it down.
Next slide the cut mat under the two white tabs on your Cricut machine and hold it against the roller bar. At the same time press the flashing arrow button and Cricut will load your cut mat.
Once the mat is loaded, the C button will start to flash. Press that and Cricut will start to cut. When it’s finished the Arrow button will flash again and you will press that to unload your mat.

To remove the 3d snowflake form the cut mat, flip your mat over and gently peal it off the paper. This will make the paper “pop” off. There may still be some stuck parts that you can get with your fingernail or pry loose with your weeding tool.
This keeps your paper from curling and it’s less likely to tear. In the video I show you what happens when you try to peal the paper off the mat. Be sure not to bend your mat too hard, you just want to curl it back.
Step 3 Assemble the 3d Paper Snowflake
You’ll have 4 pieces of snowflakes when it’s done cutting. The cut file includes perforations down the center for you to fold them each in half. Fold each of the four snowflakes
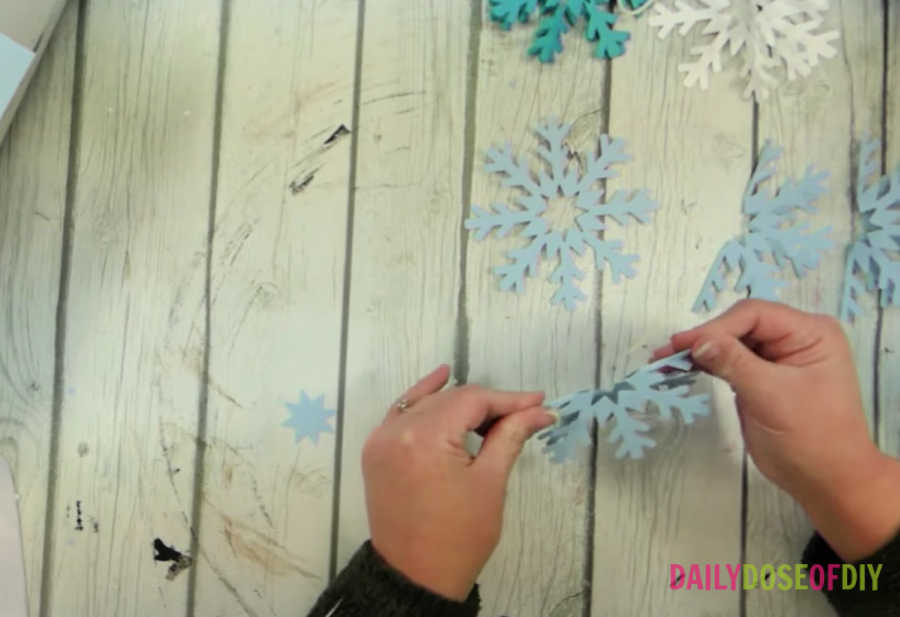
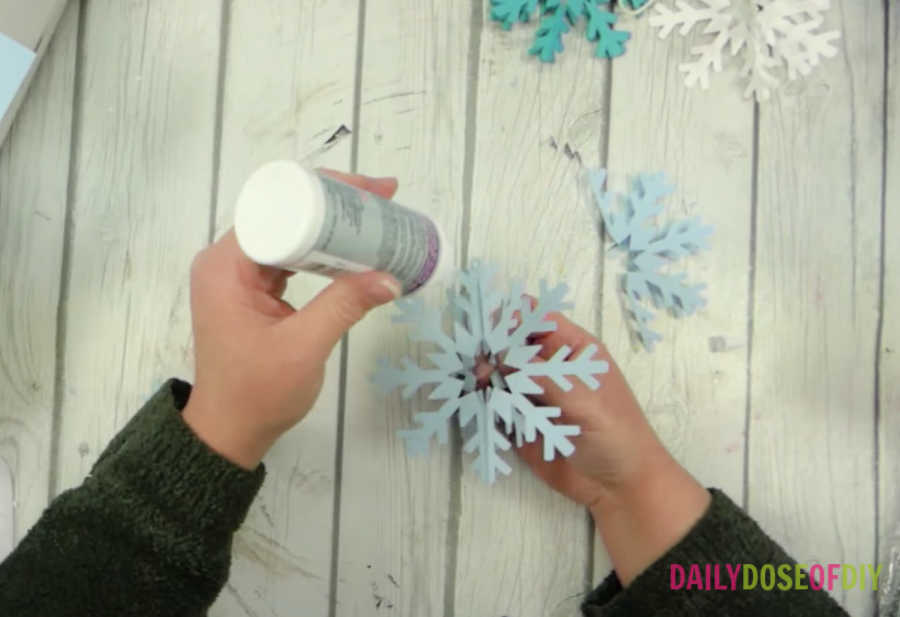
Once all of your snowflakes are folded, take add your craft glue to one side of the folded snowflake
Make sure you add glue to each part of the snowflake “arms”
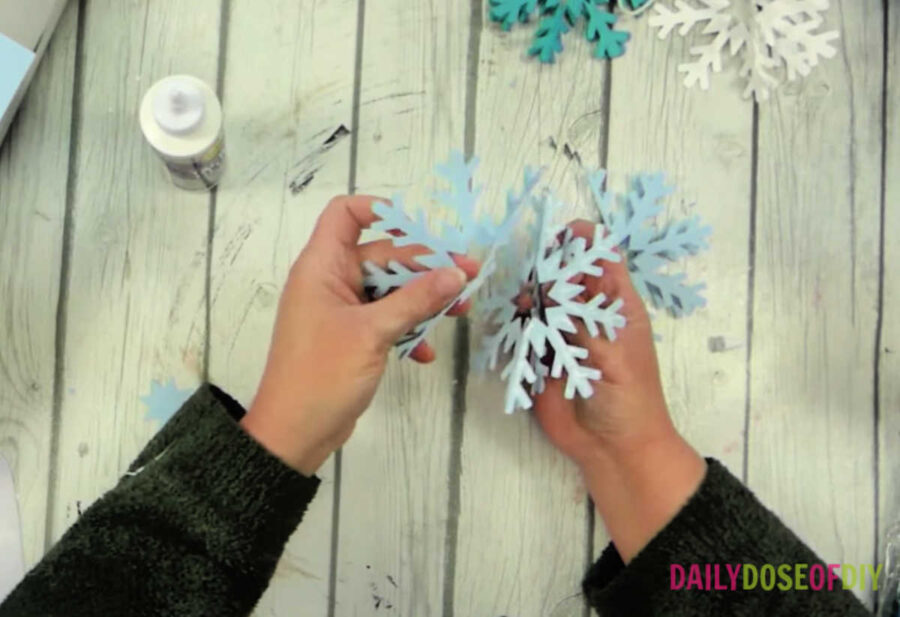
Now you’re going to grab another snowflake and attach it to the sid you just glued. Make sure the circle is at the top of both snowflake sides so we can hang the snowflake when we are done.
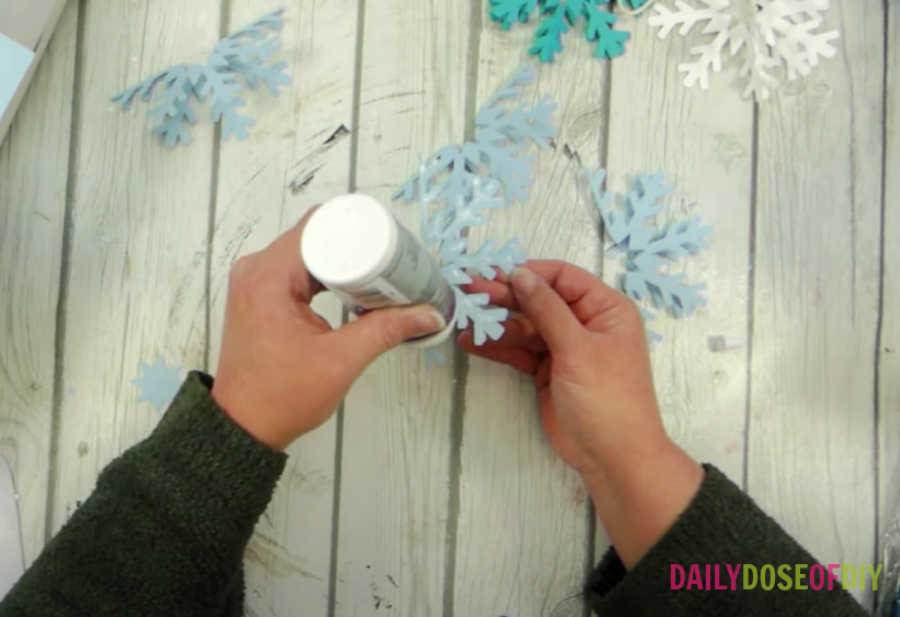
In the photo above I’m holding the 2 sides I just glued together. I’m going to repeat this process for each section of the snowflake. So you’ll need to add glue to half of the snowflake again.
Take the next snowflake with the circle at the top on both, attach one side to where you glued.
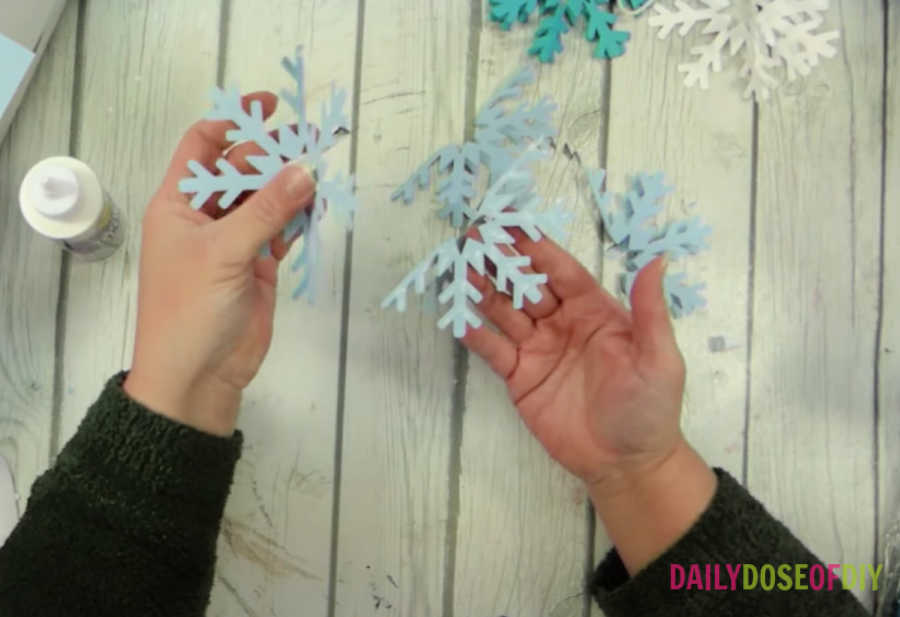
Now we only have one snowflake piece left and once that’s glued into place we’ll be almost finished!
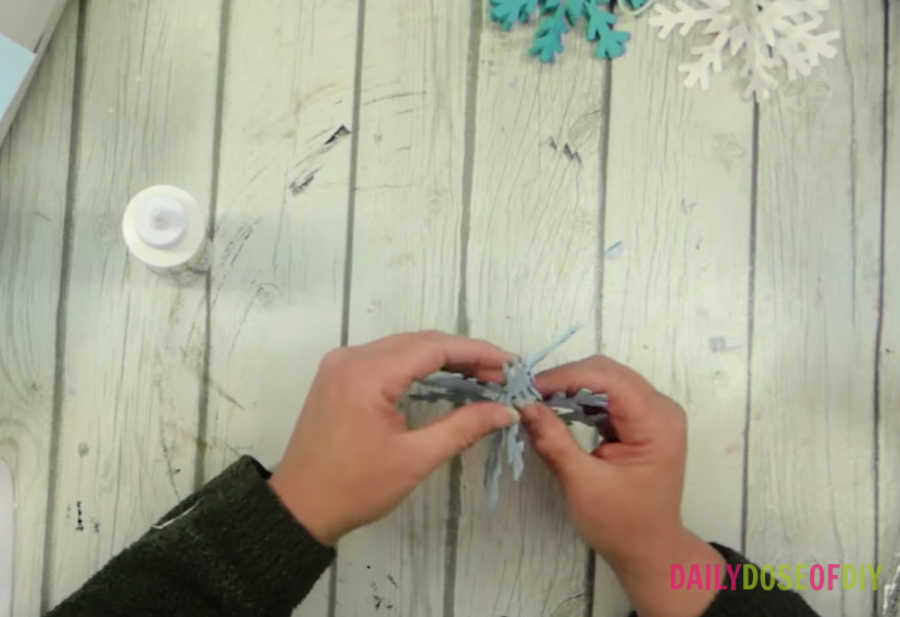
Once again put the sections you have glued together facing down. Facing up you should have 2 sides of the unglued snowflake.
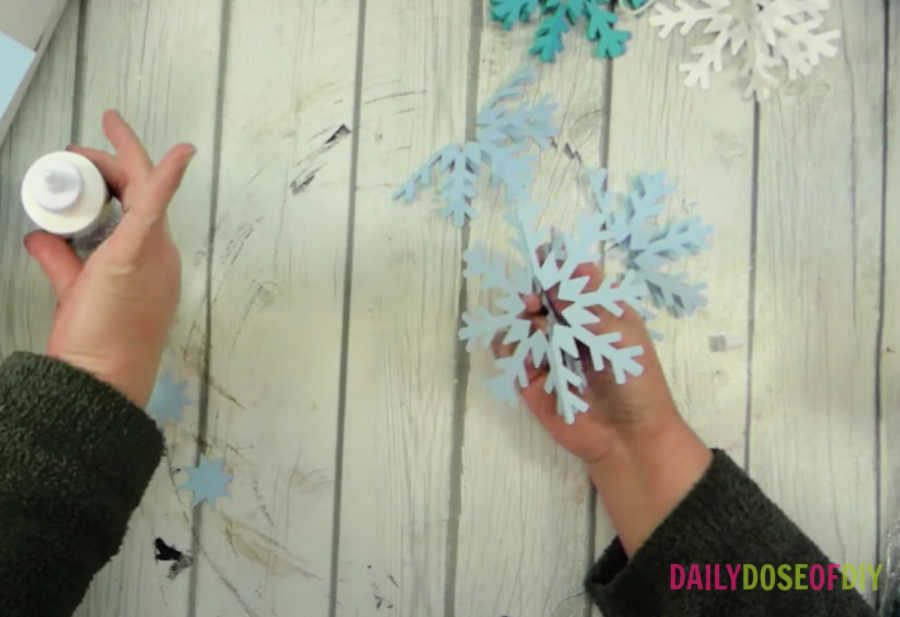
At this point you can put glue down both sides that are facing up. But it might be easier to line up if you stick to one side at a time. Once your glue is on, grab the last section of your snowflake and line it up to the section(s) you applied glue to.
Step 4 Add The Twine and Hang Your Snowflake
Now that all 4 sides of your snowflake is together it’s time to add the twine and your snowflake is ready to hang. Hopefully you kept all of the circles towards the top.
Cut off a piece of twine 8-10 inches long and thread one end through the hole on the top of your snowflake.
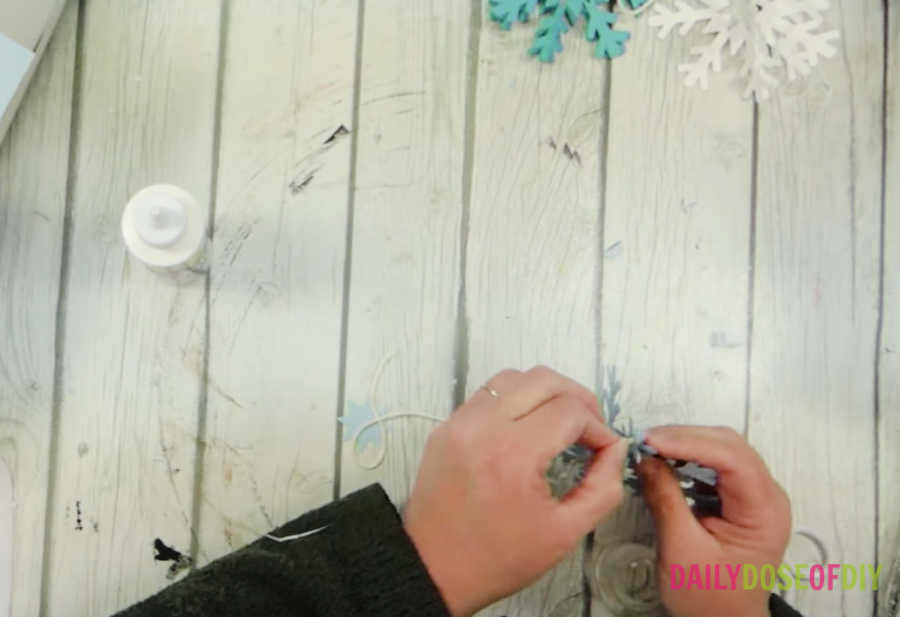
Once the string is through tie it together and trim the ends. Now your snowflake is ready to hang!
Thanks so much for crafting with me and making this 3D paper snowflake. Don’t forget to grab your free SVG file and access to the SVG library here.

Chris Butler has helped thousands of crafters learn how to use their Cricut machine without feeling overwhelmed. She is a best selling author and an up and coming designer. For fun Chris enjoys designing SVG Files, hanging out with her family (preferably at the lake), traveling, and volunteering at her church. She is a wife and mom of two crazy fun kids.
Leave a Reply