This post may contain affiliate links for your convenience. If you make a purchase through one of my links I will earn a small commission at no additional cost to you.
Last Updated on June 29, 2023 by Chris Butler
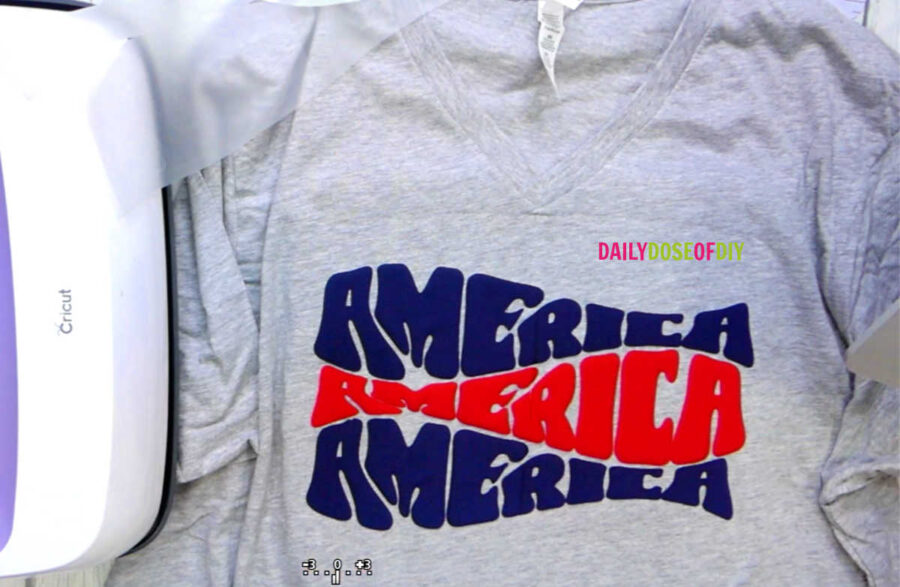
Hey there, fabulous Cricut crafters! Grab your favorite t-shirt and buckle up, because today we will talk about the magic of cutting and pressing puff vinyl!
Puff vinyl is like the cool kid at the craft party. The puff effect adds dimension and unique texture to your projects, making them stand out in a crowd. Imagine a design that not only catches the eye but also begs to be touched.
In this post, we’ll be your crafty guide, walking you through cutting and pressing puff vinyl with your Cricut machine. We’ll cover everything from choosing the right materials to ensuring your design comes out looking fabulously fluffy.
Plus, we’ll sprinkle in some handy tips and tricks along the way.
And to go with the puff vinyl trend, I’ll share three trendy retro designs with you so you can craft your own fabulous shirt.
Let’s get crafting.
Quick Links to Information in This Post
Supplies Needed
- T-shirt Blank – I adore Bella Canvas shirts – https://amzn.to/3JOldtJ
- Siser Easy Puff Vinyl in Your Choice of Colors – https://amzn.to/43TFV32
- Cricut Cutting Machine
- Cricut EasyPress or Standard Heat Press – https://amzn.to/42TL2iB
- Weeding Tool
- Scissors
- Optional – T-shirt Guides – https://amzn.to/3XrixYw
I am using my Cricut Maker for this craft, but it can be made with any of the Cricut machines, Silohuette, or other cutting machines.
A home iron is not recommended for pressing puff vinyl. Anything is possible but puff vinyl requires firm even pressure and can not be double pressed or it will lose it’s puff effect.
As for materials that you can press puff vinyl on, use cotton, polyester, or cotton-poly blends for best results.
Get the Designs for this Craft
I have three designs you can use for free, click the button below for access to the free SVG library.

To grab the free SVG for this craft fill out the simple form below
All of my free SVG files and Designs are kept in a library for your convenience. Simply CLICK HERE to get access. We will send you the link and password right away and you’re free to use all the resources you want in the library.
Already have the password? (It’s at the bottom of every email) Enter the Library Here
Step-by-Step Video

Cutting Puff Vinyl with Cricut
If you need help uploading and downloading designs into Cricut see this post.
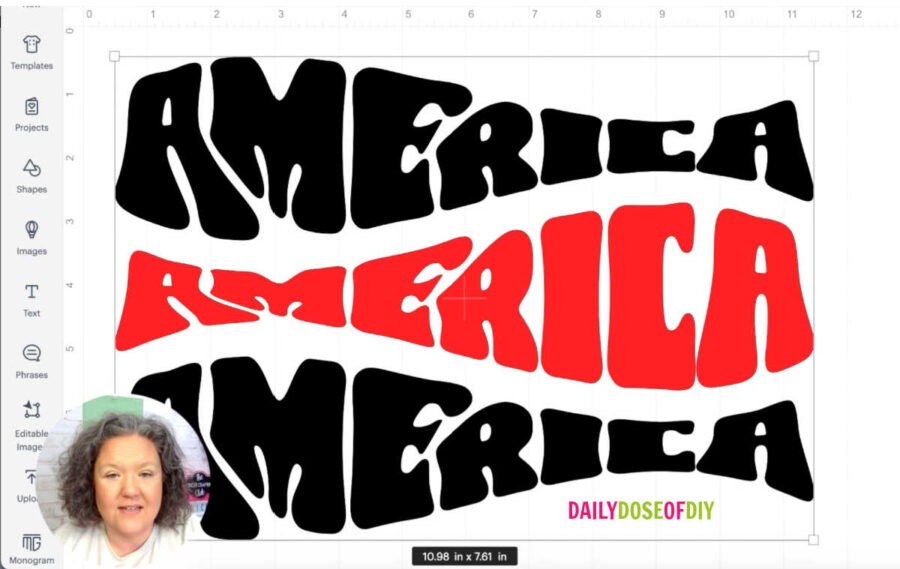
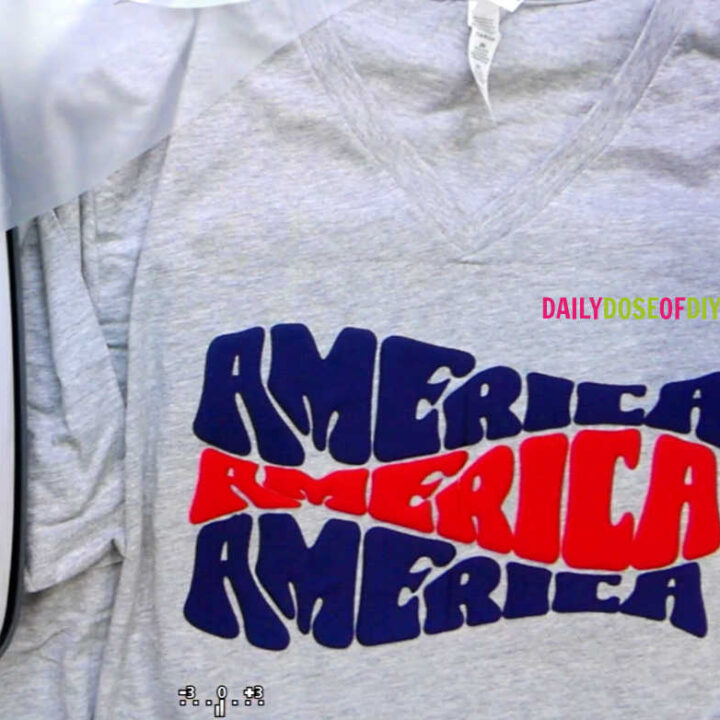
Once your design is in design space change the colors of the design to match the puff colors you will be using. I am using navy and red 3-d puff HTV by Siser for this project.
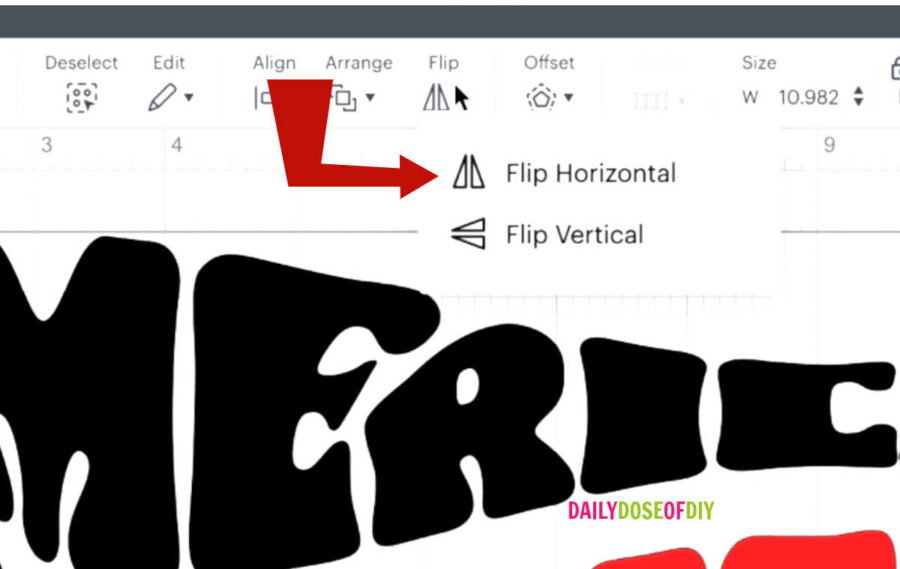
Tip: For HTV projects select your whole design and then go to the top menu and click FlIP > Flip Horizontally. This will mirror your image so you don’t have to mirror each individual cut mat. You’re welcome.
On the mat screen click continue (assuming you flipped your design in the previous step. If not mirror each cutting mat)
If you have a Cricut with a dial turn your dial to custom. Click the browse all materials list and type in Heat Transfer Vinyl -Non-Cricut. This is the best cut setting for 3-D Puff Heat Transfer Vinyl.
Like most HTV, puff vinyl comes with a clear carrier sheet.
The shiny side needs to be up on your cut mat, this is the vinyl side. The carrier side is more dull. This is the opposite of many other heat-transfer vinyls.
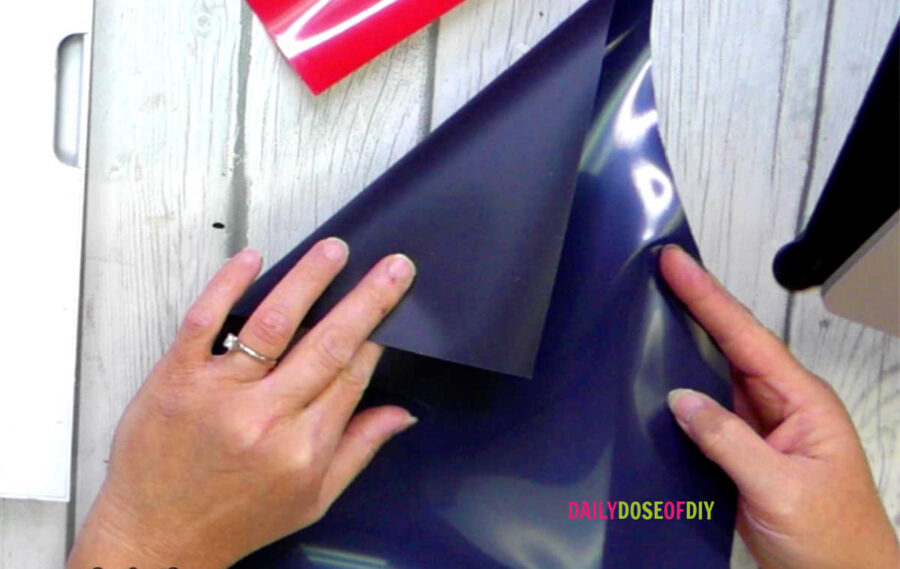
Stick the puff vinyl sheet to your green standard cut mat, making sure it’s lined up along the top and left side.
TIP: If you’re not sure which side is the shiny side use your weeding tool and poke one of the corners. If you are on the vinyl side, your weeding tool will poke through and you’ll be able to lift it off the carrier sheet.
Insert your cut mat into your Cricut machine and click the Go button.
Weeding Puff Vinyl
After it’s finished cutting, unload the mat and flip it over to remove the vinyl from the mat. Use scissors to trim the excess material away. You can use these scrap pieces for another project.
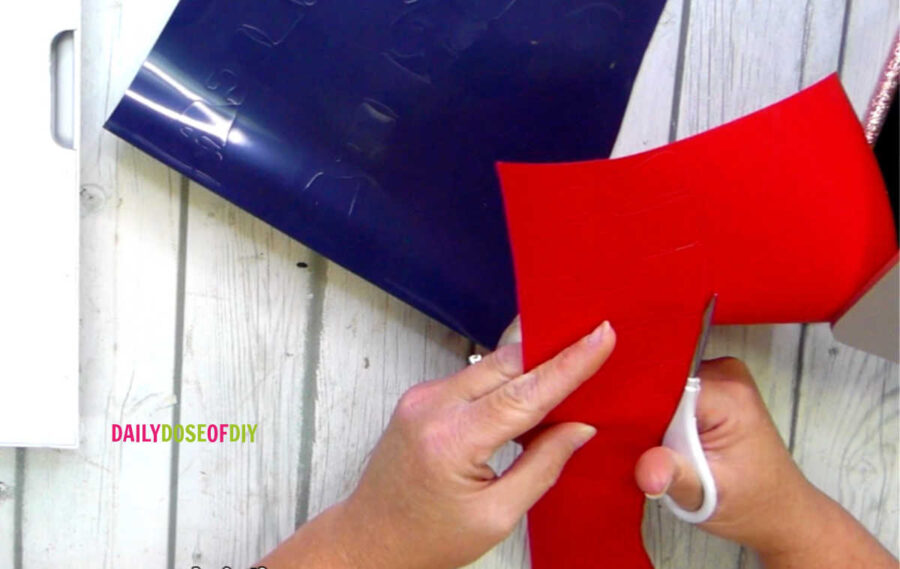
Weeding puff vinyl is like weeding any other HTV. Start with one corner, poke the vinyl and pull it away from the carrier sheet. This will remove most of the excess vinyl. Take your weeding tool and remove the center of letters and any other missed parts.
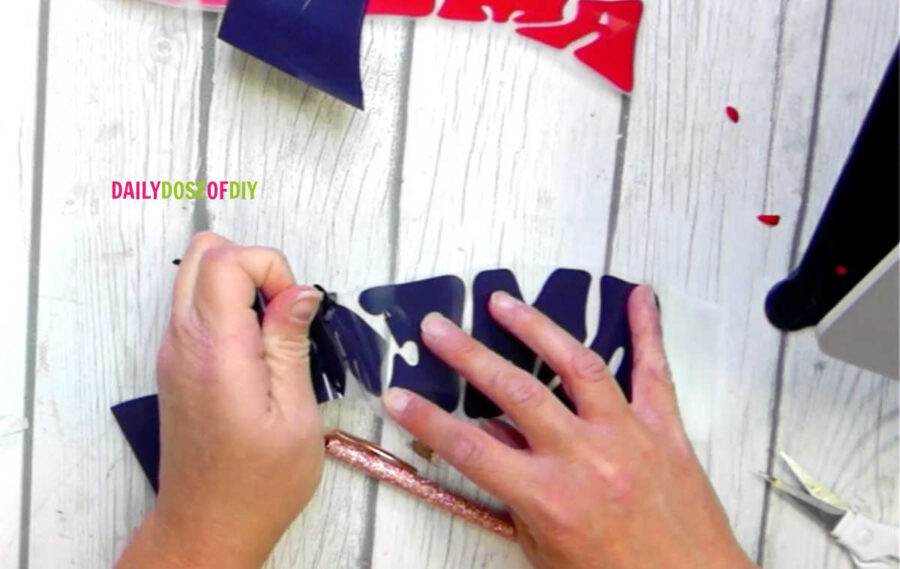
TIP: When you’re done weeding, flip the design over and look at it from the front. You’re more likely to catch any parts that still need to be weeded.
If you have a multi-color design where the words or elements are close together, you may need to grab your scissors and trim the carrier sheet. Unlike regular HTV puff vinyl can only be pressed once or it will lose its puff effect.
Prep Your Shirt and Prepare to Press
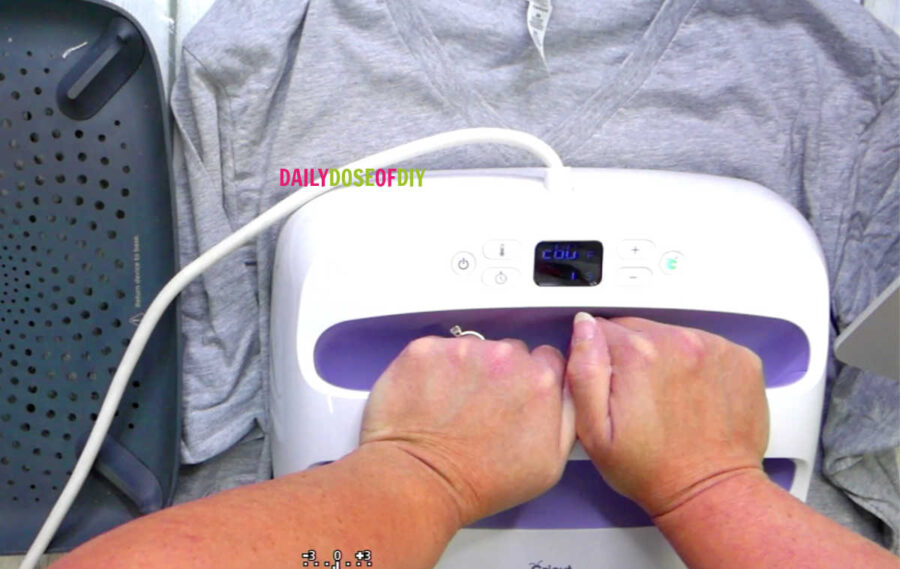
Now that our puff vinyl is ready to go it’s time to warm up your heat press and prep your shirt. Set your temp to 280 degrees on your Easy Press or heat press.
Pre-press your shirt for 10-15 seconds to remove wrinkles and moisture from the fabric.
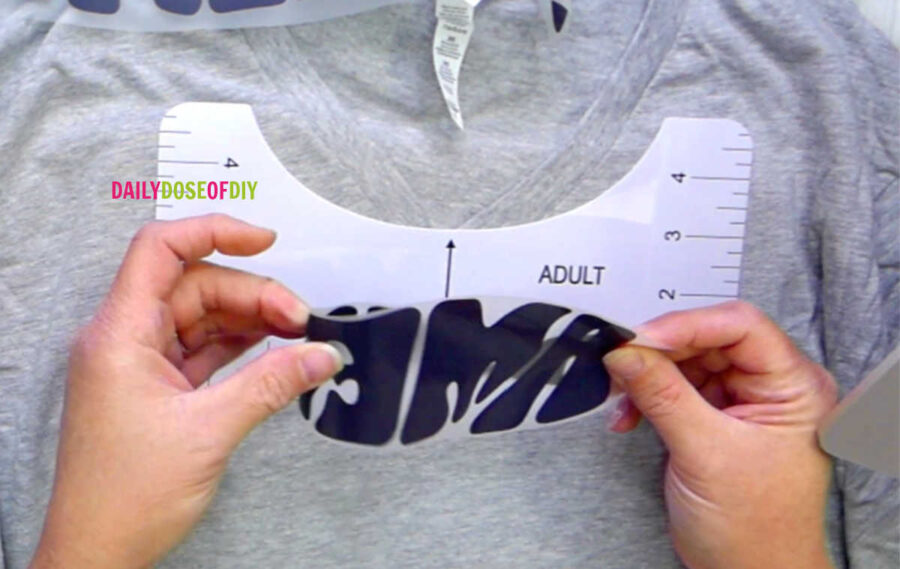
Next line up your design on your shirt. I’m using a t-shirt guide to help me keep everything centered and in the correct location. If you do not have a shirt guide you can fold your shirt in half and press it. Then you will have a crease mark down the center of your shirt to line up to. Start the design 2 inches down from the top of the collar.
Remember Puff vinyl can only be pressed once or it will lose the 3-d effect. If you’re combining puff vinyl with regular HTV, press the regular HTV first and the puff vinyl last.
Since 3-d vinyl can only be pressed once, you’ll need to line up the whole design on the shirt. This is why we trimmed off the excess carrier sheet in the previous step. When placing the design on the shirt make sure your vinyl from one section isn’t over the carrier sheet of another section. After the design is in place double check that there is not any vinyl overlapping.

Pressing Puff Vinyl
Now that our design is all lined up we are ready to press. Make sure your heat press is at 280 degrees and set the press time for 10 seconds. Pressing Puff vinyl requires even medium pressure. This is easier to accomplish with regular heat presses, but it’s totally doable with an easy press as well.
Do not use a teflon sheet or parchment paper unless you are layering puff vinyl on top of regular HTV and you need to protect the HTV that has already been pressed.
Since I’m using an easy press, I’m going to stand up and stand on my tippy toes so that I can add some body weight and press down with all my might to apply heavy pressure. After you’ve pressed the puff vinyl for 10 seconds remove the easy press and put it back on it’s base.
Puff vinyl is a hot peel, which means we need to peel the carrier sheet off while it’s still hot. You’ll probably see the carrier sheet already coming off when you’re done pressing. Remove it completely from the vinyl, but be careful it will still be quite warm!
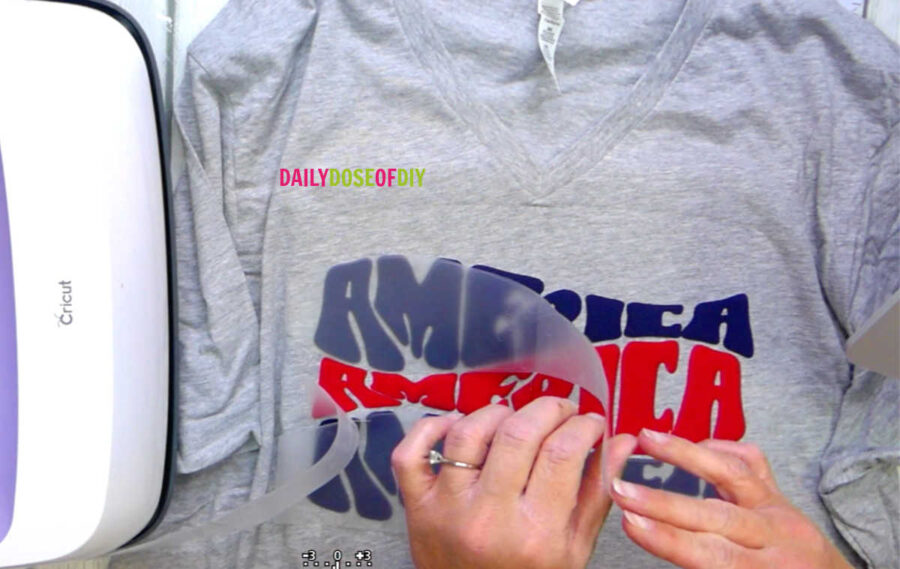
Do not press the back of the shirt as recommended with some HTV and do not repress puff vinyl.
How to Care for Your Puff Vinyl Shirt
Once your shirt is pressed, wait 24 hours before your first wash to allow the vinyl to cure. Turn the shirt inside out and wash in cold water with mild detergent. Tumble dry on low or hang to dry to get the longest life from your 3-d puff vinyl.
Using Puff Vinyl FAQS
Puff vinyl will have a wrinkly texture if it was pressed at too high of a temperature or pressed for too long. If you are getting wrinkles try reducing your time or temp.
The most common cause for puff vinyl not sticking is not using enough pressure when pressing. Puff vinyl requires a lot of pressure. Re-pressing puff vinyl may cause it to flatten, but you could try pressing again with more pressure to save the shirt.
Irons are not recommended for puff vinyl as you need firm even pressure in order for the vinyl to puff and stick.
How to Cut and Press Puff Vinyl
Materials
- Siser Easy Puff Vinyl
- Blank T-shirt
Tools
- Cutting Machine
- Heat Press
- Weeding Tool
Instructions
- Upload your design into Design Space and size it according to your shirt. Generally designs are 9 inches wide for smaller shirts and up to 11.5 inchies wide for larger sizes.
- Mirror the design by either flipping the design horizontally on the canvas or clicking mirror on each mat on the cut mat screen
- For Cricut set the material to Heat Transfer Vinyl Non-Cricut
- Place the puff vinyl shiny side up on your cut mat and insert the mat into your Cricut.
- After Cricut has finished cutting remove the vinyl and weed away the excess pieces. If you have multiple colors trim the carrier sheet super close to the design
- Pre-Heat your heat press to 280 degrees and pre-press your shirt for 10-15 seconds to remove moisture and wrinkles
- Lay the design vinyl side down on your shirt. The design should be placed 2 inches down from the collar.
- Press the puff vinyl with firm to heavy pressure for 10 seconds. Remove the carrier sheet as soon as you're done pressing.
Notes
For best results do not double press puff vinyl. A home iron will not give you good results as puff vinyl needs firm and even pressure.
Recommended Products
As an Amazon Associate and member of other affiliate programs, I earn from qualifying purchases.


Chris Butler has helped thousands of crafters learn how to use their Cricut machine without feeling overwhelmed. She is a best selling author and an up and coming designer. For fun Chris enjoys designing SVG Files, hanging out with her family (preferably at the lake), traveling, and volunteering at her church. She is a wife and mom of two crazy fun kids.
Leave a Reply