This post may contain affiliate links for your convenience. If you make a purchase through one of my links I will earn a small commission at no additional cost to you.
Last Updated on July 26, 2023 by Chris Butler
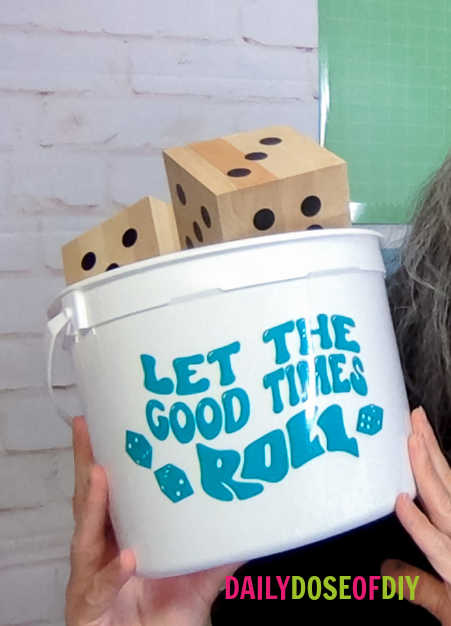
Looking for a fun and engaging outdoor games to enjoy with family and friends? This DIY Yard Yahtzee (Yardzee) game will surely be a hit! It’s such a fun outdoor game.
You’ll learn how to make your very own yard yahtzee game and no power tools are required! We’ll cut vinyl using our Cricut machine to make the dice and add a fun design to our bucket.
No worries, I’m sharing the SVGs so you can make your very own! Plus, you’ll also get a printable scorecard so you can play over and over again.
Let’s roll the dice and get this easy DIY project started
Quick Links to Information in This Post
Supplies Needed to Make Yard Yahtzee
- (5) Wooden Blocks I used these – https://amzn.to/3pVxHJg
- Permanent Black Vinyl – https://amzn.to/43Fyrjr
- Transfer Tape – https://amzn.to/44QgcsI
- Mod Podge Outdoor or Dishwasher Safe – https://amzn.to/44DQdVy
- Large Bucket (1 to 5 Gallon depending on the size of your wood dice)
- Cricut or other Cutting Machine
- Sand Paper
- Foam Brush
- Acrylic Paint or Stian (Optional)
- SVG File – Includes Dice Dots, Bucket Design and Handy Yahtzee Scorecard.
To grab the free SVG for this craft fill out the simple form below
All of my free SVG files and Designs are kept in a library for your convenience. Simply CLICK HERE to get access. We will send you the link and password right away and you’re free to use all the resources you want in the library.
Already have the password? (It’s at the bottom of every email) Enter the Library Here
The SVG for this Craft is under “Y” for Yard Yahtzee
I am using 3-inch blocks of wood. These fit nicely in a one-gallon bucket, making it easier for smaller kids to play. That way, the whole family can have fun! You can make a giant set of dice with larger wood cubes. If you use extra large dice, you’ll need a 5-gallon bucket to hold them.
DIY Yard Yahtzee Video
Step One: Sand Your Wooden Cubes
The first thing we will do is get our wood blocks ready. Grab a piece of sandpaper and sand away all the rough edges, spots, and splinters. When finished, wipe the blocks with a microfiber towel to remove the dust.
Step Two Paint, Stain, or Seal Your Dice Blocks
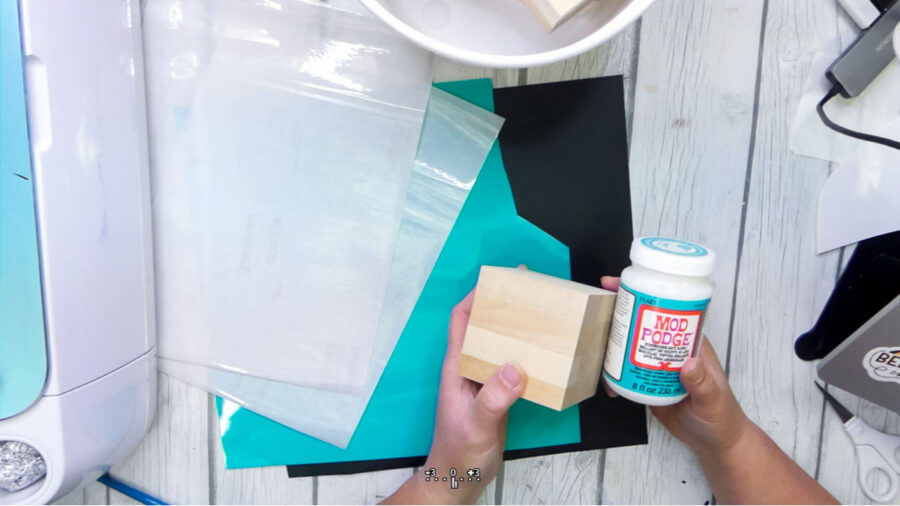
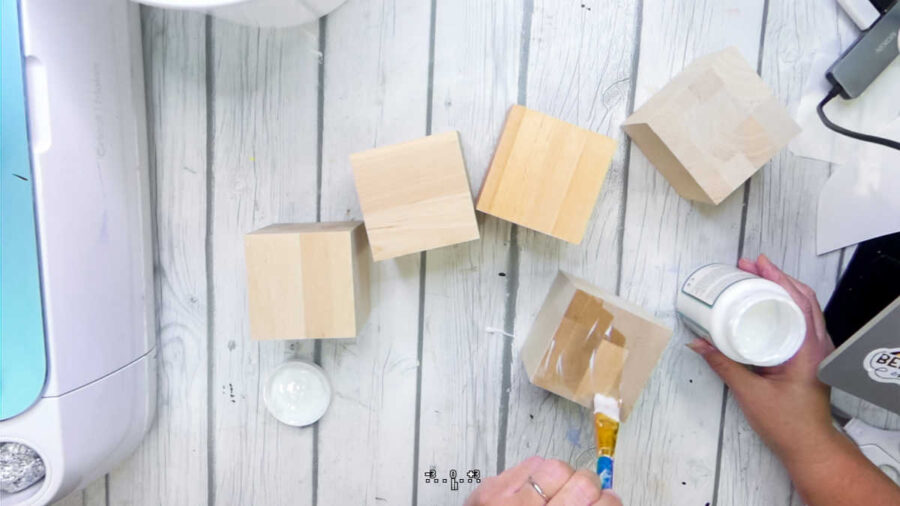
If you want colored dice, paint each side of the wood blocks. I’m going with the natural wood look, so I’m skipping this step. Once your paint is dry, add a coat of outdoor or dishwasher safe mod podge to seal it.
If you’re going with the natural wood look as I am skip the paint and seal the wood blocks with mod podge. This is a great way to protect your dice and make them easy to clean.
Step Four: Cut the Dice Dots and Bucket Design
Upload the SVG file into your cutting machines software. For help with downloading and uploading SVGs to design space see this post.
The dice dots are perfectly sized for 3.5″ square blocks. If you are using smaller or larger wooden dice, adjust the size accordingly. There are enough doce dots to do all five dice. I stacked them on top of each other so it didn’t look all crazy when you upload it.
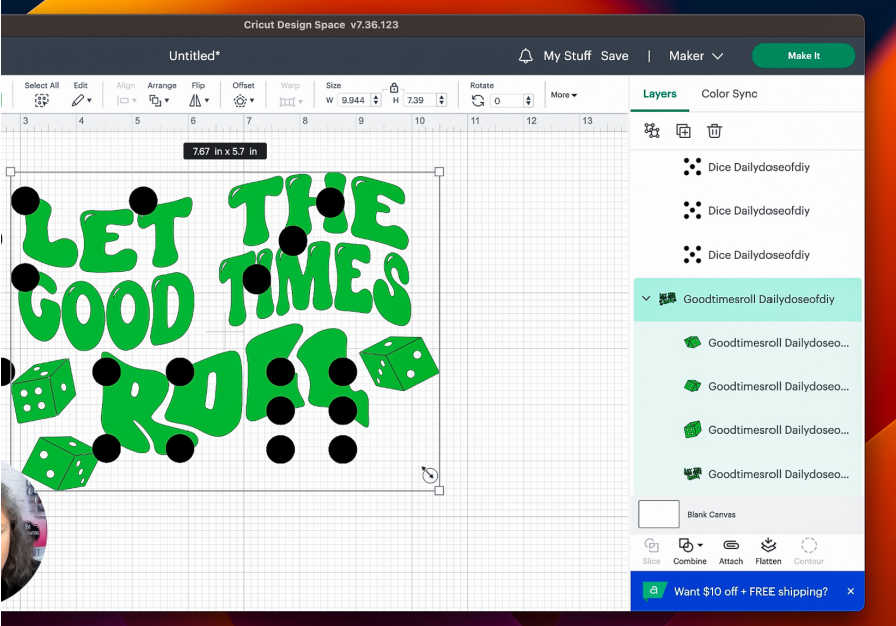
The SVG file for your plastic bucket will need to be adjusted based on your bucket size. Reduce the size to around 4″ high for a one-gallon bucket.
On the Cricut cut mat screen all of the dots for the dice run together. You can rearrange them on the mat screen to make it easier to discern which dots go where.
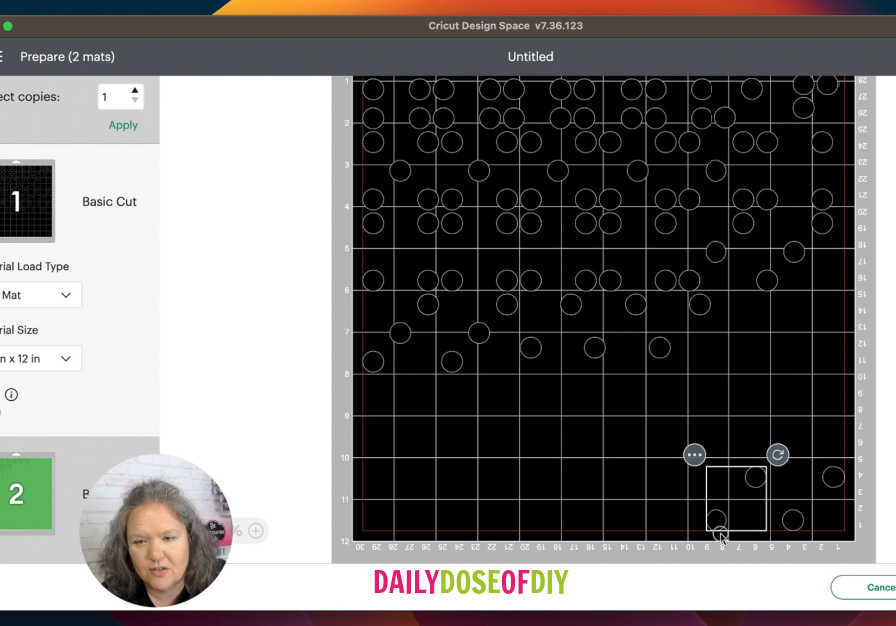
Set your cut settings to matte vinyl. (If your Cricut has a dial turn the dial to vinyl)
Load the vinyl onto your cut mat, insert it into your cutting machine, and press the go button.
Once the vinyl is cut, flip the cut mat over and remove the vinyl from the mat.
Next step, weed away the excess vinyl, be careful so you don’t lose any of the dots of our dice.
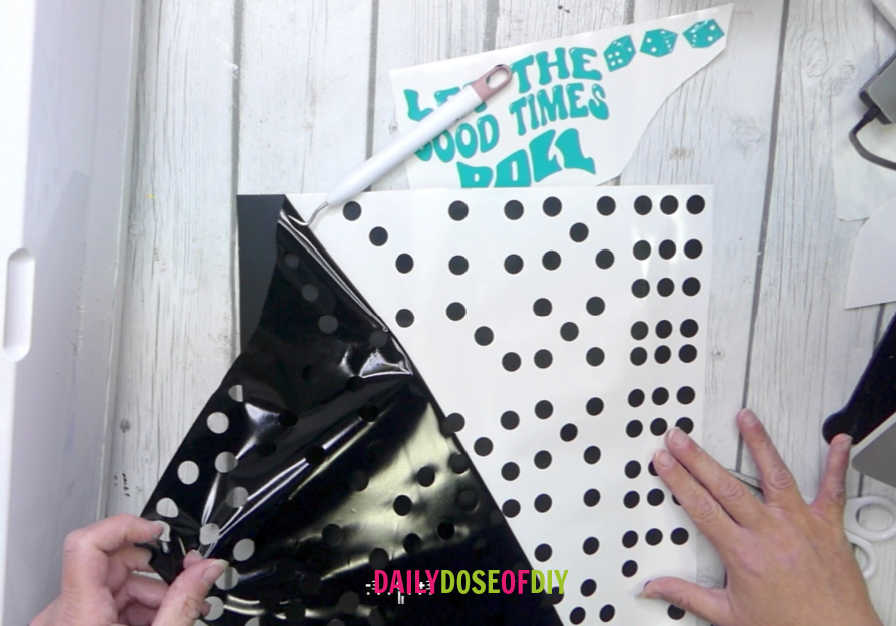
Step Five: Transfer The Dice Dots
It will be easiest to apply transfer tape to the entire sheet of dice dots and then cut them apart. Start your transfer tape at one end and then smooth down the center. Curnigh (rub really hard with your scraper tool) the front and the back to ensure the vinyl sticks to the transfer tape.
Related: How to easily add transfer tape without wrinkles or bubbles
Next, cut apart the dice dots and sort them by number.
Remove the paper backing from the dice transfer and center it on one side of your wood block. Use your scraper tool to burnish each dot and then peel back the transfer tape.
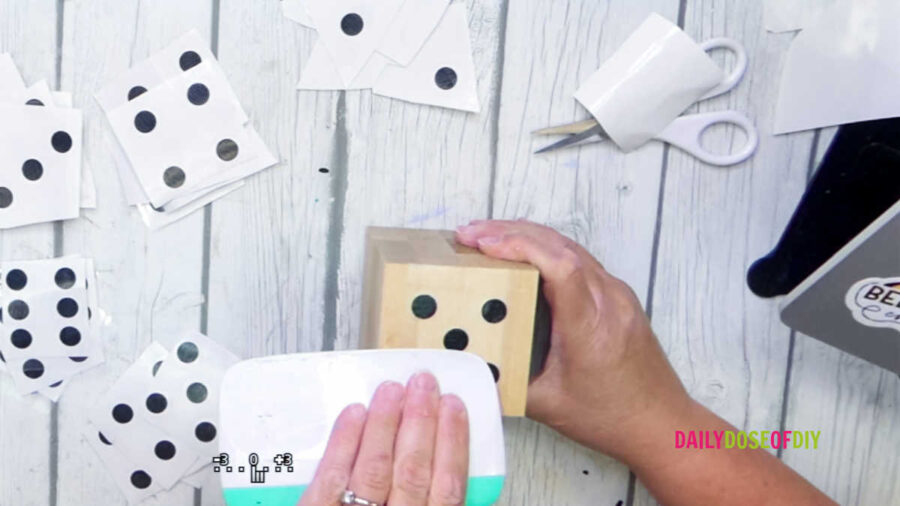
The opposite side of the dice adds up to seven. So five should be the opposite side of two, one opposite of six, and three opposite of four.
Transfer the dice dots to all five blocks.
Step Six: Add Design to Your Bucket
Apply transfer tape to your bucket design and burnish it well. Remove only one end of the paper backing for this design transfer. Line up the design and center it on your bucket.
Once the vinyl transfer is in place stick down the side that has the paper backing removed.
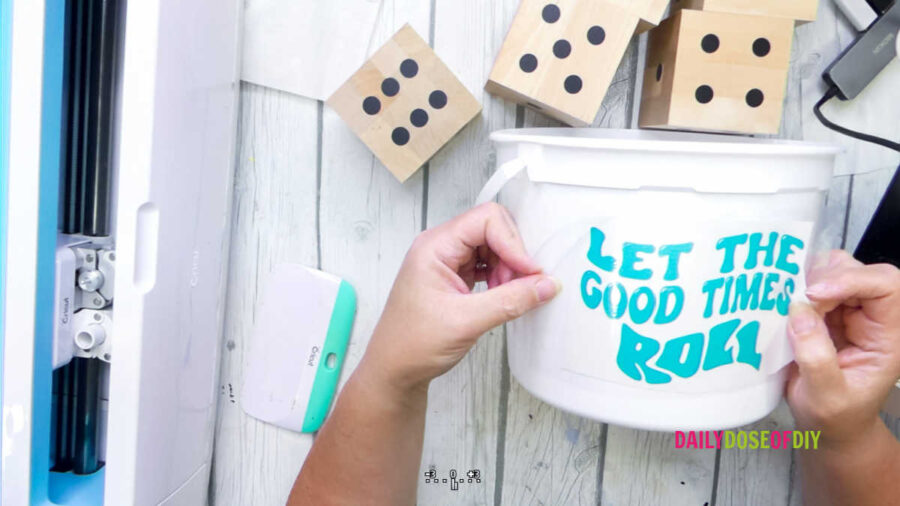
Slowly remove the rest of the paper backing at the same time that you smooth down the front. Use your scraper tool to burnish the vinyl to the bucket and then slowly remove the transfer tape.
Care For Your Lawn Dice
As long as you use permanent vinyl you will not need to sell the vinyl. Permanent vinyl is already waterproof and UV resistant. That said if you leave your game outside, it will not last as long.
For best results, store the game in your garage or house when not in use. After playing, wipe each dice to remove dirt and grass. This will ensure that you’ll enjoy playing lawn Yahtzee for many years to come.
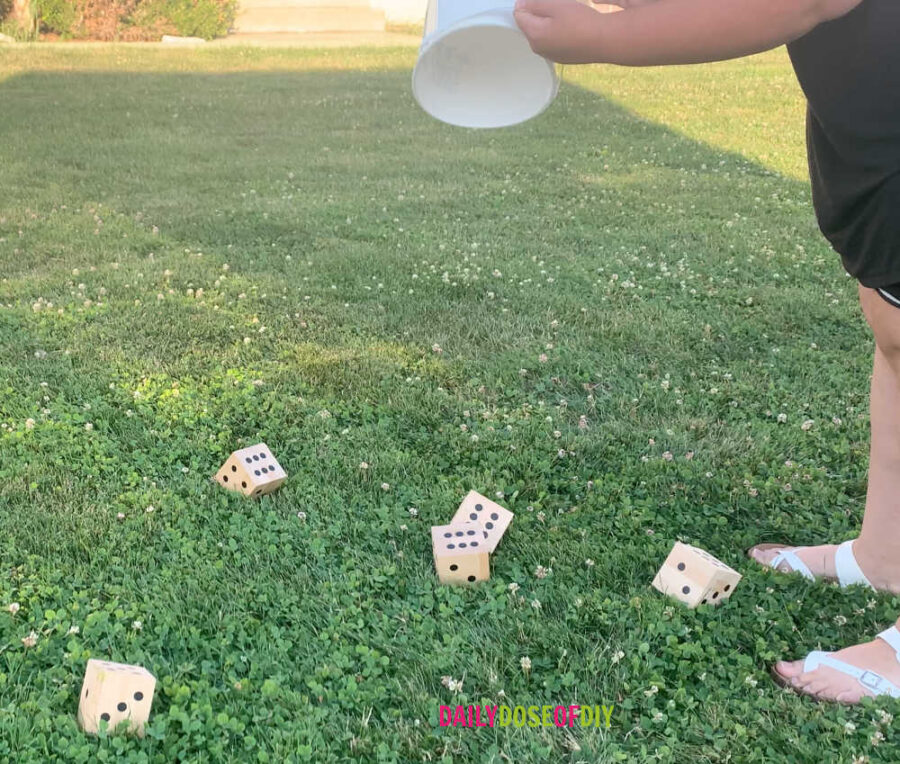
I hope you enjoyed this DIY yard dice craft, it’s such a fun game to play and helps beat the Summer boredom. And you can use the wooden yard dice to play all of your favorite dice games. Enjoy your back yard Summer fun!

Chris Butler has helped thousands of crafters learn how to use their Cricut machine without feeling overwhelmed. She is a best selling author and an up and coming designer. For fun Chris enjoys designing SVG Files, hanging out with her family (preferably at the lake), traveling, and volunteering at her church. She is a wife and mom of two crazy fun kids.

What a great idea! Thank you so much. A great gift idea!