This post may contain affiliate links for your convenience. If you make a purchase through one of my links I will earn a small commission at no additional cost to you.
Last Updated on September 2, 2023 by Chris Butler

Do you want to make your own custom waterproof Die-Cut Stickers? It’s easier than you think with your Cricut machine. You can create custom waterproof stickers for any occasion.
We’ll use the Cricut Print-then-Cut feature to print our beautiful stickers. In the video and written tutorial below, you’ll see how to print then cut waterproof stickers that are:
- Already Designed for You (I have some free designs for you!)
- How to Convert an SVG to a Sticker
- How to Design your own Custom Sticker using the offset feature
You’ll also get tips on the best Cricut settings for laminated paper to get the perfect die-cut.
Let’s get started!
Quick Links to Information in This Post
Make Waterproof Die Cut Stickers with Cricut Video
Watch the video below for step-by-step instructions on how to cut die-cut stickers with your Cricut. Then check out the supply list below to make your own and get your free sticker designs.
To grab the free SVG for this craft fill out the simple form below
All of my free SVG files and Designs are kept in a library for your convenience. Simply CLICK HERE to get access. We will send you the link and password right away and you’re free to use all the resources you want in the library.
Already have the password? (It’s at the bottom of every email) Enter the Library Here
DIY Stickers Supply List
To make waterproof stickers with your Cricut you will need:
- Printable Adhesive Vinyl and Laminate Paper (I love this starter pack found here It’s the best sticker paper)
- Inkjet Printer (If you have a Laser order sticker paper for Laser Printers like this one)
- Cricut Cutting Machine and Basic Tools – You can make stickers with Cricut Joy, Cricut Maker, and Cricut Explore Machines.
- Free Sticker Designs in the Library Found Here

In the video and in the tutorial below I also reference Design Bundles as a great place to get graphics and clipart to design your own stickers. Click Here to visit Design Bundles
When showing you how to create your own designs in Design Space, I used the Mitzi Doodle Font found here
And using Cricut Access is a great option for images. You’ll learn how to get free ones, but you’ll get over 250,000 images with a Cricut Access subscription here.
How to Make Die Cut Stickers with Cricut
You can make die-cut stickers with your Cricut in several ways. When using my free sticker designs or purchasing already made designs, you’ll usually get a PNG file and an SVG file of the sticker.
For help downloading SVG Files and uploading them to Design Space see this post.
With the PNG file what you see is what you get. When you upload it to Design Space, you’ll choose print then cut from the options. The only thing you can change on these files is the size.

If you upload the SVG version of a sticker design, you can change the colors if you’d like. And when you’re done making adjustments you’ll select everything and click flatten on the bottom of the layers menu. This will turn it into a print then cut image.

We’ll also cover how to make a regular SVG into a die-cut sticker in the next steps.
Design Your Own Custom Stickers in Design Space
You can design your own stickers in Cricut Design Space, however it is very limited if not impossible to make graphics in design space. Never fear, if you want to add graphics and clip art you have some options.
Choose Your Graphics
My favorite place is Design Bundles found here. You can find just about any clip art you would want at very reasonable prices. After you make your selection, download the files to your computer and upload the designs you want into Design Space as a print then cut image.
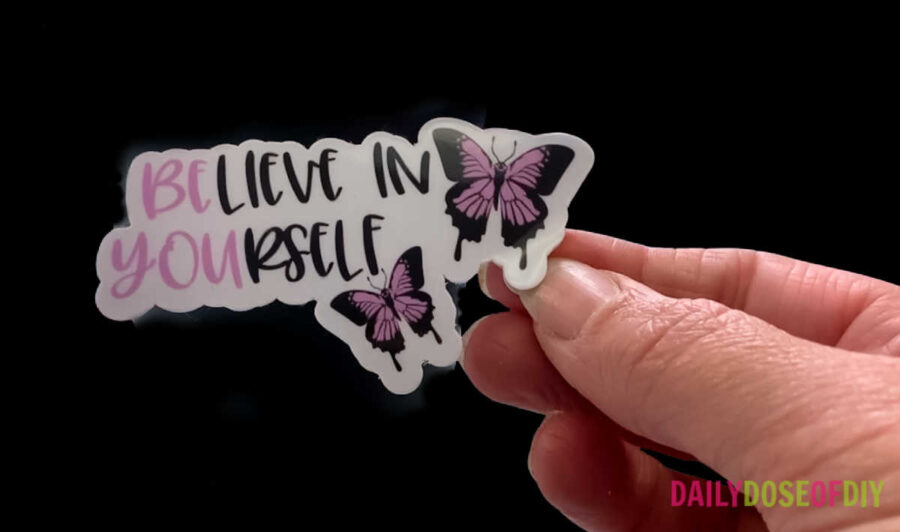
There are also images you can find for free right in Cricut. That is where I found the butterflies I am using for this tutorial. To find the free images in Cricut click on Images on the left and then Free This Week.

There are usually a few thousand free images for you to pick from. If you have Cricut Access you’ll have over 250,000 images you can search for to make your stickers. I chose a pair of butterflies from the free images.
Choose Your Fonts and Saying
Once you have your graphics decided upon and in Design Space it’s time to choose your saying and a font.
Related: Where to Find FREE Fonts for Cricut and add them to Design Space
For this tutorial, I am using Mitzi Doodle font and the saying Believe in Yourself. Over on the right menu click text and then type out your saying. To change the font, click fonts on the top menu and choose your font.

In the video, you can see my whole design process. Basically, once you have your text typed out you’ll want to place your graphics next to the text and arrange things a bit until you’re happy with it. Next, we’ll use the offset tool to give our sticker a background.
Before we do that, select your whole design and click group on the top of the layers menu. This will allow us to keep the design together as we move it around.

Create an Offset for SVG and Custom Sticker Designs
From this point use the same steps to create a die-cut sticker, rather you uploaded an SVG file or design your own in Design Space.
With the design selected click the offset button on the top menu. This will pop-up the offset menu. It defaults to a .25″ offset which is perfect for stickers.

You’ll see the blue outline around your design that will be the offset. We’ll need to fix a couple of areas, but overall this looks good. Make sure rounded corners are selected, check weld offsets, and click apply.
My offset Layer came in black, which is fine we’ll change the color so we have a white border. The offset is its own layer so move your design away from the offset so we can polish it up.

It will totally depend on your design or SVG file if you need to do this step. We want to eliminate those big gaps of white space in the center. It might be hard to see but I also have a tiny dot in there too. Cricut will cut these areas out and we don’t want that to happen.
To fix it click on the shapes menu on the left and select a circle. Place the circle over the offset to cover the gaps. You might need to make 2-3 circles to cover them all.

You can adjust the size of your circle to fit over the area. Be mindful of the circle overlapping too much of the outer offset. Once the inside gaps are covered, select the circle and the offset and click weld on the bottom layers menu.

Weld will merge the circles and the offset together to make one layer again. Now you can change the color of your offset if you’d like. Select the offset and click the color button on the top menu. For my sticker, I am going with a white background.

Finally, move your design back on top of the offset. Select both your design and the offset together and click align on the top menu. Then click center. This will center your design on top of the offset.
Cricut still thinks this is a cut image though. So after you center your design click the flatten button on the bottom menu to change it to a print then cut design.

Prepare to Print Your Die Cut Stickers
Cricuts print then cut size is approximately 7.4 x 9.9 for letter-sized paper like we’re using. To get a visual of this, I go to the shapes menu and choose a square. Click the unlock button on the bottom left of the square, then on the top menu change the size to 7.4 x 9.9.

Then with your square still selected, click the arrange button on the top menu and select Move to back. This will place your square behind your sticker design.
Related: New Cricut Update: Create Templates for Print then Cut, Cards and more!
With this visual, you can re-size your stickers to fit within the print then cut area. You can also make the most of your materials by duplicating and making more than one copy of your sticker or even adding different sticker designs.

Once your print then cut area is full you can simply delete the square you created if you’re not using one of the new templates. Now you’re ready to click the make it button which will bring up the print menu.
Printing your Die Cut Stickers
After you click the make it button you’ll see the mat screen. This shows you which way to line the paper up on your mat after it prints. You’ll also notice a black outline around your stickers. This is a registration mark that will print to help Cricut calibrate where to cut your stickers.

There’s nothing you’ll need to do on the next screen so click continue if everything looks ok.
One misconception with Cricut Print then Cut is that you need to connect your printer to your Cricut. That is not the case. Connect your printer to your computer to print the stickers and then we will use our Cricut to cut them.
After you click continue the print menu will pop up. This is where you choose the printer you want to print from. Toggle on the bleed setting. It’s not super important if you make a white background as I did, but you’ll want to make sure it’s on if you have a colored background.

I also like to toggle on and use system dialog to make sure the settings are correct on my printer. Note after you hit the print button you’ll probably have to minimize Design Space and any other windows you have open to see your printer’s settings.
Most of us keep our printers set to a low print quality to save on ink for everyday prints. But for your stickers, you’ll want to bump the quality up to the highest quality or even photo settings so it looks good.
Load the Printable Sticker Paper in Your Printer
You may have to do a test print on your printer if you don’t know which side of the paper your printer will print on. I also recommend peeling back a corner of the printable vinyl to determine which side is vinyl and which side is paper.

I knew I needed to have the vinyl side down for my printer, but I still managed to put the paper side down thinking it was vinyl on my first print.
Once your printable vinyl is loaded in your paper tray, click the print button on your computer screen. After your stickers print we’re ready to add the waterproof laminate and then have Cricut cut our stickers.
Waterproof Stickers with Laminate
To make our stickers waterproof and give them the glossy sticker look we can add a laminate sheet. The best waterproof sticker paper for Cricut that I’ve found is with the sticker starter pack here.
Another option to get the glossy sticker look is to cover your stickers with clear contact paper. This does not give good results for waterproofing though. I can run my water bottles with stickers through the dishwasher with the laminate sheets. The contact paper will not last if it gets soaked.
Adding the laminate sheet is much like adding transfer tape to vinyl. Peel back the paper on one end and fold it back. Line up the laminate with your sticker sheet and press the sticky part down.

Next, pull the backing off the laminate sheet at the same time you’re smoothing it down the front.

This will help eliminate wrinkles and bubbles in your laminate sheet. Once the backing is off use your scraper tool and scrape from the center out to the edges.
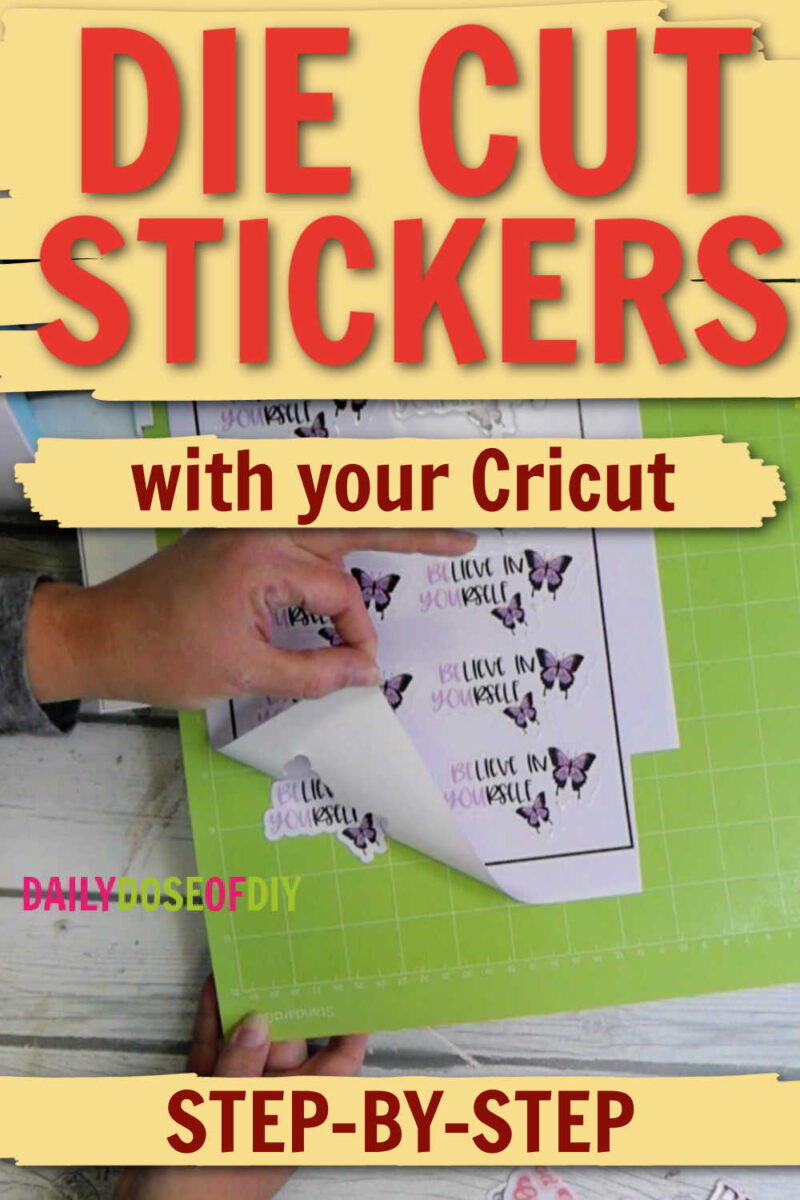
Trim off any excess laminate and place your laminate sticker sheet onto your Cricut cut mat.

How to Cut Stickers on Cricut
Having two Cricut machines has taught me that not all Cricuts cut the same. You may have to do some testing to get the correct settings for your machine. The thickness of your laminate sheet is also a factor in getting your stickers to cut all the way through.
I’ll show you what worked for me on both of my Cricuts (the settings are different for both!) and how to make pressure adjustments and test without ruining your project.
The best Cricut cut settings for laminated sticker paper on my Explore is the posterboard setting. It cut through the laminate, sticker paper, and backing with no problem. My Explore has always been a champ at cutting through anything, my Maker not so much.
To test if this setting will work on your Cricut you can cut off the edge of the sticker paper that is not being used and do a test cut. Just don’t cut through the registration marks.
Or you can set your Cricut to poster board and cut your stickers. When it is done, do not unload the mat. Pull up the edge of the laminate sticker paper and see if it cut all the way through.

If it did great! If it didn’t we can go in and adjust the pressure and try again. By not unloading your mat, Cricut will cut along the same lines. To adjust your pressure set your dial to custom on an Explore machine. Machines without a dial will automatically pull up the materials menu. Click Browse all materials.
When the materials menu comes up go to the very bottom and click material settings. This will open the menu where we can make adjustments.

The materials are listed in alphabetical order so scroll down to poster board and then click edit on the right.

Once you click edit you’ll be able to adjust the pressure and number of passes Cricut will cut. Slide the bar for pressure setting up to 350, which is the highest you can go for a fine point blade. You might also want to adjust the number of passes Cricut will cut.

For my test, I left it at two passes so I could check every time it finished and see if it had cut all the way through. Once you’re done making adjustments click save.
Exit out of that menu and go back and choose poster board from the materials list or if you have a dial turn the dial to poster board. The new settings will be saved.
The best Cricut material setting for laminated sticker paper on my Maker was to use the posterboard setting, raising the pressure to 350, and testing 2 passes at a time. It took 6 passes to cut all the way through.
Now I know when I am cutting stickers with my Maker I can go in and make those adjustments. It cuts through the laminate sticker paper every time.

Don’t forget to grab your die-cut sticker bundle to start making your own stickers.
To grab the free SVG for this craft fill out the simple form below
All of my free SVG files and Designs are kept in a library for your convenience. Simply CLICK HERE to get access. We will send you the link and password right away and you’re free to use all the resources you want in the library.
Already have the password? (It’s at the bottom of every email) Enter the Library Here
Now you know how to design and make your own waterproof stickers with your Cricut! You even learned how to design your stickers in Design Space and how to determine the best cut setting for your Cricut machine. Thanks so much for crafting with me today and making Cricut stickers ❤️
Let me know what fun stickers you plan to make!

Chris Butler has helped thousands of crafters learn how to use their Cricut machine without feeling overwhelmed. She is a best selling author and an up and coming designer. For fun Chris enjoys designing SVG Files, hanging out with her family (preferably at the lake), traveling, and volunteering at her church. She is a wife and mom of two crazy fun kids.
Leave a Reply