This post may contain affiliate links for your convenience. If you make a purchase through one of my links I will earn a small commission at no additional cost to you.
Last Updated on June 22, 2019 by Chris Butler
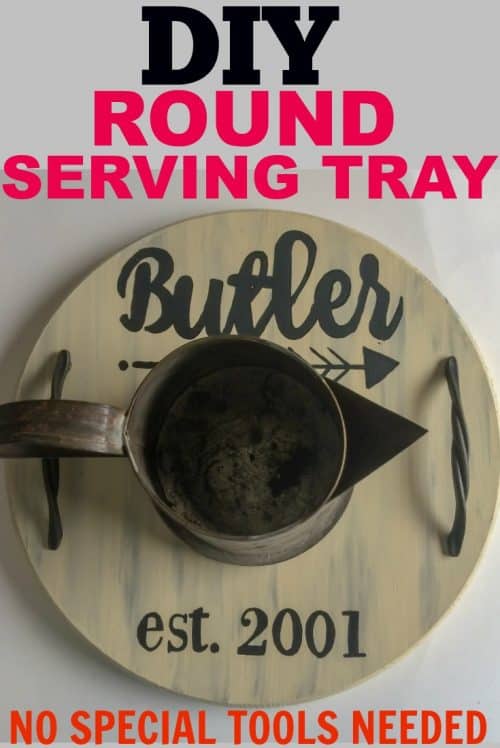
I love the Farmhouse wood serving trays…….. but the price tag on some of them! There’s no need to pay $30-$50+ for a serving tray that you can easily make for a little over $10.
And the best part? You don’t need any special tools to do it!
When mine is not in use as a serving tray, it sets in the middle of my kitchen island as part of the decor. I place an old tin pitcher on it and I usually have flowers in the pitcher.
I chose to add our name to mine, but you could totally leave it just painted or stained. That’s the beauty of DIY, you can customize it however you like!
Quick Links to Information in This Post
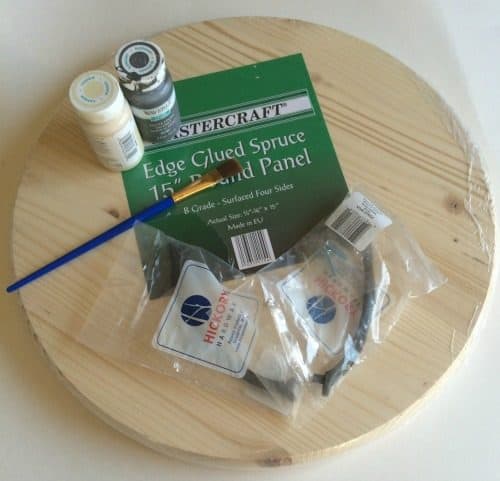
DIY Farmhouse Wood Serving Tray Supplies Needed
- 15″ Round Wood Piece (found at Menards for $5.49, and most likely other home improvement stores too)
- 2 Handles (mine were $2.50 each at Menards)
- Sand Paper
- Paint or Stain and Brushes
- Drill + Bits
- Screw Driver or Glue
 If you want to add a design you can cut a stencil with a Cricut or Silhouette. But it’s not necessary, I printed my design from my computer, chalked the back, and traced it onto the wood. Then I used a paint marker to fill it in.
Prepping, Painting or Staining
After opening your wood round you’ll probably notice some sawdust and maybe a few rough patches that need sanding. Get everything sanded smooth and then clean it up good with a damp cloth to remove all of the dust.
I painted my serving tray with Waverly Chalk Paint in the colors Cashew and Elephant. You could totally use stain too.

To blend I first painted the cashew color. While it’s still wet dip a corner of your brush in the elephant color and continue painting. If it’s too dark for your tastes simply dip your brush back in the cashew paint and go over it again until you get the blend you like.
This would look great crackle painted too, you can find my tutorial on How to Crackle Paint here.
After your paint or stain is completely dry, seal it with a top coat. My favorite to use is General Finishes in Satin. It’s water based and a dream to work with.
Adding a Design to your Farmhouse Serving Tray
If you have a cutting machine, I’m sure you know the drill and can create your own design and stencil.
I wanted to go with the hand painted look, but my hand lettering is not quite up to par yet. I really need to find time for more practice!
So I made my tracing template in
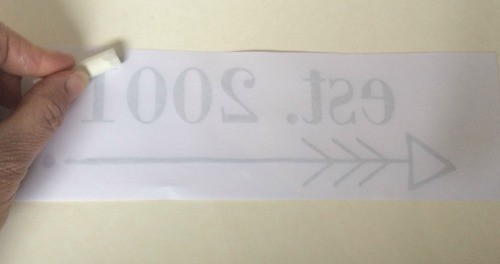
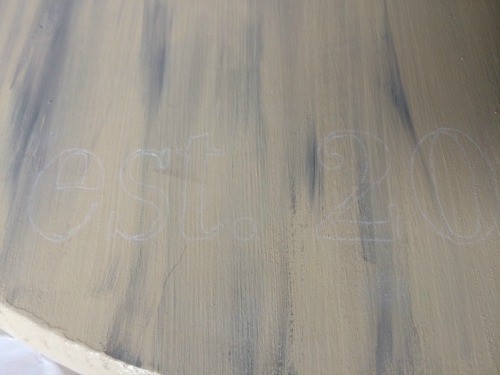
After you have the back chalked, place the chalk side down onto your serving tray where you want the design to be. Once you have it where you want it, tape it down so it does not move.
Next you just trace the letters and the design with a pen or pencil. You don’t have to push super hard, but you want enough force that it transfers, so don’t push super light either.

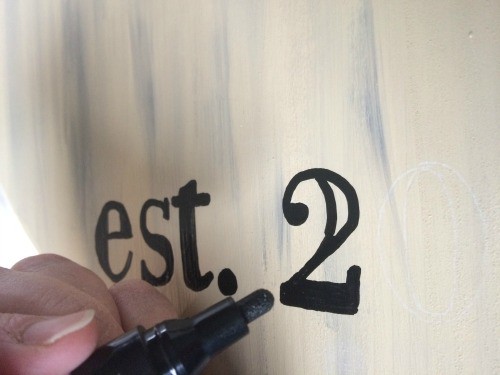
After all of your letters are traced, remove the paper and you will be able to see the outline of your words. Next, I filled the letters in with a paint marker. I find that a bit easier to work with than brushes when I’m doing words.
And if you’re a lefty like me, you probably know it’s easier to start on the right side. I don’t know what I was thinking here, because I kept smudging my paint!
Adding the Handles to your Farmhouse Serving Tray
I purchased my handles at Menards at the same time I purchased the wood round. They were only like $2.50 each. I usually pick up handles at Hobby Lobby, they have a great selection of rustic decorative handles and pulls. Just make sure you go when they’re 50% off!
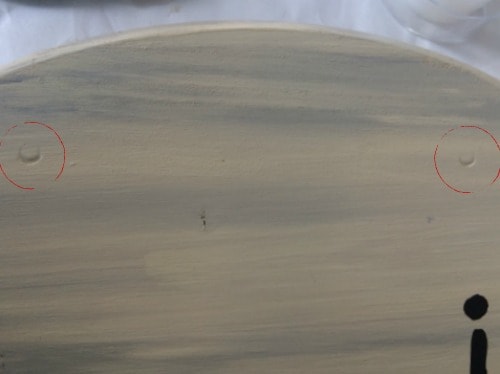
To add my handles I centered them where I wanted them. And then I pushed them down into the wood so they indented where I needed to drill.

Choose a drill bit the same size or slightly larger than your handle holes and drill all the way through your serving tray.
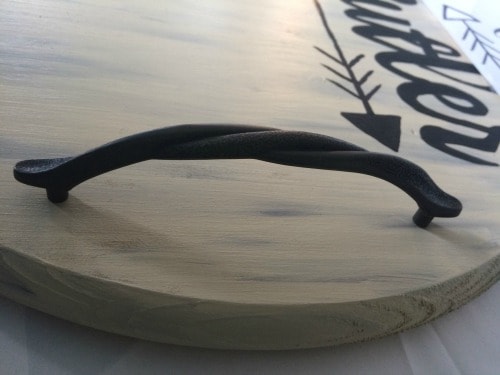
After your holes are drilled push the handles down into the holes. At this point you can use the screws it came with and screw them in. I didn’t want screws on the back of mine possibly scratching counters or tables, so I glued mine in.
Once your handles are secure, your serving tray is done! Wasn’t that easy?


 If you want to add a design you can cut a stencil with a Cricut or Silhouette. But it’s not necessary, I printed my design from my computer, chalked the back, and traced it onto the wood. Then I used a
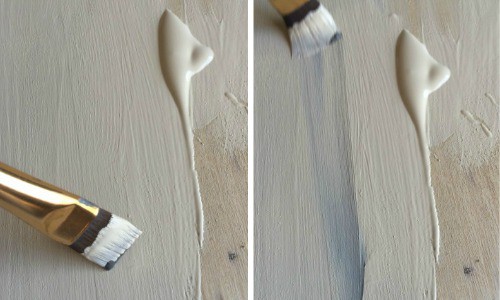


Chris Butler has helped thousands of crafters learn how to use their Cricut machine without feeling overwhelmed. She is a best selling author and an up and coming designer. For fun Chris enjoys designing SVG Files, hanging out with her family (preferably at the lake), traveling, and volunteering at her church. She is a wife and mom of two crazy fun kids.
Leave a Reply