This post may contain affiliate links for your convenience. If you make a purchase through one of my links I will earn a small commission at no additional cost to you.
Last Updated on June 4, 2020 by Chris Butler
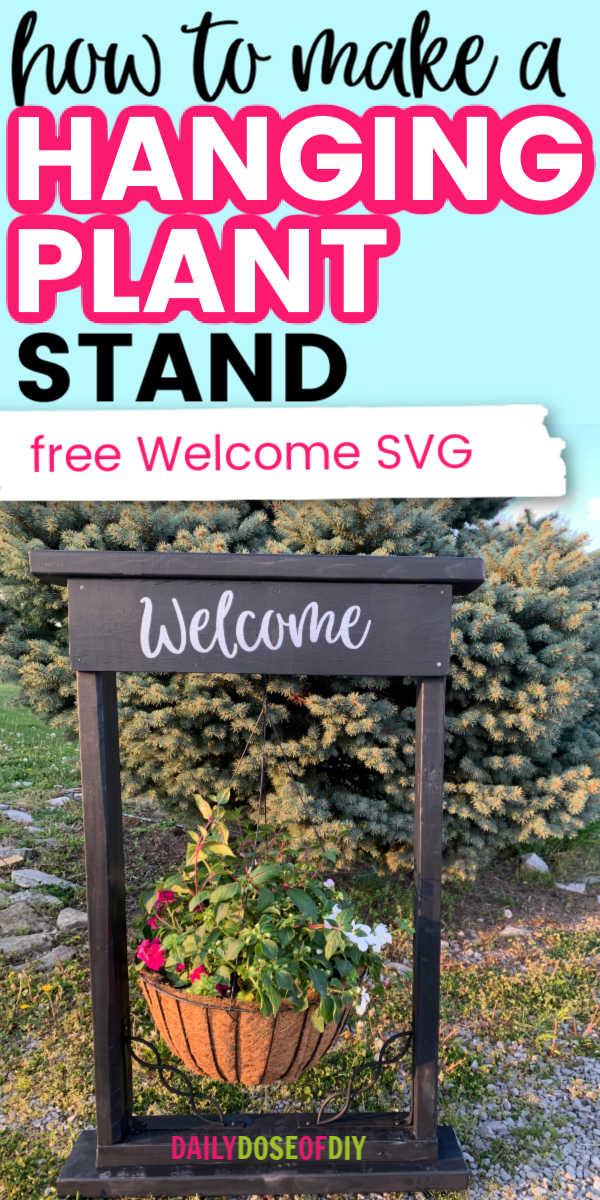
DIY Hanging Plant Stand
Hello crafty friends, today we’re going to make a DIY outdoor plant stand. This is a great idea for front porches or flower beds.
You’ll learn how to make a hanging basket plant stand from start to finish. These are a great low-cost craft, plus it’s one of those things that everyone loves. Which means they’re great sellers and great gifts.
I’ll also show you how to add a welcome decal to the front panel using one of my free SVG files. (See the end of this post for instructions on how to get the Welcome SVG.)
Alright, Let’s get started.
Quick Links to Information in This Post
Supplies Needed for DIY Plant Stand
- Wood:
- (2) 2x4s 23” long
- (2) 2x4s. 35” long
- (2) 2x6s 39” long
- (1) 1×6 23” long
- Saw
- Sander
- Measuring Tape
- Drill and drill bit
- Wood screws, 2 ½” long
- Wood glue
- Hammer and nails (I used 1 ½” nails)
- Screw in Hook
- Paint or stain and brushes (I used Manta Ray by Sea Paint at seapaints.com)
- Sealer (I used Treasures by the Sea Matte Poly)
- Free Welcome SVG file (Details on how to get my free SVG at the bottom of this post)
- Cricut machine
- Permanent vinyl
- Transfer tape
- Scraper tool and weeding tool
- **Optional Decorative Shelf Brackets
I bought the wood at Lowes, you’ll be able to find it at any home improvement store. I purchased two 2x4s that were 6 feet long and one 2×6 that was 6 feet long. I had the 1×6 in my scrap pile, but if you don’t have a scrap pile be sure to check the scrap section at the store. They do offer pieces of wood in shorter lengths for dirt cheap.
If you use vinyl on your plant stand, be sure to use PERMANENT vinyl as your stand will be outside. The best permanent vinyl to get is Oracle 651. I used the color Silver for this project.
How to Build DIY Hanging Plant Stand
Video
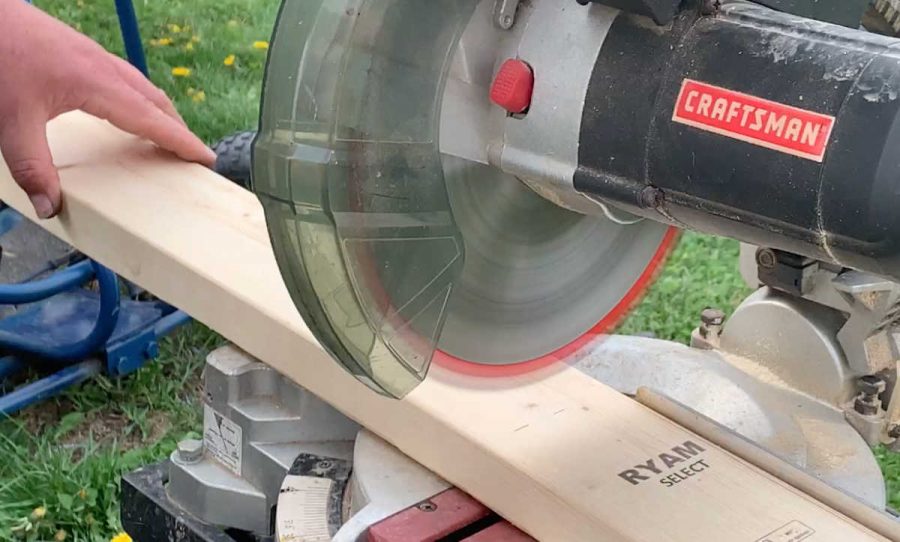
Cut and paint the wood
The first thing you’ll need to do is measure out and cut your wood. Once it’s cut, use a sander to smooth and clean up the ends and corners. Make sure to get rid of any splinters or rough edges.
Then paint each side, and don’t forget the ends. I’m using Manta Ray by Sea Paint, which is their shade of black. I love it because of how smooth it goes on, and how pigmented it is. I only have to use one coat.
Once the paint is dry, it’s time to put the frame together.
Build the frame
Use the 2x4s to build a rectangle. The shorter ones will be the top and bottom of the plant stand, and the longer ones will be the sides.
Next we’re going to screw the top and bottom pieces of wood to the sides.
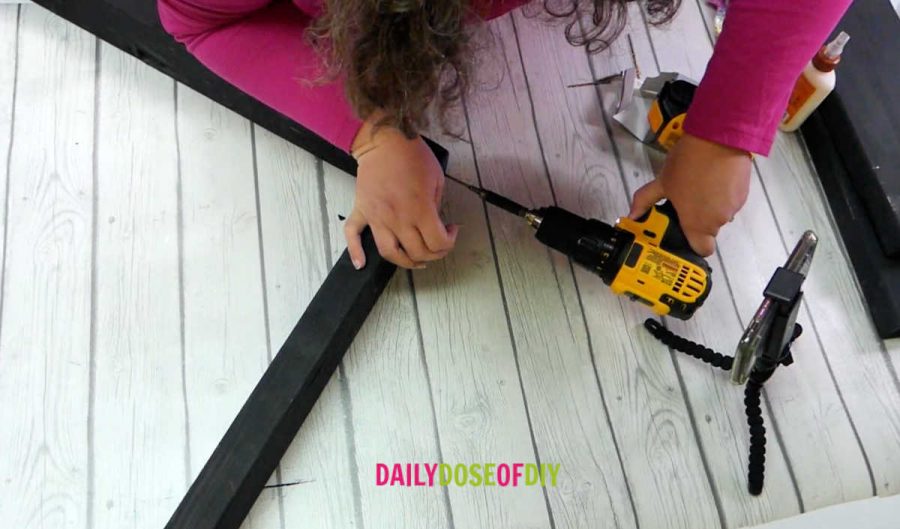
Start by drilling holes where the screws will go. Make sure the pieces of wood are lined up correctly, and then, with your drill bit, drill two holes straight through the top 2×4 and into the end of the side 2×4.

Switch out the drill bit for a screw, and drive the screws into the holes you made. Again, make sure everything is lined up when you drill the holes and when you drive the screws in so that your rectangular frame is straight.
Repeat this process for each corner of the frame.
Now that you have your basic frame, the next step is to add the top and bottom pieces, which will cover up those screws.
Add the Top and Bottom
Take one of the 2x6s, lay it flat, and put some glue down the middle. Then place your wooden frame on top. This will actually be the top of the welcome plant stand, so go ahead and drill two holes here, and screw the pieces together from the inside (going through the 2×4 into the 2×6).
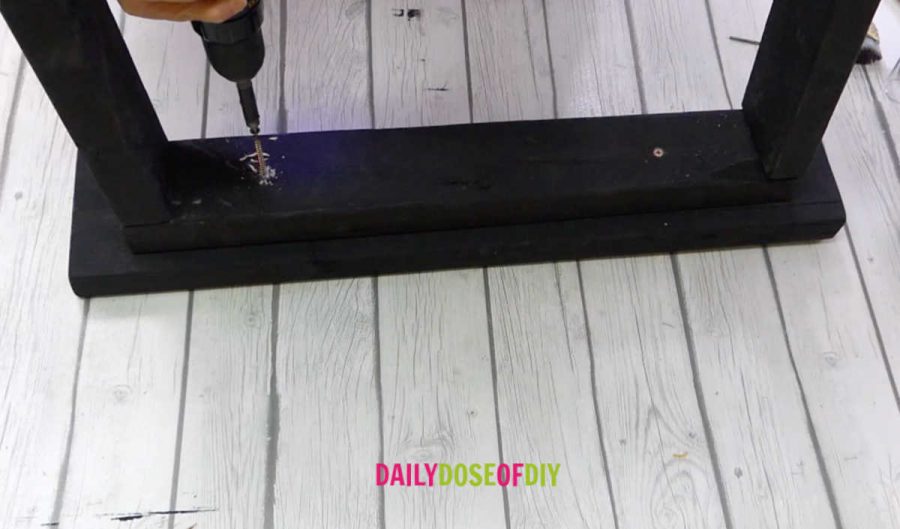
Next, do the same thing for the bottom of the stand, but instead of drilling from the inside, you’ll want to make the screw holes on the outside of the frame (Going through the 2×6 into the 2×4), so that those two screws won’t be visible when it’s standing on the ground.
So now you should have your basic frame of 2x4s, with a 2×6 screwed onto each end for the top and bottom of the stand.
Since this is going to be a hanging basket plant stand, you will of course want to add a hook to hang the basket from. Drill a little hole in the underside of the top 2×4. Add some glue to the hook’s threads, and then screw it into the hole. Make sure it’s in nice and tight.
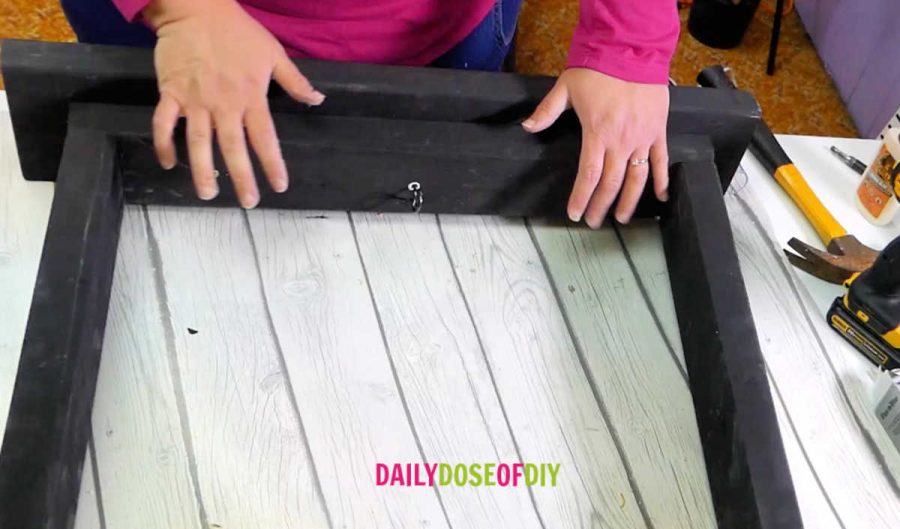
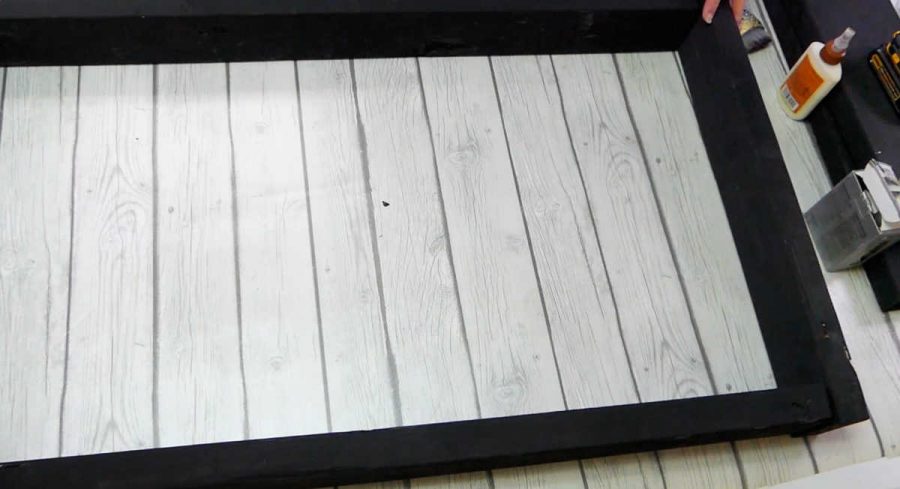
Attach the Front
Next, you’ll add the 1×6 plate onto the front of the stand. This is where you’ll place the Welcome vinyl later, or anything else you want to customize it with.
Line the 1×6 up to the top of the frame, just underneath the 2×6, and nail it in place.
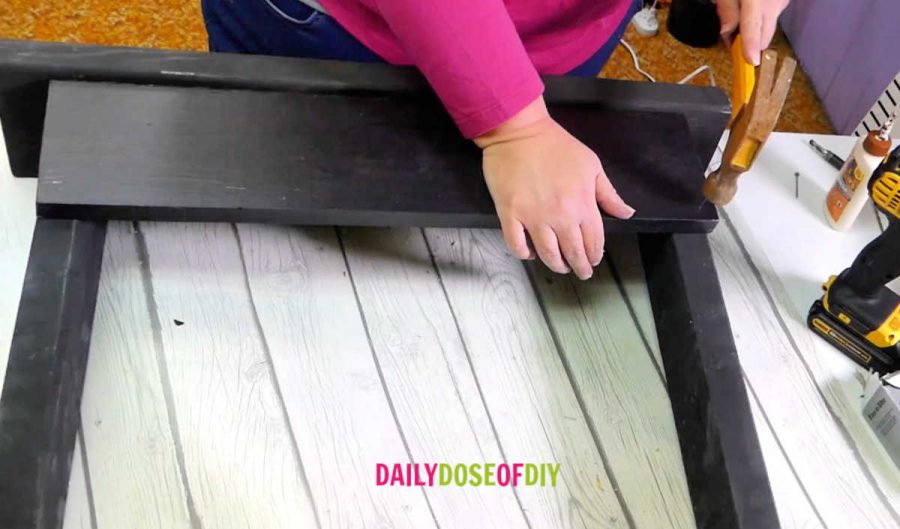
Tip: I used nails here instead of screws, because nails are easier to cover up.
Finally, go ahead and put a protector on the wood. Do this now, before you add the permanent vinyl. You do not want poly all over your vinyl, but you do want a sealer on your wood since the welcome plant stand will be outside.
You’ve finished building your DIY plant stand, so now it’s time to cut out your vinyl for the finishing touch!
Cut Out Welcome Vinyl and Apply to Plant Stand
If you don’t have the SVG file yet, there are details at the end of this post to get access to my free resource library full of free SVG files.
Once you get it into Design Space, you’ll see that the image is about 10” long x 2.8” high. But for this project, you’ll want to make it 4” high instead. To do this, go up to “Size” in the middle of the top menu, and change the height from 2.865 to 4.0.
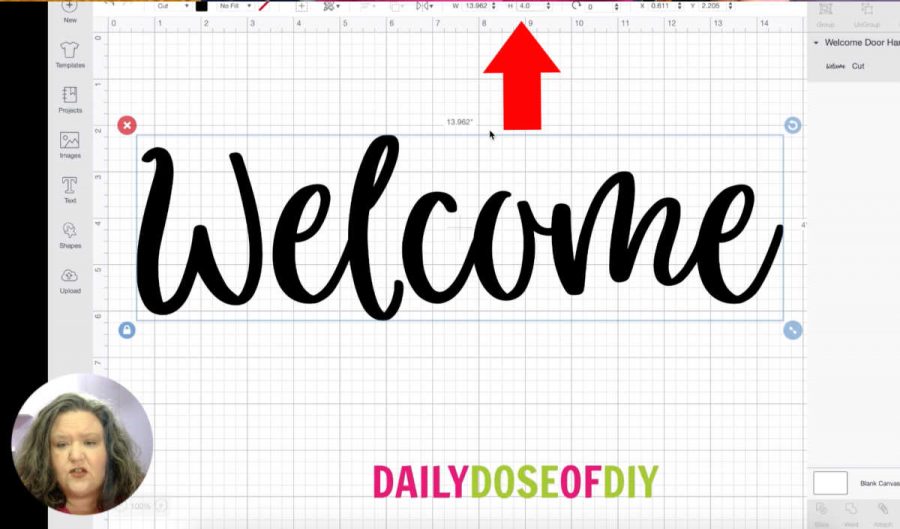
Design Space will automatically keep the proportions, making it about 13.9” long. That will look great, but it also means you’ll need to cut it on the 24” mat.
After changing the size of the image, click the Make It button. You should see a warning telling you to use the large cut mat, which is totally fine. Click OK, and then Continue.
If you have a Cricut Explore, set the dial to Vinyl. If you have a Cricut Maker, select Matte Vinyl from the materials list. Make sure you have your fine-point blade loaded, and you’re ready to cut!

I always line up my vinyl on the top left corner of my cut mat. (Again, make sure you’re using the longer 24” mat!) Once you have the vinyl loaded onto the mat, fit it under the tabs on your Cricut, click the Load button, and then Go.
When Cricut finishes cutting, unload the mat.
Tip: flipping the mat upside-down while removing it from the vinyl helps keep it from messing up.
Weed and Transfer the Welcome Decal
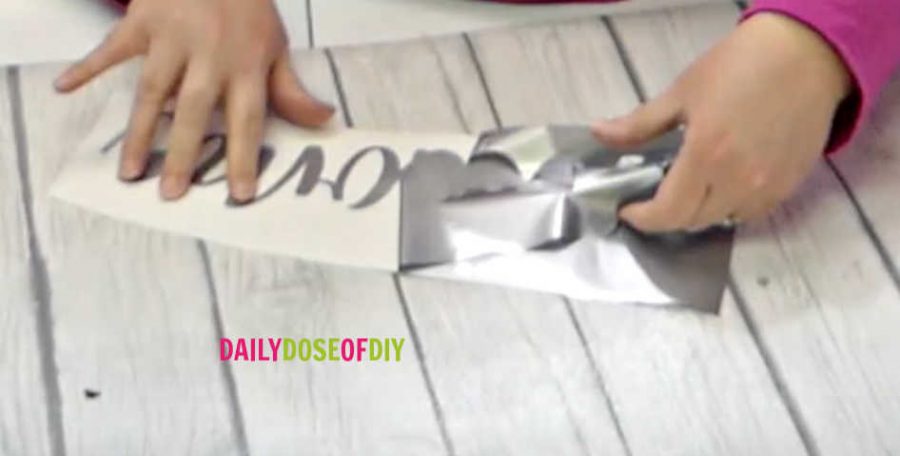
Then it’s time to weed the vinyl: remove the excess vinyl around the word, and use your weeding tool to pull out the insides of the letters.
Next, get your transfer tape ready. Peel back and fold one end of the transfer tape backing, and stick that end down to the end of the vinyl and to the table. Then peel the back off at the same time as you smooth your fingers down the front.
Burnish really well with your scraper tool, so that the vinyl sticks to your transfer tape.
Now all that’s left to do is apply the vinyl to the plant stand. Get the vinyl lined up where you want it, and hold it in place while you fold back one end of the backing and stick it down. Then this will be just like the transfer tape: remove the backing at the same time as you smooth down the front.
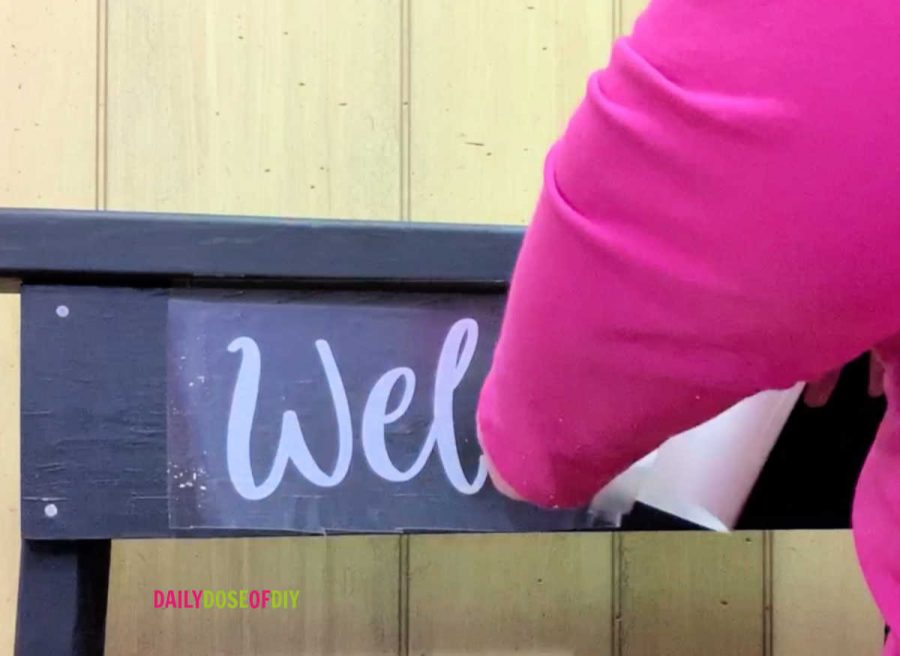
And, again, use the scraper to burnish it down really hard. When you’re sure that the vinyl has adhered to the wood, go ahead and remove your transfer tape, and you’re done!
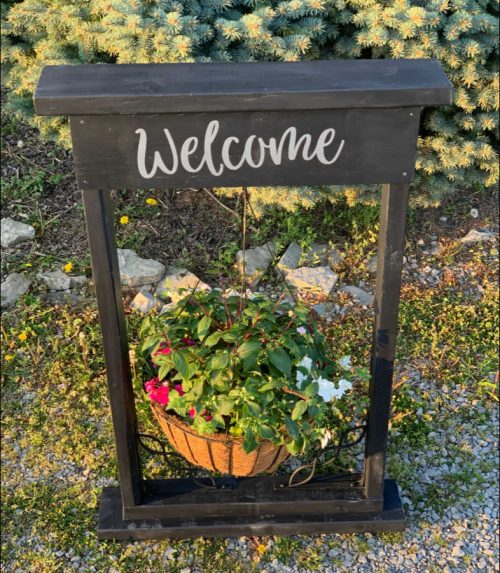
Now you have a beautiful welcome plant stand that you made yourself.
Grab the Free Welcome SVG
You can make your very own Welcome Hanging Plant Stand with the SVG that I created. I keep all of my free SVG cut files in a resource library for your convenience. It’s like a one-stop-shop to find everything.
The SVG files are in alphabetical order, so once to get into the library scroll down to ‘WELCOME’, there’s also a picture to help you find it.
To gain access to the free library simply fill out the form below and the link and password will be immediately sent to you. This also adds you to my weekly (sometimes bi-weekly) newsletter where I send more fun SVGs and crafts.
Thanks for crafting with me today!

Chris Butler has helped thousands of crafters learn how to use their Cricut machine without feeling overwhelmed. She is a best selling author and an up and coming designer. For fun Chris enjoys designing SVG Files, hanging out with her family (preferably at the lake), traveling, and volunteering at her church. She is a wife and mom of two crazy fun kids.
Im having a problem getting any svgs to download I clicked on “click here to download” but nothing is happening I would like to make the Welcome plant stand
Hi Selina! Be sure to check your downloads folder, depending on your browser you may not ‘see it’ download.
would like to join your email list please so I may use your SVG
This is super cute, thanks for the plans! One quick thing though- on the 2 2x6s you have the cut listed as 39” but I think this may be a typo? Should it be 29” instead? Otherwise I have a lot more of the top and bottom hanging out than what it looks like you’ve got on yours.