This post may contain affiliate links for your convenience. If you make a purchase through one of my links I will earn a small commission at no additional cost to you.
Last Updated on December 19, 2023 by Chris Butler
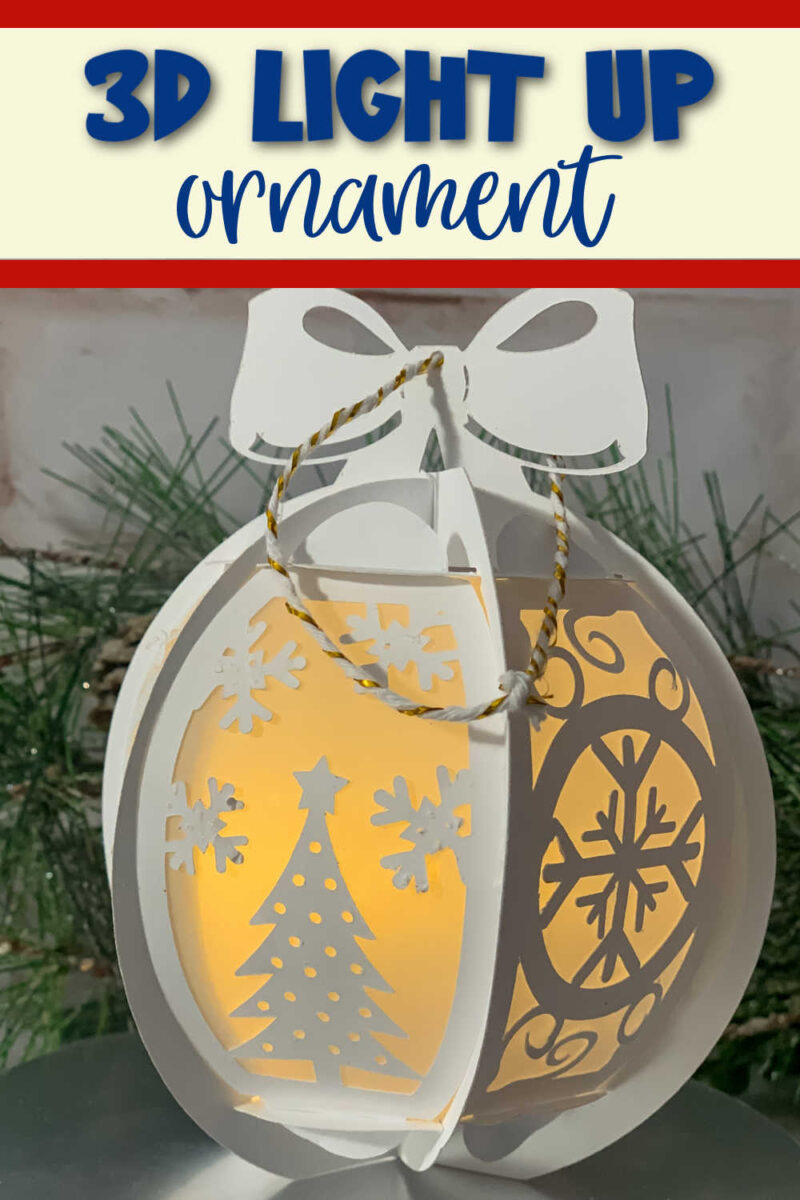
Welcome to Daily Dose of DIY! I’m Chris, and today we are going to make these amazing light-up Christmas ornaments. These ornaments are not only cool, but they also look absolutely gorgeous hanging on your Christmas tree or even just set on your tabletop.
Let’s jump right in and look at all the supplies we’ll need and how to get the SVG file so you can make your own.

Quick Links to Information in This Post
Supplies Needed
To make these light-up Christmas ornaments, you will need the following supplies:
- Vellum paper – https://amzn.to/3uiYvEZ
- 12×12 White cardstock (65 lb) –https://amzn.to/3sLb9Ms
- String fairy lights or a tea light – https://amzn.to/3MO8Fnv
- Craft glue – https://amzn.to/3G51Rhp
- String
- Free SVG File – See Below
LOVE Paper Crafts? The Paper Crafters Club is for you! Check out the Paper Crafters Club here
Getting the SVG File
To get the free SVG file fill out the simple form below. Once you have the link and password you’ll find this SVG in the library under Christmas SVGs
All of our free SVGs and Designs are kept in a library for your convenience. Fill out the simple form and we’ll send you the link and password to access the SVG files right away.
Already have the password? Enter the Library HERE
Light Up Christmas Ornament Step-by-Step Video
Watch the step-by-step tutorial below or keep scrolling for the written instructions.
Preparing the Design
Once you have downloaded the SVG file, open Cricut Design Space and click on “Upload Image”. Locate the file called “Christmas Ornament Lantern” in your downloads folder and drag and drop it into Design Space. If you need help with uploading and downloading SVGs, you can find a tutorial here.
After the SVG file is in Design Space, select it and click “Add to Canvas”. The lavender-colored panels in the design are meant to be cut out of vellum paper, while the rest should be cut out of white cardstock.
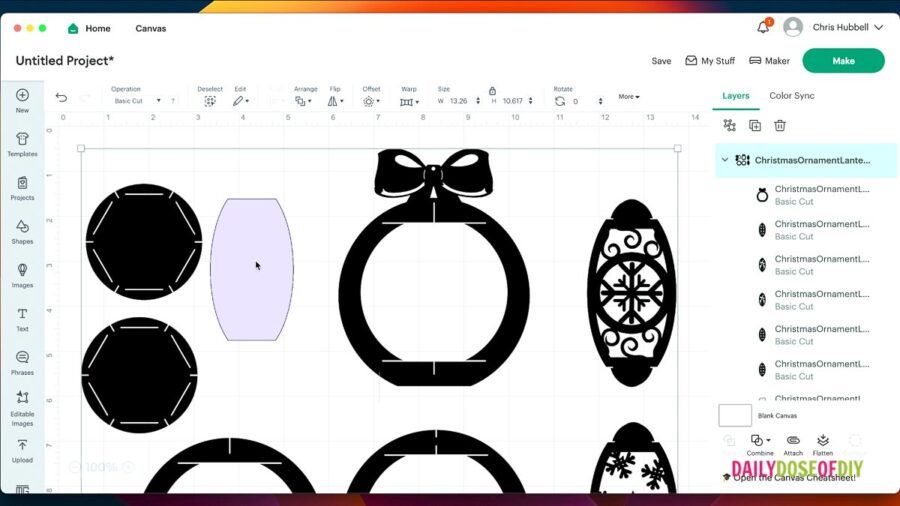
If you want to resize the design, make sure to resize everything together to keep everything in proportion. The ornaments will be about 4 inches in size as is.
Cutting the Design
Once you are ready, click the “Make It” button on the mat screen. Scroll down and check the mat for the vellum paper. If you are using 8.5 by 11-inch paper, change the material size to 8.5×11 for the vellum paper to fit. Then, go back up and select mat one and click “Continue”.
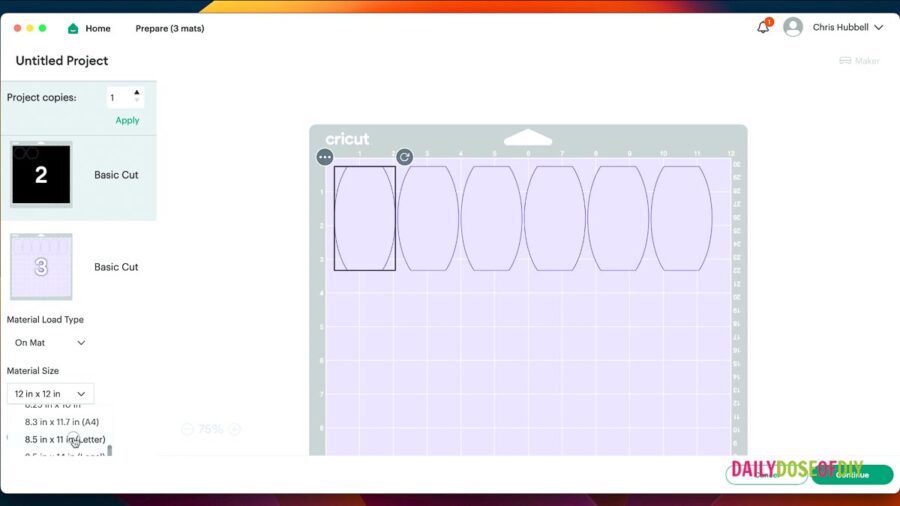
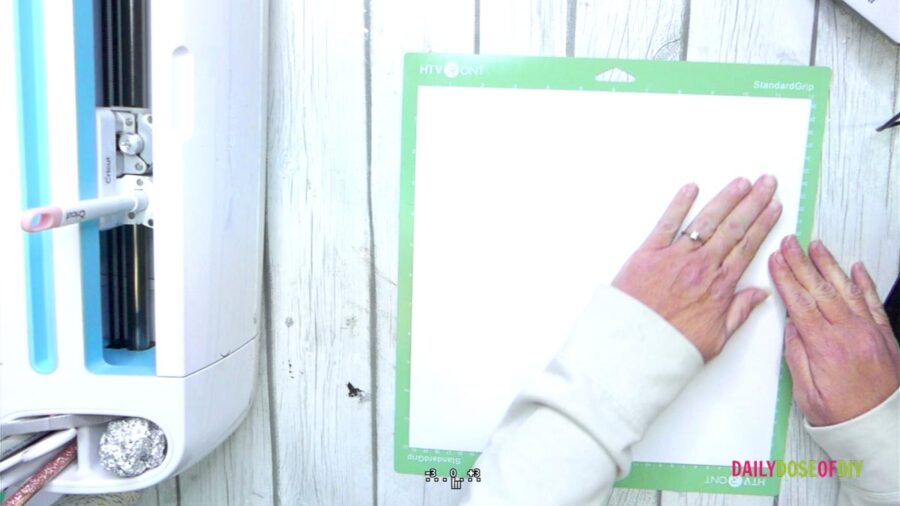
If you have a Cricut Explore or any Cricut with a dial, set the dial to “Custom” and browse all materials. Search for “cardstock for intricate cuts” and select it. Load your paper onto the cut mat, making sure to smooth it down.
Insert the mat into your Cricut and press the arrow button to load the mat. Press the flashing C button to start cutting.
Assembling the Ornaments
Once the Cricut is finished cutting, flip the mat over and gently remove it from the paper making sure none of the pieces break. Use a scraper tool to remove any remaining bits of paper.
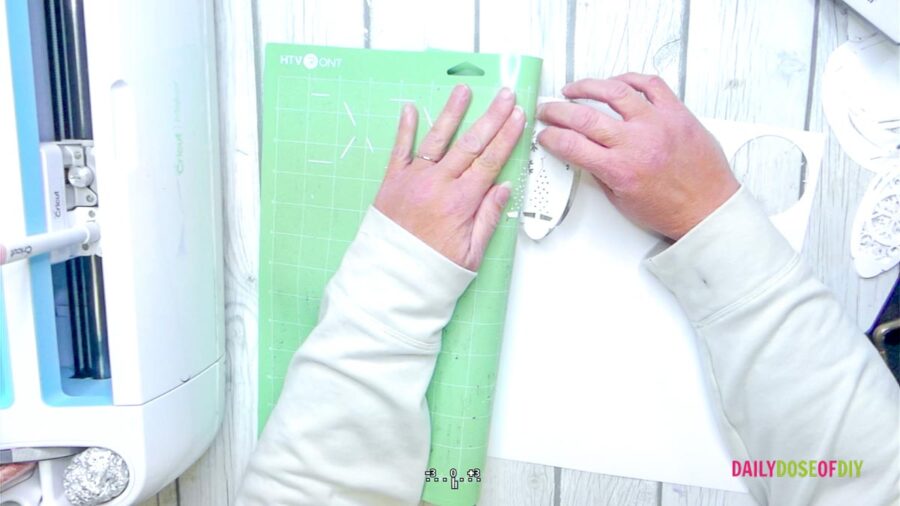
Next, glue the vellum sheets onto the ornament panels. Apply glue around the outer edges and some in the center as well. While the panels are drying, we can start assembling the ornament.
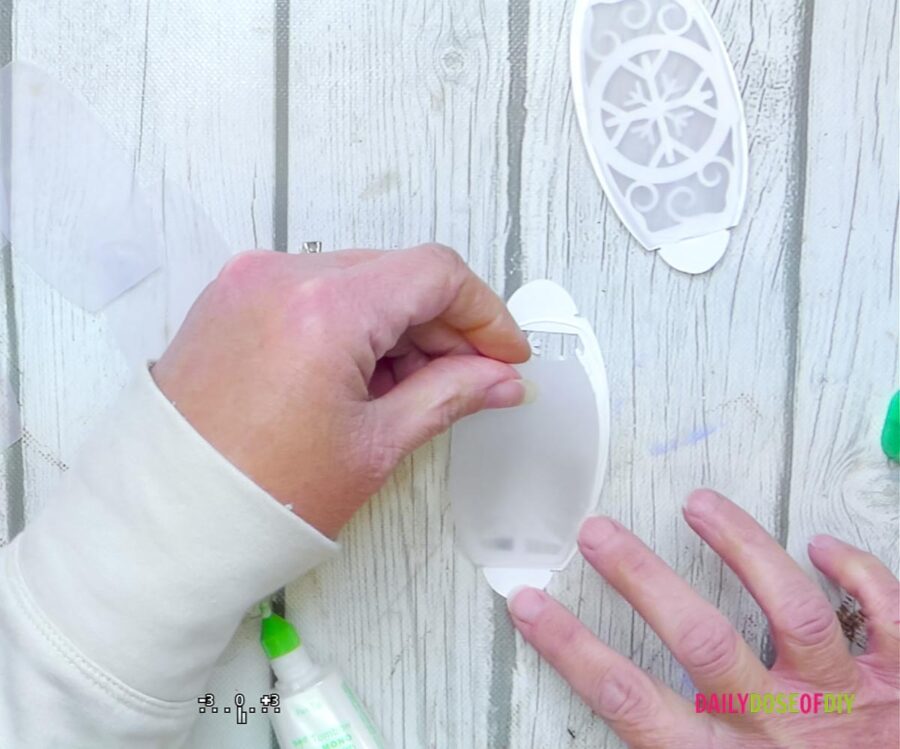
The part with the bow is the outermost part, and then there is another part with slits in both the top and bottom. This is the middle part. Insert it at a 90° angle into the slits of the outer part. The ornament with slits only on the top is the innermost piece, and we will insert those into the slits as well.
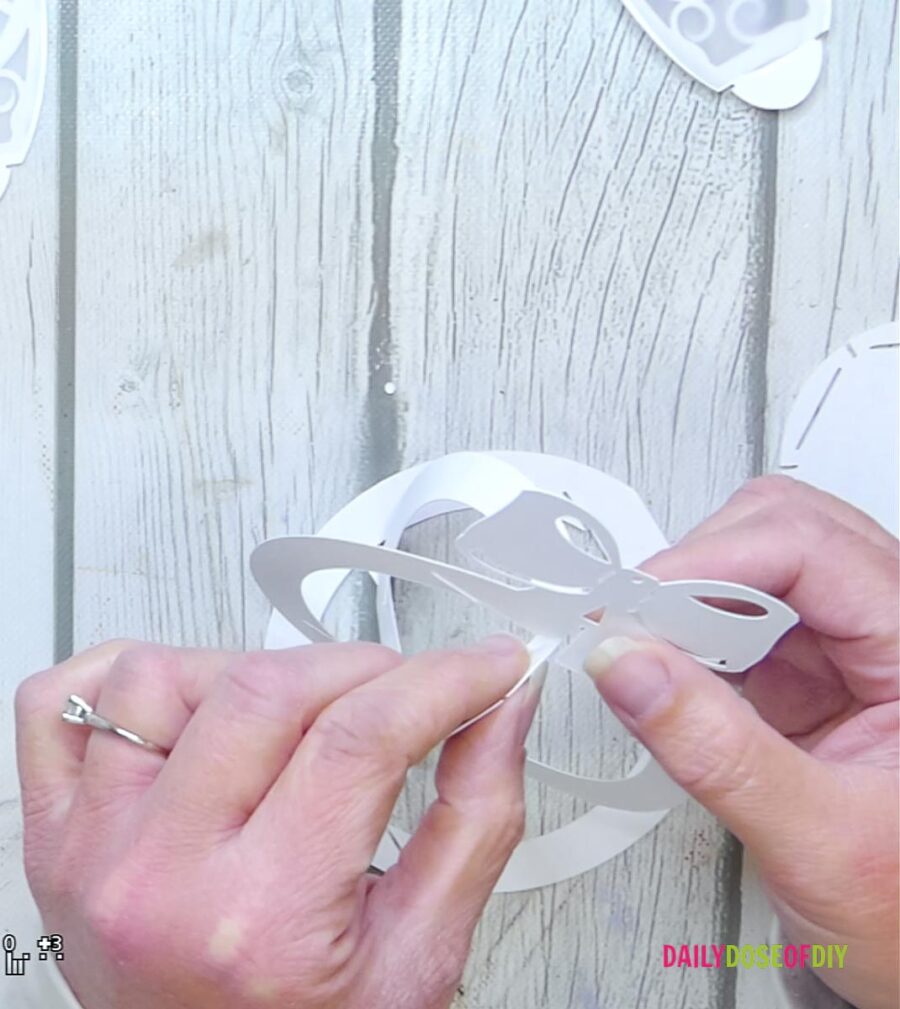
Take the disc, which has slits along the outer side, and line up the slits with the circles on the ornament. Slide it into the first cutout, lining up the slits, and then do the same for the next layer on each side. You may have to fold back the card stock to get the last few in.
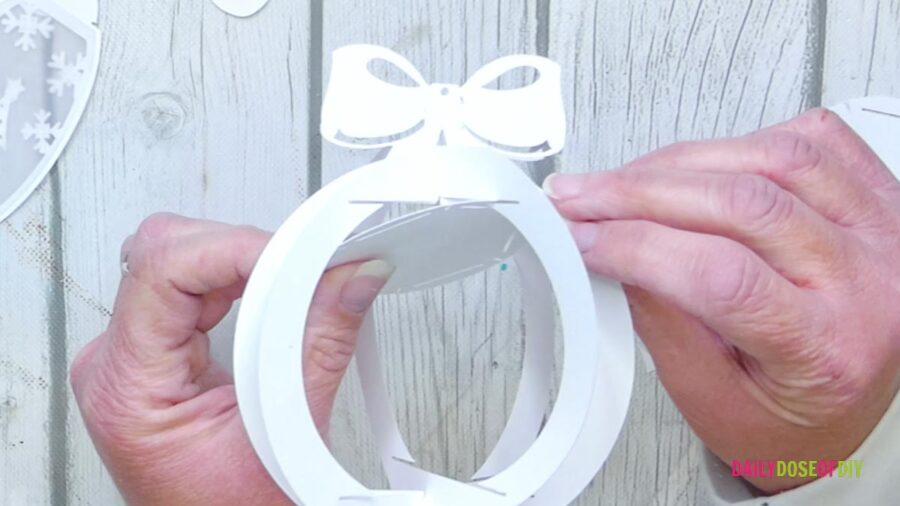
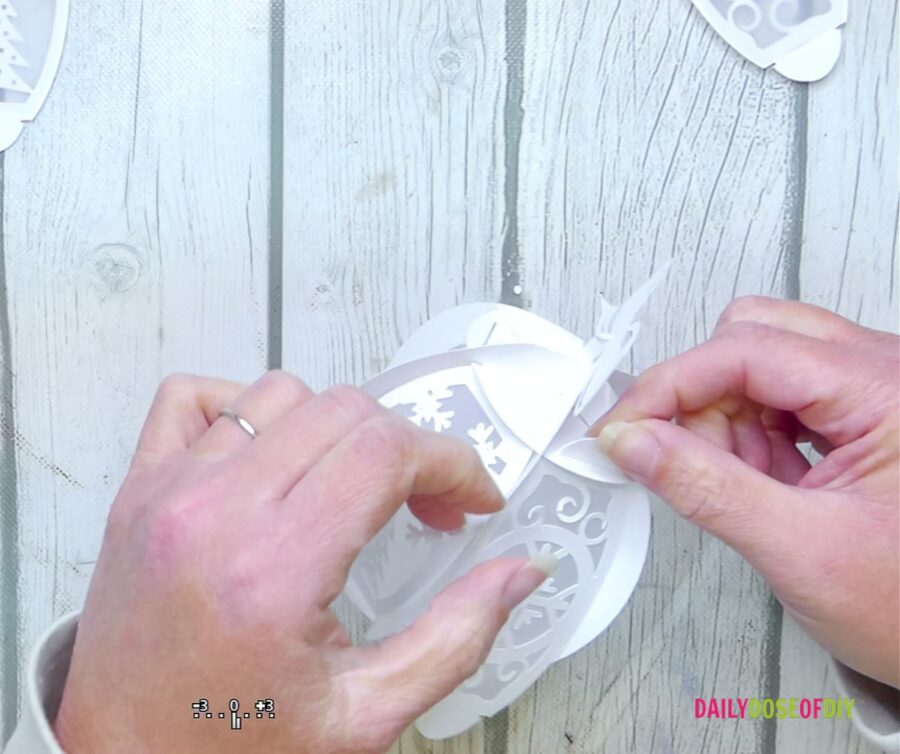
Finally, add the tabs into the ornament. The vellum goes on the inside, and there are lock tabs to secure the panels in place. You will have to insert the panels at a slight angle and then pull them through until they lock.
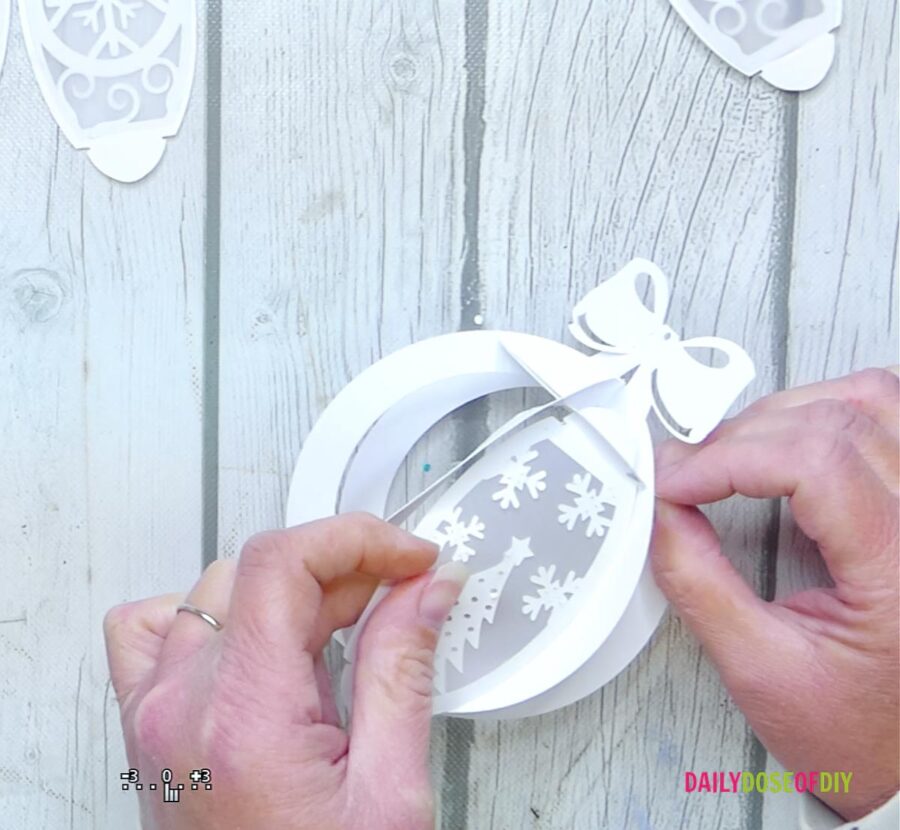
Alternate the tree and snowflake scene all around the ornament.
Add the Lights
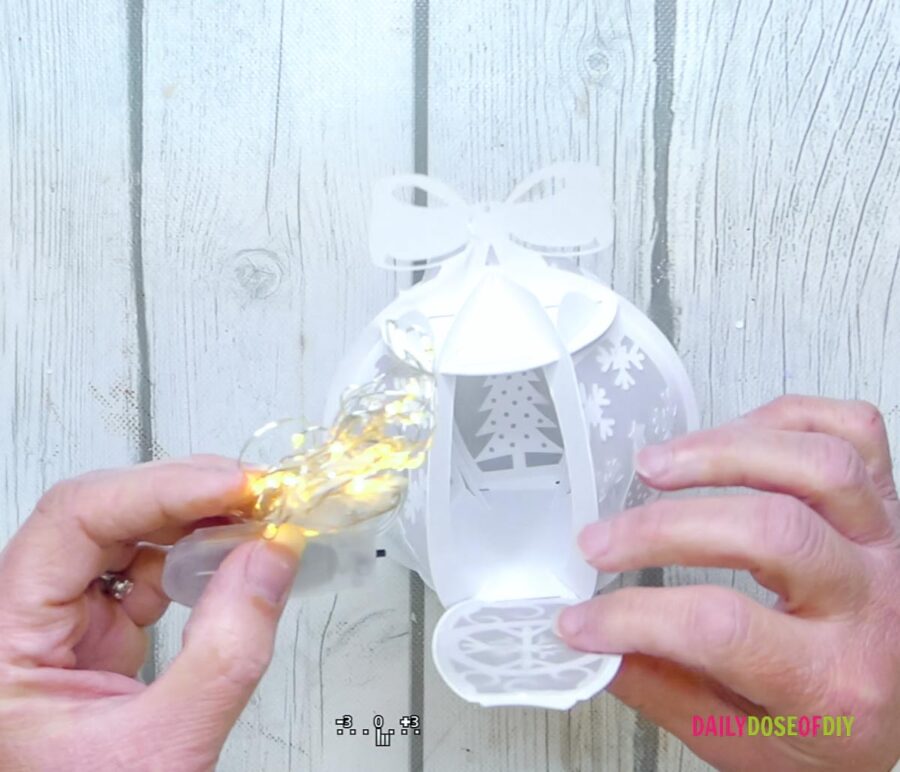
One you get to the last tab, lock the bottom in only. To add the lights, insert them through the open tab. I generally do not lock the top of this tab in place as the paper will eventually break. Just slide the top tab into place without locking it. This will serve as the back of your ornament.
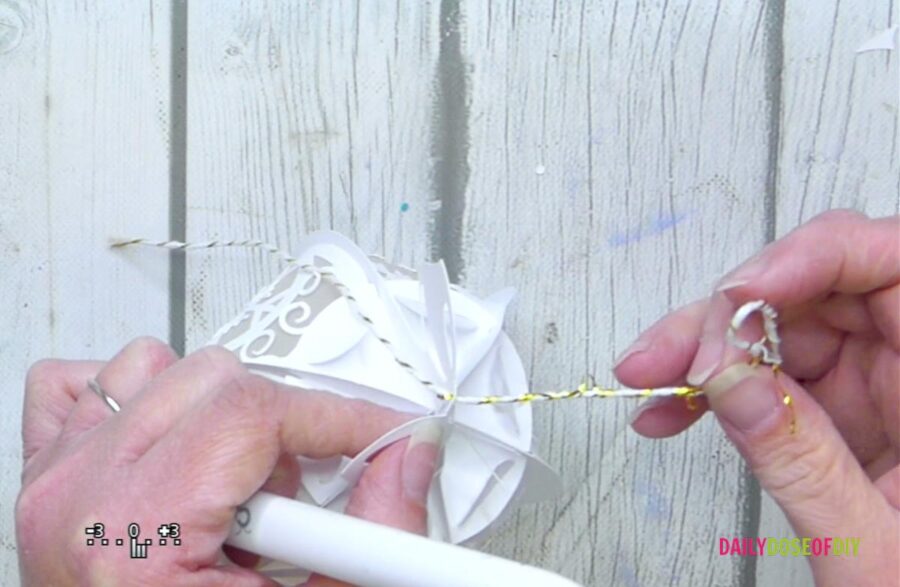
Finally, add a string through the hole at the top of the bow to hang your ornament.
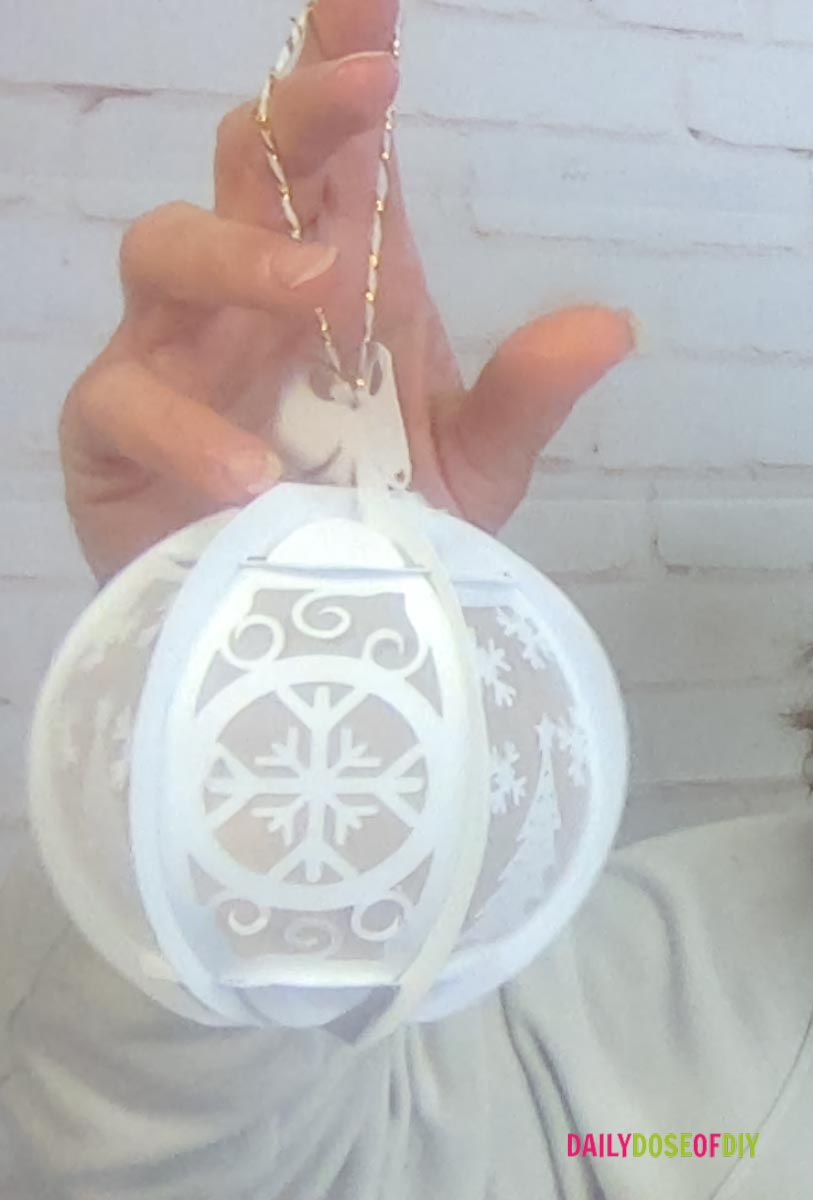
And there you have it! Your beautiful light-up Christmas ornament is complete. I hope you enjoyed this craft as much as I did. Don’t forget to grab your free SVG file
All of my free SVG files and Designs are kept in a library for your convenience. We will send you the link and password right away, and you’re free to use all the resources you want in the library.
Already have the password? (It’s at the bottom of every email) Enter the Library Here
Thank you for crafting with me today, and happy holidays!

Chris Butler has helped thousands of crafters learn how to use their Cricut machine without feeling overwhelmed. She is a best selling author and an up and coming designer. For fun Chris enjoys designing SVG Files, hanging out with her family (preferably at the lake), traveling, and volunteering at her church. She is a wife and mom of two crazy fun kids.

Leave a Reply