This post may contain affiliate links for your convenience. If you make a purchase through one of my links I will earn a small commission at no additional cost to you.
Last Updated on November 22, 2023 by Chris Butler
Today, we will learn how to wrap sublimation tumblers to achieve perfect results every time.
Whether you’re just getting started with sublimation or you’re having a hard time getting your tumblers to turn out right, these tips and tricks will help you immensely!
I will guide you through the process, from the supplies you’ll need to the step-by-step instructions. Let’s jump right in.
RELATED: Beginners Guide to Getting Started with Sublimation

Quick Links to Information in This Post
Supplies Needed
Before we begin, let’s gather all the supplies you’ll need for wrapping sublimation tumblers. I’ve provided links to the exact products I’m using.
- Sublimation Tumbler Set – https://amzn.to/3R9unVy
- Sublimation Transfers – I have two fun free designs you can use, more details below
- Paper Trimmer – https://amzn.to/3uzVUGH
- Alcohol Wipes – https://amzn.to/47qxP3V
- Heat Tape – https://amzn.to/49JtF8L
- Pinch Perfect Tool (optional) – Find the Original HERE
- Hair dryer
I really like the HTVRont sublimation tumbler blanks. There packs come with lids, straws, straw cleaner, and rubber grip for the bottom. PLUS you get sublimation paper and the shrink-wrap tubes as well.

To get your free designs fill out the simple form below. Once you’re in you’ll find these designs under the Sublimation Designs thumbnail.
All of my free SVG files and Designs are kept in a library for your convenience. We will send you the link and password right away, and you’re free to use all the resources you want in the library.
Already have the password? (It’s at the bottom of every email) Enter the Library Here
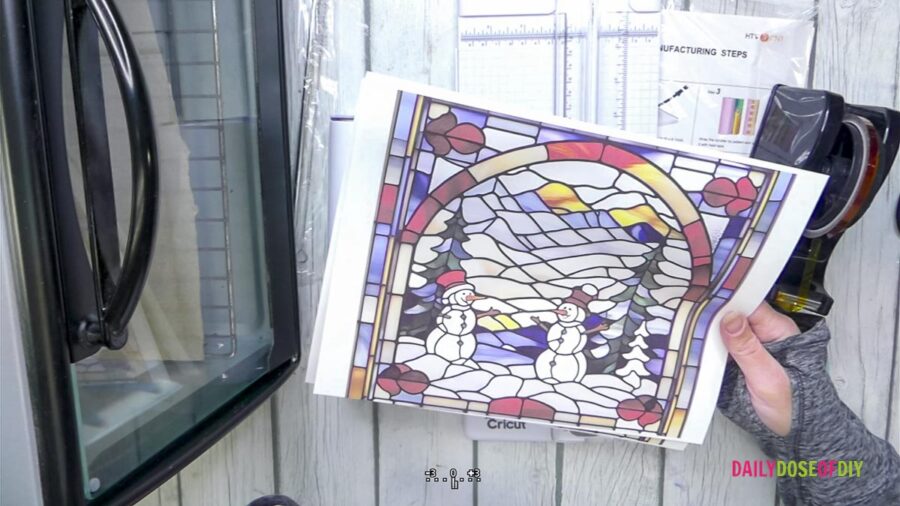
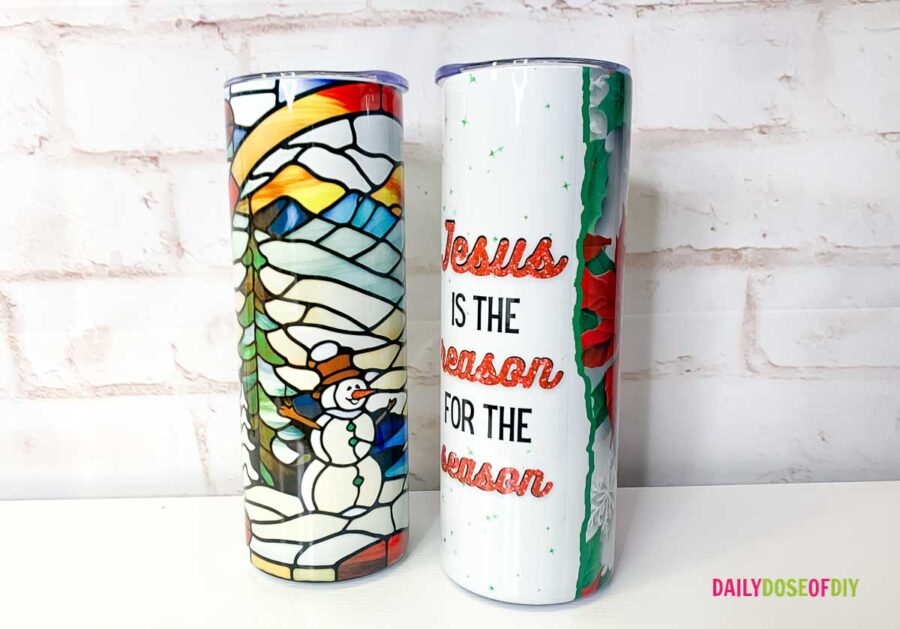
The free designs for this craft include a stained glass snowman scene and the 2nd design is poinsettias with the words “Jesus is the Reason for the Season”
Watch the step-by-step video below or keep scrolling for the written instructions.

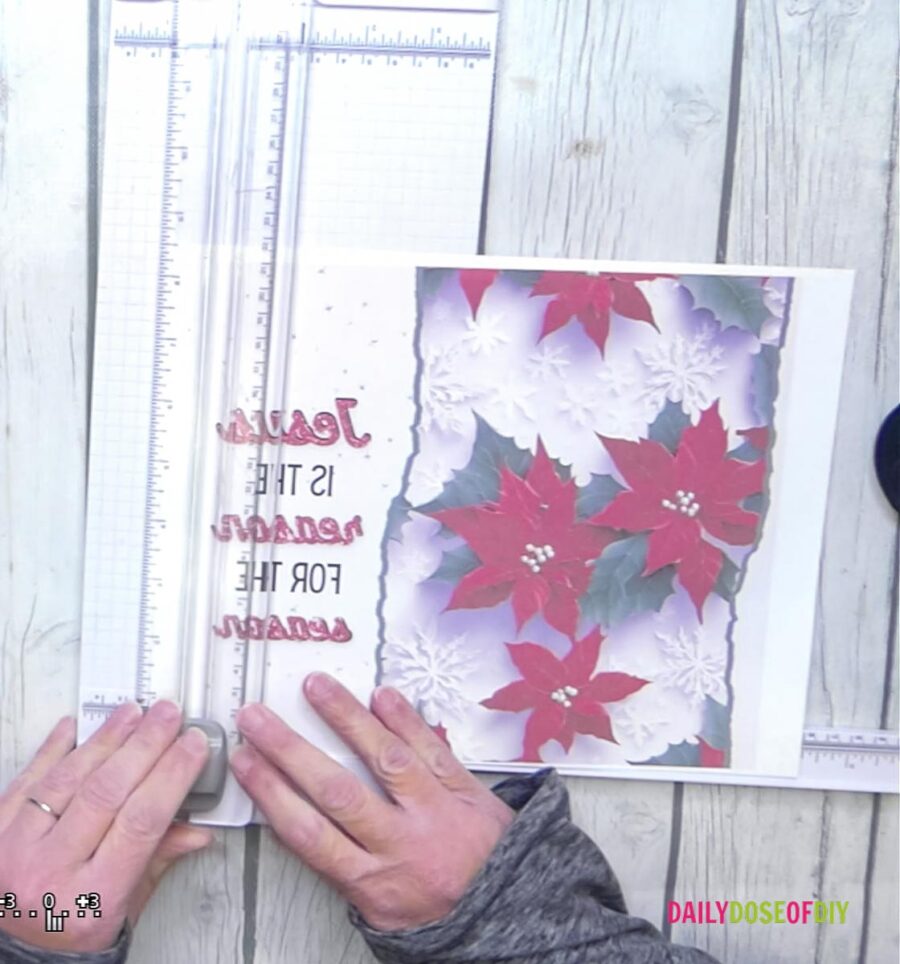
Step 1: Trimming the Sublimation Design
The first step is to trim the design on the sublimation paper. Use a paper trimmer to trim one edge of the design right up to the design edge. Then, trim off the extra parts of the design from the top and bottom. This will ensure that the design fits perfectly on the tumbler.
Step 2: Cleaning the Tumbler
Next, clean the tumbler using alcohol wipes. These single-use wipes are great for removing any dirt or oils from the surface of the tumbler. Make sure the tumbler is completely dry before moving on to the next step.

Step 3: Wrapping the Sublimation Tumbler
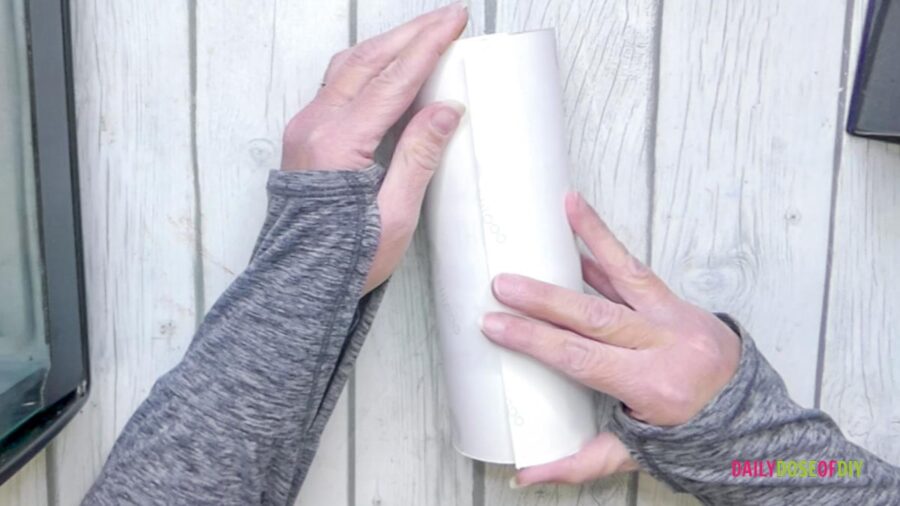
Now it’s time to wrap the tumbler with the sublimation transfer. Place the transfer with the trimmed edge facing towards you. Position the tumbler over the transfer, making sure the top of the design is facing the top of the cup. (I’ve screwed that up once or twice!)
Center the tumbler vertically on the design and try to get it as straight as possible.
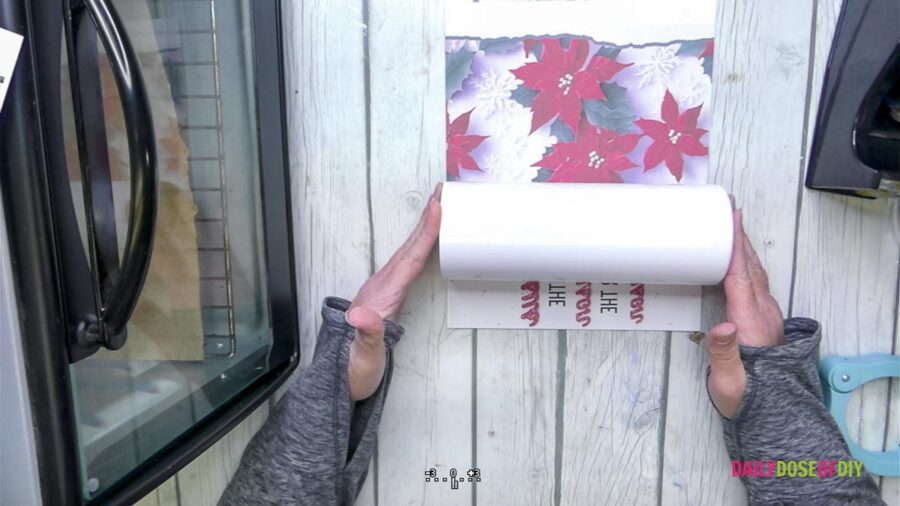
Next, pull the trimmed edge up around the cup and roll the tumbler until you reach the end of the design.
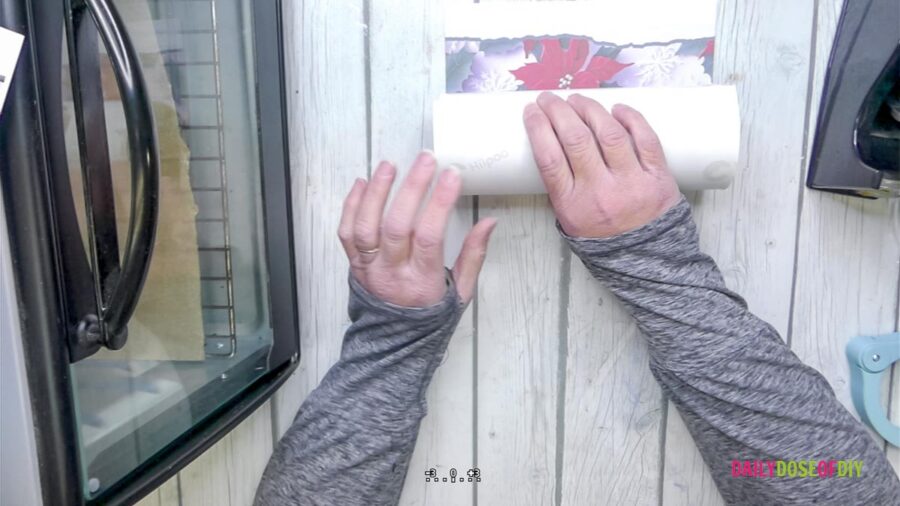
If the edges of the paper don’t line up on the top and bottom, slide them together and make sure the paper is still tight against the tumbler. Once everything is aligned, add a piece of tape to the seam at the end.
Step 4: Securing the Tumbler Wrap
The key to your sublimation transfer not fading in spots (also called ghosting) is to get a tight wrap without any air pockets.
If you have a Pinch Perfect Tool, it can be very helpful in keeping the paper tight while you tape. However, if you don’t have one, you can hold the paper tight with one hand as you tape down the seams with the other.
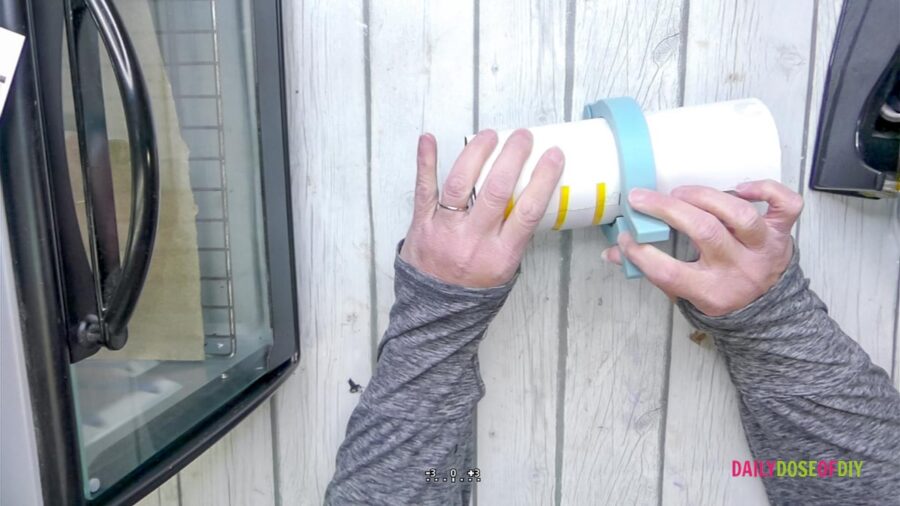
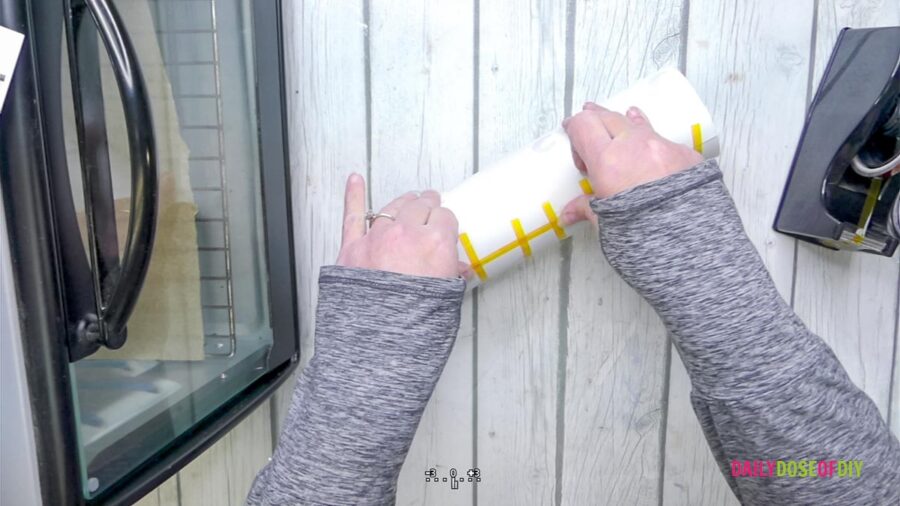
To ensure a tight wrap, add tape all the way down the seam from the top and bottom. This will help prevent any gaps and keep the paper in place.
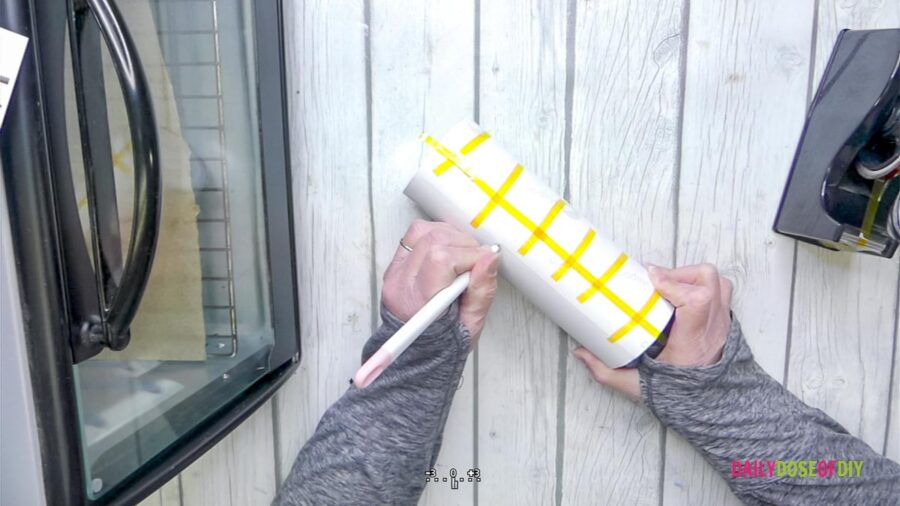
Step 5: Preventing Seam Lines
The final step is crucial for a good transfer without any seam lines. There is an overlap to the edges of the paper, and you need to find the edge of the paper on the inside. This is the most common place for an air gap to form.
Take your fingernail and run it down that edge. If you don’t have long nails, you can use a scoring stylus, a spoon, or the back end of a butter knife. This will ensure the design is tight to the cup on that seam line and you will get a perfect transfer.
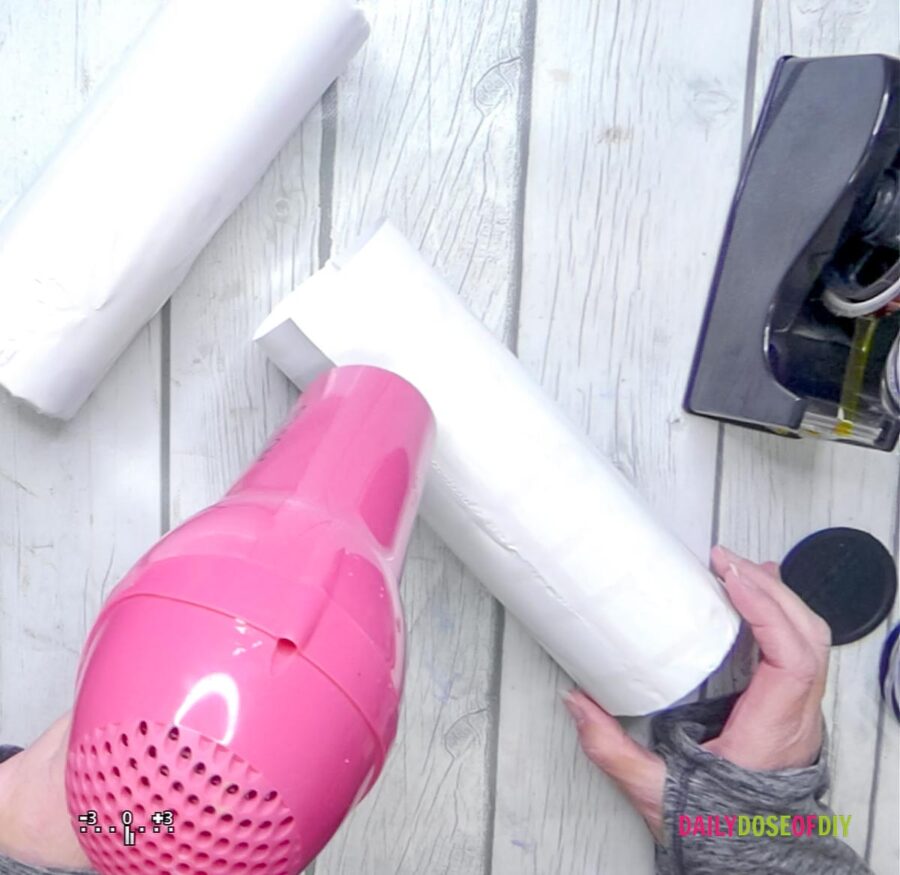
Step 6: Shrink Wrap
To help ensure all the air is pushed out, you should use a shrink-wrap tube, especially if you are heating the tumbler in an oven.
RELATED: How to Sublimate Tumblers in a Toaster Oven Plus Mistakes to Avoid.
To complete the process, use a hair dryer to shrink the wrap. Hold the hair dryer a few inches away from the tumbler and move it around to heat the wrap evenly. You don’t have to get it super tight as it will shrink more in the oven or press.
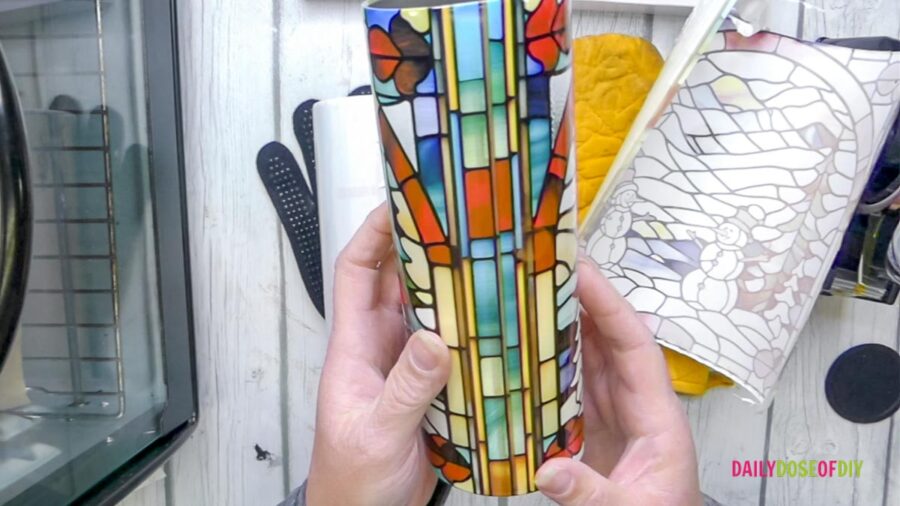
Step 7: Unwrapping the Tumbler
Now it’s it’s time for the big reveal! Let’s see how our tumblers tuned out. Wait until the tumblers are cool to the touch to unwrap them. You may need to use scissors or carefully use a craft knife (I’ve scratched a few tumblers doing that!!) to break through the wrap and tape.

Here’s the back where the seam was. As you can see, no fading or lines, I’d say we got a perfect wrap.
Wrapping sublimation tumblers may seem challenging at first, but with the right techniques and supplies, you can achieve perfect results every time.
Remember to trim the design, clean the tumbler, wrap it tightly, secure the wrap with tape, find the edge of the paper, and shrink the wrap with a hair dryer. By following these steps, you’ll be able to create stunning sublimation tumblers with no lines or ghosting.
Don’t forget to check out the free sublimation designs provided by filling out the brief form below.
Happy crafting and enjoy your beautiful sublimation tumblers!
More Sublimation Tutorials For You:
How to Make Sublimation Designs in Cricut Design Space
Bleaching Shirts for Sublimation

Chris Butler has helped thousands of crafters learn how to use their Cricut machine without feeling overwhelmed. She is a best selling author and an up and coming designer. For fun Chris enjoys designing SVG Files, hanging out with her family (preferably at the lake), traveling, and volunteering at her church. She is a wife and mom of two crazy fun kids.
Leave a Reply