This post may contain affiliate links for your convenience. If you make a purchase through one of my links I will earn a small commission at no additional cost to you.
Last Updated on October 30, 2023 by Chris Butler
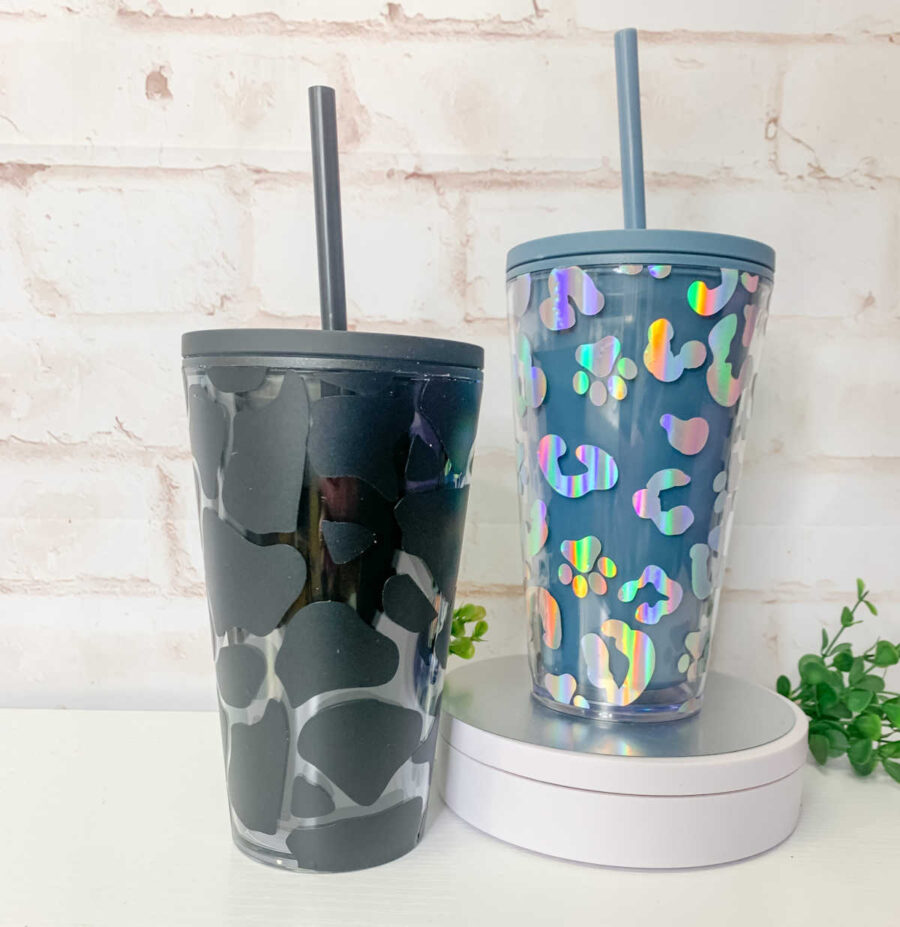
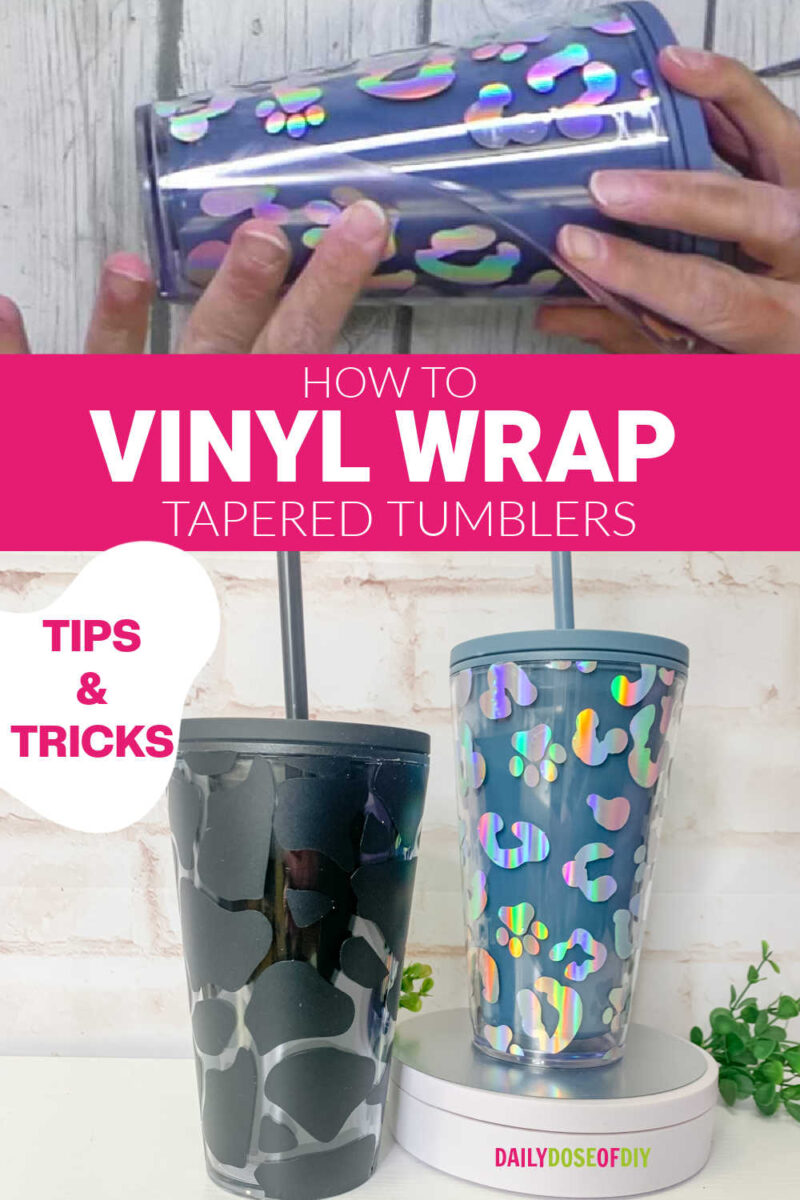
I’m not going to lie, applying a vinyl wrap design to a tapered tumbler can be a pain in the butt. (seriously, wrapping a skinny tumbler is much easier!) But I have a few tips and tricks that will help you get that design on your cup without ripping out your hair.
If you want to learn how to make your own custom tapered tumbler template in Cricut Design Space see this post.
I will be using the tumbler wrap design I made in that post to wrap my tumbler.
Let’s dig in.
Quick Links to Information in This Post
Supplies Needed to Wrap a Tapered Tumbler
- Tapered Tumbler – I love this double wall tumbler from Sav-A-Cup, you can use stainless steel tumblers as well.
- Permanent Adhesive Vinyl – I’m using HTVRont Holographic found here. Oracal 651 is also good to use as well.
- Transfer Tape
- Tapered Tumbler Design – See this post to learn how
- Craft Knife
How to Apply a Vinyl Wrap to a Tapered Tumbler Video
The video below will show you both how to create a template in design space and how to wrap a tapered template. Keep scrolling for the full written tutorial.
Cutting and Weeding the Vinyl Transfer
Now that your template is ready, (learn how here) it’s time to cut and apply the vinyl to your tumbler. Here’s how:
- Load your vinyl onto your Cricut cutting mat and insert it into your machine.
- In Cricut Design Space, select the appropriate material setting for your vinyl type. I’m using holographic vinyl from HTVRont, If you’re using the same be sure to remove the protective film from the holographic vinyl before cutting, as it can be difficult to remove after cutting.
- Click “Make It” and follow the prompts to cut your design.
- Once your Cricut is finished cutting, unload the mat and remove the vinyl from the mat. Flip your mat over and remove the vinyl sheet from the mat for the best result. This helps prevent the vinyl from curling or wrinkling as it’s removed.
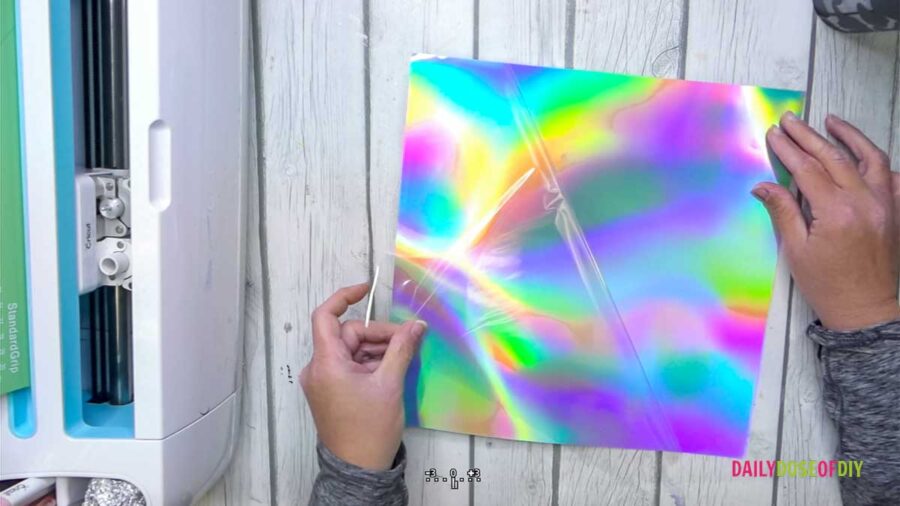
5. Use a weeding pen or tool to remove the excess vinyl from your design. The HTVRont vinyl weeds beautifully, so you should be able to pull off the whole design at once.
6. Use scissors to trim close to the bottom and sides of your vinyl decal leaving just a little bit of margin.
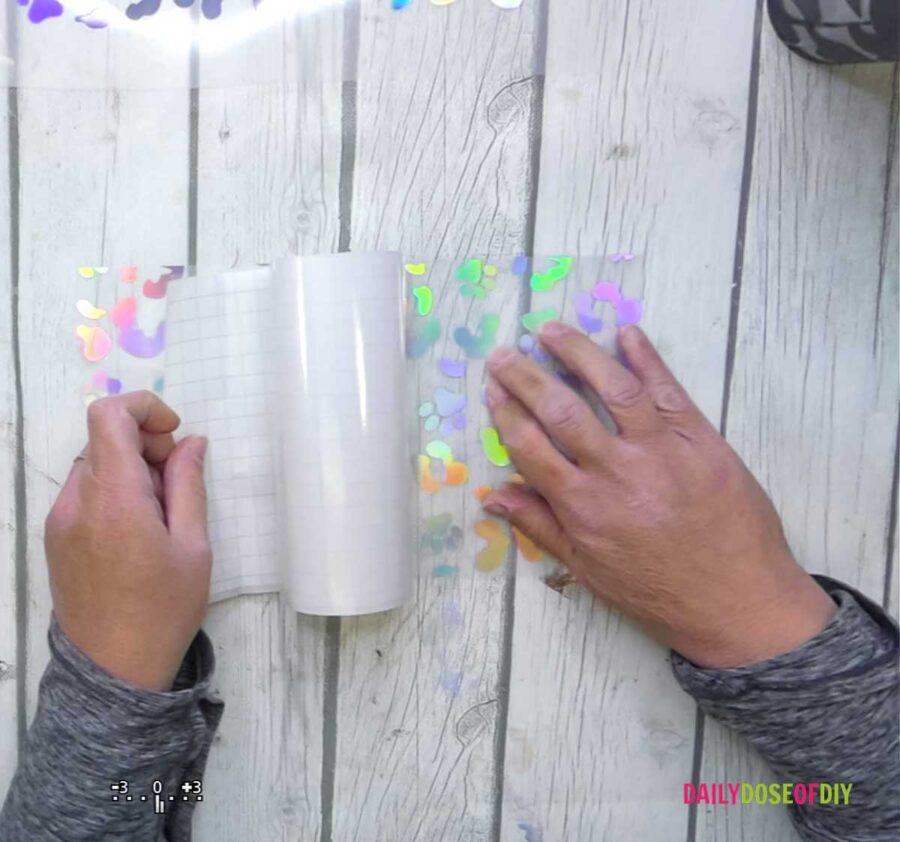
7. Apply transfer tape to your design. Start by peeling back one end of the backing and folding it down. Then, as you smooth down the transfer tape on the front, peel off the backing. This helps ensure a wrinkle-free application.
Related: How to Easily Apply Transfer Tape without Bubbles or Wrinkles
Transfer the Vinyl Decal to the Tapered Tumbler
- Cut your template in half to make it easier to apply to the cup. And cut little notches along the sides of your vinyl transfers, being careful not to cut through the vinyl design. These notches will help the vinyl wrap around the curve of the cup.
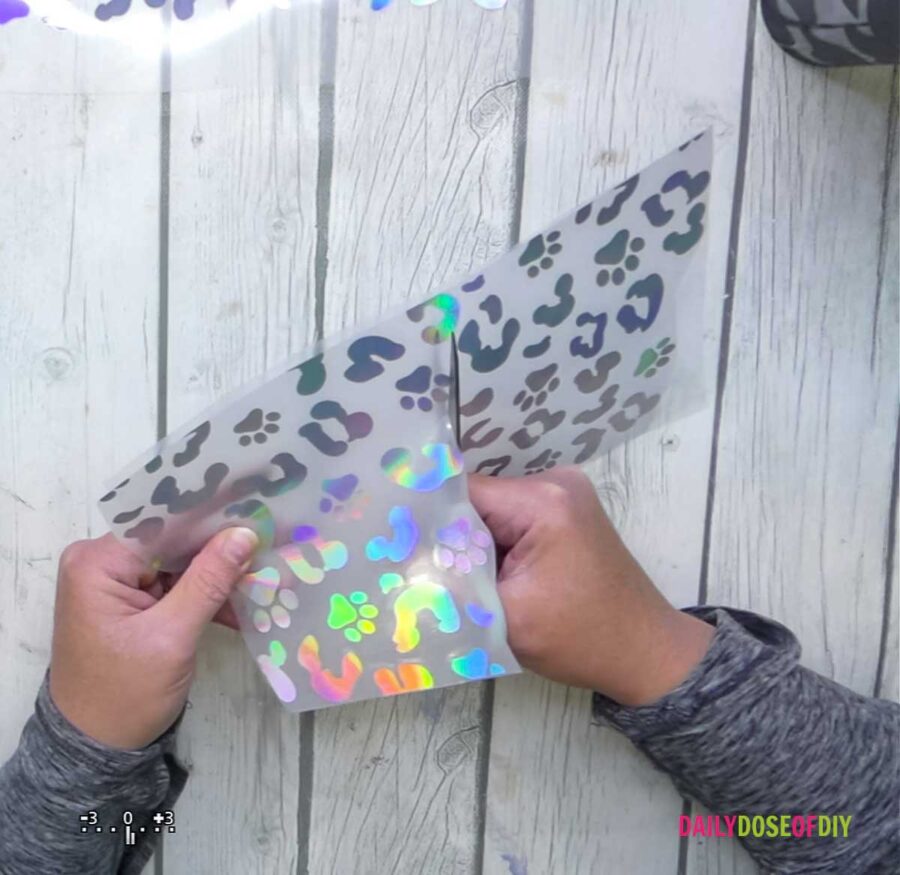
2. Before applying the vinyl, make sure your cup is clean and dry. Use alcohol wipes or a similar cleaning solution to ensure a clean surface.
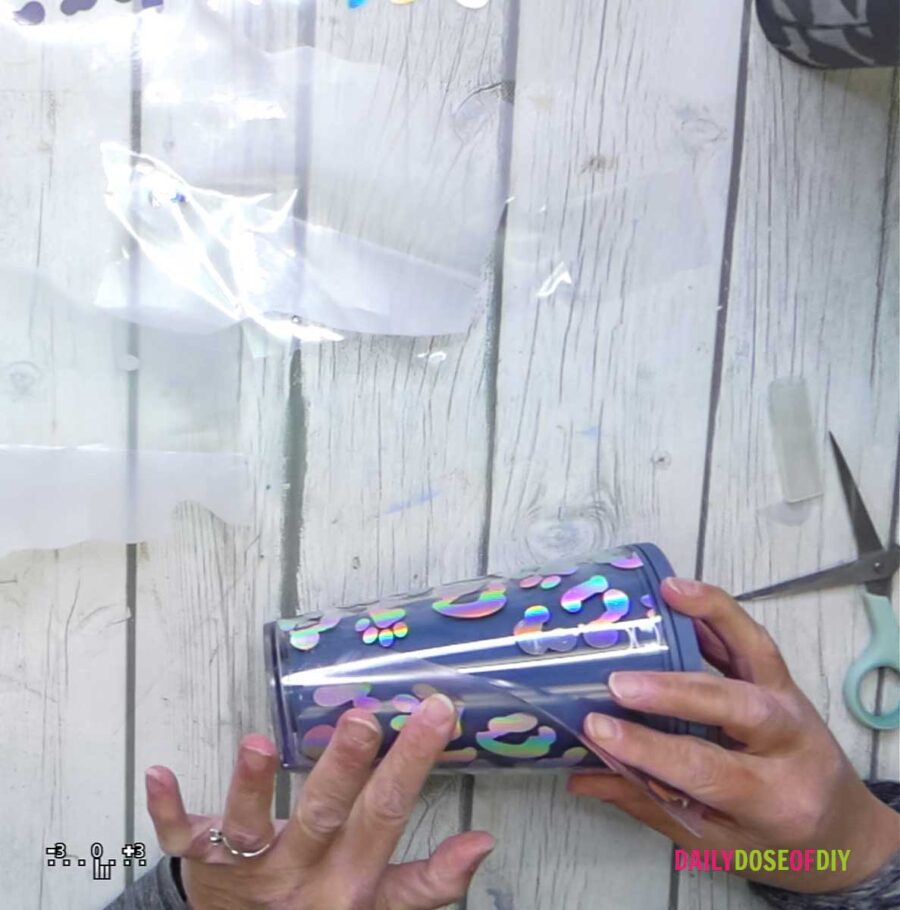
3. Remove the end of the backing from the vinyl and fold it down. Put the wrap in place being sure not to let the vinyl stick yet. Line up to the top and bottom of the cup.
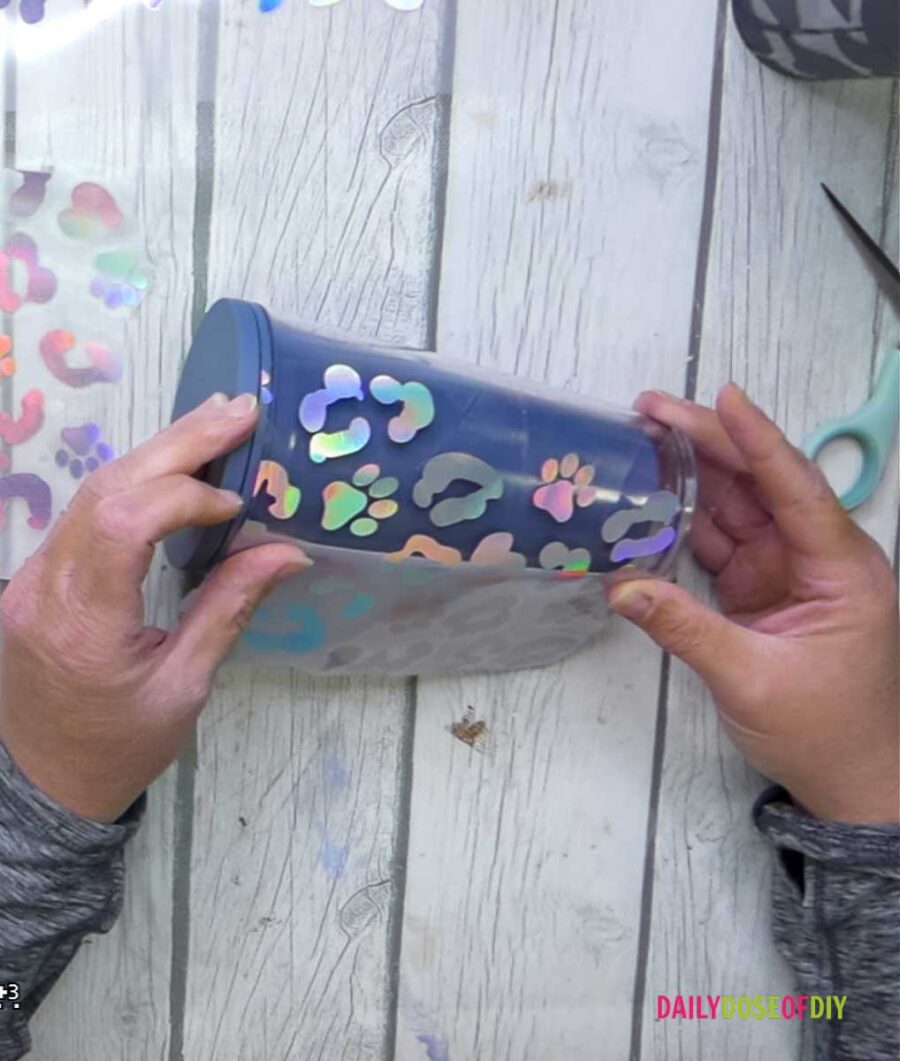
4. The notches will help guide the vinyl around the curve. Once you have the vinyl in place, lay it down and smooth it with your hands or a scraper tool to ensure it sticks well to the cup.
5. Remove the transfer tape from the section you just applied and cut off the excess transfer tape.
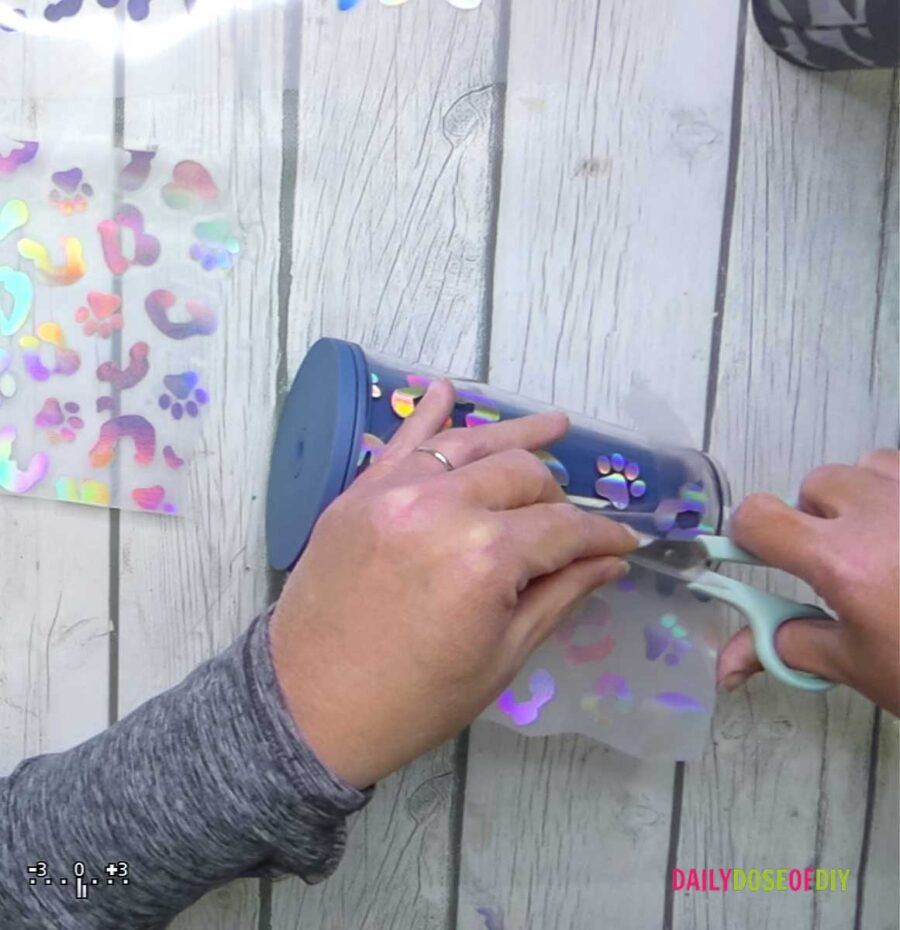
6. Now comes the slightly trickier part. Remove the rest of the paper backing, holding it at a 45° angle. Use the notches to manipulate the vinyl around the top circumference of the cup. You may need to use a craft knife to trim the top if it goes over the rim of the cup.
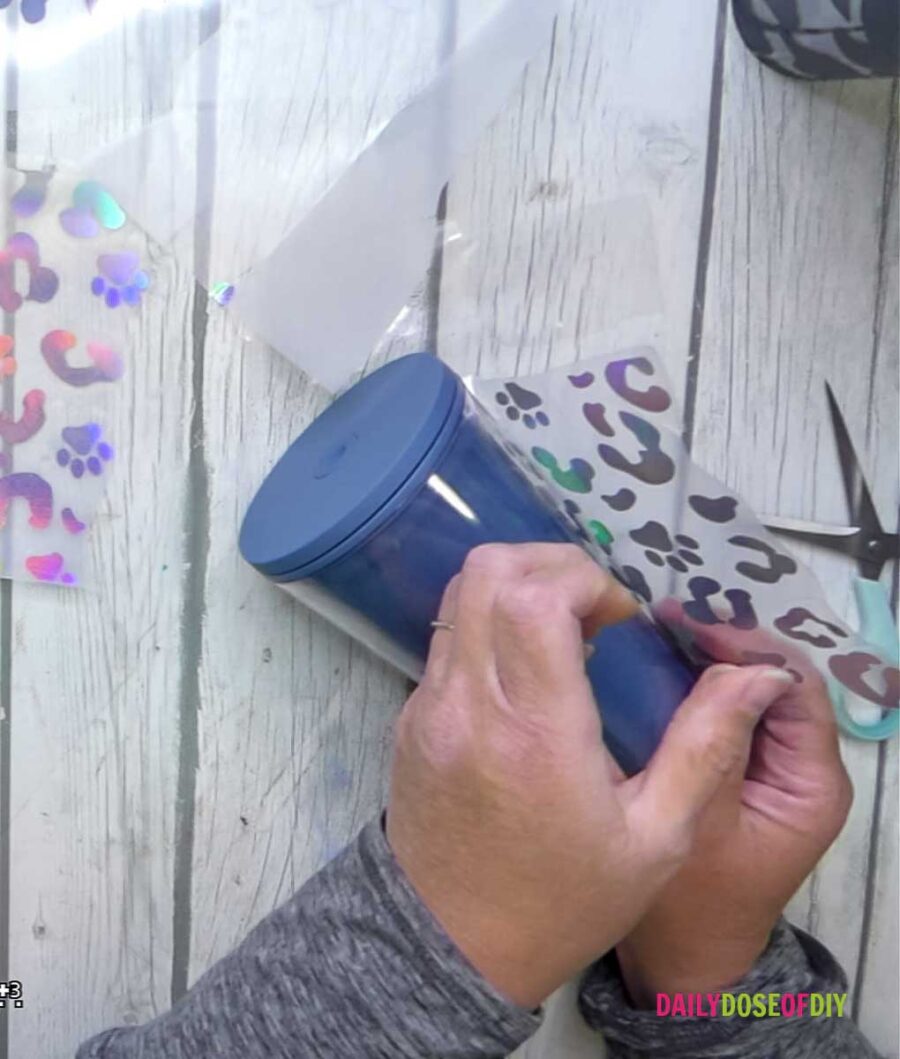
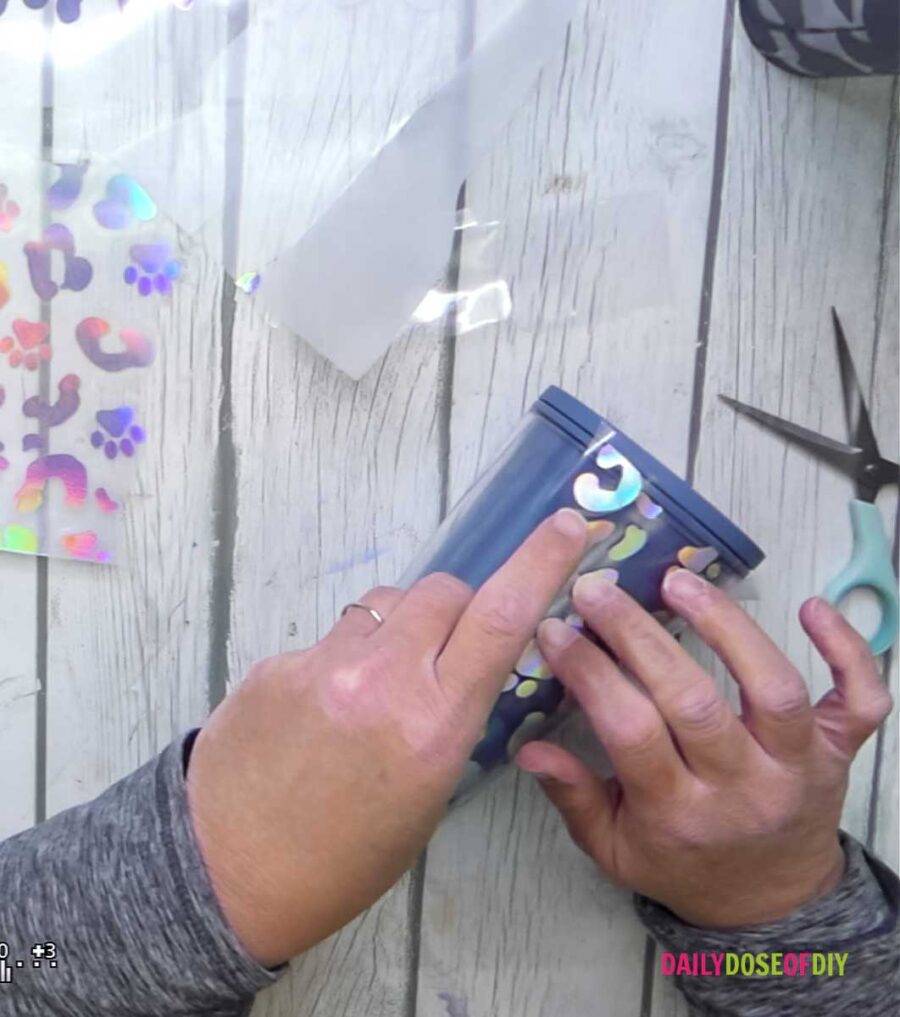
7. Smooth down the vinyl from top to bottom once it’s in place. Remove the transfer tape and use your fingers to smooth down any wrinkles or bubbles. If needed, use a weeding pen or tool to lift and reposition any edges that may have wrinkled.
8. If any decals went over the rim of the cup, use a craft knife to trim off the excess vinyl.
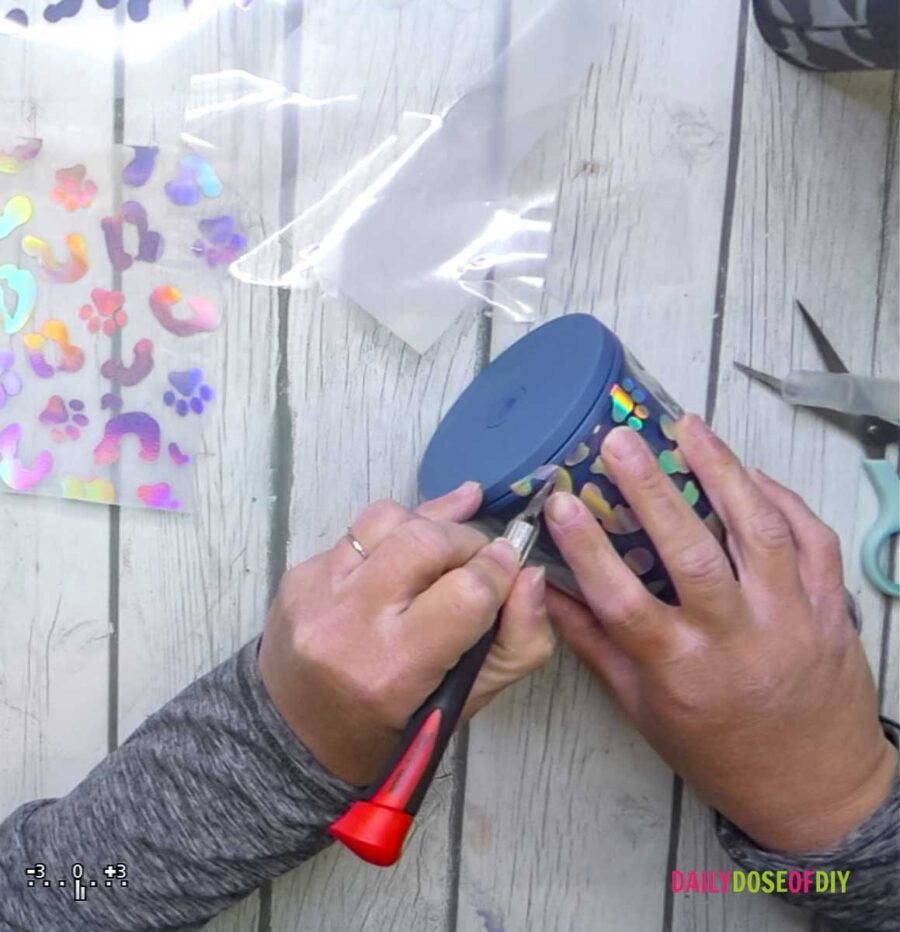
9. Repeat the same process with the other half of your template, making sure to line up the top and bottom. Don’t worry about gaps in the design, we’ll fill them in with the extra pieces we cut.
10. Once you have all the vinyl in place, go over the top and bottom edges again with a craft knife to trim any excess vinyl. Fill any gaps with the extra vinyl decals that you cut.
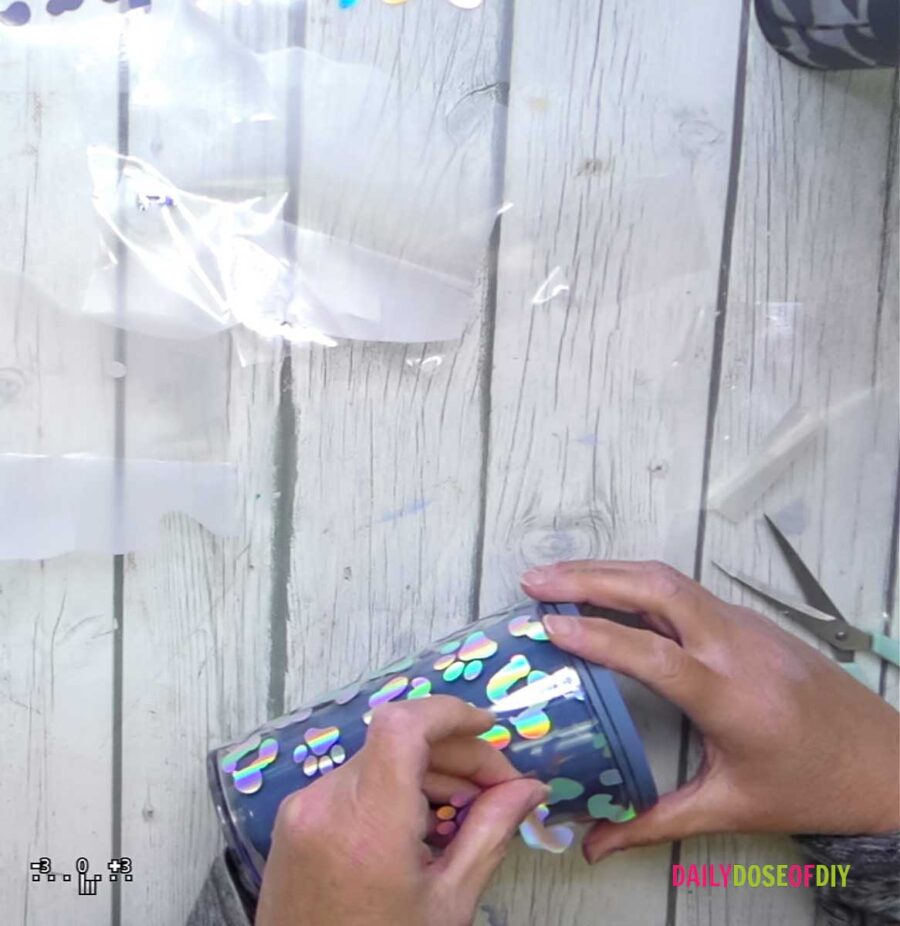
Let the vinyl cure on the cup for at least 24 to 48 hours before washing. Keep in mind that the particular vinyl used in this tutorial is not dishwasher safe, so hand washing is recommended.
And there you have it! You now know how to wrap your tumblers with custom designs. Have fun showing off your own custom tumbler to friends and family.
Remember to check out Save a Cup here for some adorable tumblers and great discounts.
I hope you found this tutorial helpful in learning how to wrap a tapered tumbler with a vinyl decal. Happy crafting!
God bless.

Chris Butler has helped thousands of crafters learn how to use their Cricut machine without feeling overwhelmed. She is a best selling author and an up and coming designer. For fun Chris enjoys designing SVG Files, hanging out with her family (preferably at the lake), traveling, and volunteering at her church. She is a wife and mom of two crazy fun kids.

Leave a Reply