This post may contain affiliate links for your convenience. If you make a purchase through one of my links I will earn a small commission at no additional cost to you.
Last Updated on August 26, 2023 by Chris Butler
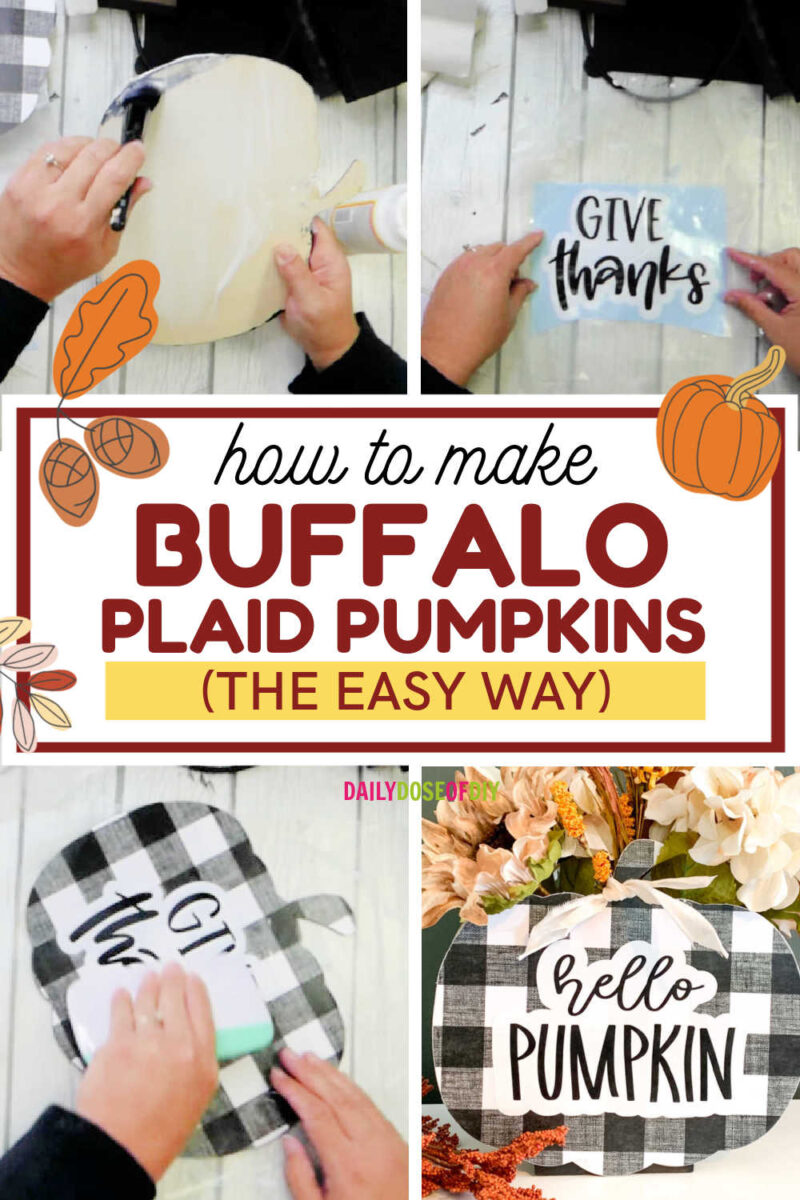
Hello, Crafty Friends! Fall is HERE and we are so excited for all things pumpkin. That’s why today I’ll be showing you how to make a buffalo plaid DIY pumpkin centerpiece.
Even though we’re making a centerpiece this craft can be used several ways. You can use your pumpkin as a door hanger or even shelf décor. It’s so easy to make this your own!
Let’s get started!

Quick Links to Information in This Post
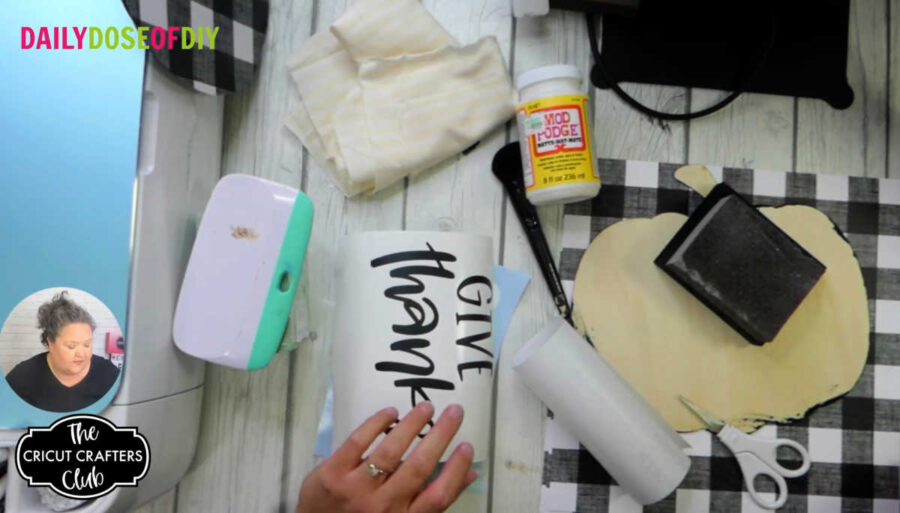
Supplies Needed for the Buffalo Plaid DIY Pumpkin Centerpiece
- Wood Pumpkins – https://amzn.to/2WoFwbF
- Buffalo Plaid Scrapbook Paper 12×12 – Hobby Lobby or other Craft Store
- White Adhesive Vinyl – https://amzn.to/3kqvhLM
- Black Adhesive Vinyl – https://amzn.to/3BhALzh
- Transfer Tape – https://amzn.to/38kx4MI
- Wax Paper
- Mod Podge – https://amzn.to/2Y4Mx1J
- Paint Brush
- Black Paint
- Block Sander
- Floral Foam Block – Hobby Lobby or other Craft Store
- Fall Flowers
- Ribbon or Material
- Hot Glue Gun
- Wood Block 4x1x4.5 (1) – (3) Blocks
DIY Pumpkin Centerpiece Video

Step 1: Load Design into Cricut
First, download the SVG file and upload it into Design Space. If you need extra help with downloading and uploading SVG files read this post.
You can get access to my free resource library full of SVG files here. Fill in your first name and email and the link and password to the Free SVG library will be sent to you.
Once you’re in the Library, all SVGs are listed in alphabetical order. You’re welcome to use any you like. You’ll find this set under ‘F’ for FALL OFFSET SVGs. You’ll also see the picture so they’re easy to find!

Once you have uploaded your SVG file you can choose which design you would like to use and insert it into Design Space. Today I’ll be using the “Give Thanks” SVG file.
The SVG designs I’ve given you aren’t sized for anything particular, so once your file is in Design Space you’ll need to size the image for whatever you’ll be using it for. For the pumpkins I used I needed to make my design around 7 inches wide.
Related: Make Easy No Sew Fabric Pumpkins
To resize, click and drag the arrow in the bottom right corner of your design.
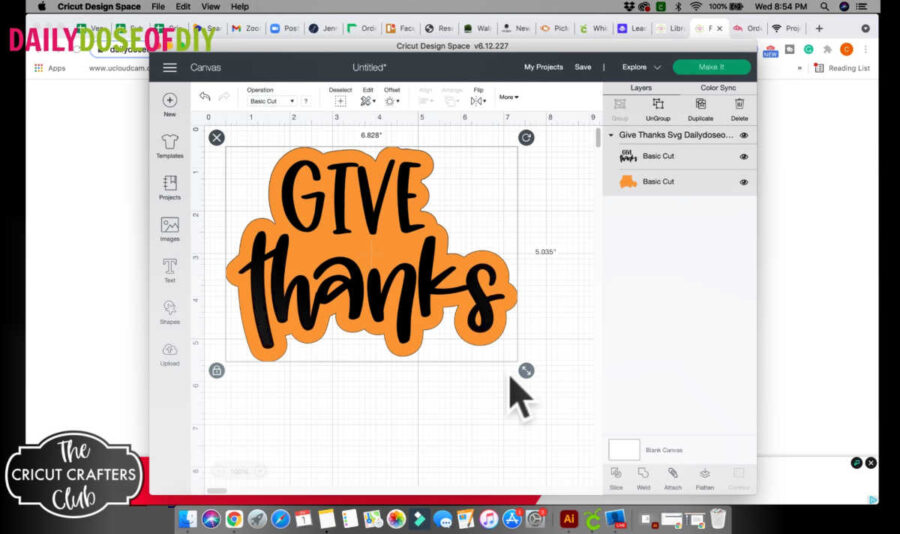
Now you’re ready to cut out your design. Click Make It in the top right corner.
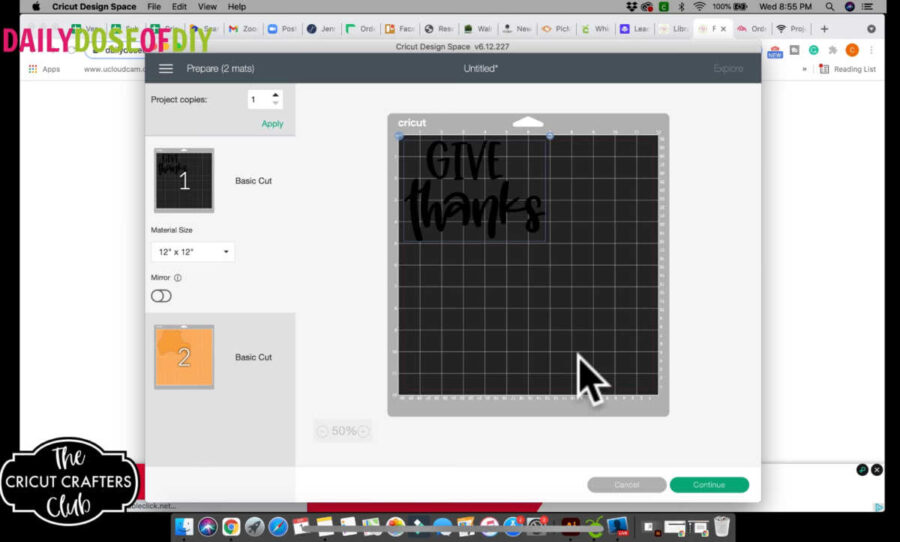
Step 2: Cut & Weed your Vinyl
For this design, you’ll be cutting two different colors of adhesive vinyl to layer over each other. You will see two mats in Cricut Design Space.
I didn’t show the process of cutting and weeding the vinyl on this video. If you need help with this step feel free to check out some of my other videos on YouTube or grab my Ultimate Guide to Crafting with Vinyl.
Step 3: Trace Your Pumpkin
Now, you can set your vinyl design aside for a bit while we get ready to decoupage our pumpkin cutouts. If you’re making a centerpiece then you’ll need 2 of these. If you’re only planning to make a door hanger or shelf décor then just one cutout should be fine.
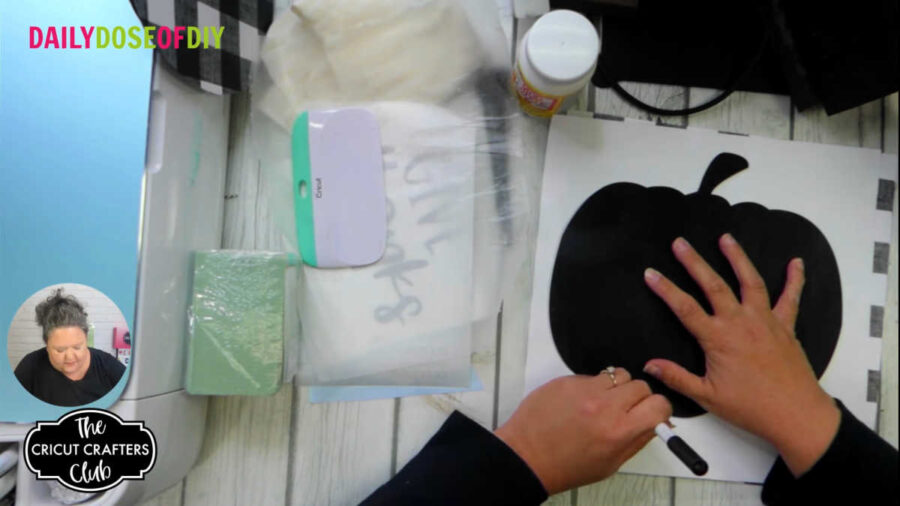
Tip: For a cleaner looking centerpiece I recommend painting the back side of your pumpkin black before decoupaging the other side. This way the inside of your centerpiece is black instead of a natural wood look. Don’t forget to paint the edges too!
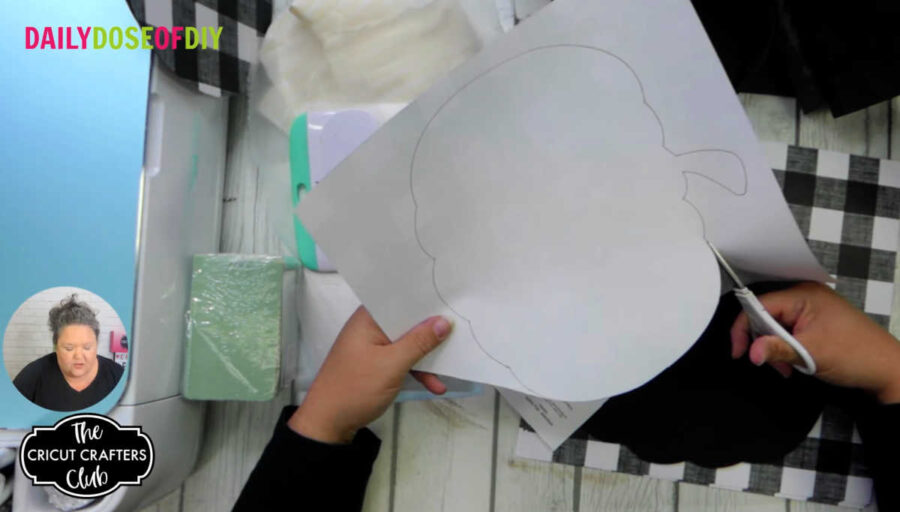
To start, first we need to trace an outline of our pumpkin cutout on the back of a piece of scrapbook paper and cut it out with scissors. This will feel a little weird if you’re used to cutting out everything with your Cricut like I am!
I bought my pumpkin cutout on Amazon, but if you have a Cricut Maker with a knife blade you can cut out your own design on a piece of balsa wood. You can then cut the same image out on scrapbook paper to avoid cutting it out by hand.
Step 4: Decoupage Your Pumpkin
Once you’ve got that cut out you’ll need to put a thin layer of Mod Podge on your wood pumpkin. Make sure your pumpkin is completely covered, but be careful not to put too much on or it will cause your paper to crinkle.
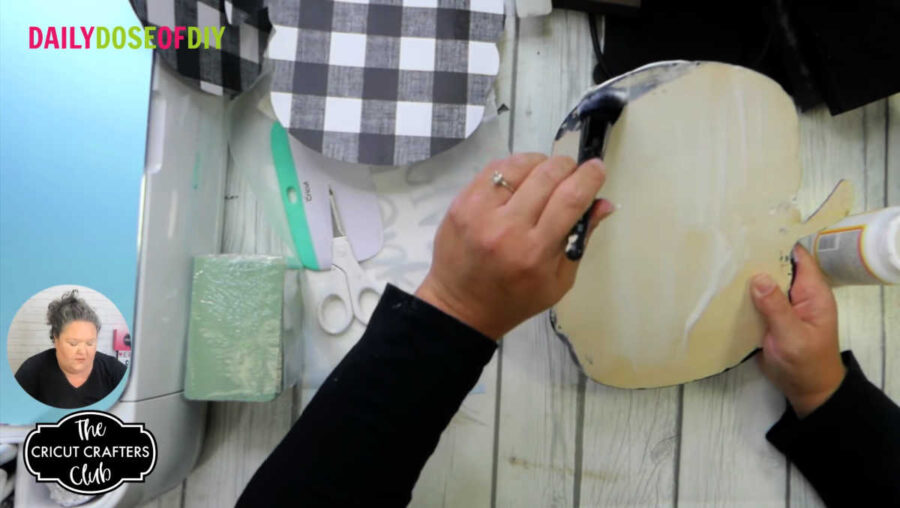
Now that your wood pumpkin is covered with Mod Podge, grab your paper pumpkin and lay it over the top. If you line up your paper with the bumps on the bottom of the wood pumpkin then the rest should line up nicely. You should have a few seconds to move it around a little if you need to though.
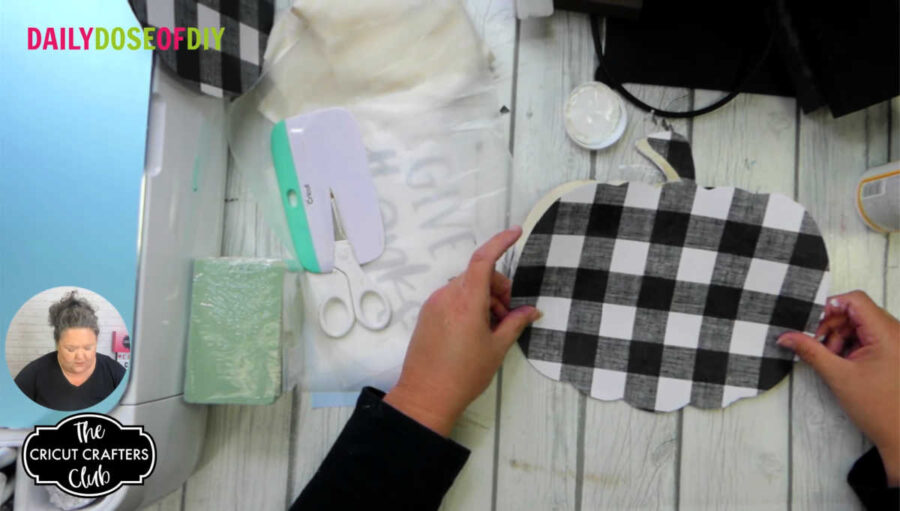
Next, you’ll need to use your scraper to smooth everything down, almost like you would burnish vinyl. This will get out any air bubbles or excess Mod Podge. Be careful not to scrape too hard or your paper will tear.

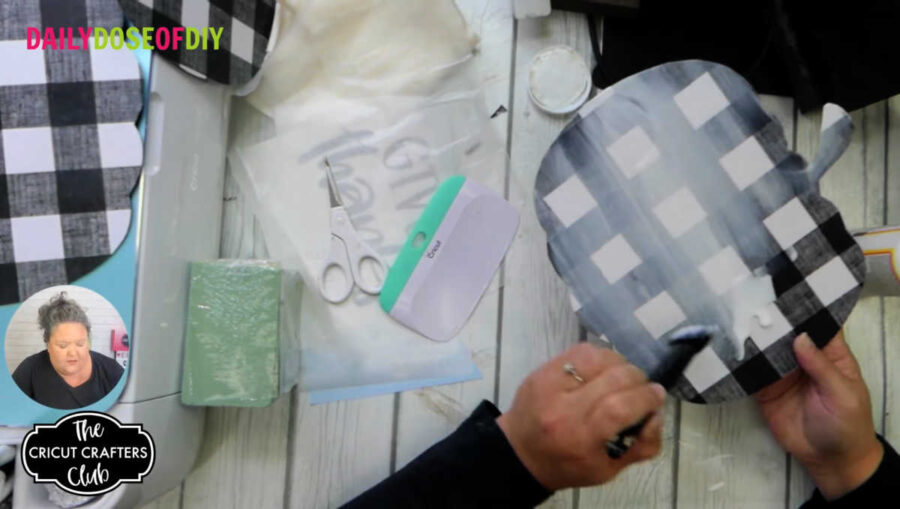
Before moving on to the next step you should let your Mod Podge dry for about twenty minutes. Check on it after about 5 minutes to see if your paper begins to crinkle. If it does, use your scraper to gently work out the bumps.
After the first layer is dry, you’ll need to put another layer of Mod Podge on top. Again, make sure the pumpkin is covered with a thin layer. Not too much! The Mod Podge will be white at first, but don’t worry, it dries clear!
Again, set aside your pumpkin to dry completely for about 20 minutes.
Step 5: Layer Your Vinyl Design
While your pumpkin is drying, grab your vinyl, transfer tape, and wax paper.
Today I’m going to show you how to layer adhesive vinyl with the wax paper method. This is an alternative to the guide method I use in this post.
For this method you need to cut your transfer tape to be even with your biggest vinyl layer at the top and bottom but an inch or two longer on one side.
Once you’ve got your transfer tape cut you’ll start by placing it over the smallest vinyl layer first. To start the transfer tape, fold one side of the backing and place the transfer tape almost even with the side of your design, leaving just a little bit of room on one side for the second layer and the extra couple of inches on the other side. Then slowly peel the backing away and press your transfer tape down onto your vinyl.
Burnish the front and back of your design with your scraper and then peel the backing off of your first layer of vinyl. Then, attach your first layer to the wax paper with the extra transfer tape hanging off the side of the wax paper.
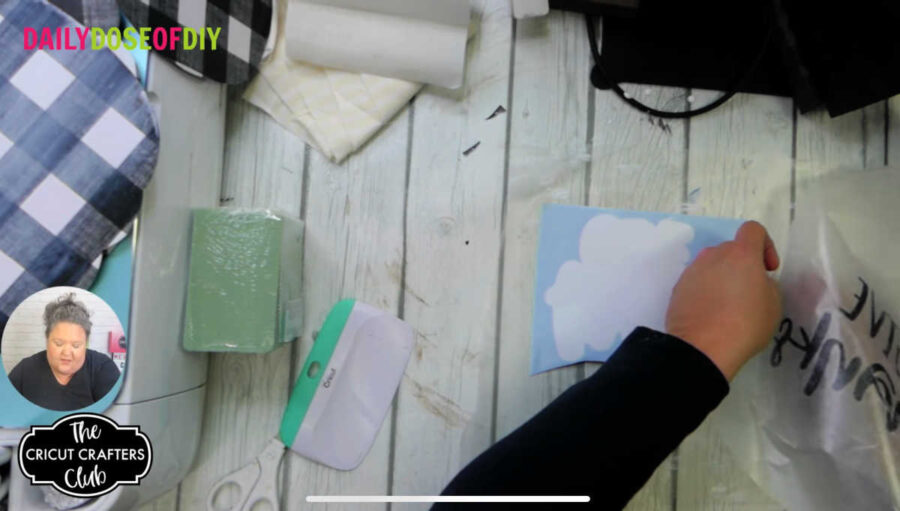
Now you can place your second layer of vinyl under the wax paper. Because the wax paper is transparent we’ll be able to move the layer around until we have it centered.
Once your bottom layer is centered where you want it, it’s a good idea to tape it down to the table so it doesn’t move around while you’re trying to remove the wax paper.
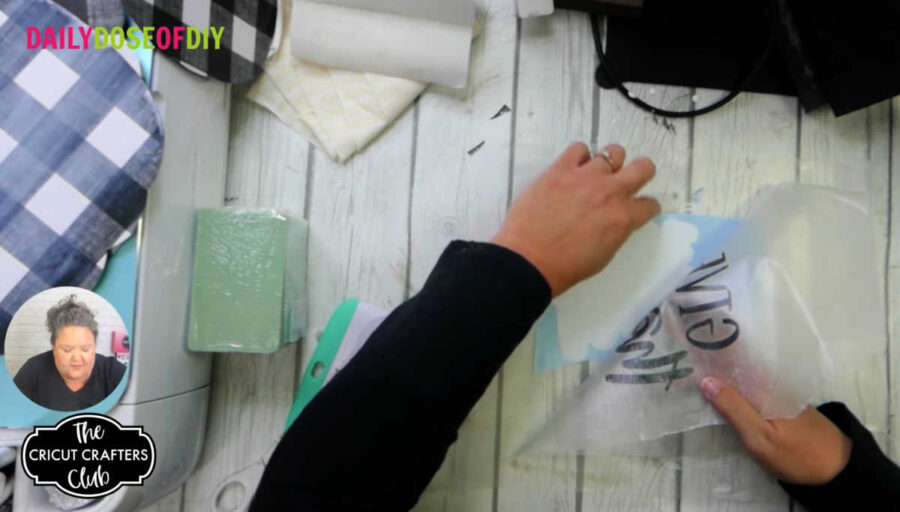
With your bottom layer taped to the table, pull the top layer of vinyl up enough to remove the wax paper. Just make sure that your excess transfer tape stays stuck to the table so that your layers still line up.
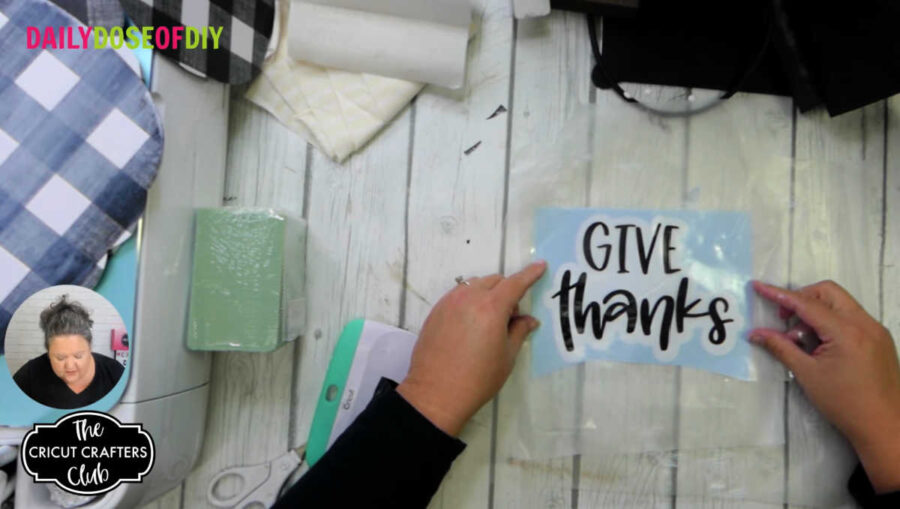
With the wax paper gone you can lay your first layer down slowly and it should be lined up exactly how it was before. Now burnish your design and you’re ready to transfer it to your pumpkin.
Step 6: Transfer Your Vinyl to the Pumpkin
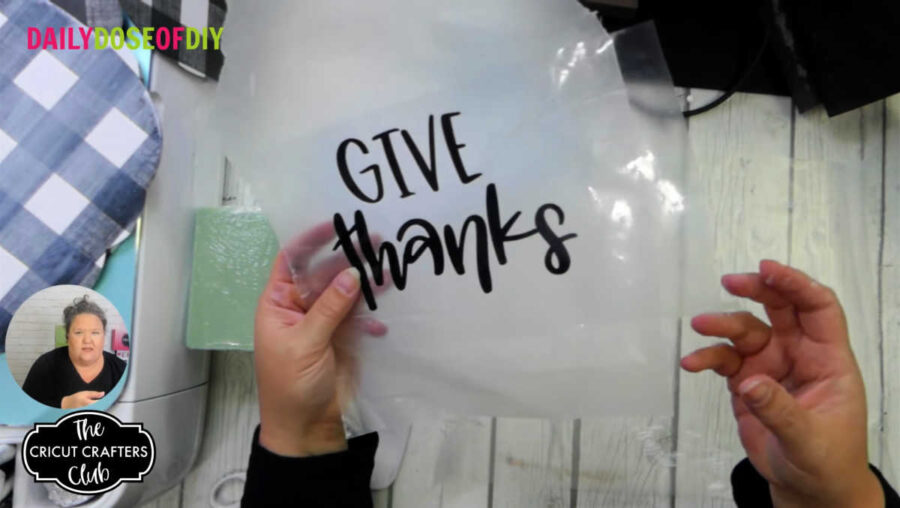
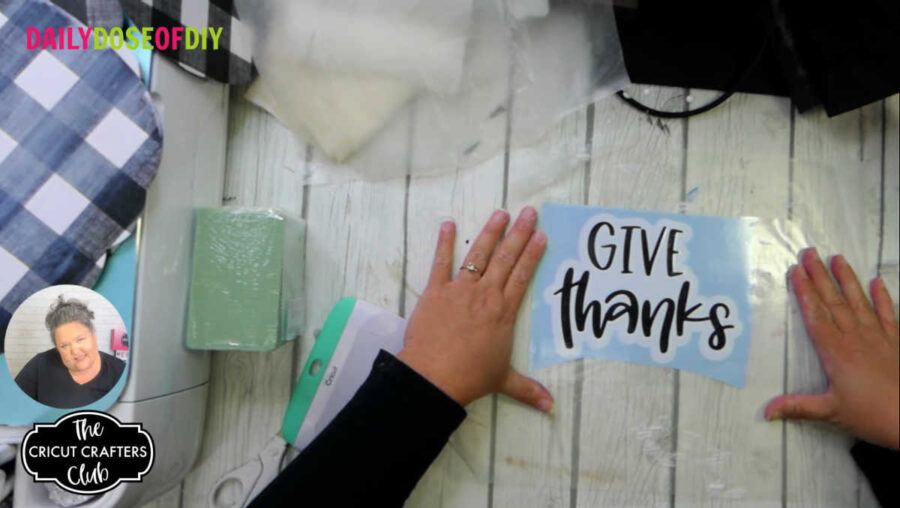
Before you transfer your vinyl onto your pumpkin make sure the second layer of Mod Podge is completely dry. If so, remove the backing from your vinyl and hold the design up above your pumpkin. From here you should be able to center your design.
Place the design down onto the pumpkin and smooth it out with your scraper.
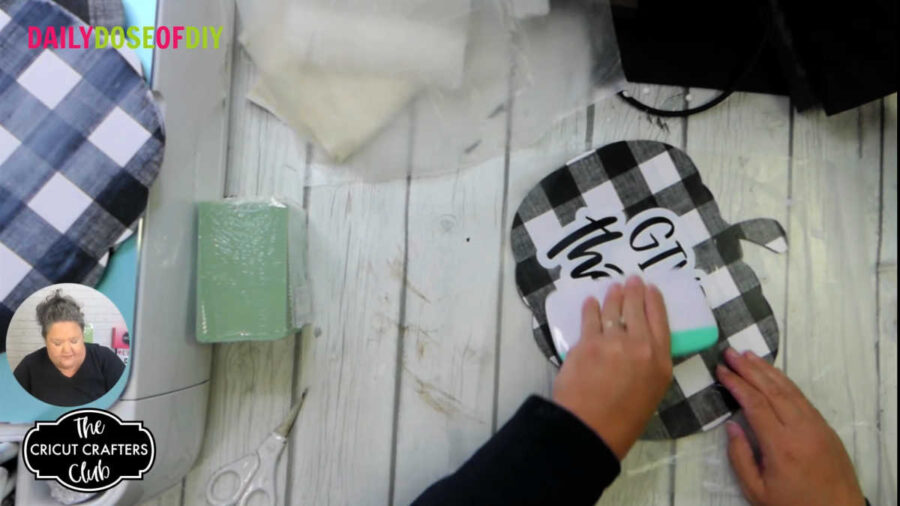
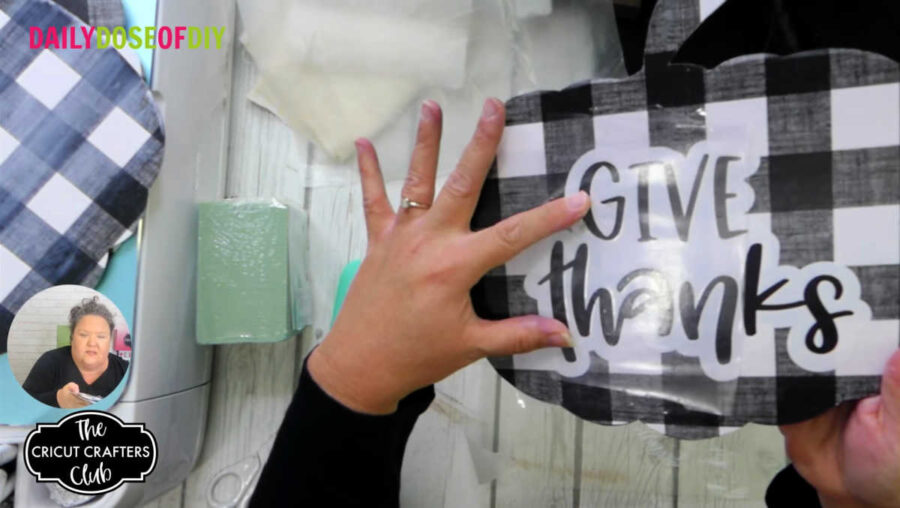
To remove your transfer tape, start peeling the tape back at 180 degrees or flat against your design. This will prevent your vinyl from peeling up with the transfer tape.
Step 7: Add a Bow
For this floral centerpiece I’m going to add a fabric bow. You can make yours with ribbon, or not have one at all. Do this step however you’d like!
To start your fabric bow just cut a piece of material and tie a knot in the center. Line that knot up behind the stem of the pumpkin and tie another knot in the front.
Now, cut each of the fabric pieces in the center and rip up to the knot. You should have 4 pieces of fabric hanging down.

Just trim up each of the fabric tassels to be as long as you want and now you have a super cute rag bow!
Step 8: Add the Base
Now to complete our centerpiece we need to make a base to attach our pumpkins to. For this I used 4x1x4 blocks that I got from the scrap wood bin at my local hardware store. I’ve painted mine black so they match my black and white pumpkin.
To attach the base, run a bead of glue across the side of your block with your hot glue gun.
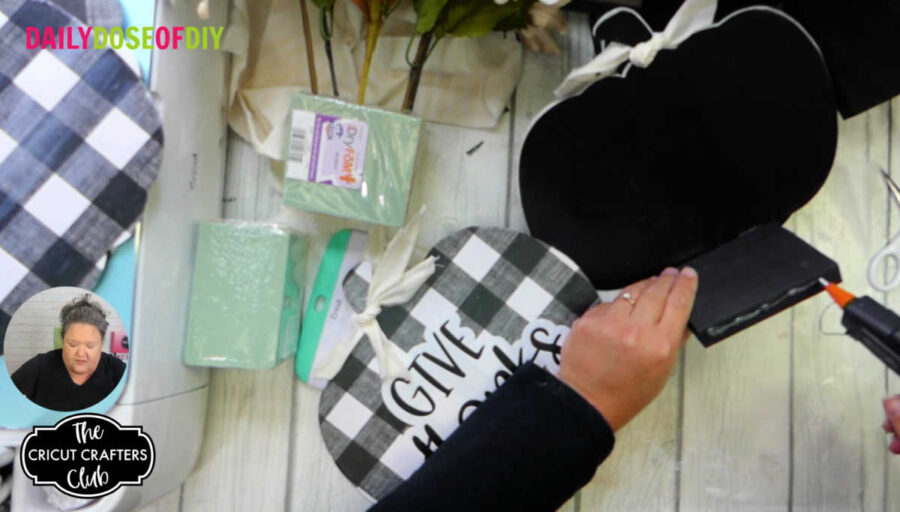
Line the center of the block up to the center of the pumpkin and hold it in place for a minute or two while the glue sets. Make sure the pumpkin doesn’t stick out past the block on the bottom so that your base is solid and won’t teeter-totter. Do this step for both sides.

Now all you have to do is place your floral arrangement in the center. If your centerpiece gets moved a lot you can glue it down, but it will be sturdy enough without being glued.
If you want your floral foam to be covered you can add wood blocks to each side. This will also keep your flowers from moving around too much.

And that’s it – now you’ve got a great Fall centerpiece that everyone will love!
Thanks for crafting with me today and making a buffalo plaid pumpkin.

Chris Butler has helped thousands of crafters learn how to use their Cricut machine without feeling overwhelmed. She is a best selling author and an up and coming designer. For fun Chris enjoys designing SVG Files, hanging out with her family (preferably at the lake), traveling, and volunteering at her church. She is a wife and mom of two crazy fun kids.
Leave a Reply