This post may contain affiliate links for your convenience. If you make a purchase through one of my links I will earn a small commission at no additional cost to you.
Last Updated on August 15, 2023 by Chris Butler
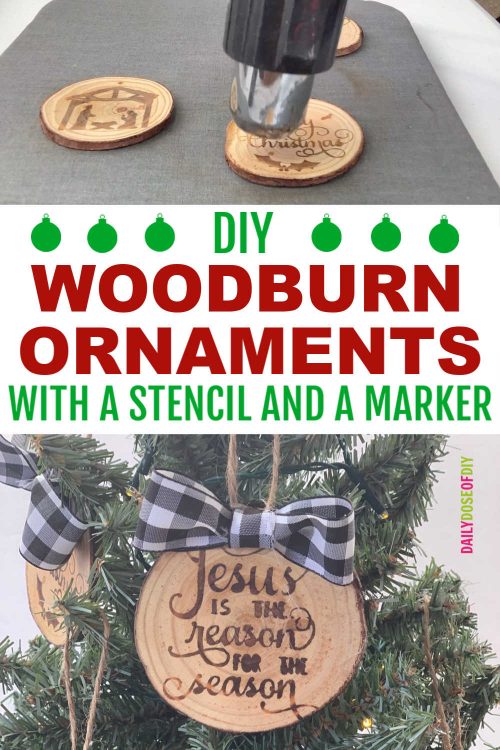
Hey there crafty friends! Today we’re making wood burned ornaments with the help of our Cricut. (Silhouette will work too!)
The best thing is we don’t need a wood burner tool to make them. I made these using the scorch marker and they turned out pretty good I think.
I learned a few things making these and now I can share all of my tips, tricks, and mistakes with you. That way yours will turn out perfectly perfect.
Let’s get started.
Quick Links to Information in This Post
Supplies Needed for Wood Burned Wood Slice Ornaments
- Wood Slices (I got these pre-drilled slices with twine on Amazon)
- Scorch Marker
- Heat Gun
- Heat Protector Mat
- Stencil or Removable Vinyl
- Transfer Tape
- Mod Podge and Brush
- Ribbon and Hot Glue Gun
- Cutting Machine (I use a Cricut)
- SVG Cut Files (I have a library full of them for you – more details at the bottom of this post)
The Scorch Marker is really pretty amazing. You use the marker where you want the wood burning to be and then use a heat gun until the color changes to the wood burned look.
I tried to heat it up with a heat press and I also tried a hairdryer. Both of those were a no go, but the heat gun worked like a charm. In the video below you can see the magic happen.
Subscribe to the DailyDoseofDIY YouTube Channel Here
How To Make Wood Burned Ornaments
Step 1: Make a Stencil
If you’re good at freehand you can skip this step, but I am not. I used my Cricut to cut stencil vinyl so my ornaments would look good.
You’re totally welcome to use my SVG cut files to make your own ornaments or whatever else you’d like. I keep all my free files in a resource library for your convenience. There are more details at the bottom of the post.
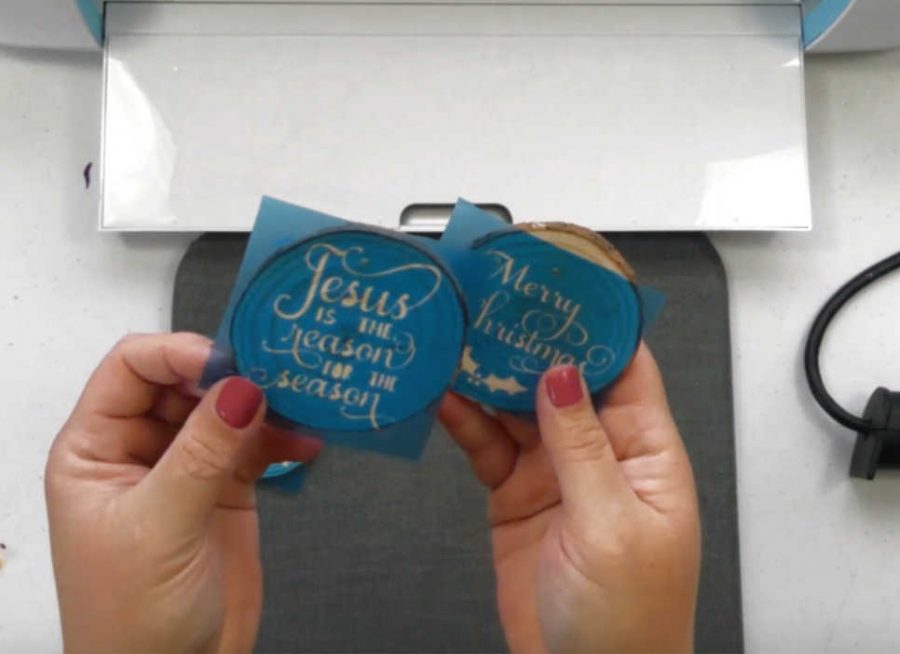
Everything is listed in alphabetical order except these, they are at the very top of the SVG list under 12 Days of Christmas. I’m using the nativity scene, Jesus is the Reason and Merry Christmas.
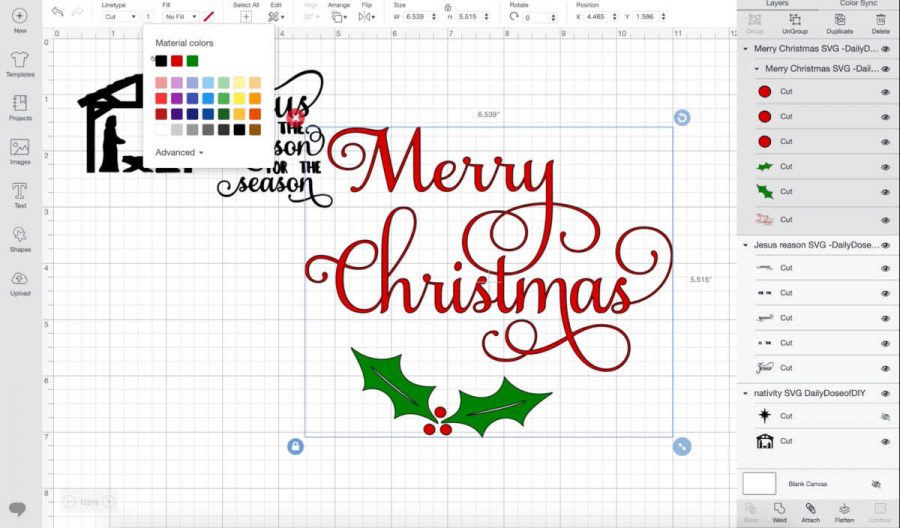
When you upload the designs into your design software like Cricut Design Space they will be larger and colored. If you need help uploading files and images to design space see this post for instructions.
The first thing you’ll want to do is change the color to all of the designs to one color. I chose black even though the stencil vinyl I use is blue. It really doesn’t matter as long as they are all the same color.
Next use the arrow button on the bottom right of the design to make the images small enough to fit on an ornament. My wood slice ornaments were an average of 2.5-3″ so I stayed in that range.
After everything is sized, be sure to click the attach button on the bottom right of the layers menu so that the design gets cut exactly as you see it. Otherwise Cricut will try to use the least amount of space and jumble everything up. Now you’re ready to click the make it button.
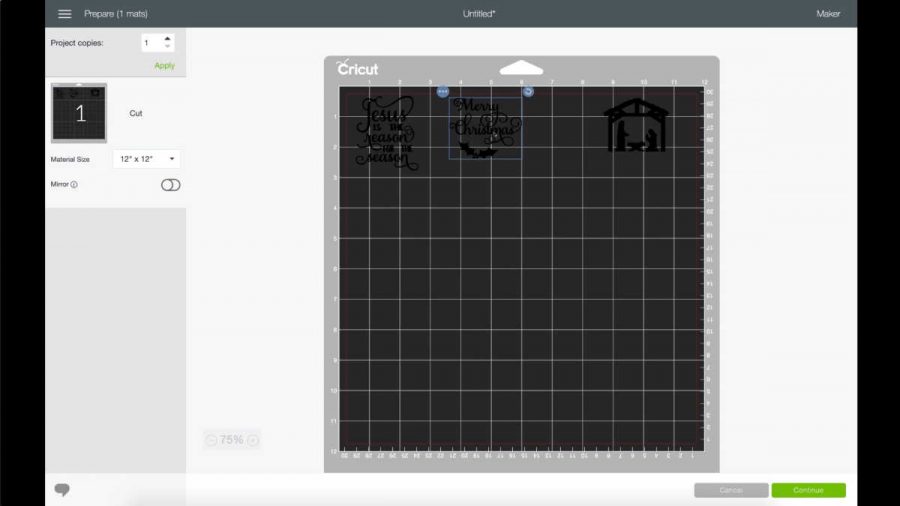
When you get to the mat screen click on the designs and move them a bit farther apart. We’re making stencils, so it won’t work so well if they are really close together.
I cut the designs on Oracle Stencil Film, here’s the direct link on Amazon
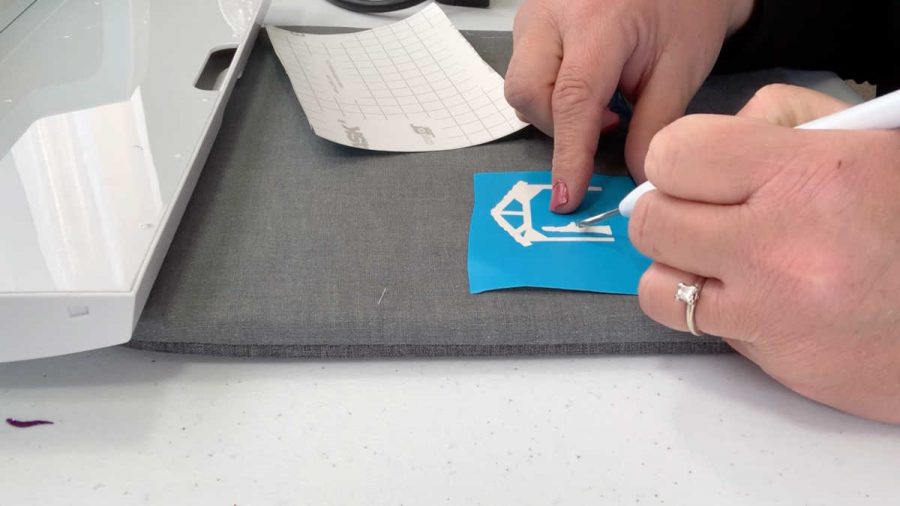
When you are making stencils you’ll weed out the middle and leave the outer parts of the vinyl. This is the reverse of weeding decals or shirt designs.
Step 2 Transfer the Stencil

After all of the pieces are weeded out, place your transfer paper over the stencil so we can transfer it to the wood slice ornament. For transfer tape I use clear contact paper that you can get at most places like Walmart.
Use your scraper tool to smooth the transfer paper down and make sure it sticks to all of the vinyl.
Next remove the backing and place your vinyl stencil on the wood slice ornament. Take your time to line it up, as long as you don’t press the stencil down you’ll be able to move it to center it.
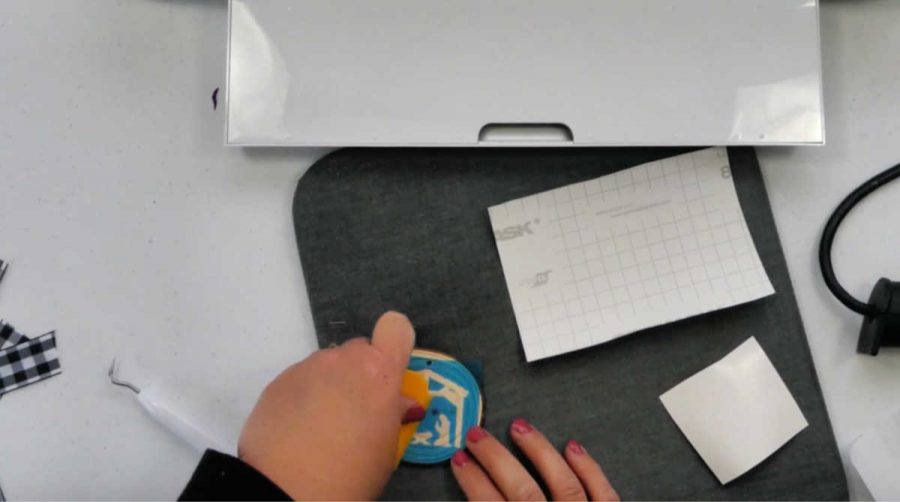
Once you have the design centered, use your scraper tool again -this time to adhere the stencil to the wood slice. Now you are going to slowly pull off the transfer paper. Make sure all of your stencil parts stick to the wood.
If some parts want to come up with the transfer tape, just lay it back down and re-scrape.
Once all of your stencils are on, it’s time to use the scorch marker.
Related: How To Make a Stencil with your Cricut the Easy Way
Step 3: Fill in the Stencil with the Scorch Marker
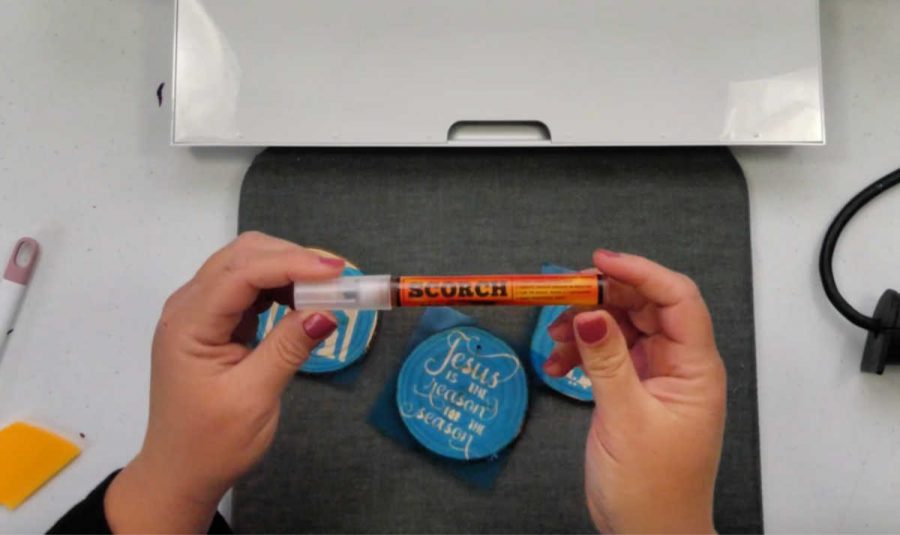
When you first use the scorch marker you’ll need to shake it very well. And then grab a scrap piece of paper to prime the marker. I ended up using the back of my ornaments.
But you’ll need somewhere to repeatedly press down the tip of the marker. On my first time using the marker it took quite a while to prime it. Keep going until you see the liquid come out of the end of the marker.
After the marker is primed start filling in all of the open parts of your stencil.
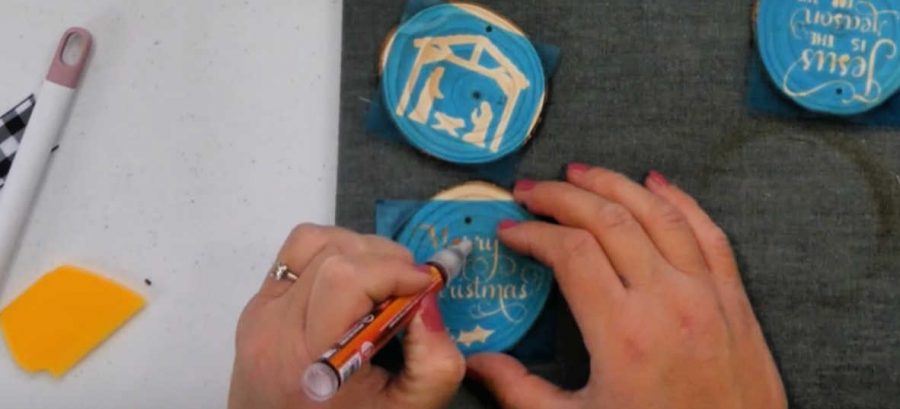
You’ll see the wood immediately change color if you have the marker primed enough. If you are doing a lot of ornaments you may need to re-prime the marker along the way.
Finish coloring in all of your ornaments with the scorch marker and then remove the stencils from the wood slice ornament.
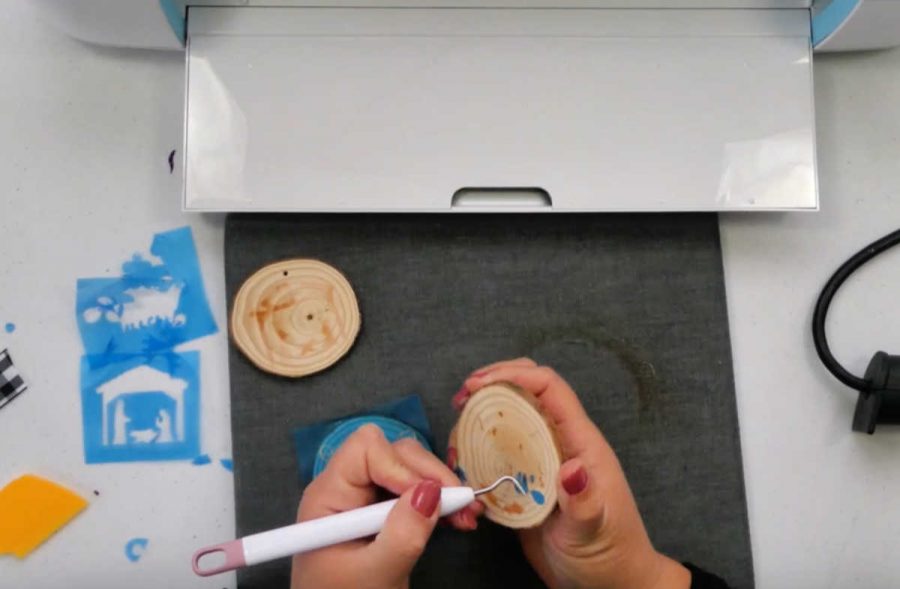
You may need your weeding tool to help you get the stencil bits off. And you should see where you’ve use the marker.
Now we’re going to break out the heat gun and really make it visible.
Step 4 Apply Heat with a Heat Gun
Let’s talk about the heat gun for a minute. These things get hot, bubble the finish right off your table hot. Melt your plastic tables hot.
You don’t want to do this without a heat protector mat to protect your table. I used the mat I use for heat pressing shirts.
Set your heat gun to medium / medium-high and you’ll want to continually move your heat gun around, much like you move your hairdryer around when drying hair.
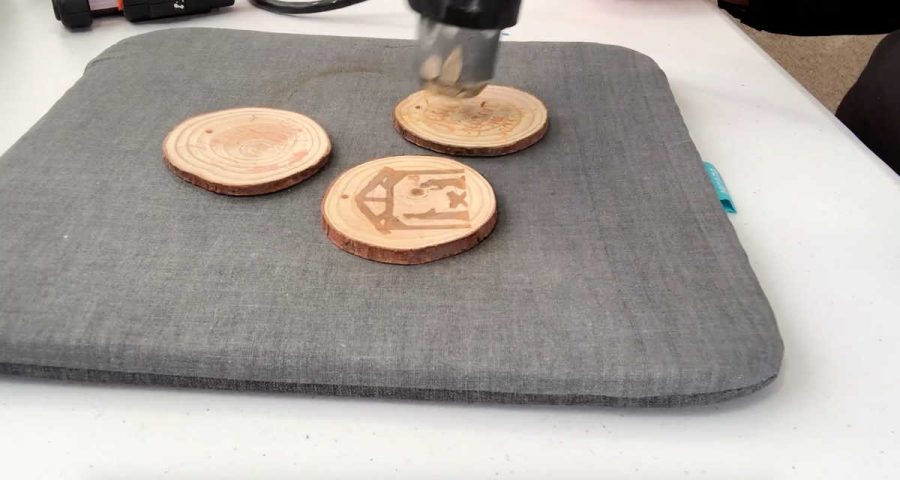
As the wood slice ornaments start to heat up you’ll see the image start to darken. It takes a couple of minutes of applying heat to see the complete change.
Let the ornaments cool off before you touch them. They will be quite toasty.
Step 5: Seal with Mod Podge or other Sealer
I’m not so sure the sealer is to protect your ornament as much as it is to make the wood burned image pop. It really does make a HUGE difference in how your ornament will look.
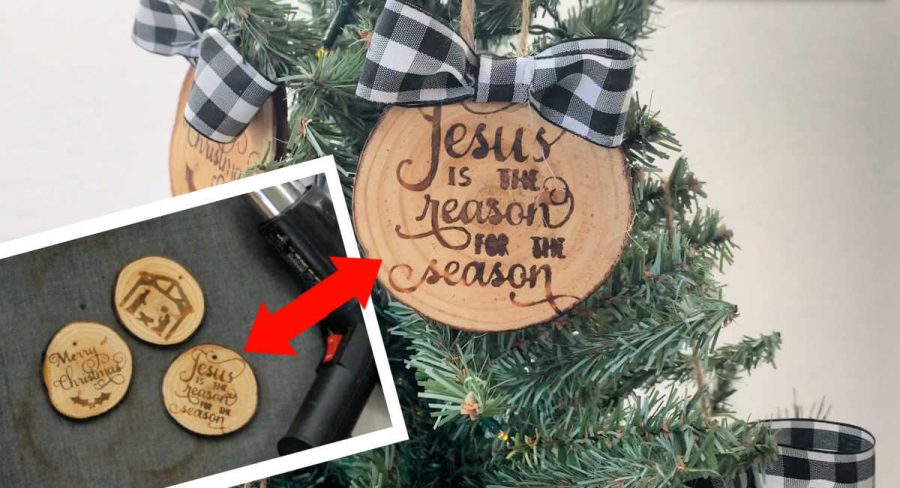
So don’t skip out on the sealer. Simply applying Mod Podge will do the trick beautifully.
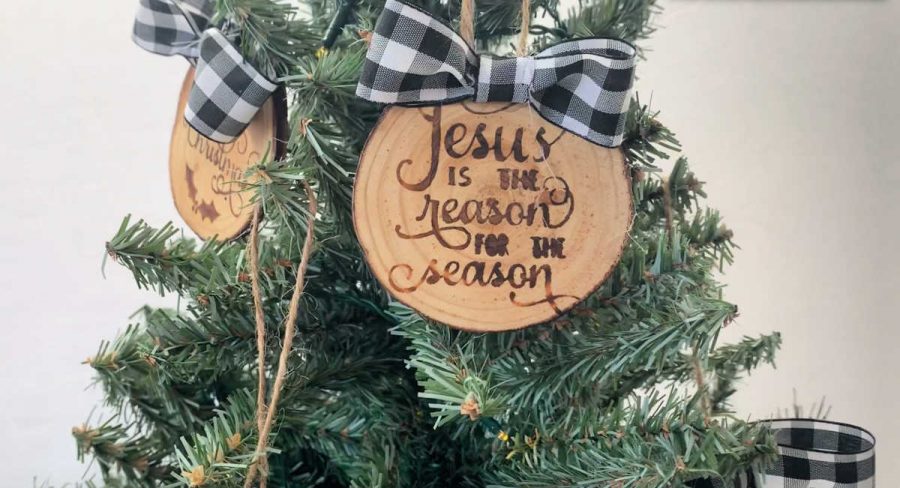
Step 6: Add Ribbons and Bows
After your sealer is dry add a ribbon or a piece of twine to hang your ornament from. And then you can hot glue on bows or any other embellishments you’d like to add to finish it off.
Get Free Christmas SVG Files for your Wood Burned Ornaments
You can totally use my Christmas SVGs to make your own ornaments or whatever you wish. These three designs are part of the 12 days of Christmas free SVG files. And you’ll find them in my free SVG library under Christmas SVGs
To get access to the free library simply fill out the form below and the link and password will be immediately sent to you.
All of my free SVG files and Designs are kept in a library for your convenience. We will send you the link and password right away, and you’re free to use all the resources you want in the library.
Already have the password? (It’s at the bottom of every email) Enter the Library Here
Thanks so much for crafting with me today!

Chris Butler has helped thousands of crafters learn how to use their Cricut machine without feeling overwhelmed. She is a best selling author and an up and coming designer. For fun Chris enjoys designing SVG Files, hanging out with her family (preferably at the lake), traveling, and volunteering at her church. She is a wife and mom of two crazy fun kids.
Do you have the link for the heat protector mat. Love your detailed instructions.
Hi Krystal! Yes, it’s this mat here https://amzn.to/2Lnnmy4