This post may contain affiliate links for your convenience. If you make a purchase through one of my links I will earn a small commission at no additional cost to you.
Last Updated on August 15, 2023 by Chris Butler
Hi crafty friends! Today you’ll learn an easy way to put vinyl on tumblers. Applying vinyl to tumblers is pretty straight forward making this a perfect Cricut craft for beginners. In the video below you’ll see that putting vinyl on curved surfaces isn’t so bad.
Plus you’ll learn the answers to all of your questions like what sealer to use, and can vinyl tumbers go in dishwashers?
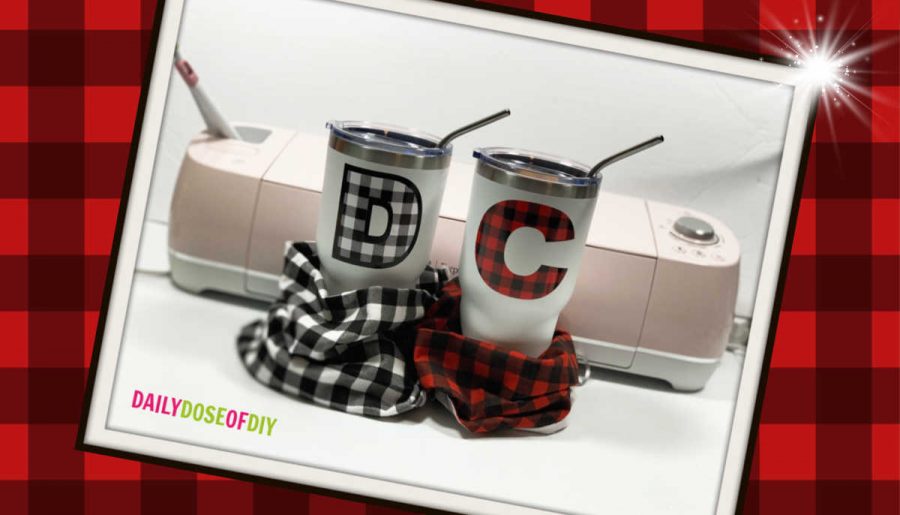
I love the different patterned adhesive vinyl that’s available today, you can customize your tumblers even more. I’m doing a simple initial for this tutorial, but this method will work for any vinyl decal you want to add. It will also work on mugs and glasses too.
Let’s get started 🏃🏽♀️
Quick Links to Information in This Post
Supplies Needed to Apply Vinyl on Tumblers
✔️ A Tumbler –Here’s the direct link to the one I used
✔️ Vinyl – Love the Buffalo Plaid Vinyl found here
✔️ Transfer Tape
✔️ Weeding Tools
✔️ Cutting Machine Like a Cricut
✔️ Tape Measure
✔️ *Optional Alcohol and Cotton Balls
Another supply that you’ll see me use in the video is a tumbler holder. You can certainly apply vinyl without it, but if you end up making a lot of tumblers it will be worth it to make the tumbler holder here. Bonus -they are cheap and easy to make!
Apply Vinyl to Tumblers Video
How To Put Vinyl On Tumblers
To get started you’re going to first need to measure your tumbler so you know how big to make your vinyl decal. My tumbler measured around 3.5″ before the curve so I am going to make my decal 3″ high.

Cutting the Vinyl
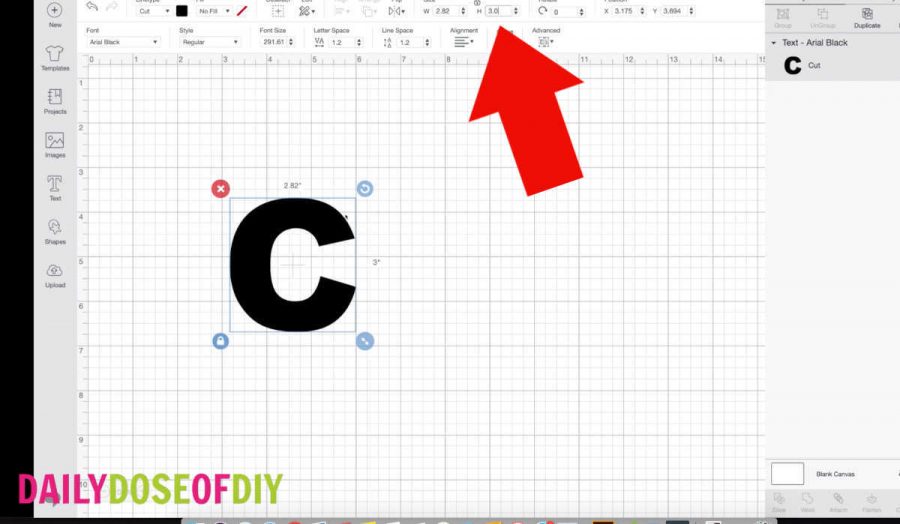
I chose Ariel Black as my font since it’s nice and chunky for these one letter decals. To get your sizing just right go to the top menu in Cricut Design Space. Where it says size type in 3.0 next to the height size and press enter. (or whatever size you determined your decal can be)
This will automatically adjust the width for you too. Do this for each vinyl decal you are going to make and then hit the make it button.
Need more help with your Cricut? Get my step by step guide +tips to all the things you can do in design space. Plus you’ll get a whole lot more, check out the Ultimate Cricut Guide here.
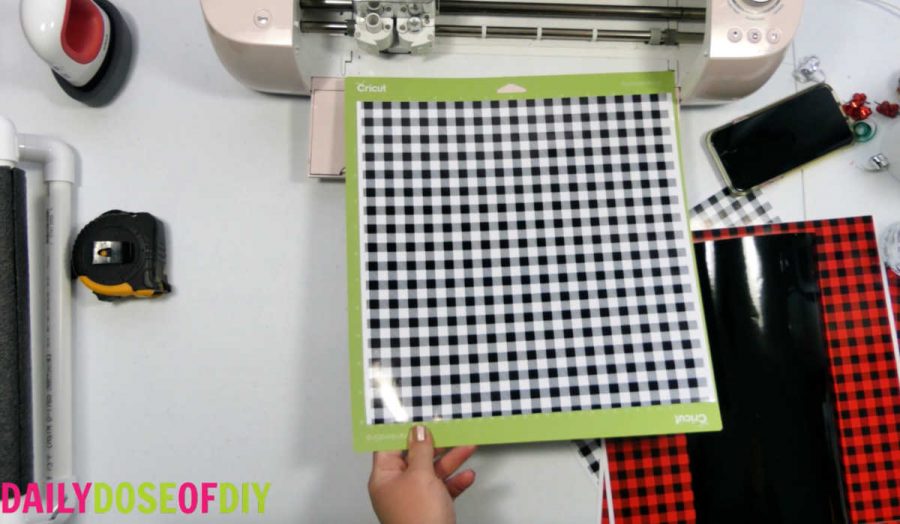
Next place your vinyl on the green or blue cut mat. Line it up with the top left corner and set your dial to vinyl or choose vinyl from the materials list.
Then load your mat and push the start button when prompted.
After your vinyl is cut, press the unload mat button to release your mat. Flip your mat over and remove the mat from the vinyl to help prevent your vinyl from curling.
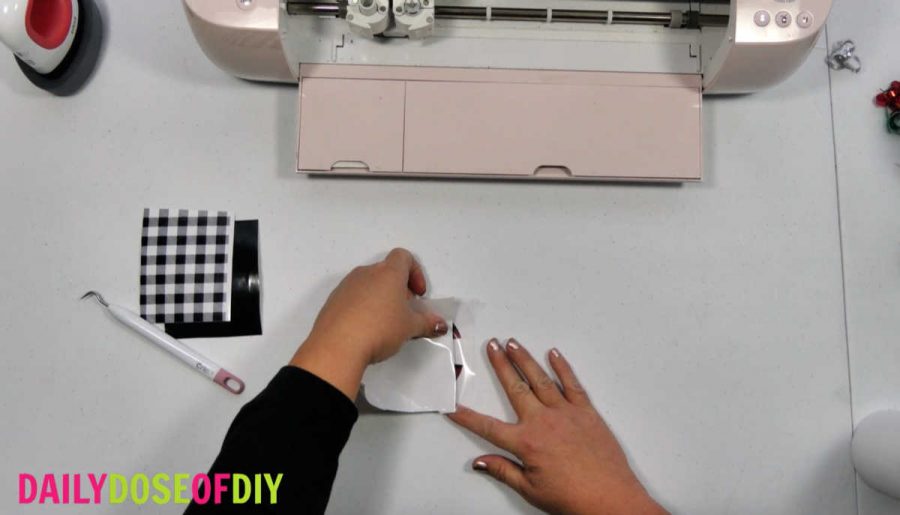
Weeding the Vinyl
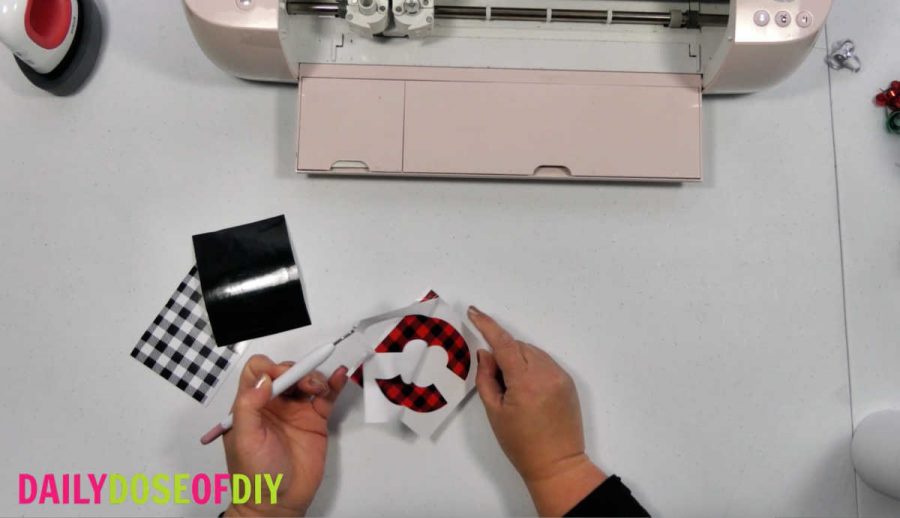
To weed the vinyl, use your weeding tool to help you pull up a corner of the vinyl and remove the excess vinyl from your design.
Repeat the process for any inside pieces you need to remove until just your design remains.
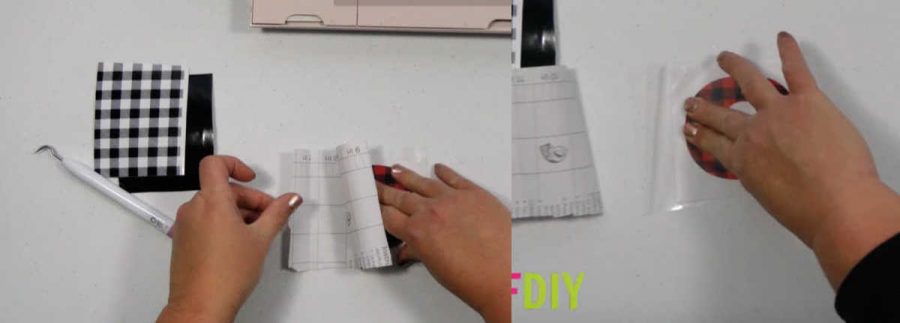
Applying Transfer Tape
The easiest way to get your vinyl onto anything is with transfer tape. This keeps your design all together and even with just one letter decals, it will keep the vinyl from stretching and warping your letter.
I just use regular clear contact paper that you can get at places like Walmart. I find it’s the perfect amount of sticky. Unless of course you are working with glitter vinyl, then you’ll need a strong grip transfer tape.
The easiest method I’ve found is to pull the backing off and fold back one edge of the transfer tape. Stick that end on the edge of your vinyl decal.
Next remove the backing with one hand at the same time that you’re smoothing down the tape with your other hand. Doing it that way eliminates the transfer tape from turning into a big ball of sticky mess.
Clean the Tumbler
Ok, your decal is ready, now you need a clean place to stick it to. You can wash the surface with soap and water or grab some alcohol and cotton balls to clean the surface real quick.

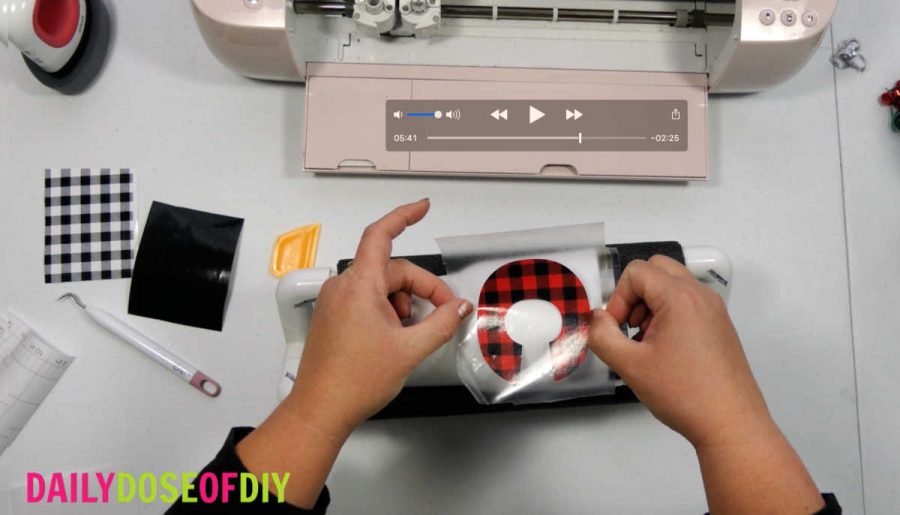
Apply the Vinyl
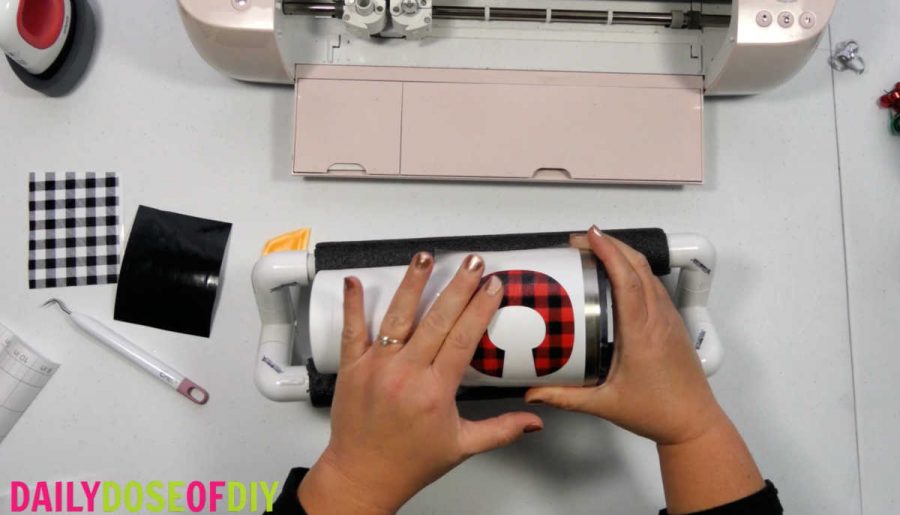
With smaller decals like this, I remove the whole backing from the vinyl and line it up on the tumbler. Since it’s a smaller size it’s pretty easy to work with, just make sure that the sticky parts don’t touch each other.
Put your fingers around the center of the decal and place it on the tumbler. If you hold the decal taught, just the center will touch. Don’t press down on it yet, just take a look to make sure you have it straight.
In the video above, you can see I repositioned the decal once or twice until I was happy. So it’s easy to pick up and move again, as long as you just let the center touch don’t press it down.
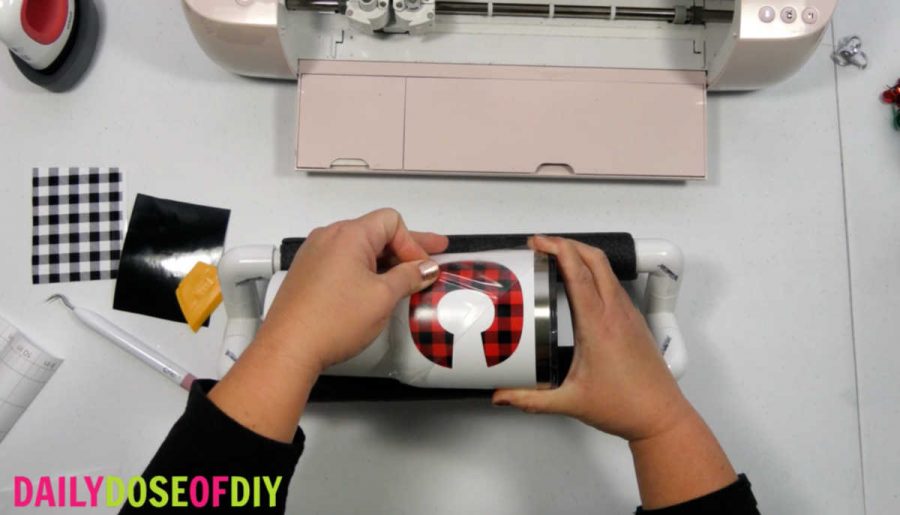
After you’re happy with the position press down the center. Next, go from the center and smooth down one side, pressing firmly as you go.
After that side is down, return to the center and smooth down the other side.
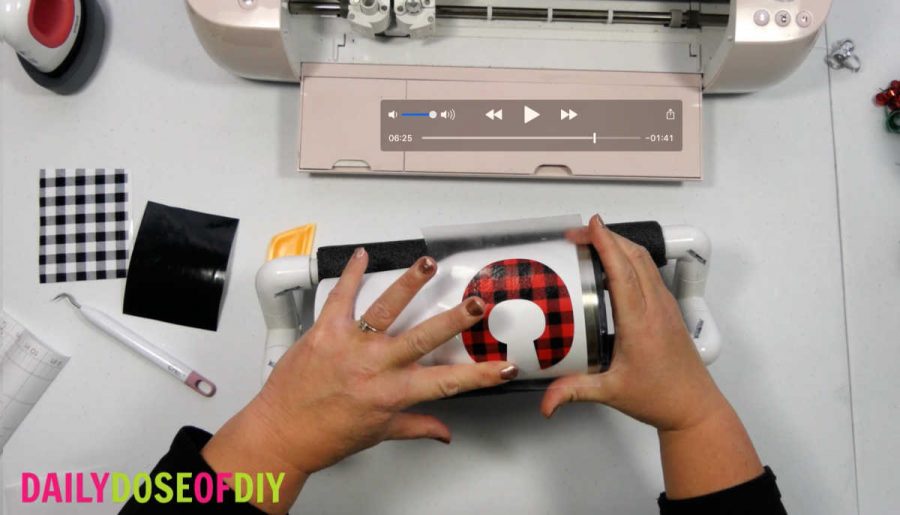
Continue to rub firmly over the decal, especially around the edges. You can use a scraping tool too if you wish.
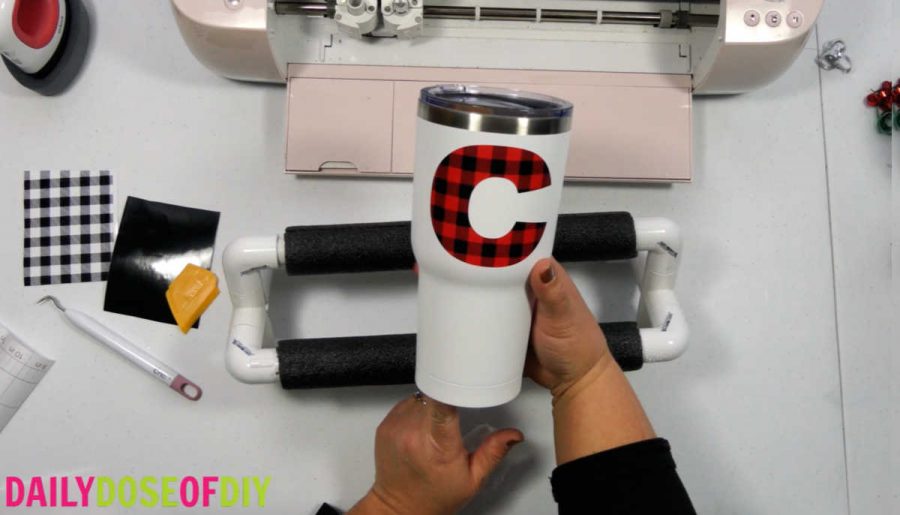
After the vinyl is all stuck it’s time to remove the transfer tape. Start on one corner and peel back the transfer tape. It’s better to keep the transfer tape down and peel back versus pulling straight up.
If any part of the vinyl decal tries to come up with the transfer tape, just lay the tape down again and rub really hard over that area and try again.
And it’s that easy. And I do recommend starting with something easy like a one letter decal and once that goes well, you know everything you need to know and the sky is the limit.
Be sure to keep scrolling- I cover some frequently asked questions below like washing instructions and sealers.
What Vinyl is Used on Tumblers
To put vinyl on tumblers you’re going to want to make sure you are using a permanent adhesive vinyl. If you try this with removable vinyl, it will fall off pretty quick.
There are several different types of permanent adhesive vinyl including patterned, glitter, glossy, matte, and more.
You can apply any of them to a tumbler or mug, but keep in mind none of them are dishwasher safe. That said….. I put mine on the top rack of the dishwasher and they are fine, but your results may vary.
Does Vinyl Stay on Mugs and Tumblers
Yes -vinyl will stay on mugs and tumblers provided you are using permanent adhesive vinyl. I haven’t had vinyl come off a mug or tumbler yet, but to guarantee longer-lasting results, be sure to hand wash only.
How Do You Seal Vinyl on Tumblers
I do not seal my vinyl on tumblers. Most vinyl manufacturers actually recommend that you don’t apply a sealer over the vinyl. The exception to this would be if you want to go through the process of sealing your tumbler with epoxy. This is usually done with glitter tumblers.
_________________
Thanks for crafting with me today! Now you have the knowledge to apply vinyl on tumblers and other curved surfaces. Plus you learned how to care for your tumbler to get long-lasting use out of it. Enjoy!

Chris Butler has helped thousands of crafters learn how to use their Cricut machine without feeling overwhelmed. She is a best selling author and an up and coming designer. For fun Chris enjoys designing SVG Files, hanging out with her family (preferably at the lake), traveling, and volunteering at her church. She is a wife and mom of two crazy fun kids.
Great idea and easy to do! thanks. Still looking for how to make the tumbler holder though.
Hi Maryann! It’s linked above, I need to find a way to make it stand out more…….. Here you go https://dailydoseofdiy.com/diy-tumbler-cup-holder-applying-vinyl/
I use a knee pillow and it works perfect!
Wow these look pretty nice! A lot of this is starting to look time-consuming though. I am starting to get stressed out.
It doesn’t take much time for this.
Thank you!! I am only 13 and I love crafts so I am going to purchase a cricut to make tumblers for my friends and family. I was really concerned about sealing them too because epoxy can be very dangerous, and I am very relieved to know I don’t need to seal them! This whole thing was so helpful!
Thanks Sophie!
Want to epoxy a painted tumble . Is it better to epoxy the tumbler then apply vinyl or epoxy over vinyl
If you’re doing epoxy I would vinyl first and then epoxy
Can you vinyl, epoxy, glitter then epoxy again in that order? I have a cup with vinyl but would like to glitter it?!
Hey! I love the buffalo plaid vinyl. I noticed you said to use permanent vinyl when adhering to cups but if I’m doing the epoxy method and will be covering it, will it be okay to use a removable vinyl or will it not stay there while the epoxy moves and cures? I can only find a specific color I need in the removable right now! Lol
Thanks!
Yes if you’re covering it with epoxy you’re good
Hello, I am using Siser EasyWeed as my vinyl. When I heat press or iron on the vinyl onto the tumbler the adhesive from the vinyl sticks as well. So the letters stay but also around it looks like a shadow of glue. What am I doing wrong a suggestions?
Hello I’m using permanent vinyl on already pretty tumbler .wondering if I could only epoxy the vinyl and leave the rest of the tumble without epoxy.
If you’re using permanent vinyl you don’t need to put epoxy over it. It will stay.
Good morning,
Thank you so much for the detail information! The vinyl that you use and applying epoxy resin over to seal it, will work also for glass tumblers? I only would like to seal them so I can place them on the diswasher. Any advice?