This post may contain affiliate links for your convenience. If you make a purchase through one of my links I will earn a small commission at no additional cost to you.
Last Updated on August 15, 2023 by Chris Butler
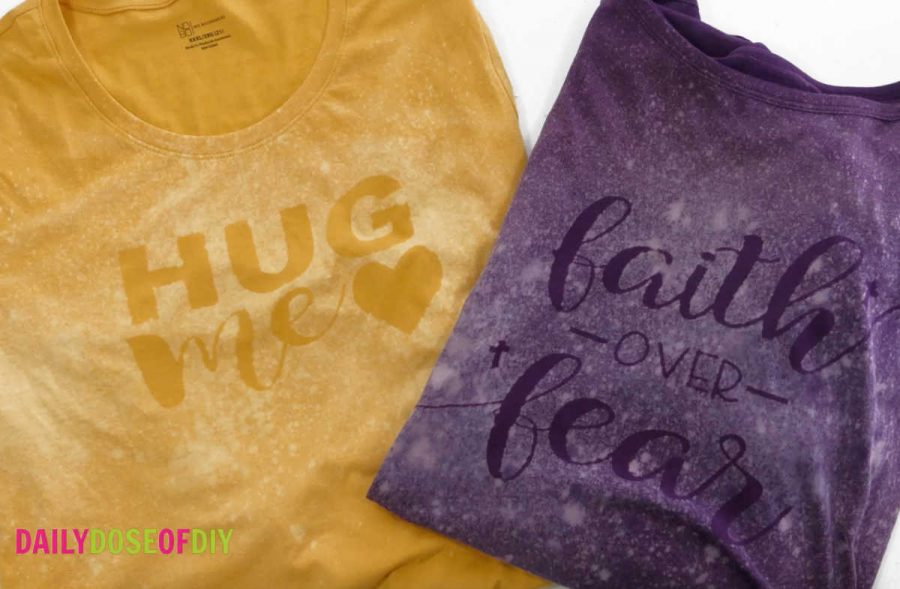
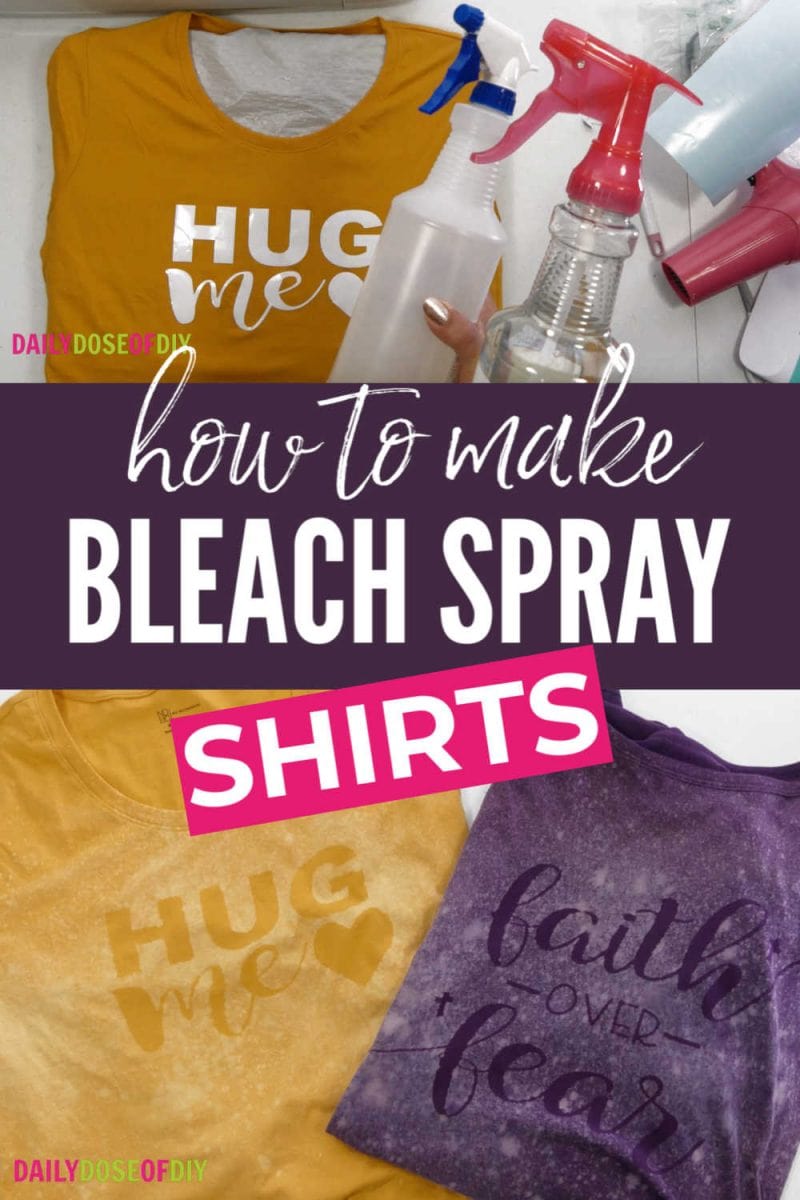
Hey there crafty friends! This post is going to show you how to make bleach spray shirts using your Cricut to cut the design. And speaking of designs, I’m sharing the two SVG files I used to make these shirts with you for free.
A bleach spray shirt is just like it sounds. We’ll put a design on a shirt to cover up the areas we don’t want bleached and then spray bleach over it. The bleach will lighten the color of the shirt after it dries. And when you remove the design the original color of the shirt will show through.
I love how the bleach shirts turn out, looking kind of distressed. And since there’s no vinyl left on the shirt, they’ll stay looking good for quite a long time.
You can also use as much or as little bleach as you want on the shirt to get the look you’re after. Just be sure to build it up instead of spraying it all at once. I’ll explain that more in the tutorial and I cover it in the video too.
Let’s get started…
Quick Links to Information in This Post
Bleach Spray Shirts Supplies Needed
- Colored shirts (Mine came from Walmart)
- Bleach
- Spray Bottles
- Permanent Adhesive Vinyl (removable will work too – but NOT Iron On)
- Transfer Tape
- Weeding Tools
- Pen, Pencil or Shirt Centering Guide
- Paper Towels or Old Rag
- Cardboard and Plastic or Garbage Bag (to protect the shirt)
- Cutting Machine (I use Cricut)
- Designs for Your Shirt – You can totally use mine, -they are free at the bottom of this post
- Highly Recommended:
- Gloves
- Old Clothes or Apron to Wear While Making the Shirts
- Blowdryer
Bleach Spray Shirts Video
How to Bleach Words onto a Shirt
Step 1: Choose Your SVG Design
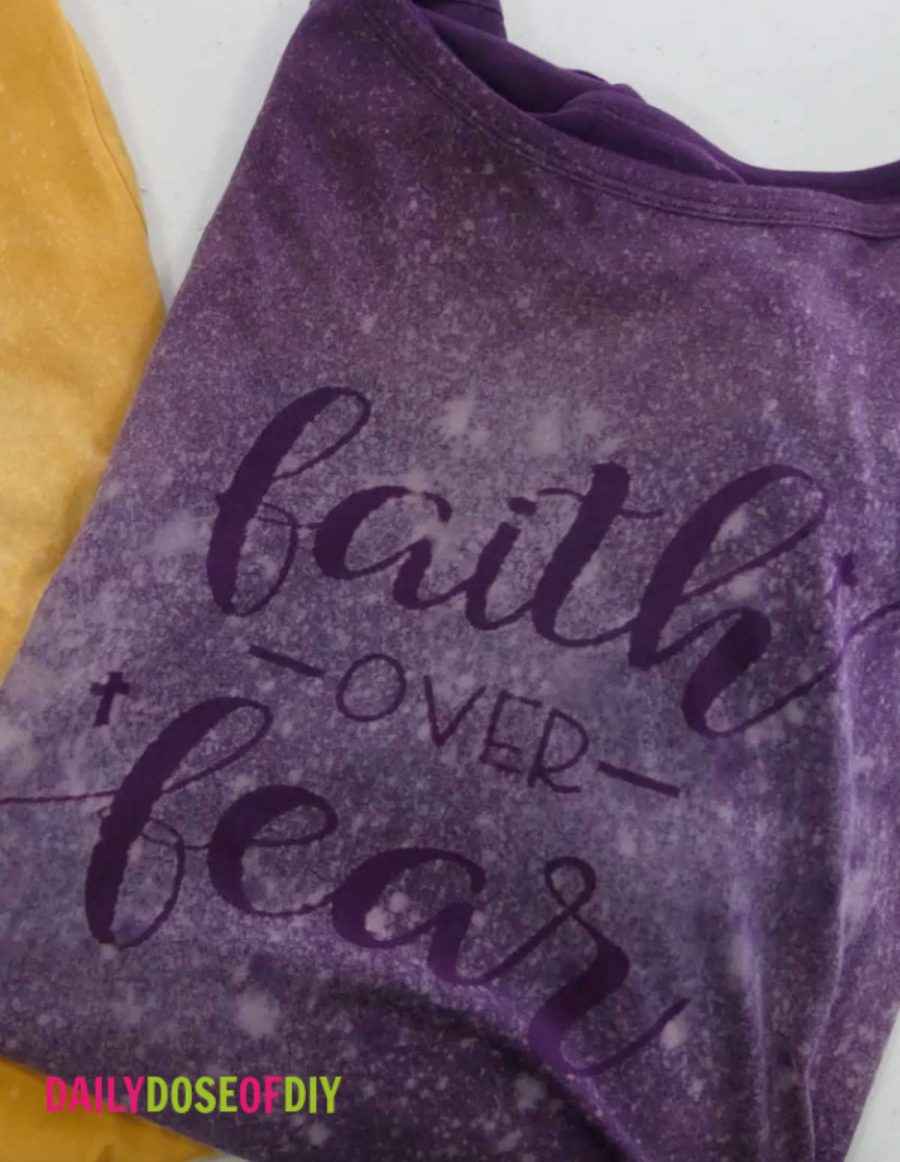
The first thing you’ll need to do is pick the design for your shirts. You can use either or both of my SVG designs for your shirt. One says Hug Me and the other says Faith over Fear.
All of my free SVGs are kept in my resource library for your convenience. They are in alphabetical order so you’ll go to SVG’s —-> Bleach Shirts.
To get the link and password just fill out the simple form below.
When choosing a design you’ll want one that had chunkier letters and pieces. It will be a lot trickier to get the design to stick and not bleed if you are using super skinny letters and smaller design pieces.
In the video above I cover how to get the SVG file into design space and cut it out. Or you can also see this post about uploading SVG files to design space if you need help with that step.
Step 2: Size and Cut your SVG Design
Once you have your design chosen, you’ll need to size it based on the size of your shirt. Lay your shirt out flat and measure across.
A good rule of thumb is to make your design about 12″ less than the width of your shirt. This will give you a 6-inch margin on either side.
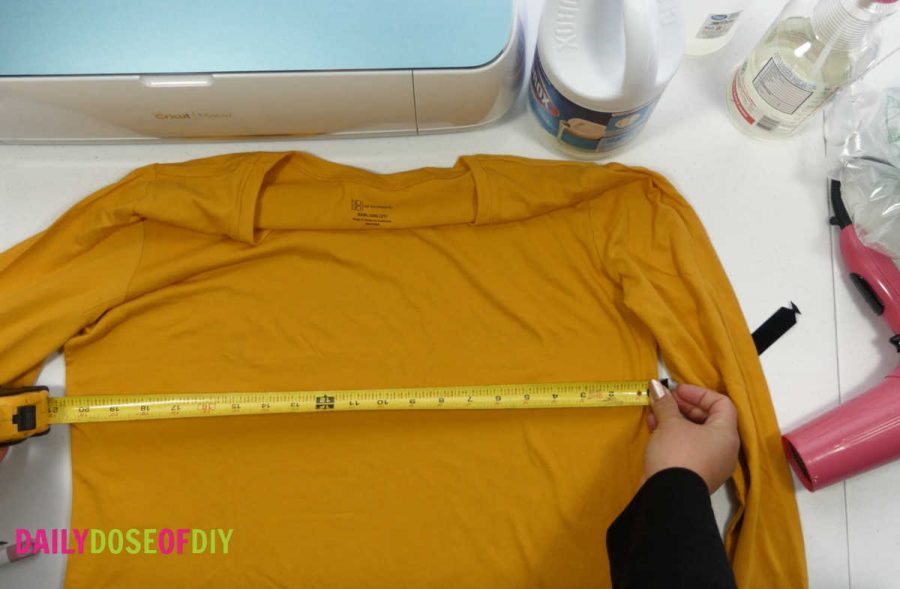
My shirt was 20-21″ wide so I cut my design 9″ wide.
When you’re ready to cut you’ll want to use adhesive vinyl. Permanent or removable vinyl will work. We’re using it for a reverse stencil, it won’t be staying on the shirt. So be sure not to use iron-on vinyl for this craft.
Once the vinyl is cut weed out the background and the centers leaving just the design.
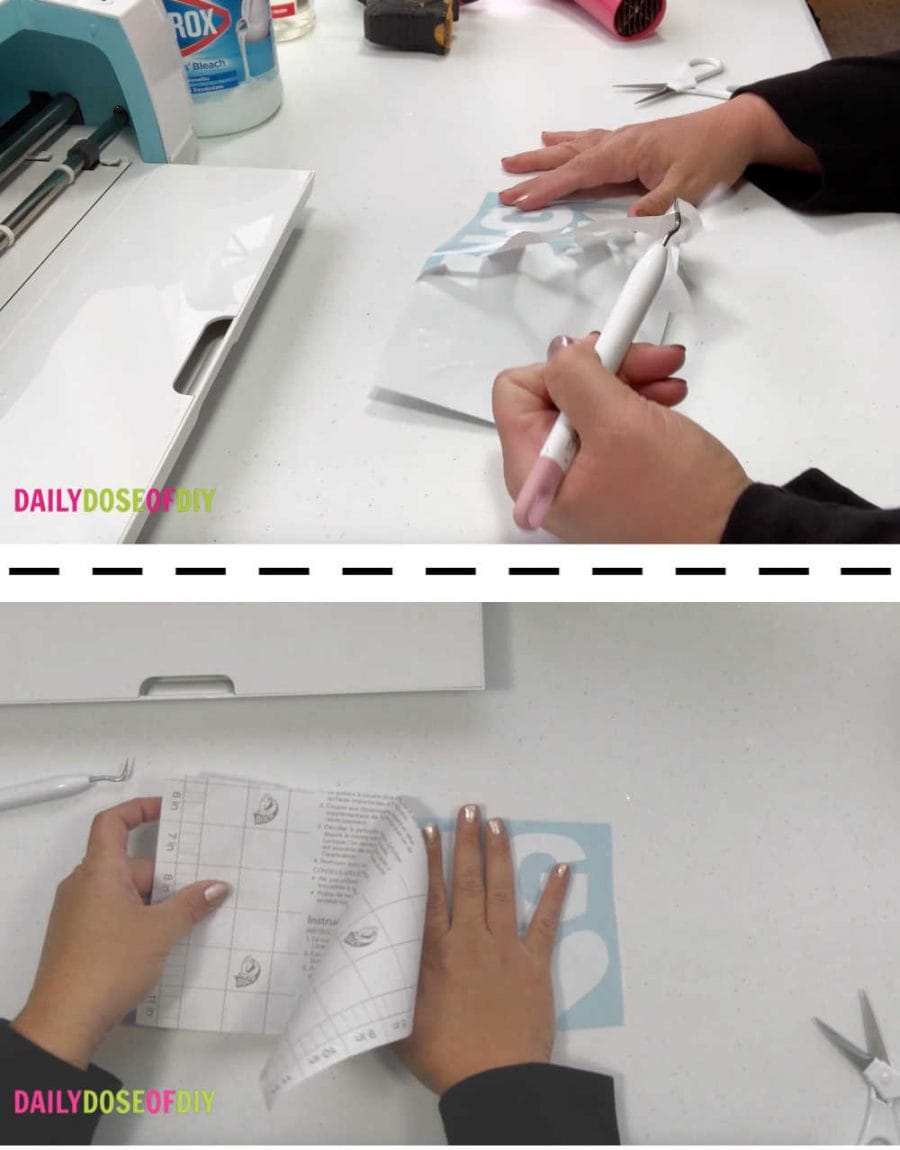
And then add your transfer tape. I use clear contact paper that you can get at places like Walmart. I think it works better and it’s cheaper too.
A stickier type of transfer tape like the Cricut brand might make it harder to get the design on the shirt. BUT you can stick the transfer paper to your shirt or maybe a towel a couple of times to get some lint on it and remove some of the stickiness.
Related: How to Easily Apply Transfer Tape without Bubbles or Wrinkles
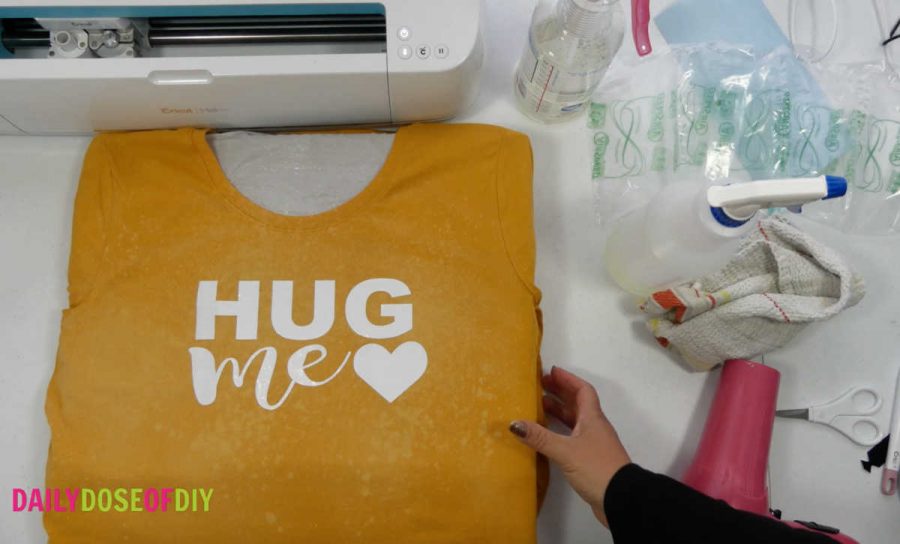
Step 3: Center your Design on your Shirt
To center the design onto the shirt you’ll need to lay the shirt flat again. A good rule of thumb is to place your design about 2-inches down from the collar on smaller sizes of shirts and 3-inches down for larger sizes.
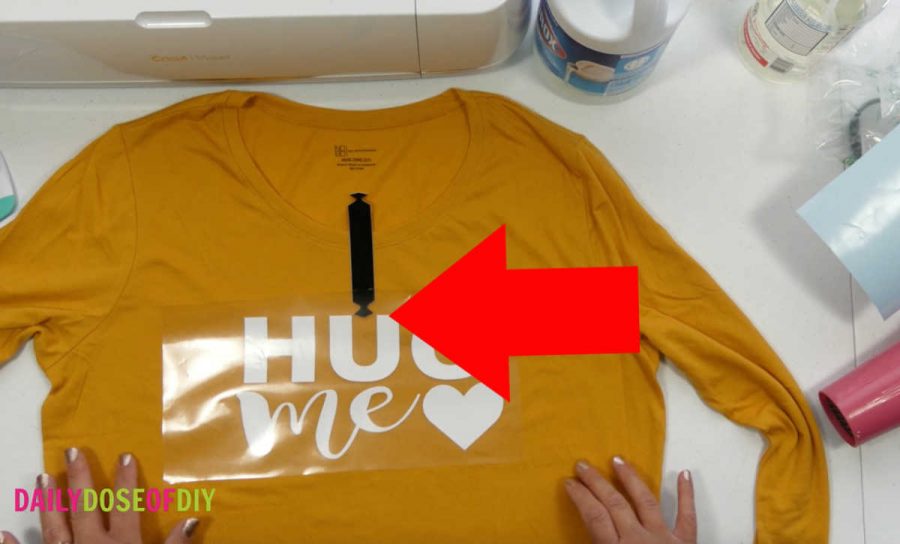
It helps to use another object as your reference point. I’ve used pens or pencils before. This little felt guide came with an HTV order I placed. You can also use a ruler or tape measure.
Once you have your reference point centered and 2-3 inches down from the collar, you’ll need to find the center of your design.
Next remove the backing from your vinyl and line the center of your design up with your reference point on your shirt. Even though this is adhesive vinyl it’s not going to get stuck for good on the shirt. You’ll still be able to move it around to get it just how you want.
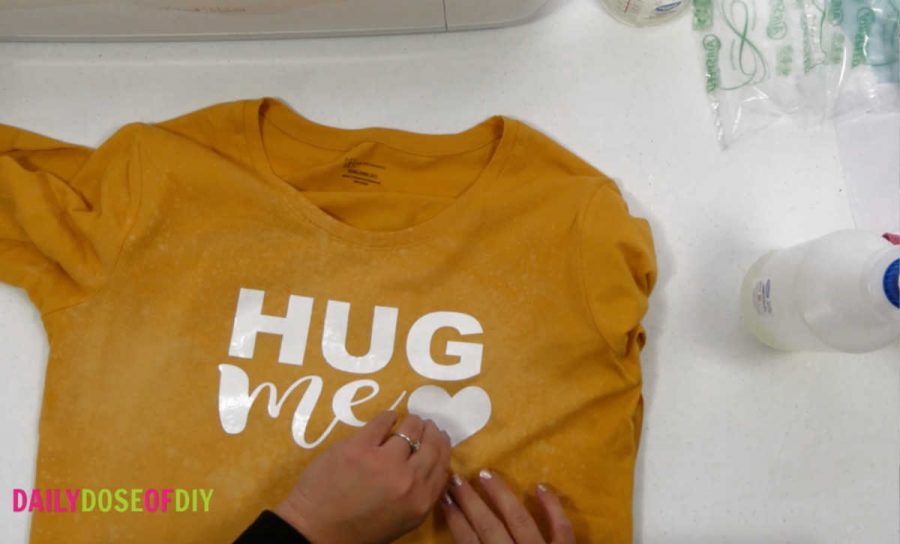
Step 4: Remove the Transfer Tape
Removing the transfer tape is one of the trickier parts of making bleach shirts. This is where your weeding tool will come in handy and also chunky letters.
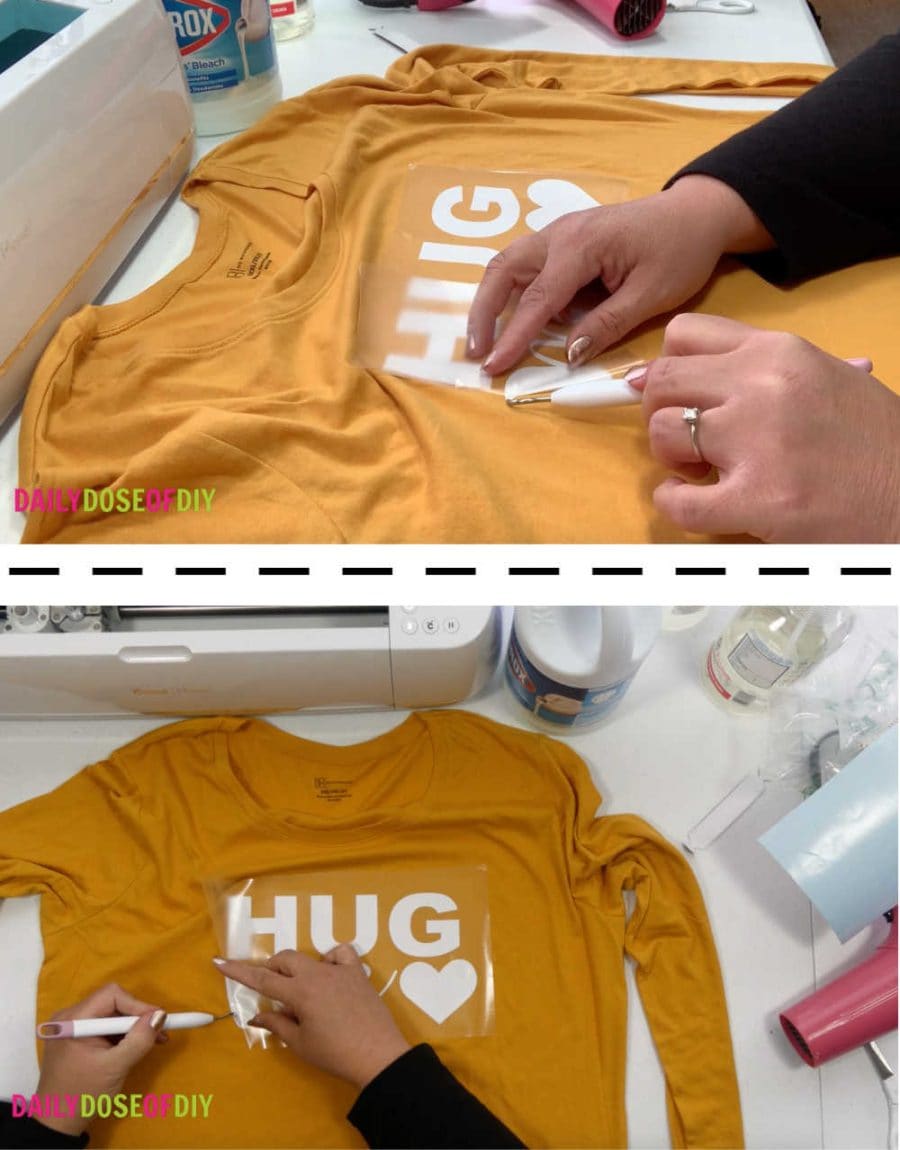
Pull the transfer tape back to where the vinyl starts. The vinyl will not stay stuck to the shirt on its own.
Use your pick to pull the vinyl off the transfer tape and hold it to the shirt while peeling off the tape. You’ll see in the video that once one letter gets started, it goes pretty quick. You just need to get the edge to stay down first.
Work your way down the design until all of the transfer tape is off.
Step 5: Protect the Back of your Shirt
When you spray the front of your shirt with bleach it will soak through to the back of your shirt if you don’t protect it. I broke down an Amazon box and put a garbage bag over it. And then I put the shirt over the bagged cardboard.
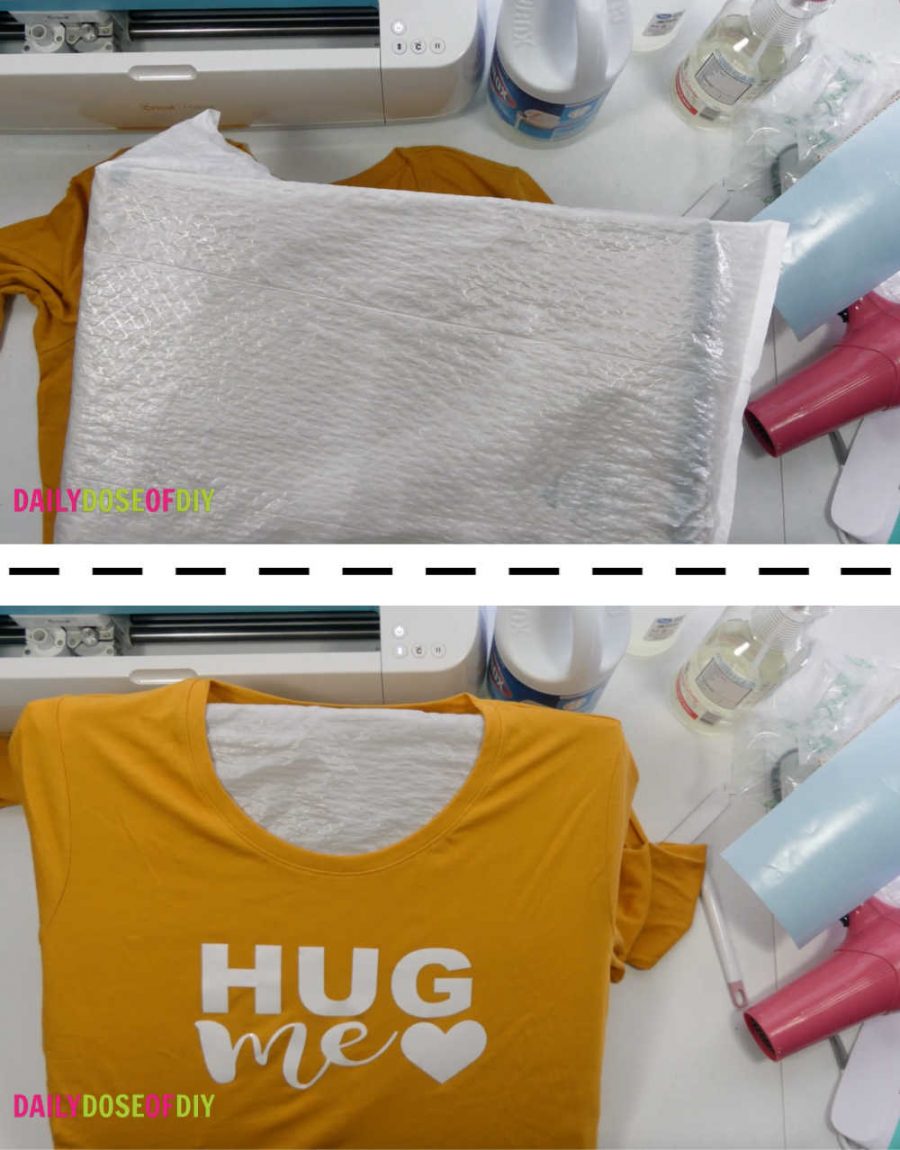
You can tuck the sleaves behind the cardboard if you don’t want them bleached.
Now we are ready to spray the bleach…..
Step 6: Spray Bleach your Shirt
Ok now the fun begins! Just a word on bleach… It is a chemical, use proper ventilation, use gloves, wear old clothes or an apron. You’re doing this at your own risk and kids don’t do this without an adult.
Now that’s out of the way, first you’ll fill your spray bottle with bleach. I used straight bleach, I didn’t water it down.
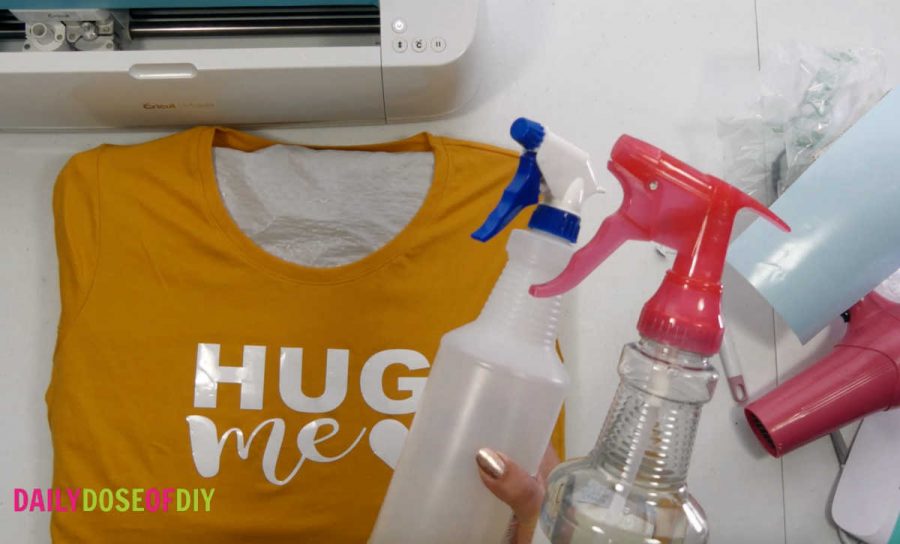
And I actually used two different spray bottles. I found both in the cleaning section of Walmart. The blue one is $1.00 and sprays a fine mist. The pink one is $3.00 and doesn’t really spray a fine mist at all. It drops bigger globs of bleach on the shirt.
I found a combo of those two gave me the look I wanted.
That said you want to do this a little at a time. If you soak your shirt the bleach will seep behind your vinyl and you won’t have any design left. Ask me how I know this 😂
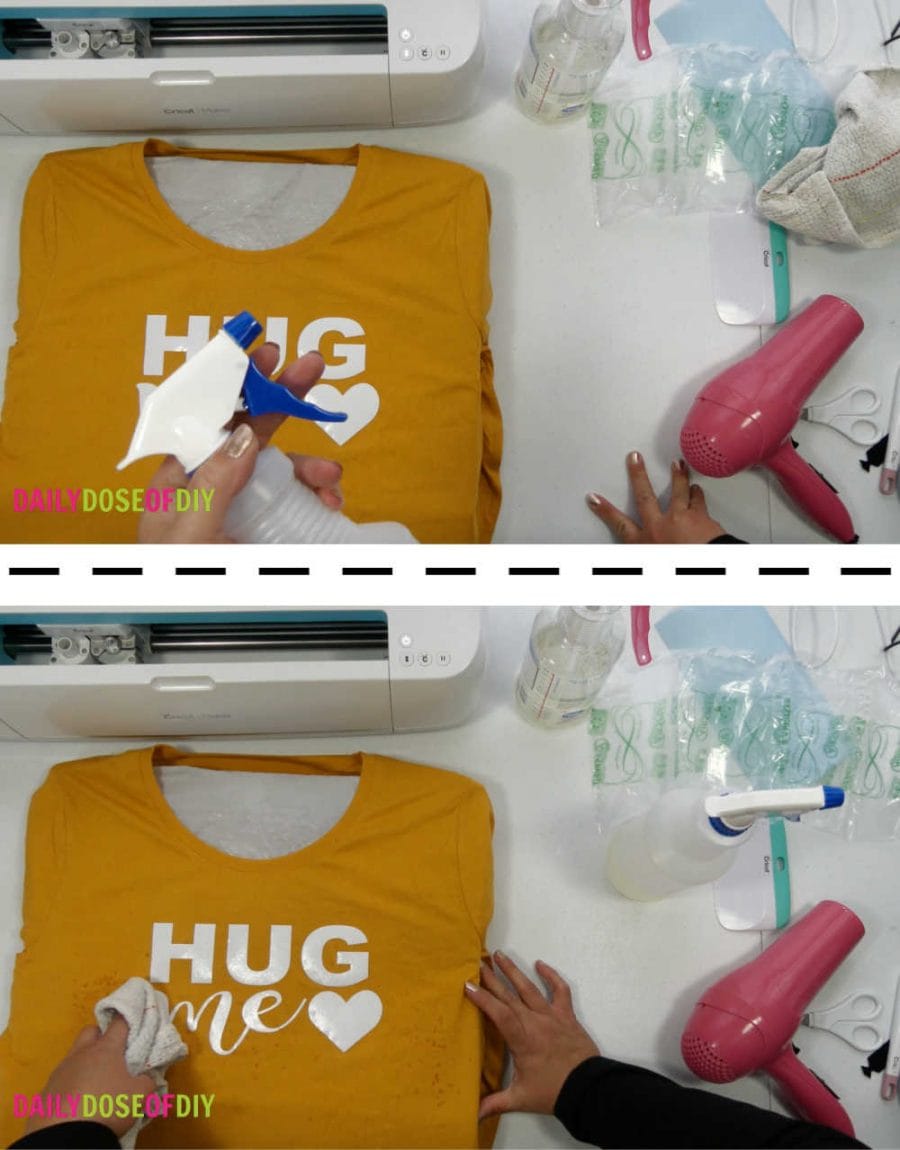
It’s easier to overspray when you’re using a fine mist. I sprayed my bottle 3-4 times across the design. Then you want to take your paper towel or old rag and dab off the bleach on top of the vinyl. If it pools up it will run off and seep under the vinyl.
I also gave the pink bottle a couple of squirts.
Step 7: Dry the Bleach and Remove the Vinyl
You can let your shirts air dry if you want. I used a blow dryer to speed up the process. You don’t want to use too much bleach at once, but you can’t really see what it will look like until the bleach is dry.
Almost every shirt I’ve made I sprayed bleach a second time after the first layer was dry. And the lighter of color shirt you start with, the more layers of bleach you’ll probably need.
Once the shirt is completely dry and you’re happy with the way the bleach looks you can remove the vinyl.
Since it’s adhesive vinyl it will pull right up without any issue.
And this is the telling moment, if you sprayed to much bleach at once and it seeped underneath……
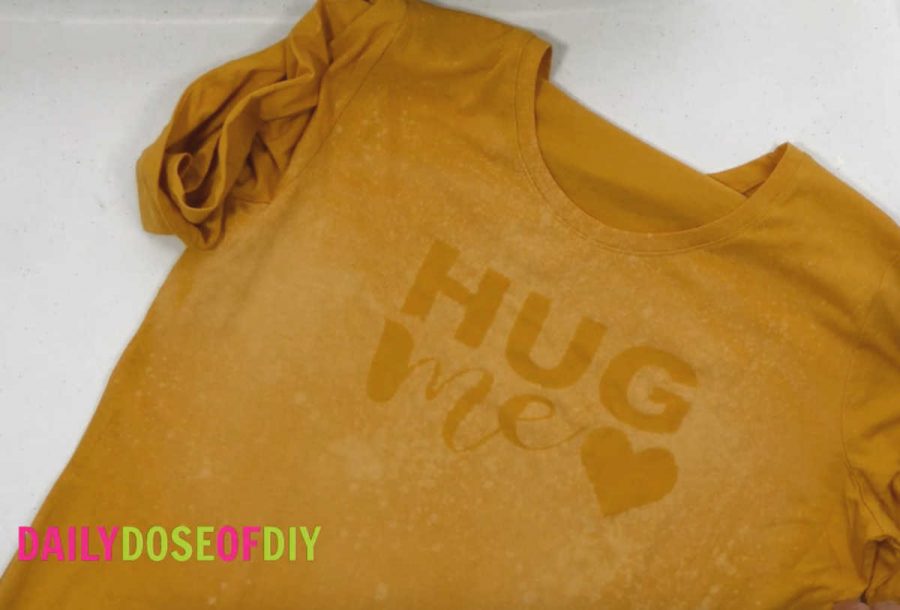
This shirt turned out pretty good. There are a few spots bleach got under the vinyl, but nothing too bad. So far I’ve only wrecked one shirt by spraying to much bleach.
Caring For Your Bleached Shirts
After the bleach is 100% dry wash your shirt in cold water and dry in the dryer as normal. That’s it.
They are pretty easy to take care of and will last a long time.
Swipe my Free Bleach Shirt SVG Designs
You can totally use my SVG files to make your own bleach spray shirts. I keep all of my SVGs in one convenient place for you in the resource library. All SVGs are in alphabetical order so scroll down to ‘Bleach Shirts’ to find these designs.
To get exclusive access just fill out the simple form below. The link and password to the free SVG library will be emailed to you. And you’ll be subscribed to my weekly newsletter where I send you more fun crafts and Free SVGs once a week or so.
All of my free SVG files and Designs are kept in a library for your convenience. We will send you the link and password right away, and you’re free to use all the resources you want in the library.
Already have the password? (It’s at the bottom of every email) Enter the Library Here
How to Make Bleach Spray Shirts Pin

Chris Butler has helped thousands of crafters learn how to use their Cricut machine without feeling overwhelmed. She is a best selling author and an up and coming designer. For fun Chris enjoys designing SVG Files, hanging out with her family (preferably at the lake), traveling, and volunteering at her church. She is a wife and mom of two crazy fun kids.
What is the percentage of cotton of the purple shirt? Do the shirts need to be a blend? Love the subtlety of the bleach technique.
I am new to cricut and have only tried cutting paper. I am eager to try vinyl now after watching your bleached shirt tutorial. Your step by step video and realistic issues (weeding) made me feel I could move on and try this. Thank you for showing all the steps, even the simple ones- as a beginner I appreciated and needed to have it all explained.
You do realize over time the bleach eats the fabric
So far I’m a year in and it hasn’t ate it yet. Most vinyl shirts start coming apart after a year or so too.
I received a Maker for a Christmas present yesterday. This was my first project and I love the results! Thank you for such a detailed tutorial. The video helped a lot and I got over the intimidation quickly by just following along step by step. Just an FYI I did have to look up why the “attach” option was not available so you may want to mention what to do if that happens to others. Thank you!
Thanks so much for the tip Shelly! Glad the rest was helpful =)
Thank you so much for sharing this video. I’m definitely going to try this technique. Could you share the name of the contact paper you used. I’ve been using Cricut and it’s way to sticky. I’ve looked at Walmart but I don’t really know what I’m looking for. TIA