This post may contain affiliate links for your convenience. If you make a purchase through one of my links I will earn a small commission at no additional cost to you.
Last Updated on January 5, 2019 by Chris Butler
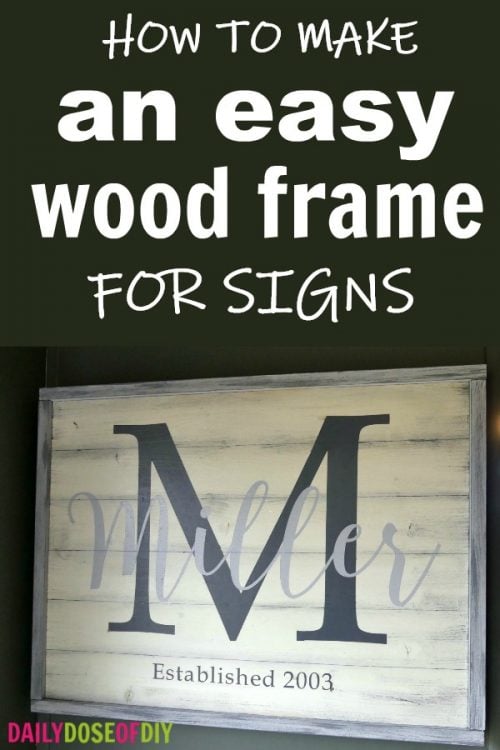
Today I’m going to show you how to make a DIY wood frame for signs. Sign painting is a super fun craft -one of my favorites. And no sign is complete without a proper frame.
I’ve covered how to make a stencil with your Cricut for hand-painted signs here.
And once your stencil is complete I have tips and tricks for painting the perfect sign every time that you can find here.
And now the final step to a perfect farmhouse sign is the frame.
Let’s get to it.
DIY Wood Frame Supplies Needed
- 1×2 wood strips
- Wood Glue
- Nail gun or Hammer and Finishing Nails
- Sand Paper
- Saw
- Paint or Stain and Sealer
Measuring and Cutting for the Wood Frame
Head to your favorite home improvement store and grab 1×2 wood strips. This is what we will be using to make the frame.
You’ll want to know how long of a piece to get before you go so be sure to measure your sign.
Start with measuring the height of your sign. 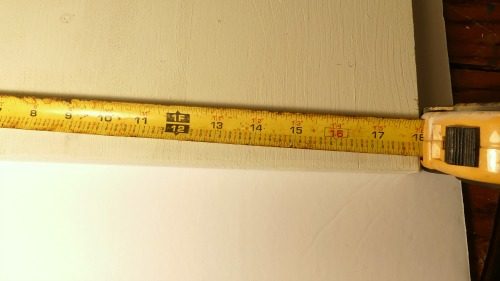
My height is 18″ and we need 18″ for both sides. So 18 x 2 = 36″
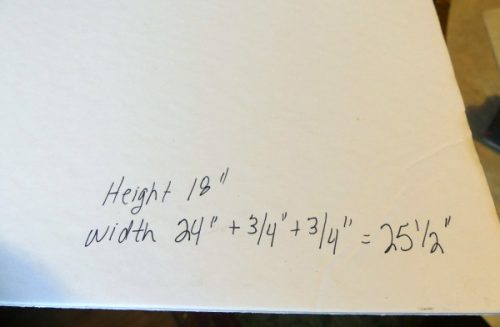
When measuring the width of the sign we also need to account for the width of the frame on both sides. A 1×2 piece of wood is actually 3/4″ wide instead of 1″ – crazy I know.
So the width of my sign is 24″ plus the width of the frame on each side equals 25 1/2″. We need a piece for the top and bottom so be sure to double that too.
So the sign height times two and the sign width plus 1.5″ times two. The total length of the 1×2 I need to buy is 87″ or an 8 foot board.
After you get your wood you want to cut two lengths of each size.
Painting and Adding the Wood Frame to Your Sign
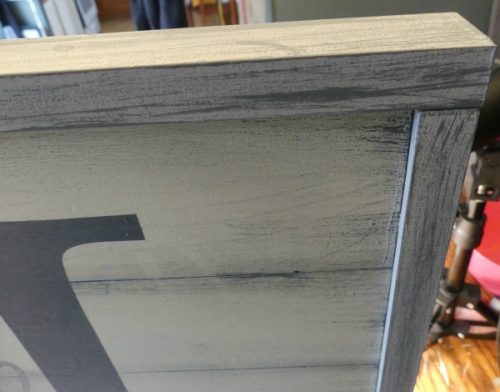
After your boards are cut sand down the edges to remove any rough spots. Next apply paint or stain in the color of your choice.
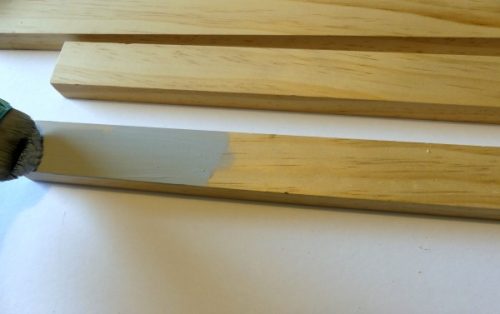
I’m painting mine light grey and then distressing it with white and darker greys. Be sure to paint all four sides of the boards plus the ends.
After the paint is dry add your sealer and then we are ready to frame the sign.
Don’t mind the hot mess of my work table, we painted a bunch of signs for Christmas.
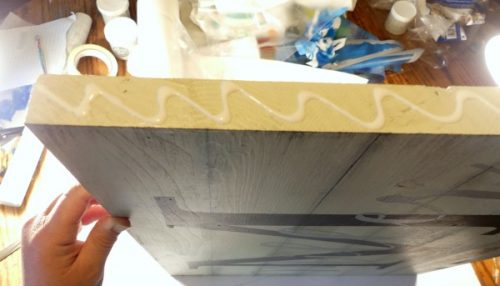
So we want to start with the sides first. Add glue to the side of your sign and then add one of the side pieces of the frame.
It should line up pretty perfectly top to bottom and then you can eyeball it to center it on the frame.
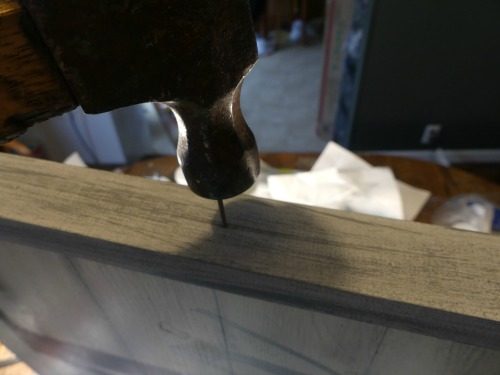
Grab your nail gun or a hammer and finishing nail and nail the frame to the side. One on each end and two in the center.
The first time I did this I was so afraid I would wreck my sign by hammering a nail through it instead of straight into the side. But in all of the frames I’ve made, I’ve only done that once.
After one side is done repeat the same process for the second side.
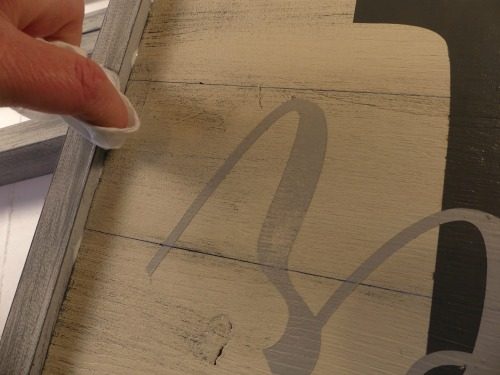
Check the front of your sign for any glue that may have squeezed out. Clean it up with a baby wipe if needed.
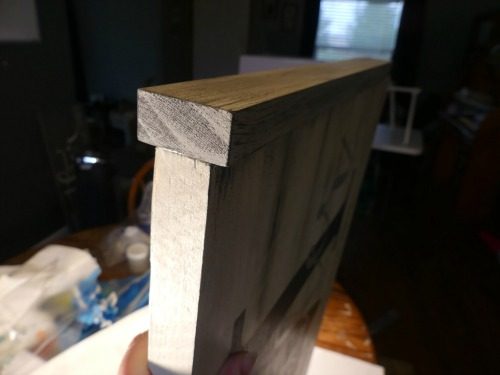
After the sides are on use the same method to add the top and bottom pieces of the wood frame.
Remember we added 1.5″ to the measurement for these pieces, so they should come right to the edge of the side frame.
After all four pieces of your wood frame is on the sign, hang it up and admire your work!
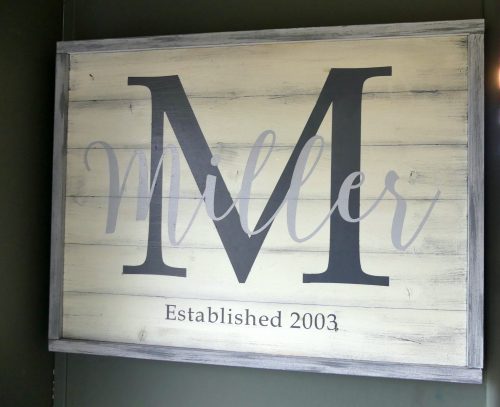
Making frames like this is super easy and doesn’t require mitered corners. But they still turn out fabulous and really adds the finishing touch to your sign.
Thanks for stopping by, be sure to follow me on Pinterest for more great DIY’s


Chris Butler has helped thousands of crafters learn how to use their Cricut machine without feeling overwhelmed. She is a best selling author and an up and coming designer. For fun Chris enjoys designing SVG Files, hanging out with her family (preferably at the lake), traveling, and volunteering at her church. She is a wife and mom of two crazy fun kids.
I just love this sign! What fonts are used for the Monogram and last name? TIA
Thanks Kim! The font is called Blingtastic Script for the last name and Book Antiqua (which I think is a google font) for the M
Thanks!!
Thank you so much for sharing a great article.