This post may contain affiliate links for your convenience. If you make a purchase through one of my links I will earn a small commission at no additional cost to you.
Last Updated on March 27, 2020 by Chris Butler
Using a vinyl stencil on wood for your hand painted sign can sometimes be tricky. After your first try, you’re probably asking yourself ‘How do I stop the paint from bleeding under the stencil’ Or ‘Why is my stencil pulling up paint when I take it off?’
And then there is the whole ordeal of getting the stencil on the wood straight in the first place. Don’t even talk about bubbles and wrinkles.
I know I had issues with all of these things when I started using vinyl stencils. I’m going to share my tips, tricks, and secrets for using a stencil to get perfect hand painted signs every time. After learning these, you will be a sign making pro in no time at all.
We’re going to start this tutorial from the point your stencil is made. If you want to know how to make a stencil in Cricut Design Space thE easy way, check this tutorial here.
In the video towards the bottom of the post you’ll see the whole process from beginning to end.
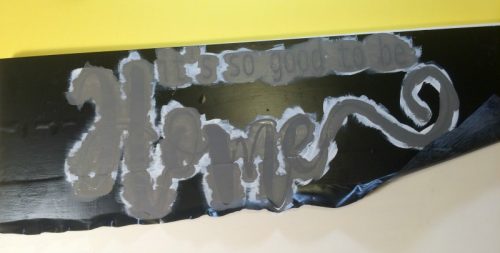
And you can get the ‘It’s so good to be home’ SVG file in my free resource library. The information is at the bottom of this post.
Plus I have a bonus freebie at the end for you too.
Let’s get to it!
PIN IT
Quick Links to Information in This Post
Stencil on Wood -Getting it Straight Without Wrinkles and Bubbles
The first tip to getting your stencil on straight is making the stencil the same size as your project (or at least close to it). I covered this in the stencil making tutorial here.
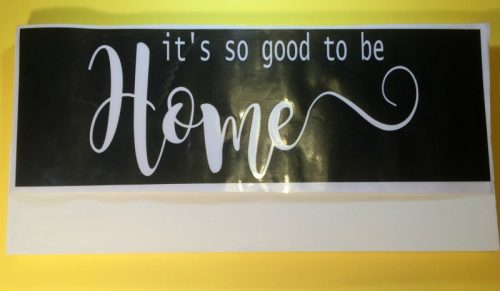
Here is my stencil ready to go. You can see it’s not quite as wide as my wood. My project is 24″ long, but the long Cricut mats have a max of 23 1/2″. It’s still close enough I can eyeball it.
And I plan to put something else on the bottom of this sign, so I’m aligning the stencil with the top. If I didn’t have other plans for the bottom, I would have made the stencil 11″ tall, the same as my board.
Having the stencil the same size saves a lot of time and headache getting it straight.

Using Transfer Tape
After your stencil is cut and your letters are weeded out, we need to transfer it to your project. We do this with transfer tape.
TIP: Clear contact paper is cheaper and easier to work with than most vinyl transfer tapes.
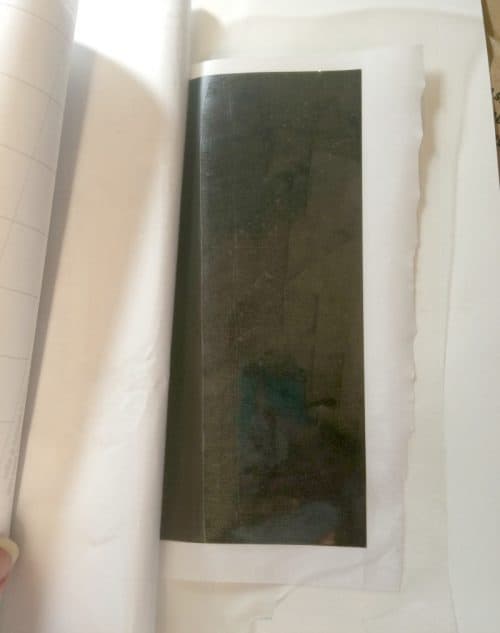
So for bigger projects, I want my contact paper larger than my stencil. Only peel the backing off of the end edge of the contact paper.
Then stick that edge down to your surface and the edge of your stencil to keep them both from moving. As you slowly peel the backing off the contact paper, use your Cricut scraper to push the contact paper down the center of your stencil.
Stop every few inches to also run your scraper from the center out to the edges to help prevent bubbles. Work your way down until the contact paper is covering the stencil.
Cut off the end of the contact paper and trim up the edges around your stencil.
Transferring Your Stencil With The Hinge Method

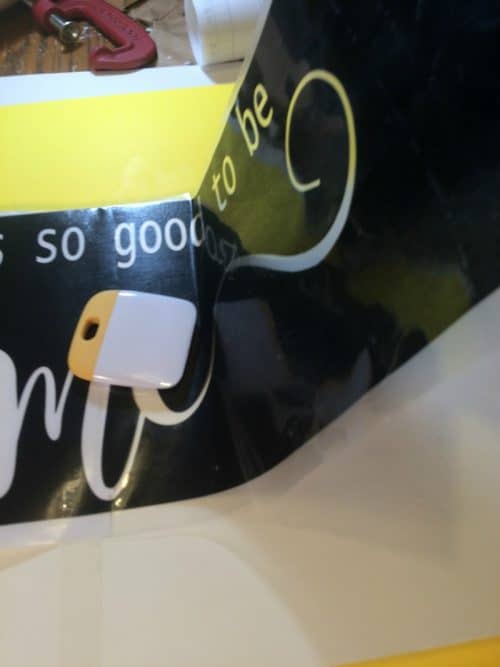
1. Once your stencil is lined up straight, place a piece of tape straight down the center of your stencil to hold it to the wood. I usually use masking tape for this step, of course, I’m out at the moment.
It may be a bit hard to see, but I used clear tape instead. It still worked well.
Placing your stencil on the wood this way is called the hinge method. You can see in the picture I am holding the right side of the stencil up, while the tape is holding the rest of the stencil down.
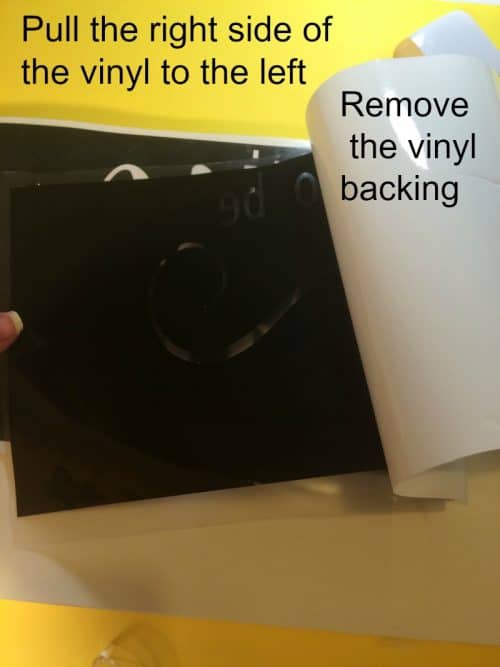
2. Go ahead and pull the right side of your stencil over to the left and remove the backing until the tape stops you. Cut the backing off, being careful to not let your vinyl touch the wood yet.
3. Hold the end of your stencil pretty tightly at about a 45-degree angle off of the wood. Starting where the tape is, take your scraper and start pushing the stencil down in the center. Keep the end up with a firm hold.
The only places the sticky stencil should be touching the wood is where the scraper has pushed it down.
Work your way all the way down to the end. Pushing down first the center, then outwards to the edges.
4. Remove your tape from the center. Take the vinyl baking off the left side of your stencil and repeat the process for that side.
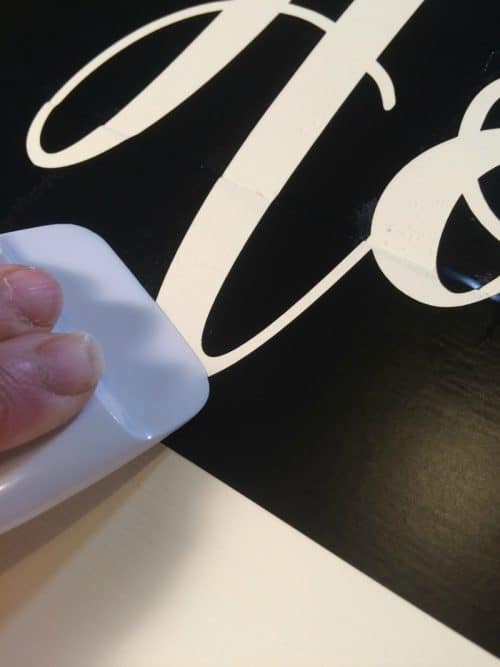
5. Push down firmly with your Cricut scraper over the design area of your stencil. A tennis ball works well too! You want to make sure it’s good and stuck where we will be painting.
6. Starting in one corner, pull off the transfer paper. Go slowly once you get to your design, especially around intricate parts. You may need to do some more rubbing or hold the viny down with your fingernail or a Cricut tool as the transfer paper comes off.
Make sure your letter centers, like for ‘o’ stay in place.
Tip: If the vinyl just won’t stick in some areas, try using a blow dryer with a low setting on those places.
TIP: This is easier for smaller projects, but stick your transfer paper to your clothes a couple of times to de-stick it before you place it on your vinyl, it will be easier to remove. I also prefer to use clear contact paper as my transfer tape.
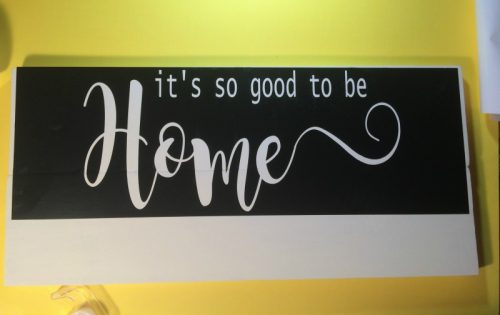
Now our Stencil is down, nice and straight!
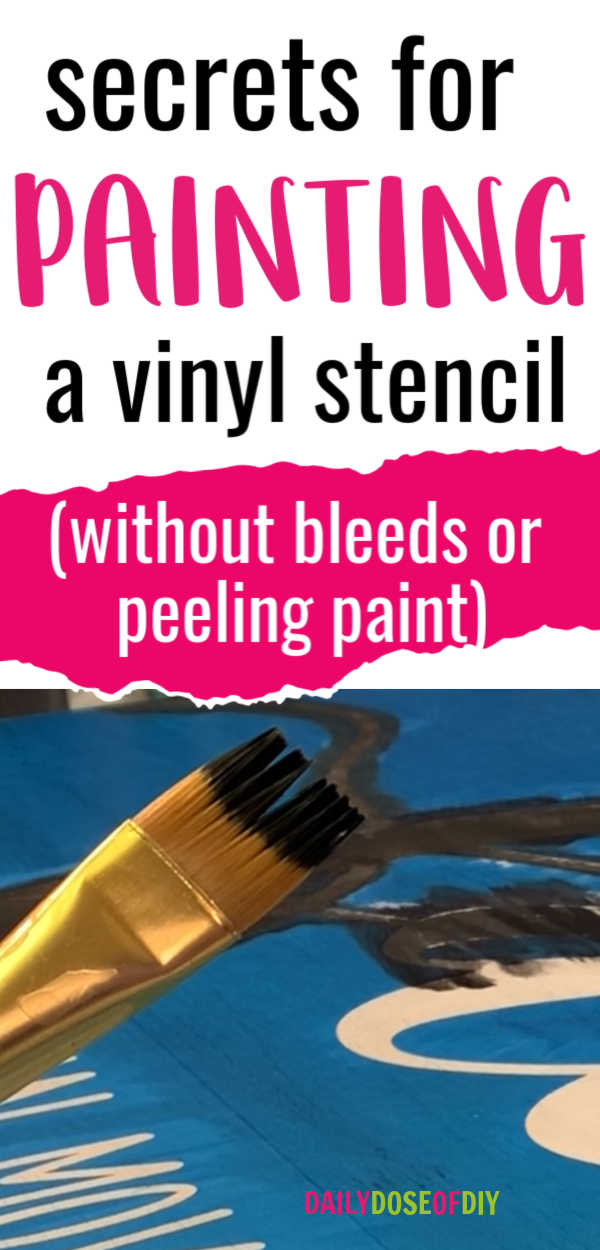
How To Stop Paint From Bleeding Under The Stencil
Nothing is more frustrating than pulling up a stencil and seeing that the paint bled. Totally aggravating!
I have some tips and tricks to make sure that doesn’t happen again.
After the transfer paper is removed, go over your design edges again, making sure they are good and stuck. Rolling a tennis ball over with firm pressure works really well.
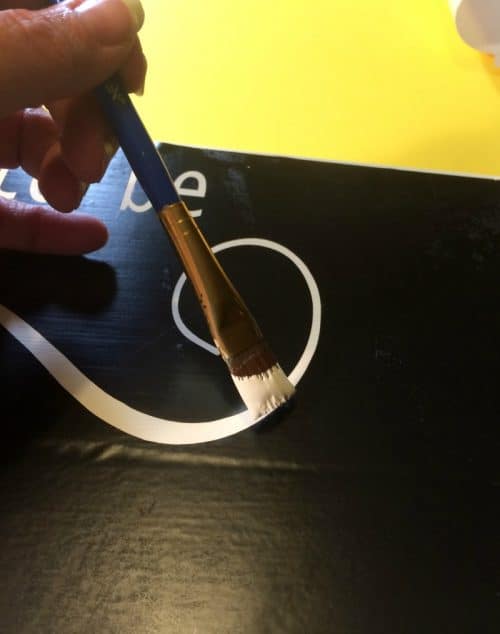
Seal the stencil. If I am stenciling on a painted board, I prefer to use my base color to seal the stencil. That way if the stencil bleeds, it’s not noticeable, because it’s the same color as the base. And this also seals the edges, so our final color won’t bleed.
You can also use a thin layer of Mod Podge for this step if your base is multi-colored.
If your base is stained, use a thin coat of poly to seal the stencil.
Tip- When you’re applying your seal layer, brush towards the edges of the stencil. Paint like you are trying to make it bleed. And I can’t stress it enough, it needs to be a thin layer!
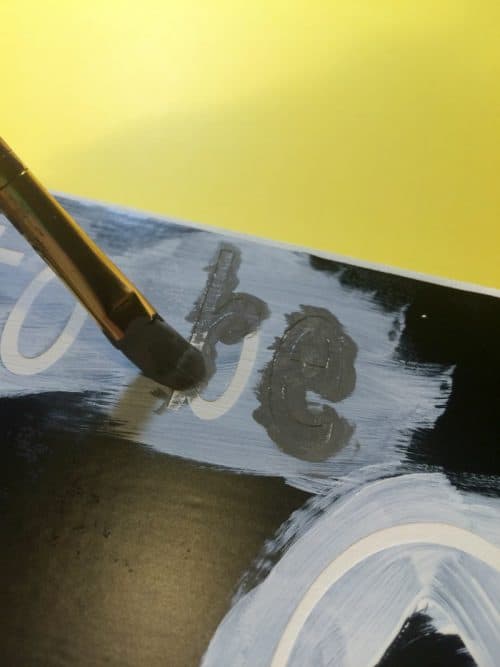
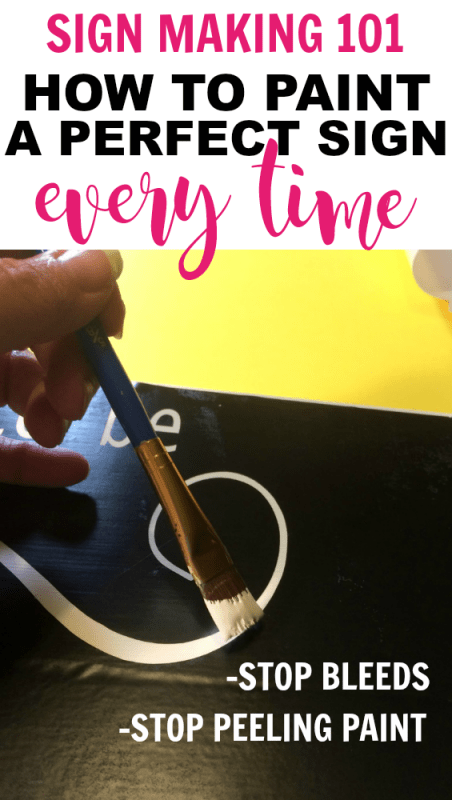
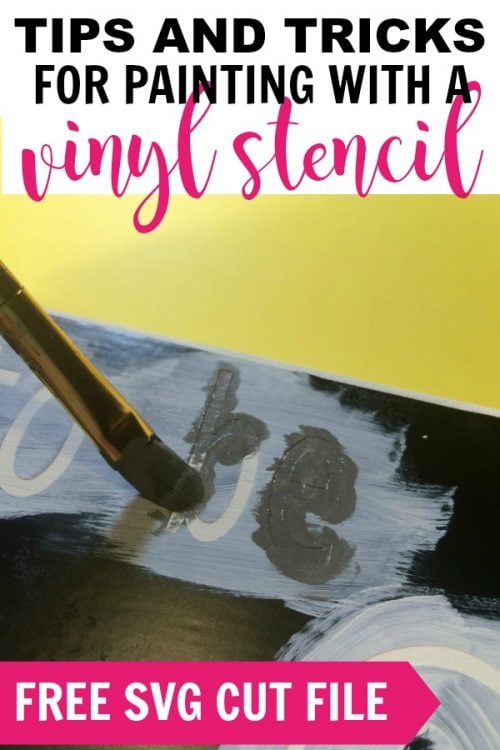
Paint the final color. After your seal layer is completely dry, you can paint your final color.
For the final color, I use a little paint and dab it on more than brushing. You’ll most likely have to do a second coat, but it’s extra assurance that you won’t get bleeds. Especially on rough boards like barn wood.
For the second coat of the final color, I use a little paint and light brush strokes to even the color out.
This really is quicker than it sounds. Especially using light coats of paint. Where I started is usually dry by the time I finish, so the next coat can be started right away.
Now that the painting is done, let’s remove the stencil.
How To Remove Vinyl Stencils Without Removing Paint
You’re in the home stretch! Don’t wreck your project now by peeling paint up when you remove the stencil.
The first part of getting this right starts before you even paint. Make sure your board is clean clean clean! Paint will not stick to dirt and sawdust very well.
And make sure your base coat is completely dry before you lay down your stencil.
That said, there are a few tricks to getting the stencil off without peeling up paint.
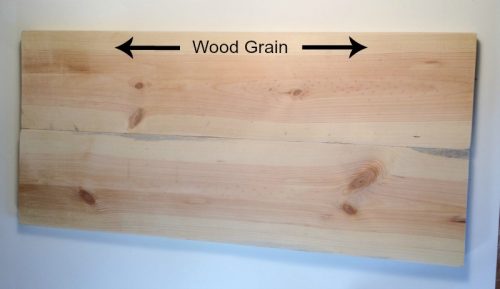
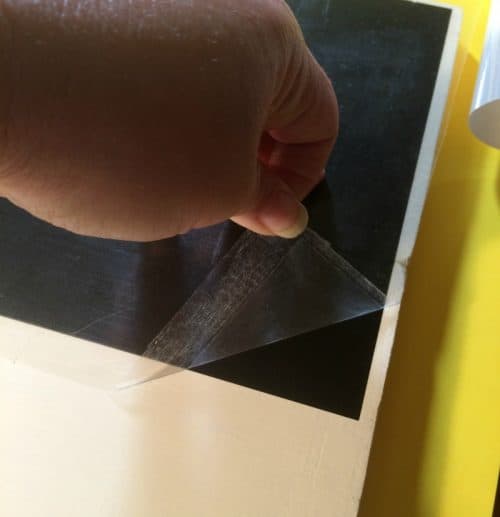
Note what direction your wood grain is going (the lines in the wood). In my project, the wood grain is going left to right.
And most people would start pulling the stencil up from the left or right side. That is pulling the stencil up with the wood grain. That can make the paint come up with the stencil.
We want to go against the grain as much as possible.
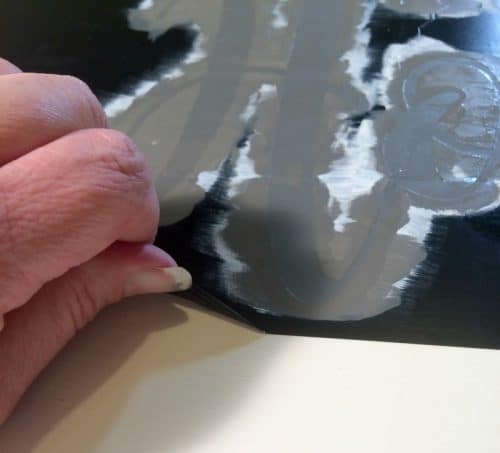
I start my peeling up the stencil all along the bottom.
Keep going up up up until it’s completely off. Depending on your design, some areas may have to come up with the grain, just go slowly.
Even when you are pulling up the centers of your letters, try to go against the grain.
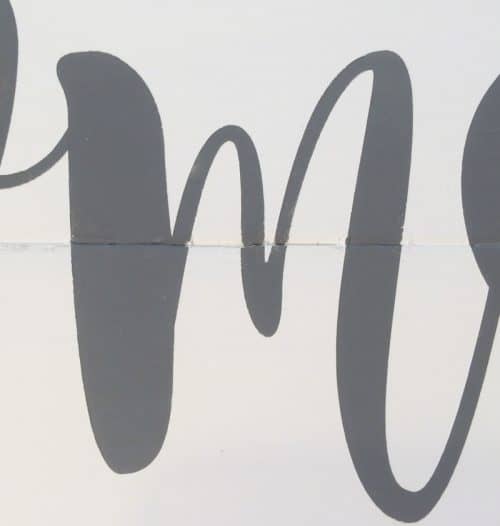
You can see my letters are nice and crisp, even where I joined two boards together. I have to admit I was worried about this ‘M’ where the boards meet.
But these techniques work like a charm!
We’ve covered all of the tricks you need, from getting your stencil on straight, to stopping bleeds and getting that stencil back off without wrecking your hard work. Now you’re ready to make professional looking signs each and every time.
If you would like to see the completed project check out my post here for the full reveal.
And if you need help making your stencil in Cricut Design Space, see this complete tutorial here.
Do you want to take your painting up a notch? Learn how to stain, weather and distress new wood in mere minutes here.
Swipe My SVG File
As an added bonus (because I know you are going to make some beautiful signs) you can head over to my shop and grab a free SVG called ‘Welcome to our beautiful chaos’. Just use this link and the price will automatically drop to $0 when you checkout. Or use code FREEDESIGN if needed.
Plus I have the ‘It’s so good to be home” SVG file in my Free Resource Library that is available to subscribers to my newsletter. And you can totally use it! No cost what so ever for personal use. To get exclusive access to the library and join the newsletter simply fill out the form below.
Video: How to Paint a Vinyl Stencil Cut with Cricut
WANT TO SAVE THIS PROJECT FOR LATER? BE SURE TO PIN IT TO YOUR FAVORITE PINTEREST BOARD!


Chris Butler has helped thousands of crafters learn how to use their Cricut machine without feeling overwhelmed. She is a best selling author and an up and coming designer. For fun Chris enjoys designing SVG Files, hanging out with her family (preferably at the lake), traveling, and volunteering at her church. She is a wife and mom of two crazy fun kids.
Thanks so much for this tutorial! I want to make a small painted canvas with the word ‘bridesmaid’ or ‘maid of honor’ on it as part of a box I’m giving my bridal party. Would I follow the same steps to paint a stencil onto canvas as I would a wooden board? I’m super new to crafting but I really want these to look great when they’re finished and am debating between applying stick-on vinyl vs. using a stencil to paint the words. Any advice would be very appreciated!
Hi Anna!
I have not stenciled on canvas, I’ll have to try that one. I normally just apply the stick on vinyl and that can be tricky in itself. I have a post that covers some tips and tricks to get vinyl to stick to canvas here that should help you.
Which stencil vinyl do you use?
Oracle Stencil Film
Hi, this is a great guide and thanks for posting. Using a vinyl stencil I made on the Cricut, I had some difficulty keeping crisp lines in between the boards (the way your picture shows the M in home where the letter is seamlessly crisp on the boards above and below the crack and through the crack). How did you get that to work? Do I need to push the stencil in between the boards as well? Otherwise I have a gap between stencil and board which did not make for clean lines there. Any advice would be appreciated! Thanks!
Hi, thanks very much for all the information you posted here. Do you have any tips for getting crisp lines when a word overlaps the crack between the boards like the M in Home in your picture? I tried putting vinyl down but there was a small space between the bottom of the vinyl and the board where the crack was, and I wasn’t able to maintain the nice neat letter from the board above and below. Any guidance would be appreciated! Thank you!
Hi Lorraine!
Try to get the stencil as close in there as you can. And if it’s possible still seal it with your base paint color. And then when you are painting the letter color just dab the brush, or even use a sponge if you can and dab the paint on that way. Don’t use brush strokes especially going towards the stencil and use very little paint. That should do the trick. Good luck!
Thanks so much Chris – I will give that a try. I’m sure it will work!
Chris,
Have you tried making reusable stencils? I’d love to be able to cut a stencil once and use it several times. I’m stuck on keeping all the center bits on letters like a, d, e, etc intact with the stencil material. One tutorial suggested attaching a small rectangle from the center bit to the letter but I don’t think it would look good after it’s painted. (Not to mention time consuming to create). Thoughts?
Hi Melissa!
Yes I have made reusable stencils, I have a tutorial on it here https://dailydoseofdiy.com/diy-reusable-stencil-cricut-explore/
Unfortunately for words the only way to keep the centers in is by adding the small rectangle. Cutting reusable stencils is just like cutting paper, you don’t have the adhesive transfer paper or backing on the stencil to keep the middles where they should be. Another option is to paint the centers in by hand which is also time-consuming.
The best way to save time is to use a stencil font like this one
Hi Chris! I didn’t first sign today and followed your tutorial to a T. When I peeled up the stencil after painting, many of the edges still peeled up (almost how latex paint will be rubbery and lift) even though I used acrylics. Any suggestions?
Thanks!
Laura
Hi Laura! Are you talking about the edges of the letters? That could be caused by a couple of things. One – if using mod podge, either too much was used or it wasn’t dry before you painted. It just takes a super thin layer, you shouldn’t see any of the white, you want it so thin it brushes on clear and is barely noticeable.
Two- The paint was too thick. It’s better to do 2-3 super light coats of paint than one thick layer.
Hi Chris!
I am glad I found your post. I am working on my project and I am frustrated. The vinyl is stripping my base color I painted my board with before I placed my vinyl sheet on. I have tried several methods. I tried acrylic paint- I can see parts chipping as I am peeling off the vinyl. I have tried spray paint- that was even worse and lastly I tried a paint I used for painting my walls. As some bloggers swear by. That peeled in patches. Every time I made sure the paint is completely dry so you can just imagine how long I have been working on this. I was thinking of using over the base color a poly- maybe in matte finish. But I want to consult with you before I spend money on anything that may not help.
I would appreciate if you could help me.
Thanks!!
Eva
Hi Eva! That is so frustrating when that happens! What kind of vinyl are you using for the stencil?
Thank you for such quick reply! I am using oracal 651.
I just read about using Oramask- it is suppose to be less sticky. Is that what you are using?
Yes, use Oramask Stencil vinyl. The 651 is permanent vinyl so it’s REALLY sticky and will peel up most paint. I bet all of your issues will be resolved when you switch.
Thank you for your input. So mystery may be resolved lo thanks again!
Hi! Your sign is beautiful! How do you pull up the middle part of the e vinyl? Every time I try to do this I ruin part of the painted area. Thanks!
Thanks Chelsea! I use the Cricut tools to pull them up, usually the pick. Sometimes it does leave a little mark. If that happens I use the end of a toothpick to fill it in with a dab of paint.
Thank you for your tutorial. Any suggestions for a regular stencil that isn’t sticky on the back? This will be used on a wood panel. How do you prevent paint bleeds?
Hi Tess!
I have a tutorial for reusable stencils (non sticky back) here https://dailydoseofdiy.com/diy-reusable-stencil-cricut-explore/
Thanks for the post! Great tips I’m going to try!
Thanks for the post! I am making a wood sign and am
Getting super frustrated. I stained the wood (it’s smooth pine) and then applied poly on it. I then used oramask for my stencil and applied a coat of Mod Podge to seal, applied 2 thin coats of acrylic paint once it was dry. And the paint just scratches off and half of my letters peeled up partially or fully. Help please! Should I have waited til after painting to seal the sign with poly?
Hi Erica! I’ve had the paint from the letters peel up before and it was because I used too much mod podge. It really takes just a super thin coat. The paint scratching off sounds like it’s from the poly. I would wait until the sign is finished to poly or add a second coat of poly after the letters are painted.
I am just learning to use and make stencils. I have the first gen cricut which I know I can’t make my own stencils. I was just curious as to which cricut you would suggest to someone that is learning to make their own stencils. Thank you in advance.
Hi Misty! I have a post about the different Cricut Machines here https://dailydoseofdiy.com/best-cricut-machine-beginners/
It depends on what all you want to make. I would at least go with the Explore Air 2.
I am having issues of my stencil not sticking to the wood at all!! My stencil is just completely stuck to the transfer tape! I am using just some repurposed pallet wood that has a very thin layer of minwax wood stain on it. Any suggestions would be greatly appreciated
Hi Chris,
Thanks so much for the post! I still have a question though. How do you line up stencils on a board that is much larger than the stencil. For example I have a sign that is 34″ x 34″ & 2 separate stencils that are a total of 3″ x 25″ that join to make one sentence (so the file is too large to print as one stencil on my Cricut but still to small to print an entire stencil 34″ x 34″ without wasting a huge amount of vinyl). My problem is trying to ensure that the two stencils are spaced evenly & are in a straight line on the sign. So far I have been tediously taping the individual stencil down & then measuring each letter from the bottom up to ensure they are all the same distance but this takes forever & is hard to keep even when actually applying the stencil (I do use clear contact paper for my transfer paper). Any suggestions you have at all would be greatly appreciated!!
Thanks 🙂
What type of paint do you use? I wanted the letters to match the color of my wall so I used the same latex interior paint as I did for my wall. The letters came up with the vinyl. Are there any tips for using latex paint or is it something that just won’t work with vinyl stencils.
It’s probably one of the more difficult ones because of its stretchiness. You could try to take an exacto knife and go around the edges of the stencil after the paint dries.
I have tried and tried over and over to use stencils on signs, walls, drawers, with no success! Each time, it bleeds, so then I do a matching color coat of the board, then the final color… and every time, no matter which seal i use, whether it’s the same color as board or have used modpodge a time or two…. same thing happens. The final coat of paint just peels up like butter as well as bleeding. Is it the paint I’m using? Either acrylic or wall paint like latex is what I’ve been using. Should I be using chalk paint? Would that be my problem? At my witts end! Frustrated! Thank you!
I would stay away from latex for your words. Latex is a stretchy paint and that could be causing some of your issues. But it sounds like the biggest issue is you’re using too much of everything. Too much mod podge will make your letters peel up. You just need a super thin layer. And too much paint on the stencil will cause it to bleed even after you’ve seeled it. Do 2-3 coats of paint if you have to, but each layer needs to be super, super thin.
Have you ever stenciled on a clear glass ornament? I just did my first one and about 80-90% of my paint came back off with my stencil! I had used a layer of clear sealer (an enamel system designed for glass). Then I did a few coats of my acrylic paint. I decided to put a layer of the top coat meant for glass, before removing my stencil. I did this because this part of my design is very small &intricate. I thought it would be easier than trying to do it by hand later.
Do you think this sealed everything to the stencil and that’s why the paint came up with the stencil? Any suggestions?
Thanks,
Theresa
Is there any other material you have used besides your stencil vinyl? I do not have any on hand and would like to make a sign. Could I use 631 ?
Yes 631 removable vinyl will work
Thanks for the tutorial! Do you remove the vinyl immediately after the final coat of paint? Or do you wait a certain amount of time for it all to dry before removing the stencil?
What type of paint would you recommend using to paint words onto stained wood.
Also, still in context of a stained wood, do you think it would be better to do the “sealing layer” (prior to the painting the letters) with poly or mod podge?
Thank you for your help!
I’m also wondering if you have experience with oil-based paint pens. Do you have any thoughts on oil-based paint pens versus whatever other type of paint you might recommend? (Again, this is for painting on a stained wood).
Thank you!
Hi Chris
Great tips! I have 2 questions for you:
1. I have been using the dollar store vinyl book covers for my wooden Signs. It sometimes leaves a sticky residue on the board. Do you have any suggestions as to how I can clean that off without ruining the letters or background? I have been thinking about just putting a coat of matte poly over it so it will be smoother? What are your thoughts?
2. What do you use to finish outdoor signs? Oil poly will yellow the design. Will water poly keep it from outdoor weather damage?
Thank you!
Help! I only recently started having the issue of my paint coming up with the stencil. I am doing the thinnest coat that I possibly can of mod podge but every time I pull the stencil up the paint comes with it. I can’t figure out what is happening. I have pictures of it is helpful
Thank you!
I would make sure your board is clean before you are painting the base color. Is the paint you’re using for the base old? I might try a different brand paint if it keeps giving you issues. Oh and lastly, are you using stencil vinyl? Permanent vinyl will pull paint up.
What kind of paint do you use for the actual sign background and the letters? Oil or acrylic? What brand?
Usually Acrylic / chalk paint. Sea Paints is my favorite brand