This post may contain affiliate links for your convenience. If you make a purchase through one of my links I will earn a small commission at no additional cost to you.
Last Updated on December 19, 2023 by Chris Butler
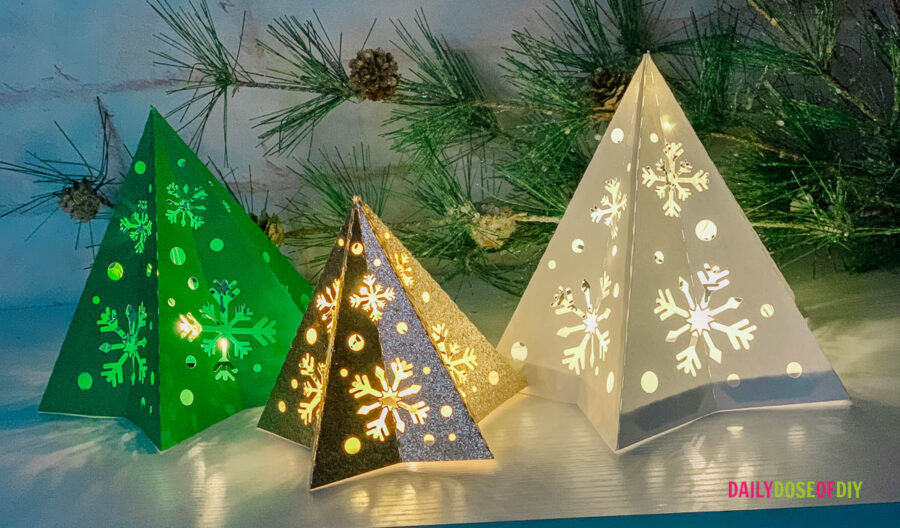
Let’s learn how to make beautiful 3D Christmas tree lanterns. These lanterns are easy to put together and will add a stunning touch to your holiday decor. With just a few supplies, you can create these 3D Christmas Tree lanterns fairly quickly. So let’s get started!
Quick Links to Information in This Post
Supplies Needed
Before we begin, let’s gather all the supplies we’ll need for this project:
- Tacky craft glue. – https://amzn.to/3uQZ7li
- LED fairy lights – https://amzn.to/46G5s0m
- 2 sheets of 12×12 cardstock (you can also use glitter cardstock)
- Free SVG file (check below to get access)
All of our free SVGs and Designs are kept in a library for your convenience. Fill out the simple form and we’ll send you the link and password to access the SVG files right away.
Already have the password? Enter the Library HERE
If you’re a paper crafting enthusiast, I invite you to join our paper crafting club. You’ll get access to SVG files for layered and 3D paper crafts each month, along with printable step-by-step instructions and a wonderful community. Learn More HERE
Upload the 3D Christmas Tree SVG File
To create these lanterns, I’ll be using my Cricut machine. If you need help downloading and uploading SVG files into Design Space, be sure to check out this post.
Once you have the SVG file in Design Space, there’s nothing else you need to do. You can simply click the “Make It” button. If you want to make the tree the size it is, it will give you a 6-inch Christmas tree. But if you want to resize it, make sure you resize both parts together so they fit when they’re cut.
Cutting the Cardstock
Now it’s time to cut the materials. If you have a Cricut Explore or any of the Cricut machines with a dial, set your dial to “Custom”. Then, choose “Cardstock for Intricate Cuts” from the materials list. Load your cardstock onto your cutting mat, making sure it adheres well. Insert it into your Cricut and let it cut the materials.
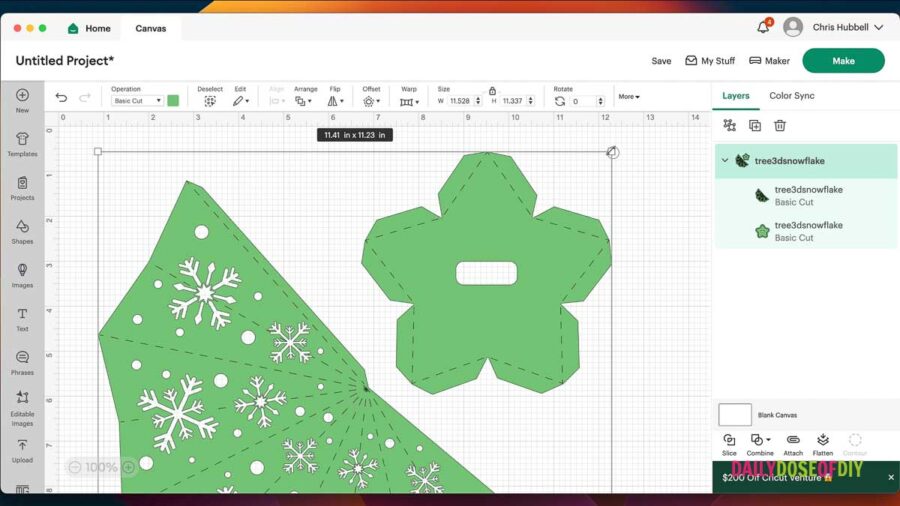
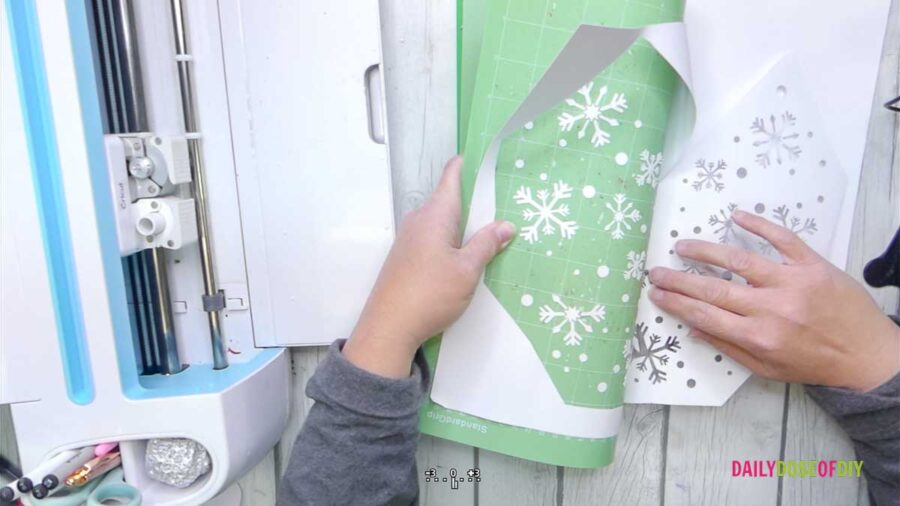
Once the cutting is complete, flip your mat over and remove it from the project. This will help prevent curling and tearing. Use a scraper tool to remove any remaining bits from the mat. Repeat this process for the second sheet of cardstock.
Folding and Gluing the Tree
Now that we have our cut pieces, we can start folding the tree part. There are perforations on the tree for you to fold along. Fold back and forth along these perforations, similar to folding a fan.
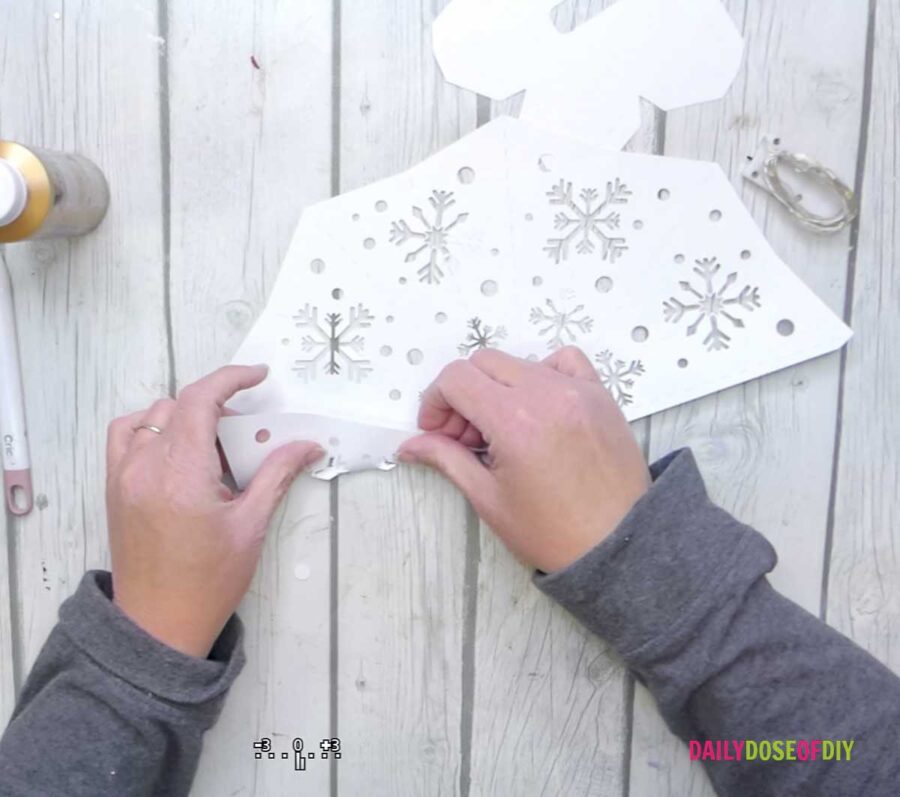
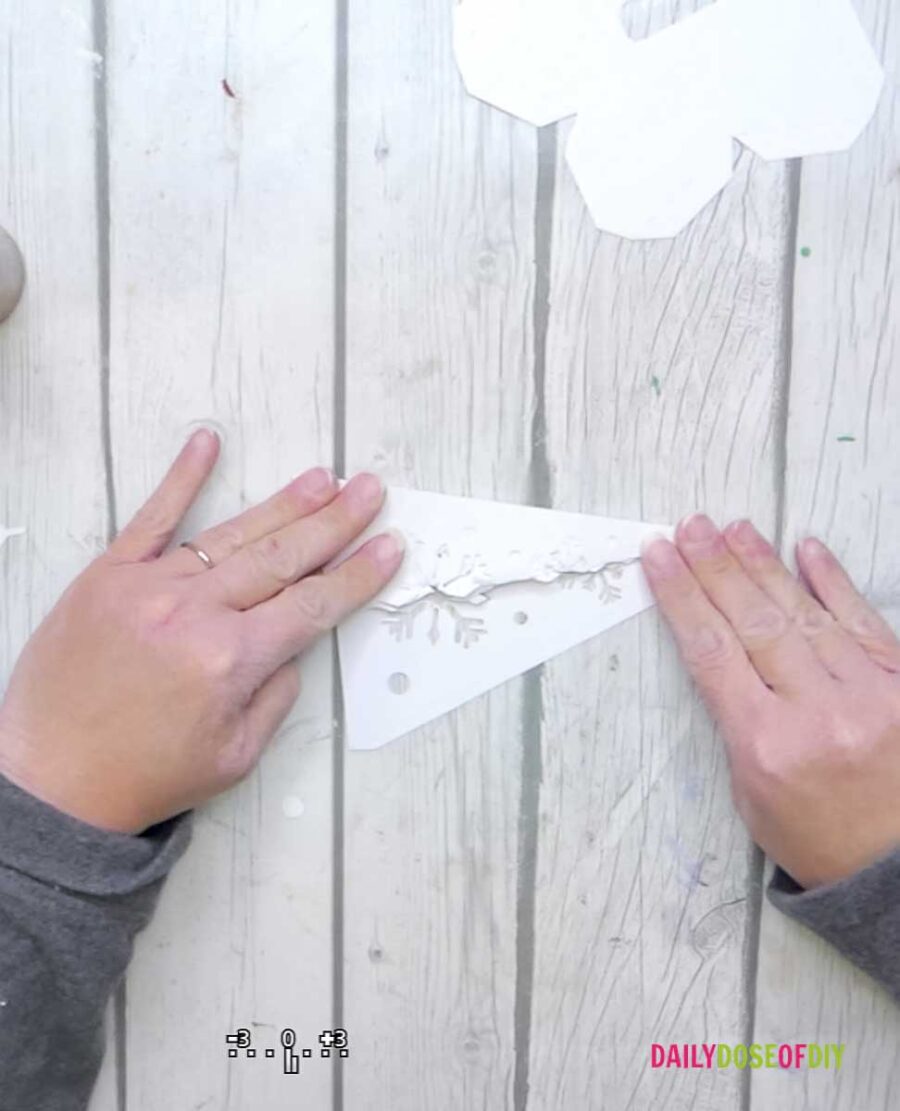
Once you have your folds done, unfold the tree and wrap it around to form a round shape. If it doesn’t set evenly on your table, fold it around the other direction. When wrapped around the right direction it will set evenly on the table.
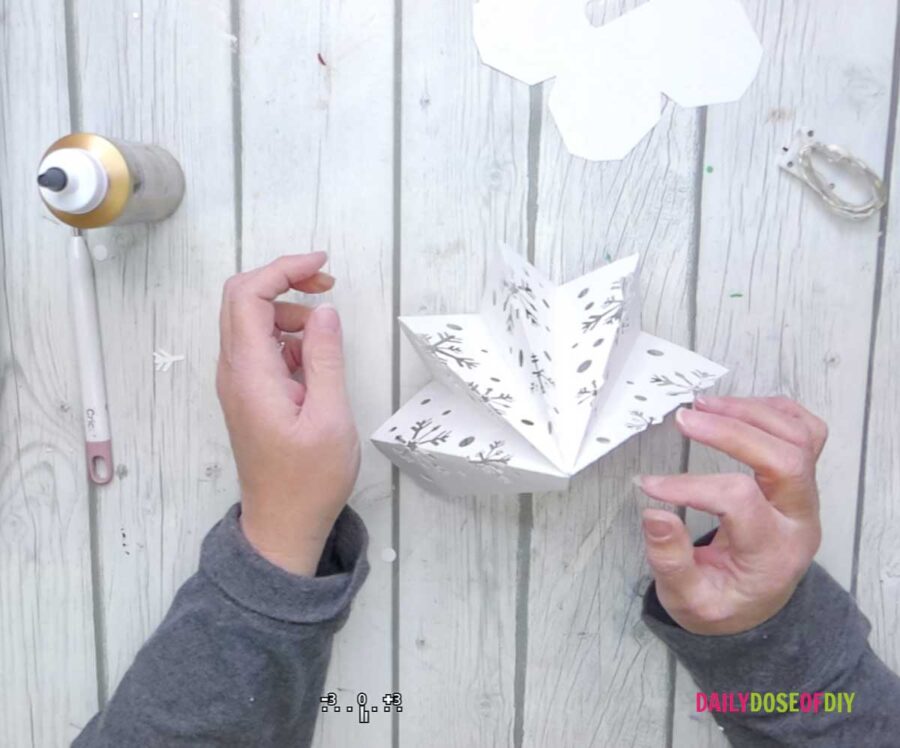
Once you have the tree shape, fold in the little tab on the edge and place some glue on it. Glue the two ends together. It’s easier to lay it on the table and run your hand up the inside to secure the glue. Set the tree aside and let the glue set.
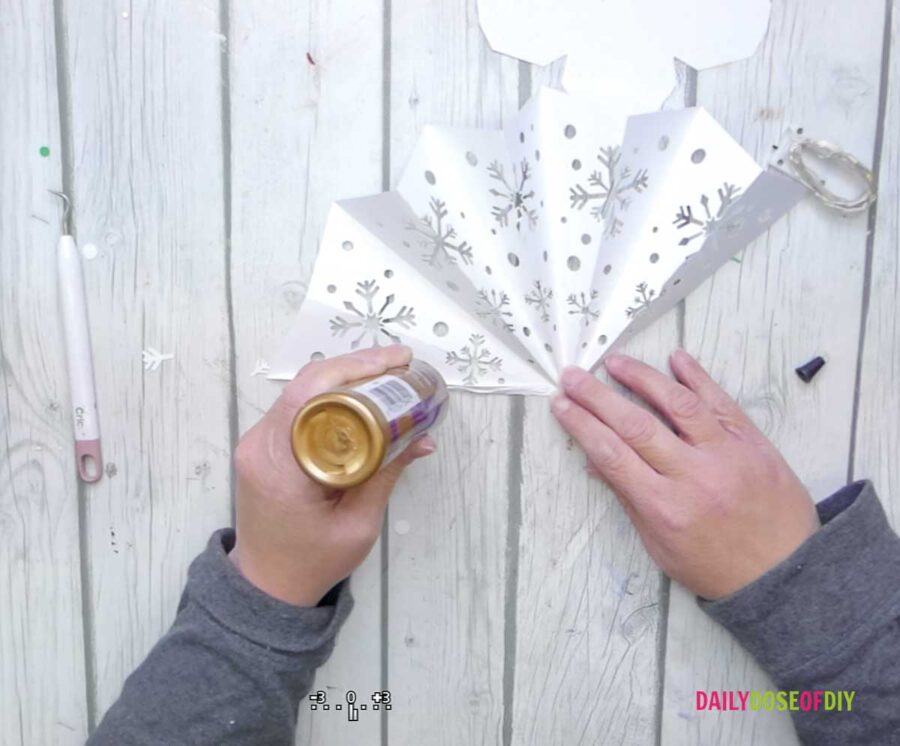
Assembling the Base
Next, we will work on assembling the base of the lantern. Fold all the tabs inward and add glue to two of the tab points. Glue the base to the bottom of the tree, making sure the tabs face down. This will leave room to tape the battery pack to the bottom of the tree.
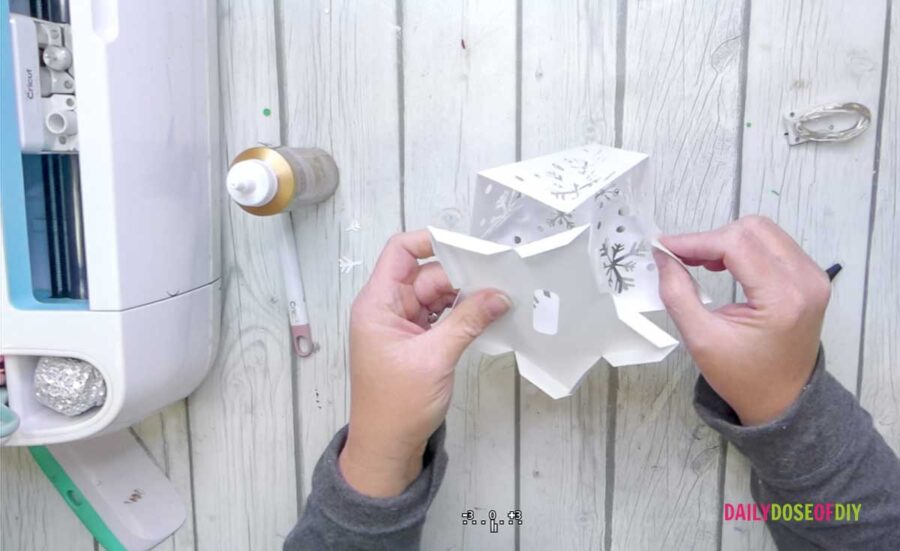
Adding the LED Fairy Lights
Now it’s time to add the LED fairy lights to our lantern. Undo the lights and bunch them up a little bit. Feed them through the hole on the base of the tree. Tape the battery pack to the bottom of the tree to secure it in place.
Turn on the lights and enjoy the beautiful glow of your new lantern Christmas tree!
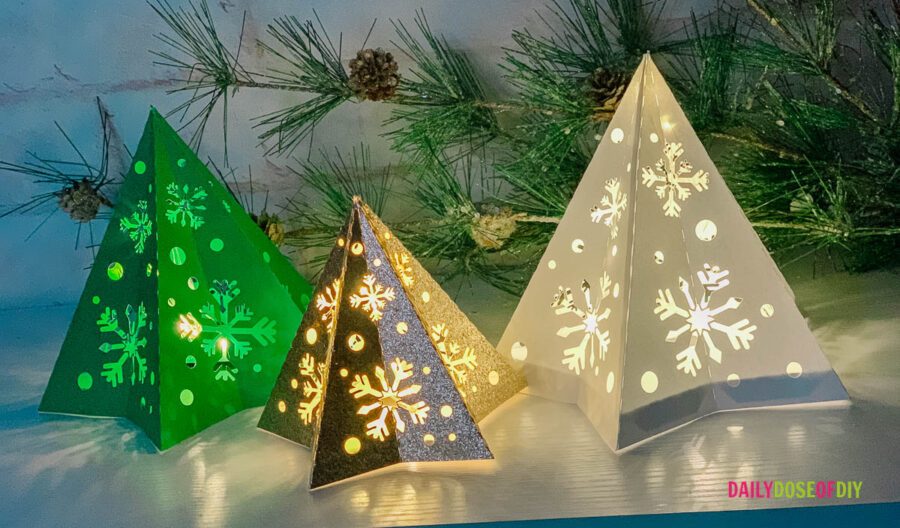
I hope you enjoyed making these stunning 3D Christmas tree lanterns with me. They are a fun and easy craft that will add a festive touch to your holiday decor. Happy crafting, and God bless!
More Paper Christmas Crafts

Chris Butler has helped thousands of crafters learn how to use their Cricut machine without feeling overwhelmed. She is a best selling author and an up and coming designer. For fun Chris enjoys designing SVG Files, hanging out with her family (preferably at the lake), traveling, and volunteering at her church. She is a wife and mom of two crazy fun kids.
Leave a Reply