This post may contain affiliate links for your convenience. If you make a purchase through one of my links I will earn a small commission at no additional cost to you.
Last Updated on April 8, 2021 by Chris Butler
Hi crafty friends!
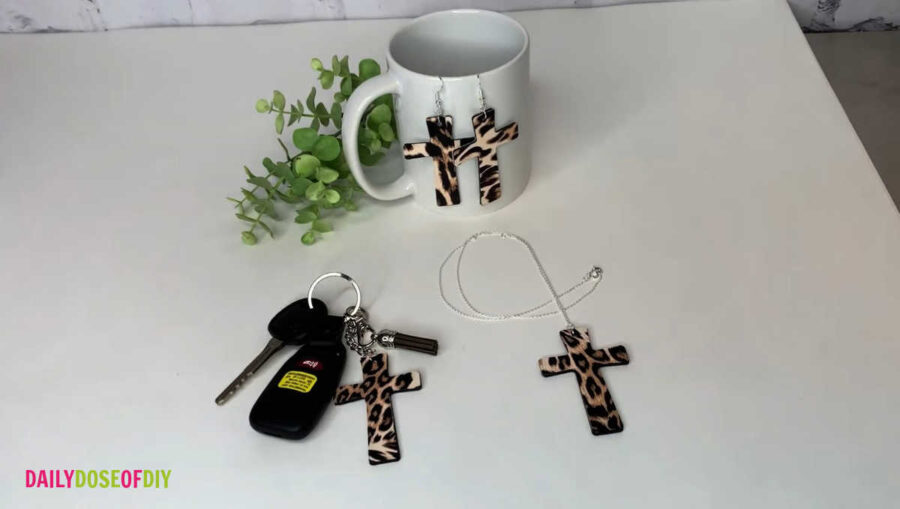
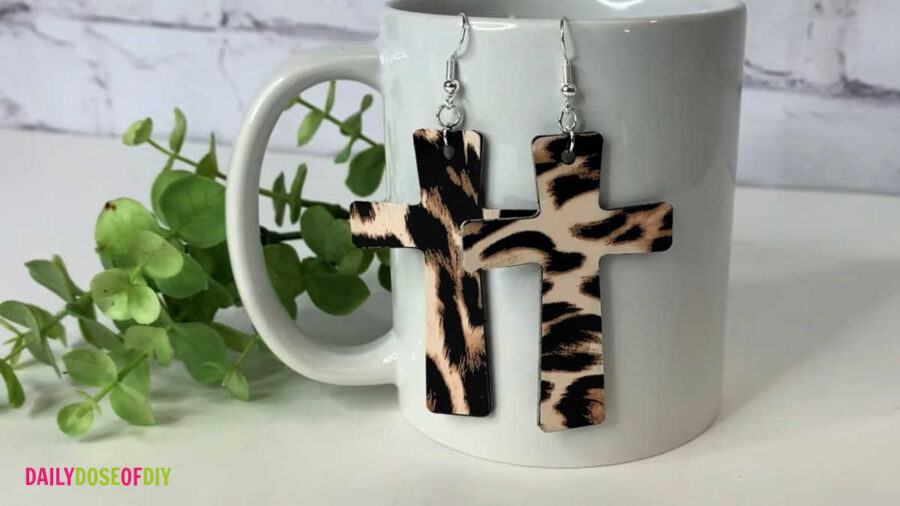
Today you’re going to learn how to make wooden cross earrings with your Cricut Maker. I will show you how to cut basswood with your Knife tool and how to apply heat transfer vinyl to wood.
I have a free SVG file that you can use to make your very own earrings, but it’s actually a very versatile design. So I’ll also show you how you can use it to make necklaces or keychains. You can customize it with any pattern or color that you like!
Let’s get started.
Quick Links to Information in This Post
Supplies Needed for Wooden Cross Earrings
- Basswood, 1/16” thick – I bought this one on Amazon https://amzn.to/39MVAaA
- Strong grip cut mat – The purple one here https://amzn.to/3urO50t
- Tape (I usually use painter’s tape, but masking tape will work fine)
- HTV – I used this leopard print https://amzn.to/2RdrA16
- Cricut Mini EasyPress (a regular EasyPress will work, but earrings are small, so the Mini is the perfect size for this) https://amzn.to/3dBOwi5
- Parchment paper or Teflon sheet to help protect the vinyl
- Standard Cricut tools (weeder & scissors)
- Fish hooks for earrings I used these https://amzn.to/2PHH64X
- Chain for a necklace, and/or keychain supplies like these https://amzn.to/3mpVydM
- Jump rings and pliers to open them like these https://amzn.to/3usY1Xw
- Paint and paintbrush (optional, for painting the edges)
- Conquer Your Cricut Guide -You can get the guide here https://dailydoseofdiy.com/conquer-cricut
- Free cross SVG file
Also note this is a Cricut Maker Project, the Cricut Explore machines will not cut through basswood. And you will also need the knife blade for your Maker found here https://amzn.to/39WT6qe
Wooden Cross Earrings Video
Step One: Get the Free SVG File
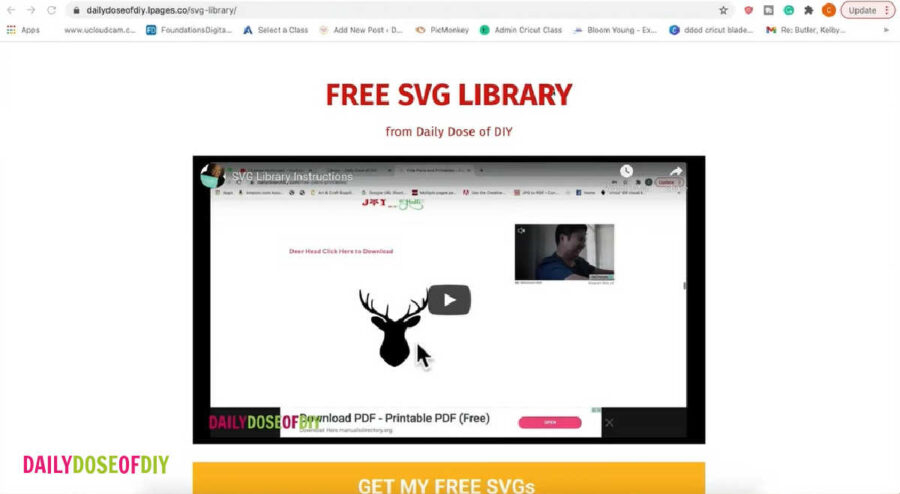
Here is the link to sign up for the free SVG files https://dailydoseofdiy.lpages.co/svg-library/ All of my SVGs are kept in a free Resource Library for you. They are in alphabetical order, so scroll down to the “C” section once you’re in.
Download the SVG image and upload them into Design Space. If you need more help Downloading and Uploading SVG files see this post.
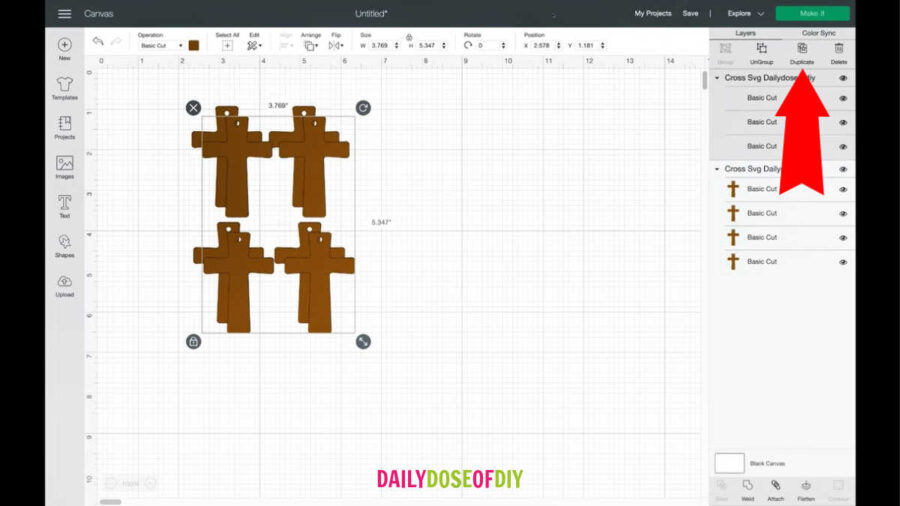
When you bring the SVG into the canvas, you’ll notice that the four cross designs are in two different colors. One is for cutting the wood, and the other is for your HTV. If you only want to make the earrings, you can just go ahead and cut them as they are.
If you want your earrings covered on both sides with HTV then ungroup on the top menu and duplicate one set of the crosses. So you’ll cut 2 in wood and 4 in HTV
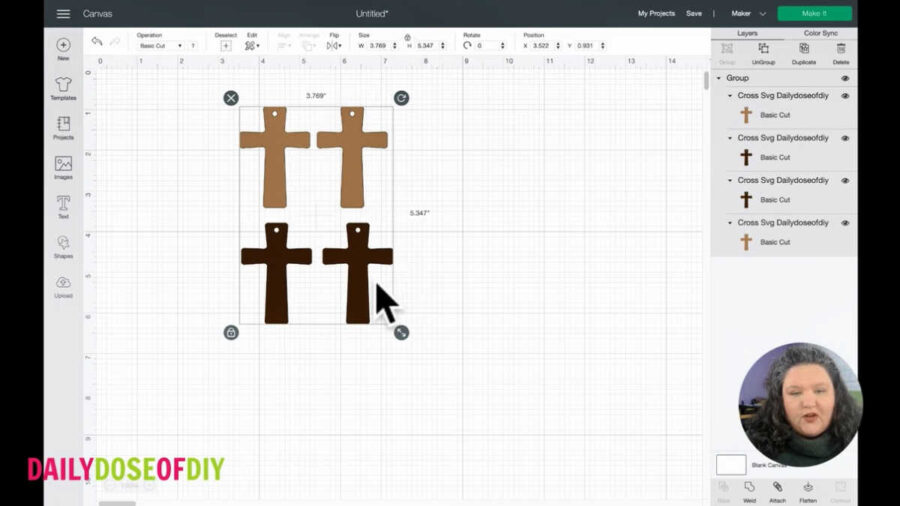
If you want to make a necklace and keychain like I did, then the first thing you’ll need to do is change all four of them to the same color. Select them all, go up to the top menu and change it to one color. Then you’re all set to cut the wood.
You’ll need to cut double the amount of crosses in HTV if you want to cover the front and back. So if you cut 4 crosses in wood, cut 8 crosses in your HTV. I’m starting with just the wood first and then we’ll come back and do the HTV.
Tip: Once you have them ready to cut, select them all again and click the Attach button so that they stay together. Then click the Make It button. Clicking “Attach” first will allow you to move the whole group around once you get to the mat screen, which is especially important when cutting wood.
After you click “Make It” and come to the mat, you’ll want to move the group away from the edge of the mat, so you have room to tape the wood. Line up the top left corner of the group 1” down and 1” in from the left edge of the mat, and you should be good to go.
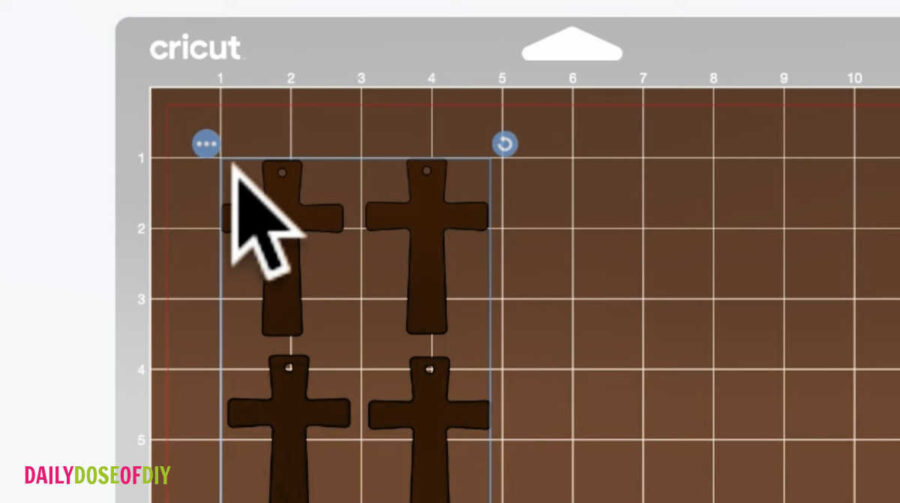
Click “Continue.”
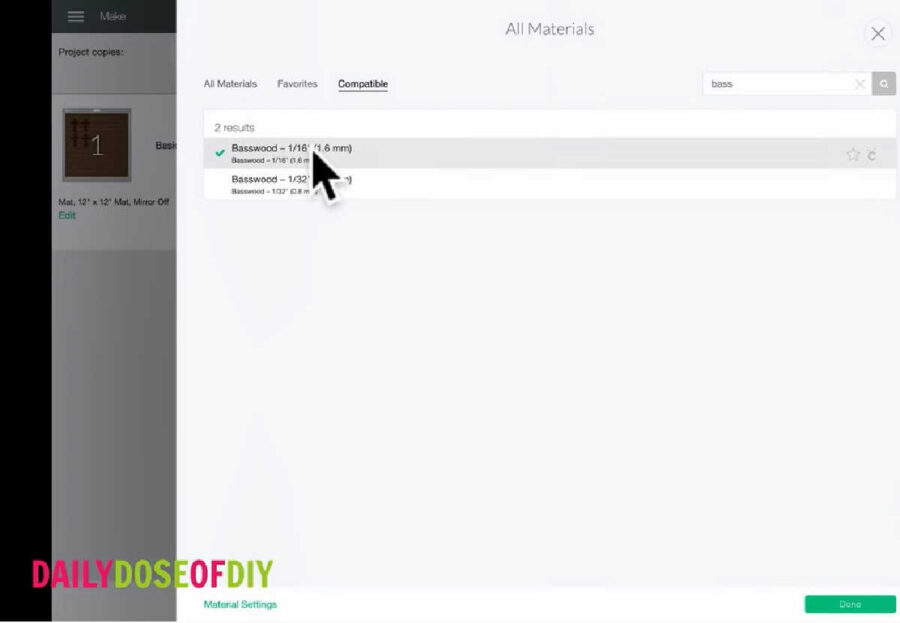
Now you’re ready to choose your base material. Click “Browse All Materials,” and select the option for Basswood – 1/16” thick. Then click “Done.”
Step Two: Cut the Basswood
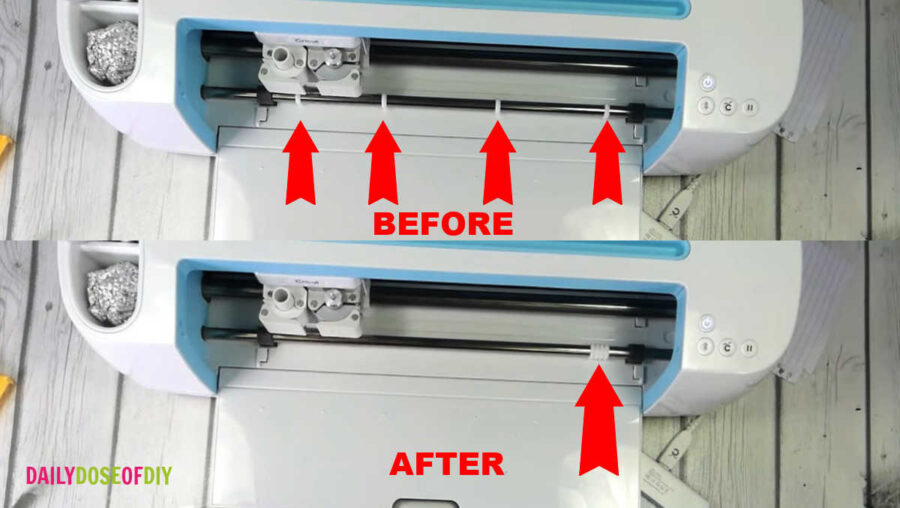
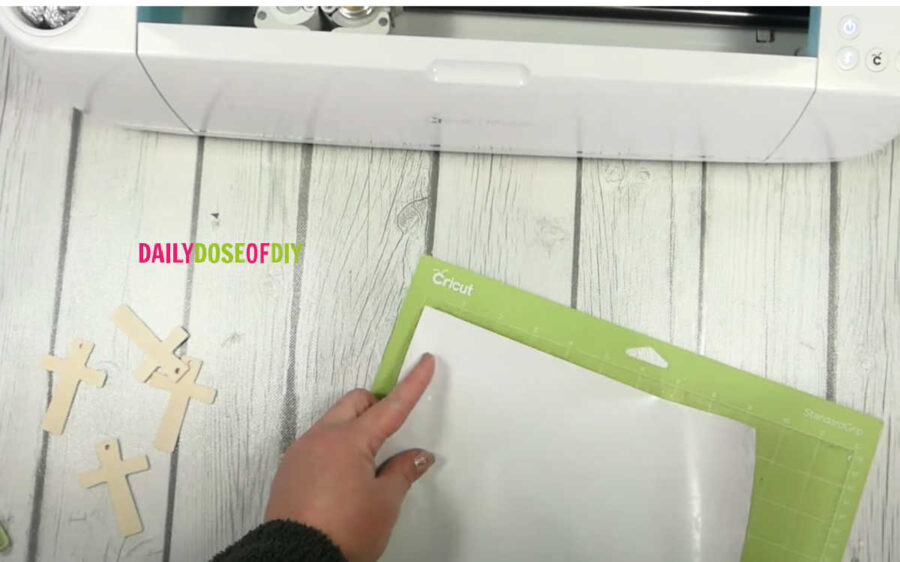
Cricut will remind you to move your star wheels all the way to the right. These are the little white rubber grips on the roller bar. Simply slide them over to the right to get them out of your way, so there will be room for the basswood to slide underneath and for the strong grip mat.
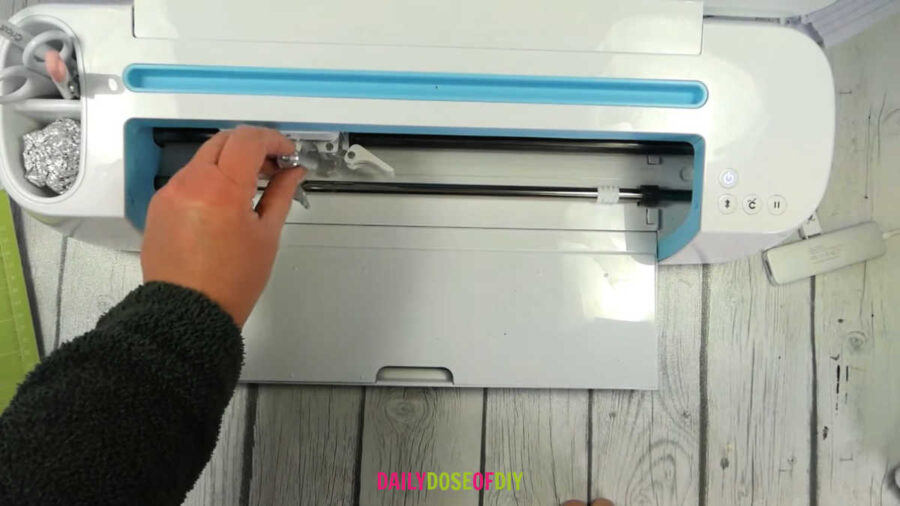
Next, you’ll need to change out your knife blade. Open Housing B, remove the blade you have in there, and insert the knife blade.
Then it’s time to tape your wood onto your mat. Remember to place the wood where you placed the designs on the mat – so a little less than 1” down and 1” in. Tape your wood securely onto the mat, to make sure it doesn’t move while it’s being cut.

Tip: I typically use painter’s tape because that’s what I have on hand, but masking tape is fine, too. However, I would stay away from using duct tape for this, as it might leave a residue on your project and your mat.
Now you are ready to cut! Once you have your wheels out of the way and your wood taped down, slide your mat under those little white tabs. Hit the Load button, and then the flashing Go button, and Cricut will begin cutting. It takes 14 passes, and it took my Cricut approximately 16 minutes to cut out the four crosses.
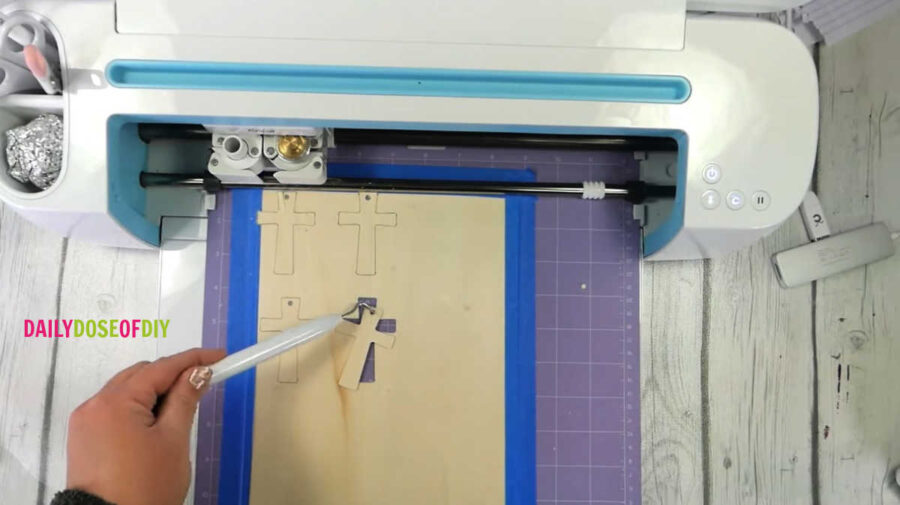
After it finishes cutting, don’t immediately unload the mat. First, grab your weeding tool and poke the wood to make sure it’s cut all the way through. My cross popped right out when I poked at it, but if yours didn’t cut all the way through, you can have Cricut perform more cuts. Just make sure you don’t unload the mat, and Cricut will cut along the same lines as before.
Once they are all cut out, you’re ready to add paint and then HTV.
Step Three: Paint the Crosses
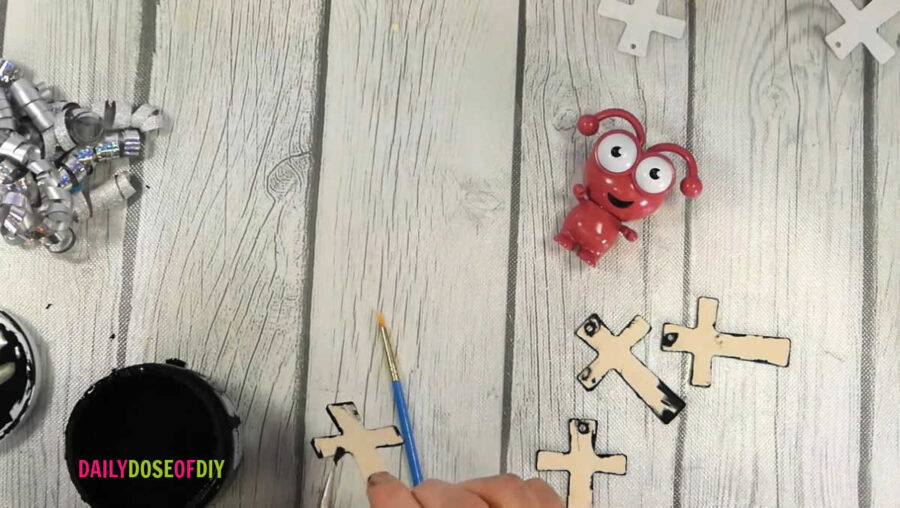
This step isn’t required, but I prefer to paint the edges of my crosses, where the vinyl won’t cover. I used a black paint, but any acrylic paint will do. Go around each and every cross and make sure you hit every edge, including the center holes.
Now, while the paint is drying, you can cut the HTV.
Step Four: Cut and Weed the HTV
Back in Design Space, you’ll use the same crosses to cut out the HTV. But first, go up to the top of the Layers menu and click “Duplicate.” This will give you eight total HTV crosses, enough to cover the fronts and backs of each wooden cross. Then click “Make It.”
Generally, with HTV, you need to mirror the image before you cut it. These crosses are pretty uniform, so I’m not sure it would make a difference, but you can go ahead and toggle “Mirror” on just to be sure. Then click “Continue.”
Select Iron-on Vinyl Matte from the list of materials.
The HTV I used in the video goes pattern-down on the cut mat. Be sure to check whether yours is the same, or if you need to place it pattern-up instead. Then line the HTV up all the way to the edges in the top left corner of the mat, and smooth everything down.
You’ll also need to switch the blade back to the regular cut blade. Pop open Clamp B, and remove the knife blade. Remember to put the protector back on the blade so you don’t accidentally cut yourself, and then put the standard blade back into Clamp B and close it.
You’re ready to cut! Slide your cut mat under the tabs, hit the Load Mat button, and then hit the flashing Go button.
After it’s done cutting, be sure to flip your mat upside-down to remove the vinyl, so it doesn’t curl as much.
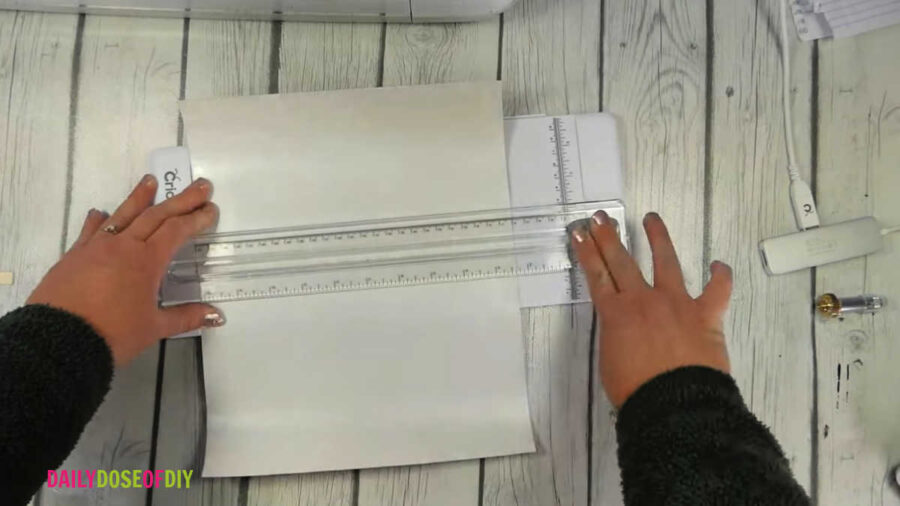
I wanted to save the extra vinyl for another project, so I used my trimmer to trim it up closer to the cross cutouts. Even if you don’t get it in a very straight line, it helps to avoid wasting the excess vinyl.
The next step is to weed the HTV. This is fairly easy: simply use your weeding tool to pull up one corner, and then you’ll be able to peel the rest of it right off. Once you finish, remember to go back and get out the centers of the holes in the crosses, too.
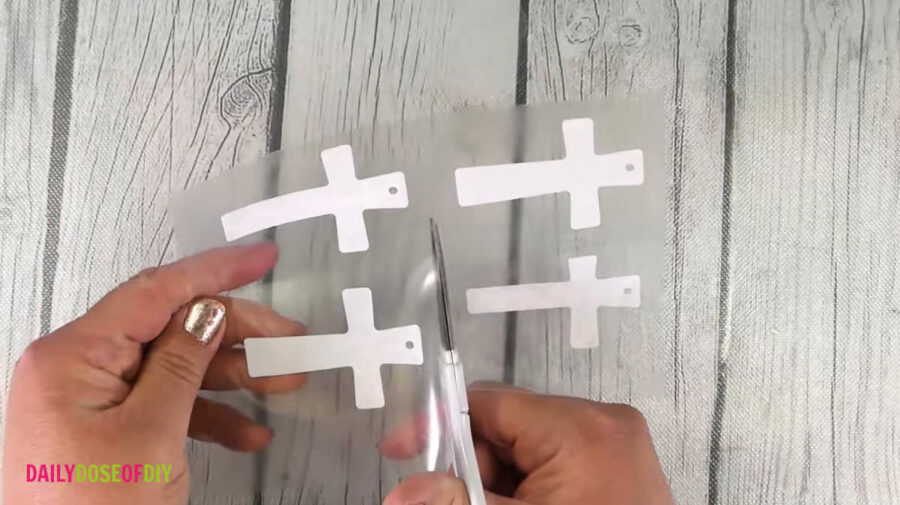
Finally, use scissors to cut the crosses apart individually, so you can heat press them.
Step Five: Heat Press and Assemble Your Earrings
If you’re using a Mini Heat Press like I did, turn it on to Medium by hitting the button twice so that the second line lights up. The medium setting is used for most base materials, and is between 300-355 degrees. Perfect for HTV!
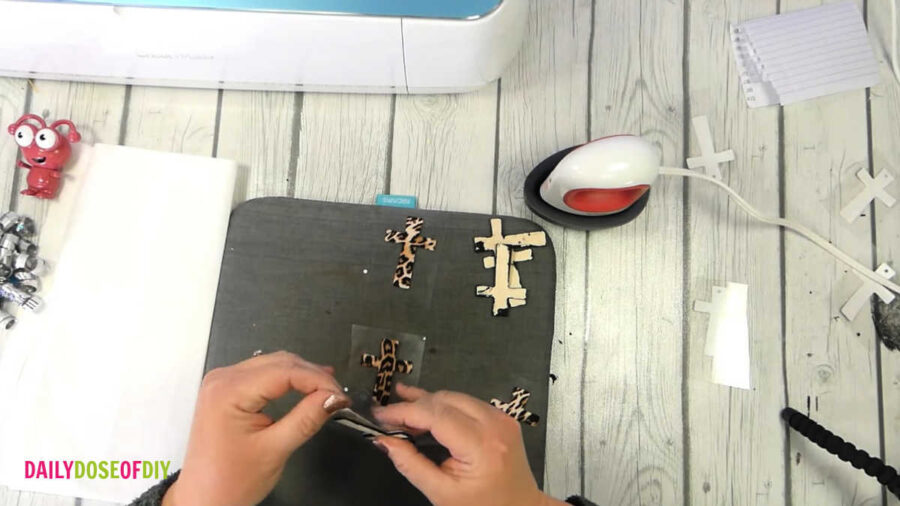
While the heat press is heating up, go ahead and get the HTV lined up with your crosses. The backing on HTV isn’t super sticky, and the vinyl itself isn’t sticky at all until you apply heat, so you can really take your time getting it lined up exactly. You don’t have to worry about it sticking before you’re done moving it around.
Once you hear the Mini Heat Press beep and see the lights turn green, it’s up to temperature and ready to press.
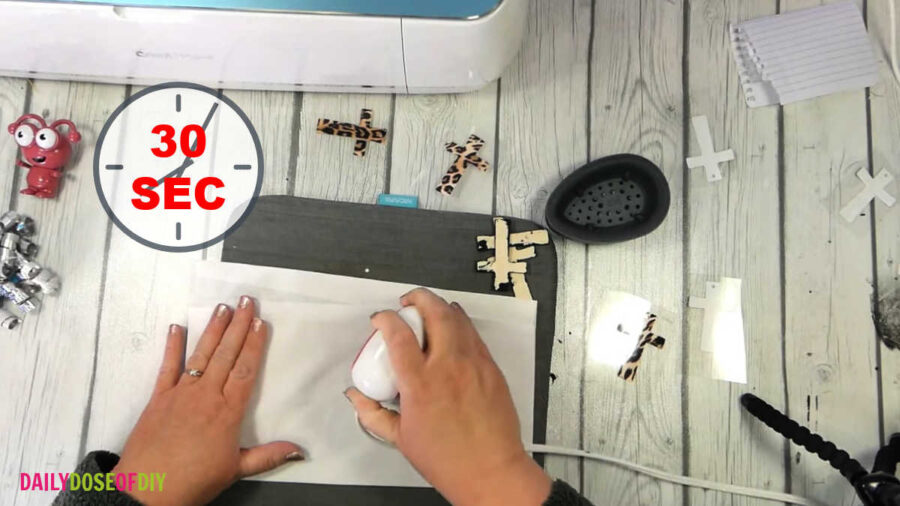
Be sure to cover your project with parchment paper or a Teflon sheet to protect it. Then press the Mini down on top of the cross, moving it around as you press. About 30 seconds should be enough.
After the first side is done, you’ll need to flip the cross over and line up the second piece of HTV to the back of the cross. Then go ahead and press that, too.
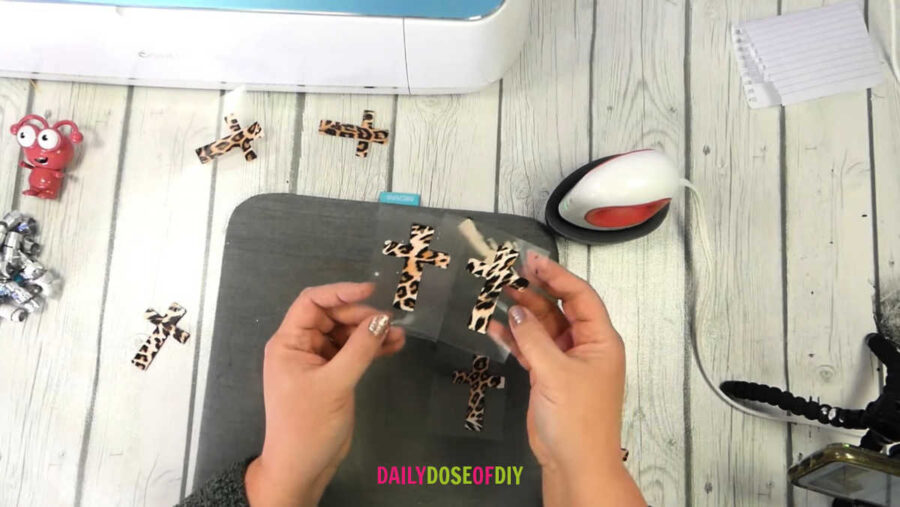
Once you are finished pressing the back side of the earring, you can remove your parchment paper. Be careful – it is toasty hot! Let it cool down a little bit, and then remove the carrier sheet and make sure the vinyl stuck.
If everything looks good and stuck, you can go ahead and repeat this process with the remaining crosses.
Tip: Animal print (or any patterned vinyl) can look very different depending on where it is cut on the sheet. So when you make your earrings, you might want to go through all the pieces and match them up with each other before you press any of them onto the wood. That way the fronts and backs look good together.
Now that you have the crosses ready, you’re ready to assemble your earrings, necklace, and keychain. First, take one of the jump rings and put it over a pair of separator pliers, and gently pull it apart. That will separate the ends nice and even. Slide the ring through the hole of the cross, and use your pliers to re-close the ring. You’ll need one jump ring on each cross.
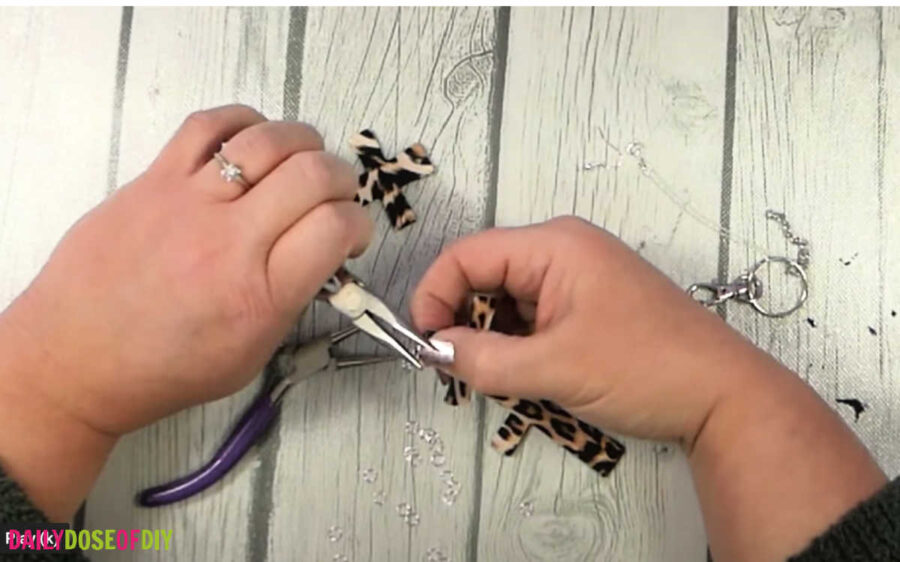
To make earrings: Take a second jump ring and open it the same way using pliers. Feed this new jump ring through the first one that’s attached to the cross. Add the fish hook onto that second jump ring and then re-close it with the pliers. Then do the same thing for the second earring.
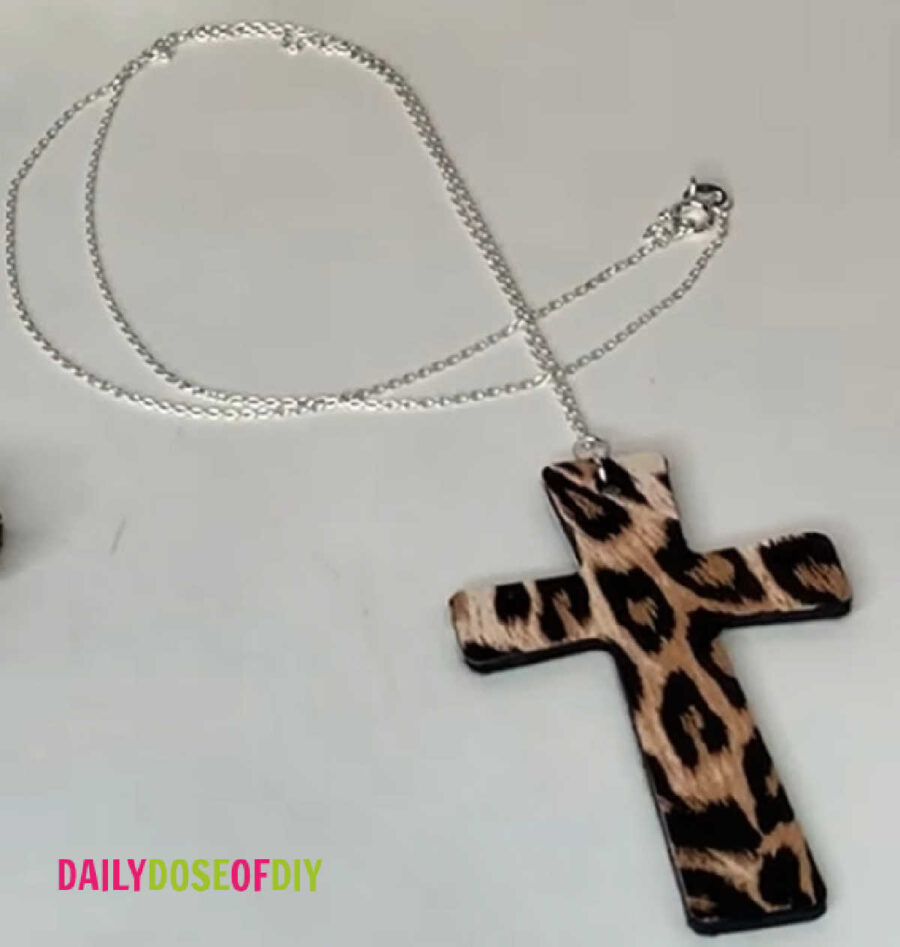
To make a necklace: You’ll only need the one jump ring through the hole of the cross. Undo your chain and thread the small end of the chain through the jump ring, and your necklace is finished.
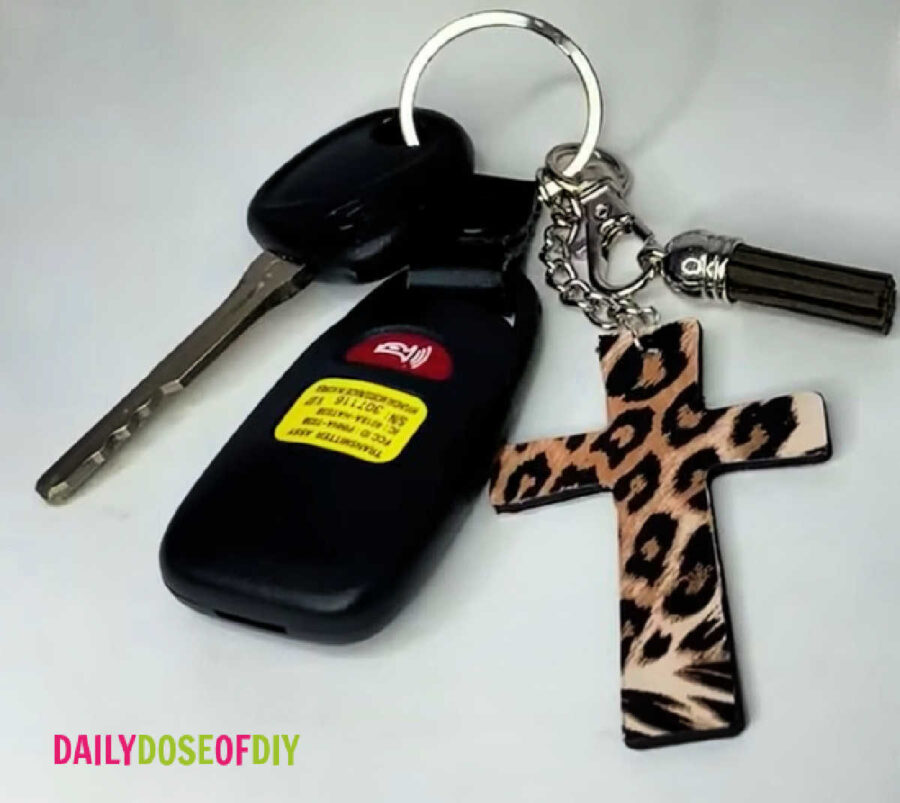
To make a keychain: Start by adding a second jump ring, just like you did for each earring. This will help the keychain hang better. Before you re-close the second jump ring, put it through your keychain ring, and then close it up.
I just love how these turned out, don’t you? And I’m sure that when you wear these earrings, you’ll have lots of people asking you where you got them!
Don’t forget to sign up to get the free SVG files. Simply go here https://dailydoseofdiy.lpages.co/svg-library/ and fill in your first name and email address and we’ll send the link and password right over to the free resource library.
Thank you so much for crafting with me today!


Chris Butler has helped thousands of crafters learn how to use their Cricut machine without feeling overwhelmed. She is a best selling author and an up and coming designer. For fun Chris enjoys designing SVG Files, hanging out with her family (preferably at the lake), traveling, and volunteering at her church. She is a wife and mom of two crazy fun kids.
Thanks Chris I love the Crosses, Leopard is my favorite.
Thanks me too!
Love these Chris!
Thanks!
I’m trying to make these cross earrings on my Cricut maker. Every time it cuts, it only gets to 18% completed cutting 3 of 14 passes and it stops. The Cricut light blinks on the machine. Any idea how I can get it to complete the cutting process?
May be a silky question but I’ve never worked with wood yet still pretty new to the cricut world and learning. Can you tell me if we can use a regular heat press for the earrings with the HTV?