This post may contain affiliate links for your convenience. If you make a purchase through one of my links I will earn a small commission at no additional cost to you.
Last Updated on November 23, 2022 by Chris Butler
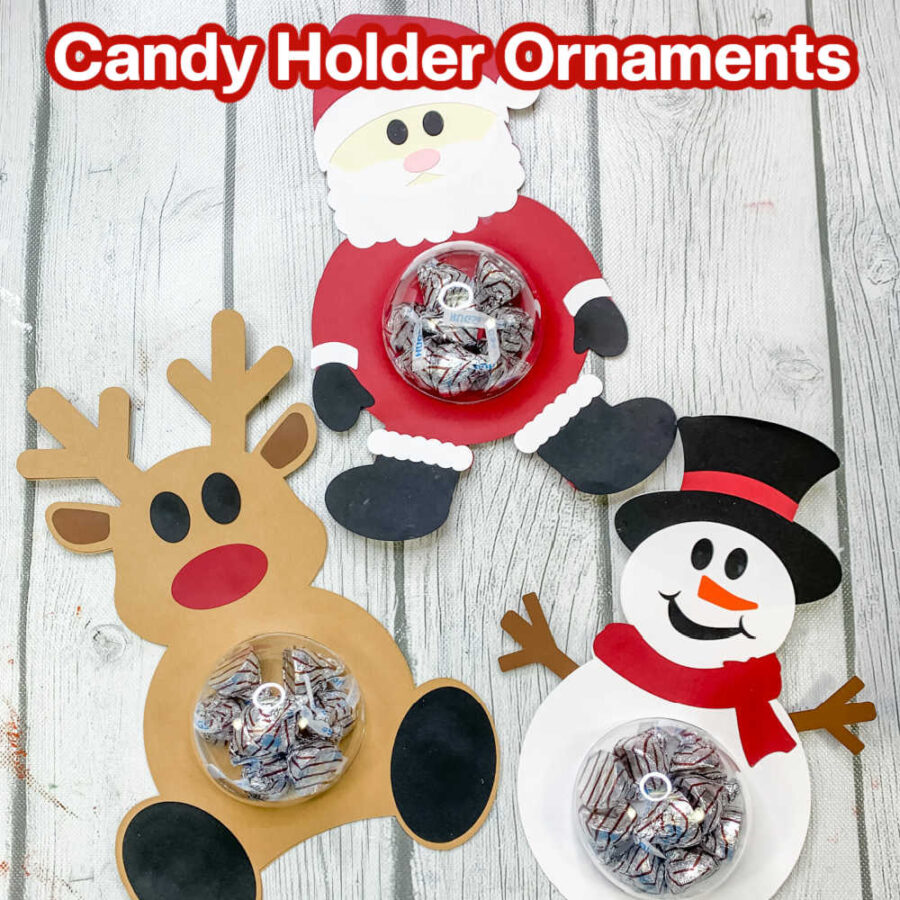
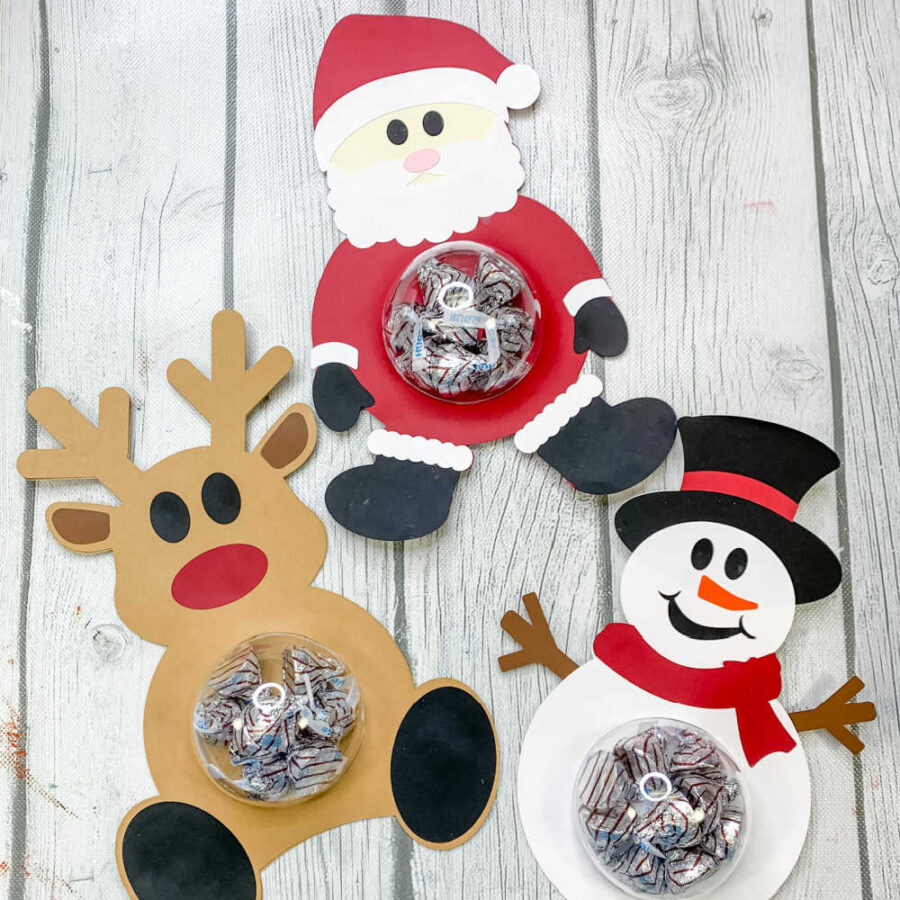
Today we’re making Christmas candy holders, and can I just say – CUTENESS OVERLOAD! These adorable candy holders make a great gift that every kid in your life will be so excited to get! (The adults would probably be excited too 😉) They are the perfect party favors and a fun way to spread Christmas cheer.
There are 3 different designs, so you can choose your favorite or make all three! This just might be my favorite craft project this holiday season.
These Christmas Candy Holders are Day 6 of our Christmas Craft Kickoff for 2022!
View all 14 projects Here. If you love Paper Christmas Crafts, you’re going to love these!
Quick Links to Information in This Post
Supplies List for Christmas Candy Holders
- 65lb Cardstock (In Colors Shown Above) – https://amzn.to/3UUQ9LA
- Fine Tip Glue
- Quick-Dry Tacky Glue
- Hot Glue Gun & Glue Sticks –https://amzn.to/3Tzh7rl
- 70mm Clear Plastic Christmas Ornament – https://amzn.to/3O02psf
- Wrapped Candy
- Cricut Machine & Tools – https://amzn.to/3WRLcFr
- SVG File for the Christmas Candy Holders – https://www.dailydoseofdiyshop.com/d4y5s
Make sure you get the plastic Christmas ornaments that are split in half.
Christmas Candy Holders Step-by-Step Video Tutorial

Step 1: Download the SVG File and Upload it to Design Space
For help downloading SVG Files and uploading them to Design Space see this post.
The SVG file for the Christmas Candy Holders can be purchased here https://www.dailydoseofdiyshop.com/d4y5s
Or Grab the all-access pass here and get instant access all 14 projects, 25+ SVG Files, step-by-step videos, and printable instructions.
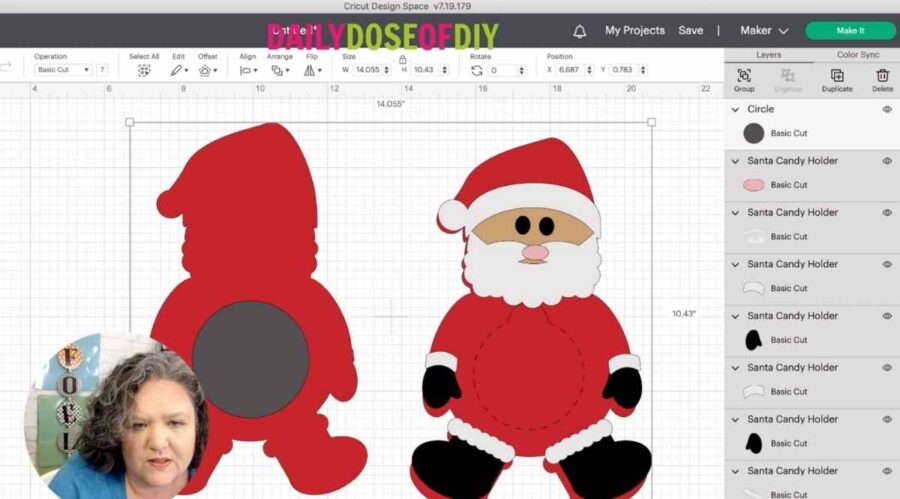
Once you have your designs on the canvas in Design Space, everything is ready to go. Click ‘Make It’.
For help downloading SVG Files and uploading them to Design Space see this post.
Step 2: Arrange Your Mats
On the mat screen, you may want to make some adjustments. Cricut defaults the mats to cut on 12″x12″ material. If you’re using 8.5″x11″ you’ll want to change that from the material size drop down menu.
Usually, Cricut is very good about arranging the mats to cut in the most efficient way. That didn’t happen for me this time, so I had to move some things around. If objects are on separate mats but will fit on one, select the object you want to move, click the three-dot icon and select ‘Move Object’.
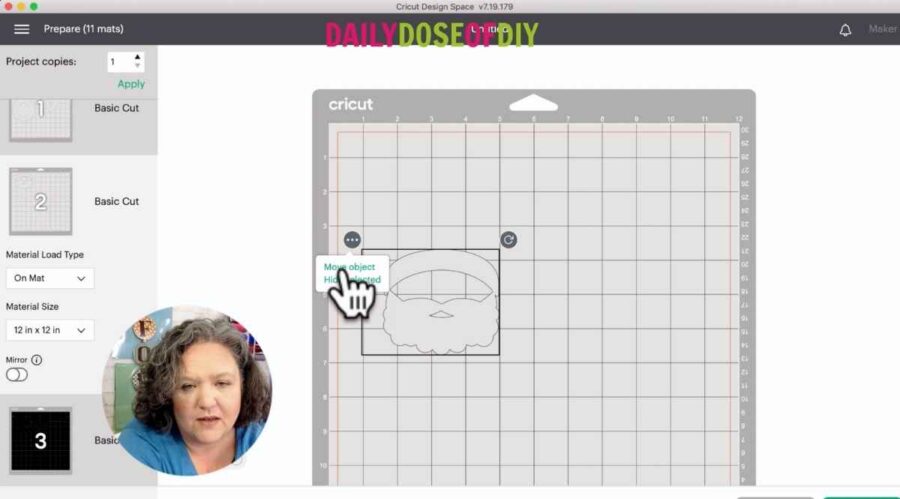
Cricut will then ask you which mat you want that object on. Select the mat with the same color, then move the object to where it will fit best.
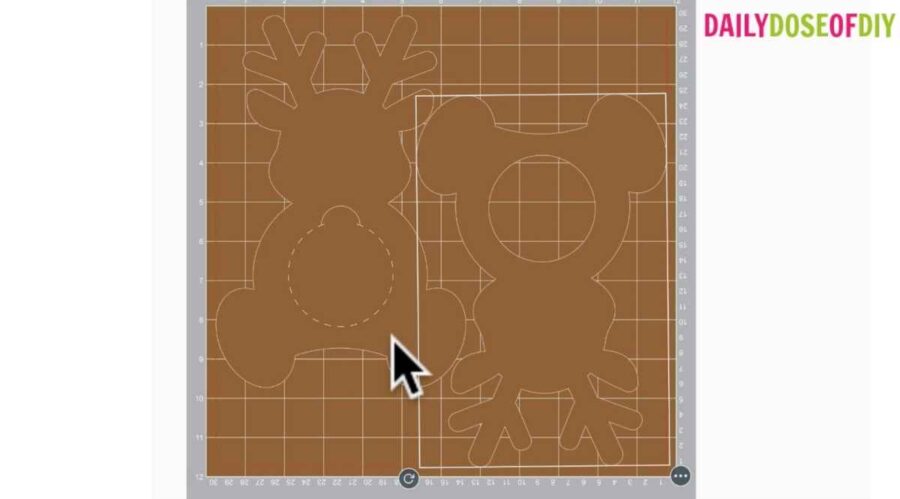
Another thing you may have to do is rotate the object to fit on the mat. For instance, the reindeer pieces fit on the same mat, as long as one is rotated upside down.
Once you’ve made all of your adjustments, click Mat 1 to make sure Cricut starts cutting from there. Then, click ‘Continue’.
Step 3: Cut the Christmas Candy Holders
If you have a Cricut Explore, turn your dial to cardstock. If you have a Cricut Maker, select Cardstock from the materials list.
Place the cardstock on the mat. If you use 8.5″x11″ make sure it is oriented the same way it is shown in Design Space. Place the mat into your Cricut and press the flashing ‘C’ button to load it.
To remove the cardstock from your mat, flip the mat over and peel it away from your design. It should just pop off with no curling or tearing. If you have a smaller piece that gets stuck on the mat, use your spatula tool to pry it off gently.
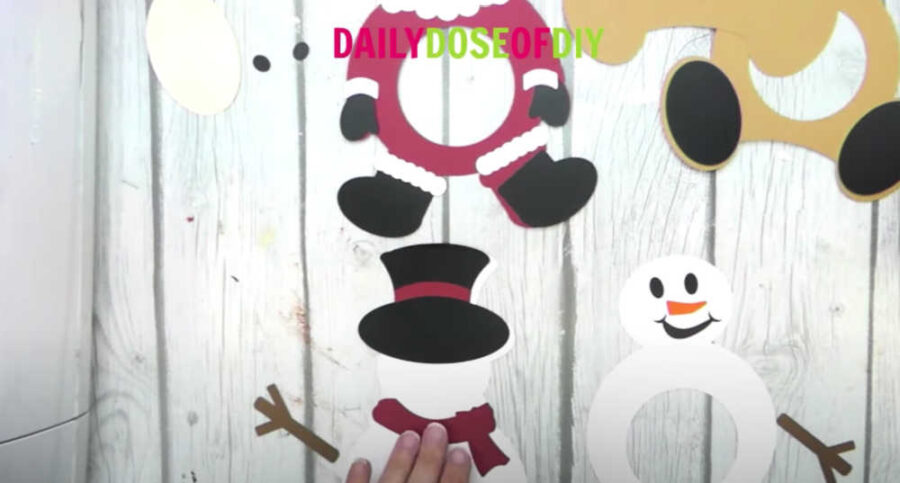
When all your pieces have been cut, spend a few minutes separating the body pieces and then arranging them where they go, making sure they are facing the right way. This will ensure you don’t put glue on the wrong side of any pieces.
Step 4: Assemble the Candy Holders
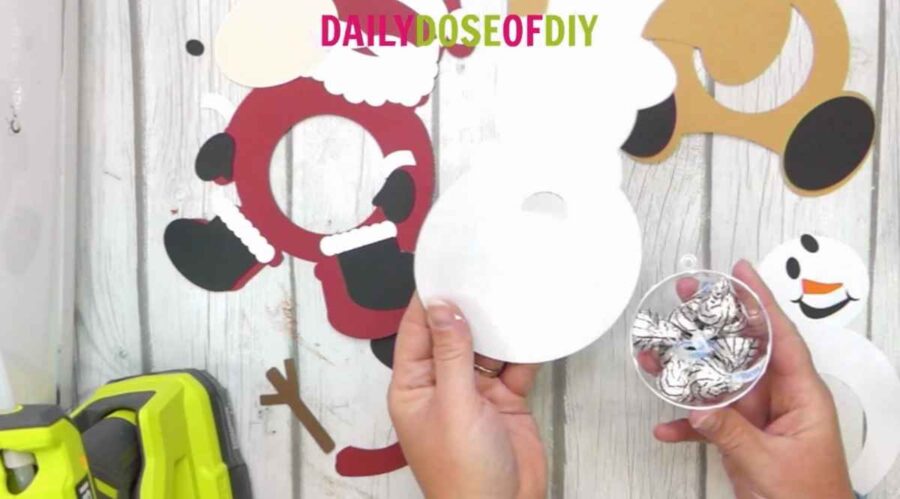
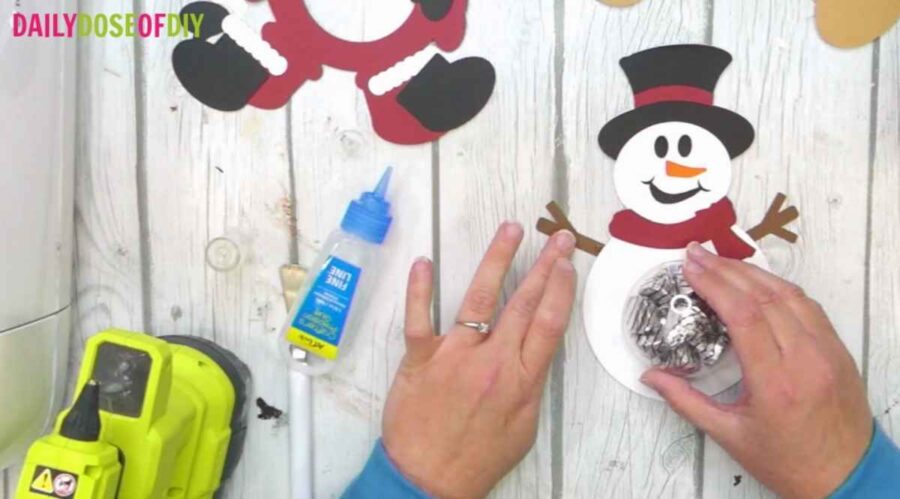
To begin assembling the candy holders, first place your favorite treat into the ornament. Hershey’s kisses are a great choice (who doesn’t love chocolate??) You can even fill them with non-candy treats if you wish. Do not overfill it, though.
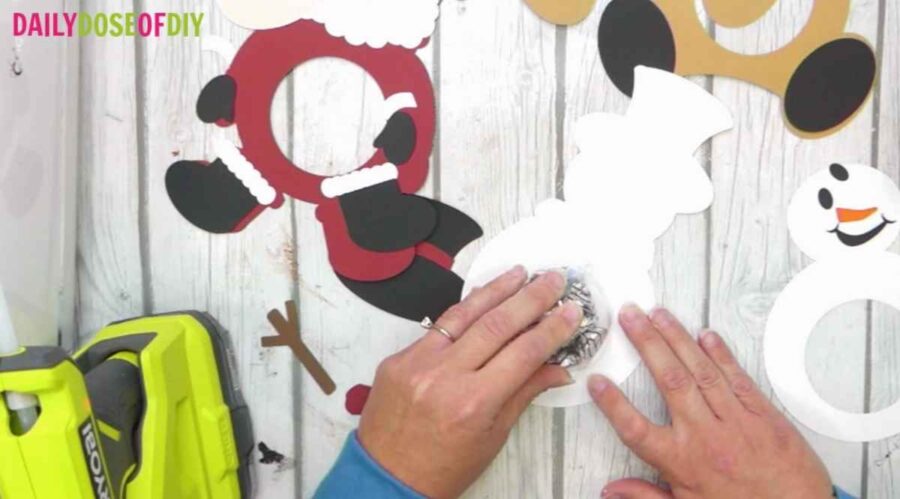
Put a line of glue around the rim of the ornament. Then, take the back piece of the candy holder and place it onto the ornament, lining the rim up with the perforated line.
Press the ornament down firmly and allow the glue a little time to dry.
To Assemble the Snowman:
Next, glue his hat into place for the snowman and add the red hat stripe.
After the hat is on, we can glue the top layer of the snowman in place. This is where I like to use my hot glue gun. To really keep the candy holder together, place a dab of hot glue over the plastic tab at the top of the ornament. Don’t use too much or it will be difficult to pull the back off of the cardstock to get the candy.
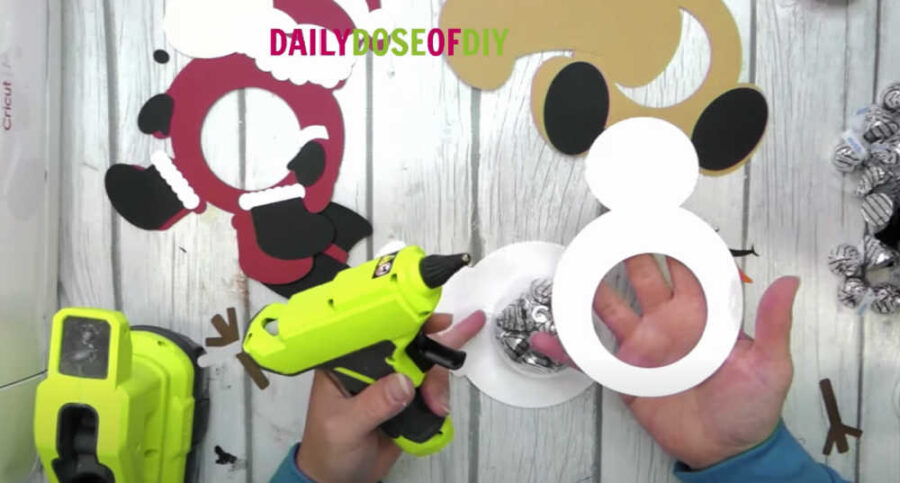
Place a good amount of glue onto the back of the snowman body and then turn it over and place it over the ornament. Line up the body to the base, then press it down firmly, especially over the tab where the hot glue is.
It will be a tight fit, but this keeps the ornament in place.
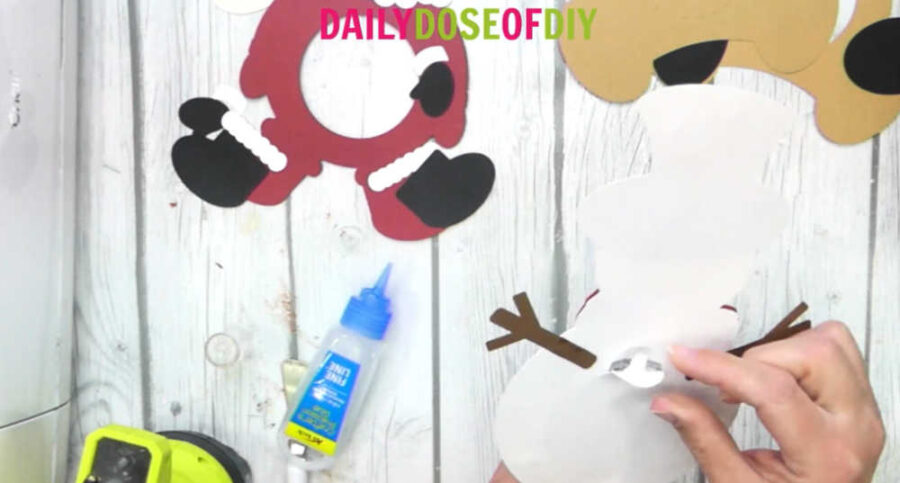
Now, all that is left is to add the smaller pieces. Fine tip glue works well here. Start by gluing the snowman’s face and scarf onto his front. Then place a dab of glue on the top of his arms and slide it underneath his body to glue them to his back.
To Assemble Santa:
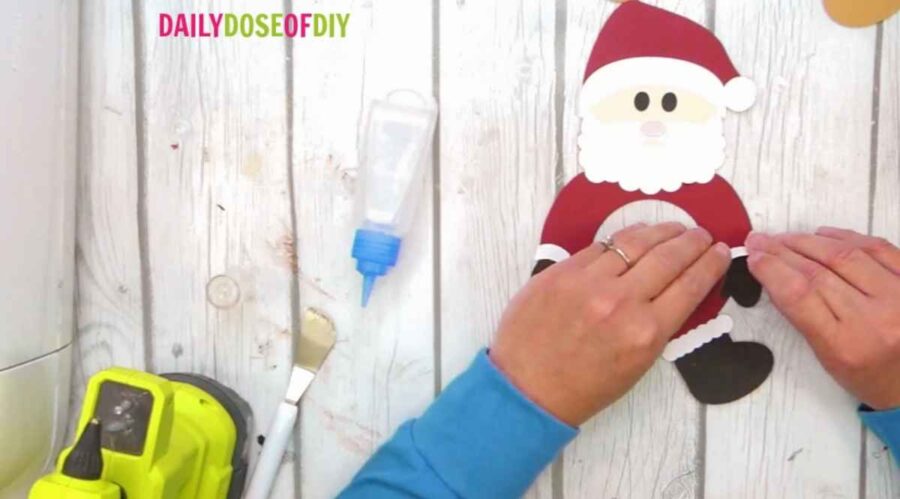
First, glue the flesh-toned circle to the back of Santa’s beard. Then glue the beard onto his body, making sure it’s lined up correctly. Now you can add his eyes and nose.
Next, glue the black mittens and boots in place. Then you can add the white trim around each mitten and boot.
When the body is finished, place a good amount of glue on the back and put it over the ornament, just like you did with the snowman.
To Assemble the Reindeer:
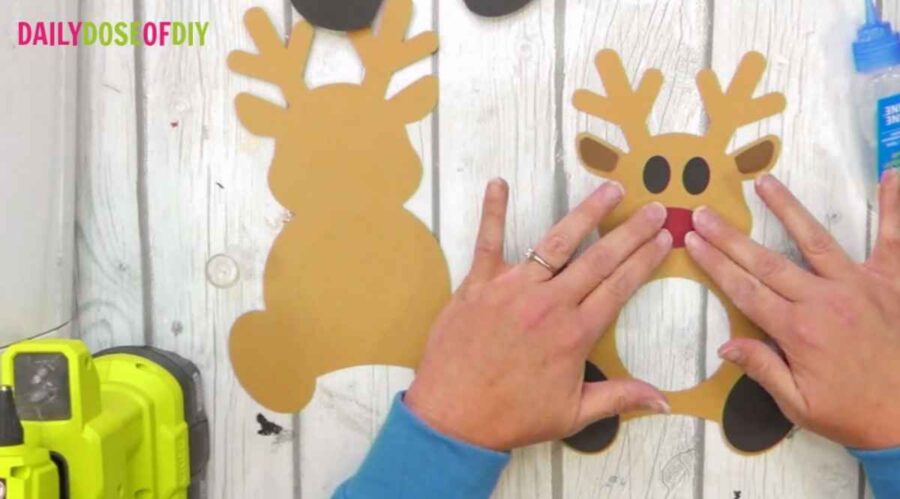
The reindeer is very simple. Glue each piece into place on the body. There’s no special order here. Just make sure you’ve got ears, hooves, two eyes, and a nose.
Now, glue the body onto the base as you did with the other candy holders.
There’s a pull tab on the back of each Christmas Candy Holder that you can use to access your candy. You can even refill it and tape it back shut.
That’s it! These Christmas candy holders are so cute, and I hope you love them as much as I do! I think giving them as gifts is sure to spark some holiday joy! It’s one of my favorite candy crafts to make. They’re so much fun to give.
Don’t forget to grab your free candy holders SVG files before 9 am November 14th.
Are you enjoying the Christmas Crafts in our Kickoff event? If you’ve missed a day or want instant access to all 14 projects and their SVG files Click Here. We have lots of Christmas decorations and gift-giving crafts.
More crafts to make this Christmas Season:

Chris Butler has helped thousands of crafters learn how to use their Cricut machine without feeling overwhelmed. She is a best selling author and an up and coming designer. For fun Chris enjoys designing SVG Files, hanging out with her family (preferably at the lake), traveling, and volunteering at her church. She is a wife and mom of two crazy fun kids.
Leave a Reply