This post may contain affiliate links for your convenience. If you make a purchase through one of my links I will earn a small commission at no additional cost to you.
Last Updated on September 3, 2018 by Chris Butler
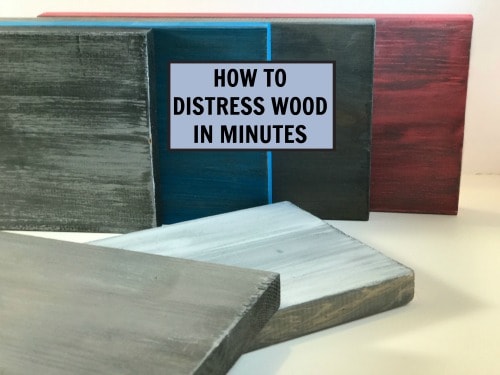
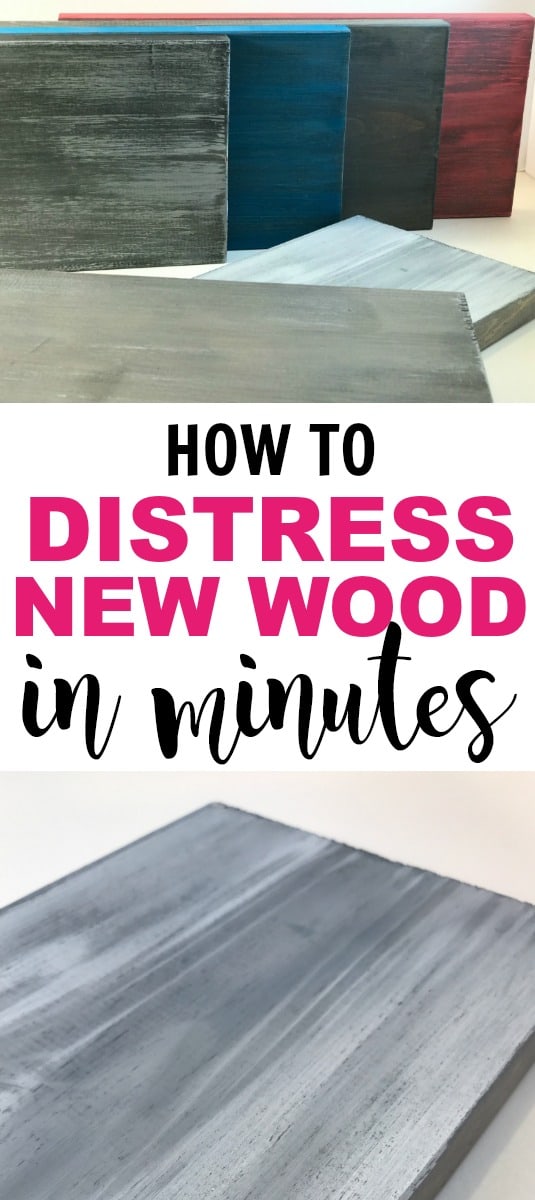
I’m going to show you how to distress new wood a quick and easy way. If you’ve been wondering how to make new wood look old, this is it.
If you stain your wood and wait hours for it to dry or you’re tired of sanding and getting paint dust everywhere. This post is for you.
If you love to paint furniture or signs, this post is a must-read for you. It’s a total game changer.
It takes minutes. Just minutes. Distressing new wood has never been easier or faster. It’s mind blowing how far paint has come over the years.
Ladies, it’s time to ditch the stain and grab your makeup brushes. We’re about to stain, weather, and distress new wood with paint that dries in minutes. (Yes I said makeup brushes)
PIN IT
Quick Links to Information in This Post
The Best Paint to Distress New Wood With
Not just any paint. It takes a special kind of paint to pull off this magic. And that paint is called SeaSpell SeaPaint.
Before we go any further I do not work for SeaPaint. This is not a sponsored post.
I came across their company one day on Facebook. The projects that were being posted were absolutely stunning. And I couldn’t believe how quick everyone said they were to complete.
I had to try it out for myself. And I have to say the paint is pretty incredible.
They have two different types of paint. SeaPaint and SeaGlaze Secrets.
You can use SeaGlaze Secrets as a medium coverage paint or stain. The true secret is how this paint can distress new wood in no time flat.
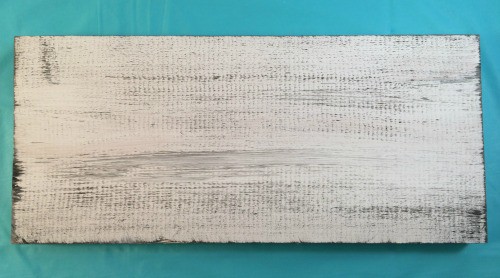
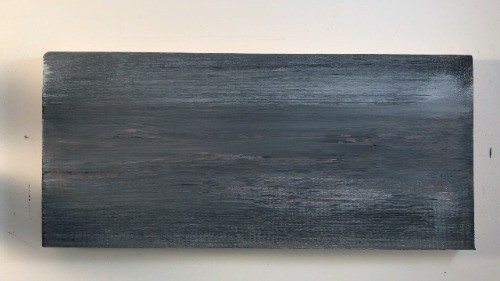
This 12″ board took me less than five minutes to distress from painting the base coat to done and dry. I used one coat of SeaPaint in Sea Salt for the base. Then I distressed it with Seaglaze in Shipdeck.
They carry 13 shades of SeaGlaze Secrets. Blues, greys, browns, even red, and of course white. And there are 31 shades of SeaPaint.
Did I mention one tiny 6-ounce jar will cover up to 69 square feet? That’s a lot of signs!
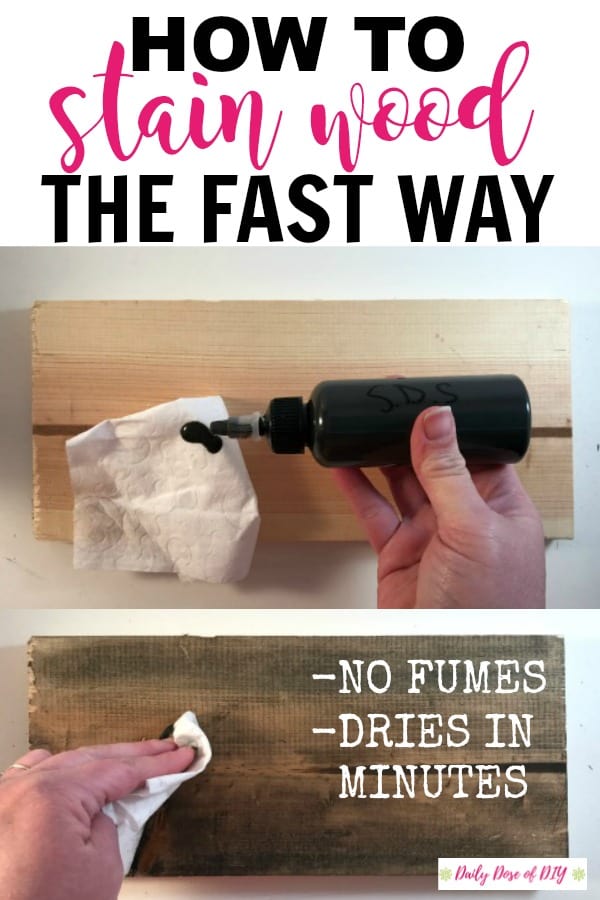
How To Stain Your Wood The Fast Way
I have to tell you about using SeaGlaze as a stain because it blew my mind. Say goodbye to smelly stain fumes. SeaGlaze is non-toxic and hardly has any smell at all. It cleans up easily with water and the dry time is one to two minutes max.
So let’s get to it.
First you squirt a little dab on a baby wipe.
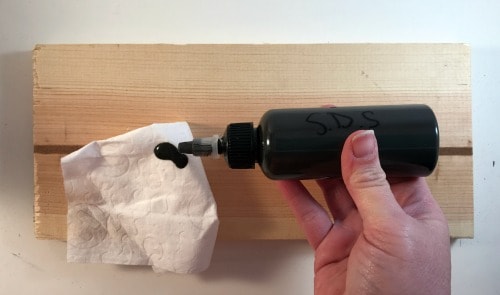
It doesn’t take much at all. Next use the wipe to apply the SeaGlaze to your board going with the grain of the wood
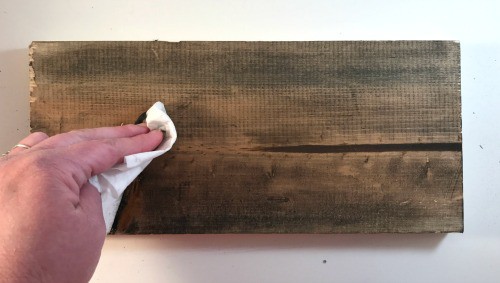
Keep going until your whole board is covered. Just like that, you have a stained board that’s dry and ready for the next step in two minutes or less.
Of course if you just want stained wood you can stop there. But that would take some of the fun out of it.
Look what happens to that board when we use the same SeaGlaze with a dry brush.
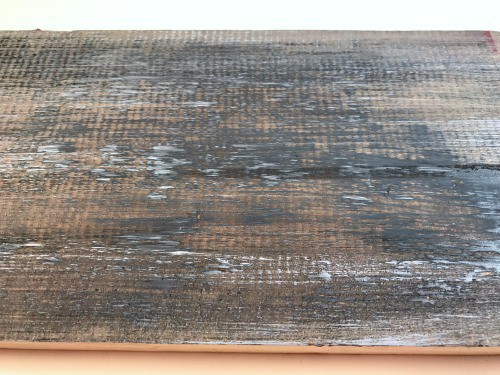
This was done with three different shades of SeaGlaze. The depth you get from the layers is unreal. And it was done without sanding, in a matter of minutes. It’s amazing.
RELATED: How to Chippy Paint Without Sanding
How To Distress New Wood With Paint
Here’s where the makeup brushes come in. SeaPaint is best applied with those super soft dense brushes that we use for makeup. You can even order them with cute mermaid tails.

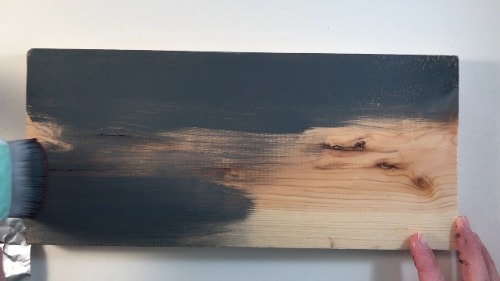
I am using SeaGlaze again for this board in the shade Driftwood. When it’s applied with a baby wipe like I did with the first board the result is lighter like a stain.
By using the makeup brush this will go on darker, but you can still see the wood grain through the paint. It’s like a dark stain or medium coverage paint.
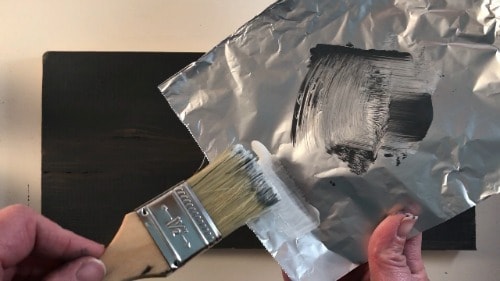
Start with your makeup brush slightly damp with water. Then squeeze a small amount of the SeaGlaze Secrets onto a paper plate, or foil works too. Dip your damp brush into the paint.
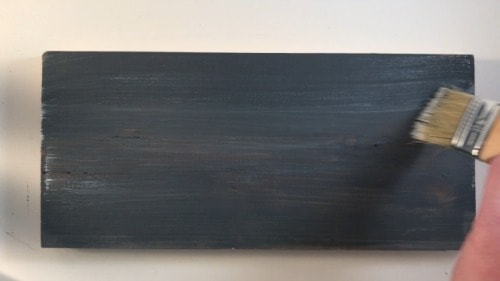
Start at one end of your board and glide your brush all the way across, going with the grain of the wood.
It really does glide on.
See how using a brush makes it darker? We don’t have to put on three coats of stain to get our desired look any longer.
How To Weather Wood With Paint
After the board is ‘stained’ it’s time to distress it. I like to use both lighter and darker colors to distress.
So I am starting with the SeaGlaze Salty Secret which is white. Use a dry brush and dip the ends in the paint. It doesn’t take much at all. After you have the paint on your brush wipe some of it off on your plate.
Now light as a feather (that’s why they call this feather weathering) drag your brush from one end of the board to the other. Again you want to be going with the grain of the wood.
You can see the subtle difference it starts to make as the SeaGlaze picks up the grains of the wood.
You can go more extreme too, we don’t have to stay with subtle.
Here’s what happens when you don’t dab off the extra paint on the brush. You still want to be light as a feather going across the wood though.

You can keep playing around with it until you get a look you are happy with. If you want it blended more you can use a baby wipe or blending paper to soften the lines.
After the white is done, I add some dark.
Use the same method of dry brushing and light as a feather drag the brush across the board. The dark shade I used is Vintage Secret. The effects are incredible.
This board took just over 3 minutes to make. Start to finish. I made a quick video to show you just how easy it is.
Distressing New Wood With Paint Video
Three Minutes. And it’s mostly dry already when I’m done.
If you are a sign maker I would play it safe and wait a few extra minutes before slapping stencils on. But this will totally change how fast you can make products.
If you want to be a sign maker see my tutorial on How to Paint the Perfect Sign Every Time here.
Now you know all of the “Secrets” to distressing new wood in minutes. It will be a total game changer in your sign making and furniture painting adventures.
More Info On SeaPaint
Are you interested in seeing more of what this miracle paint can do? You can join their Facebook Group here. Be sure to tell them Daily Dose of DIY sent you =)
They have several more video tutorials in the group. And you will be able to drool over all the wonderful signs and furniture everyone paints. They also run some great sales in that group.
If you want to go directly to their sales website you can find it here –> https://seapaints.com/ A good place to start is with their beginner’s sample kit found here.
The company was started and is owned by Jess and Jose, a husband and wife team. They have a shop in central Florida that you can stop in if you are from the area. If you are from the frozen north like me, or any other part of the US, they offer free shipping. (which is always a plus!)
I guess I should also mention you can paint glass, plastic, laminate, metal and all of the things with SeaPaint. Just paint all of the things.
Be sure to sign up for my weekly newsletter for more tutorials, DIY tips and exclusive access to my FREE Resource Library.


Pin It For Later -Making Distressed Wood in Minutes

Chris Butler has helped thousands of crafters learn how to use their Cricut machine without feeling overwhelmed. She is a best selling author and an up and coming designer. For fun Chris enjoys designing SVG Files, hanging out with her family (preferably at the lake), traveling, and volunteering at her church. She is a wife and mom of two crazy fun kids.
We have an older china cabinet that we want to turn into a bar. The wood is oak. Can we use SeaPaint on it or is that only for new wood? Love your site.
Thank you Nancy! Yes you can paint oak and all of the things with Seapaint. I am doing my oak kitchen cabinets with Seapaint. Did you join their facebook group? They have a sister group for wood signs and furniture that has a lot of great before and after pics of furniture.
Thanks so much! Will you please post pictures of your kitchen cabinets? I’ll join their FB group after Lent – I gave up FB for Lent!
Thank you for sharing. What is the name of the sister group for signs?
I guess I am a bit confused as to what the difference in Sea Paint and Sea Glaze is? You mentioned that Sea Paint is the way to go but then in your tutorial you use three colors of Sea Glaze or am I reading that incorrectly? So this is what I want to do. I want to distress some wood cut out in a heart pattern for a door hanger. What I was thinking was a black for the base, with red over that and finish up with white. Thoughts and or suggestions?
Hi Lee! Sea Paint is the company, they have a few different lines of products. There is a full coverage paint. And then what they call Sea Glaze. This is a medium coverage paint, or absolutely perfect for staining and distressing. So if you want full coverage, buy their regular paint, if you want to stain or distress buy the glazes.
If my kitchen cabinets are a dark stain. Can I glaze over them without removing the stain?
I’m making wedding card boxes for my two future daughter in laws so they are new unpainted/stained wood. They want white distressed wood look. Which combination of colors would you recommend?