This post may contain affiliate links for your convenience. If you make a purchase through one of my links I will earn a small commission at no additional cost to you.
Last Updated on May 15, 2018 by Chris Butler
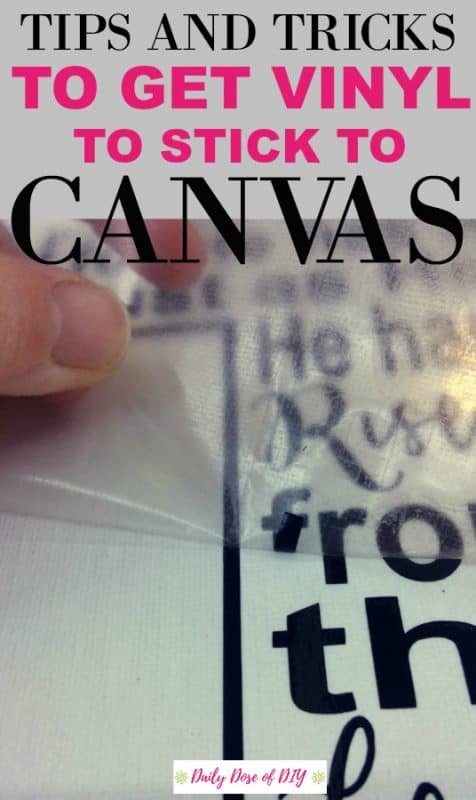
Have you been wondering how to get vinyl to stick to canvas? It can be tricky! In this post I will show you the tips and tricks I use to get vinyl to stick to canvas to create beautiful signs.
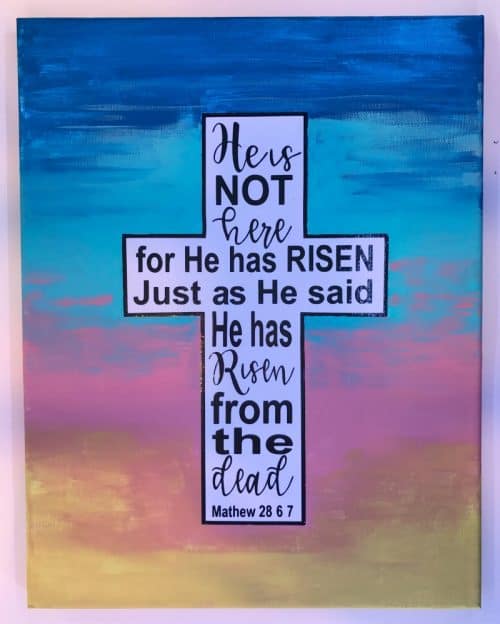
I just used these techniques last weekend while I was making a canvas for Easter. I applied the vinyl first and then painted the background. Here’s a little preview.

If you are interested in using my SVG design I have it available in my Resource Library. The details are available at the bottom of the post.
Let’s get to it and see how to get vinyl to stick to canvas.

Quick Links to Information in This Post
Getting Vinyl to Stick to Canvas
SUPPLIES NEEDED
- Canvas (Here’s a great deal on Amazon)
- Oracle 651 Vinyl
- Paint, Spray Adhesive, OR Mod Podge
- A Hard Back Book
- Scraper, Old Credit Card OR Tennis Ball
- Your design ready for transfer (You can use mine too. It’s located in my Free Resource Library see how at the bottom of the post.)
Let’s talk about the vinyl first. Be sure to use Oracle 651 vinyl. This is a permanent adhesive vinyl and it really works the best for sticking to canvas or wood. Oracle 651 comes in a variety of colors, including glitter, so you will have lots of options with your design.
If you need more help with vinyl types, see my vinyl guide here.
Prepping the Canvas
Canvas is not a smooth surface. This is what makes it a bit of a challenge to get vinyl to stick to it. In order to combat that, we need to prep the surface of the canvas to make it smoother for vinyl adhesion.
There are three different methods you can use to do this.
The first way you can prep your canvas is by painting it. If you wanted to change the background color anyway, this is probably your best bet.
If you don’t want to paint, spray adhesive is your next option. Simply spray the entire surface of the canvas with your spray adhesive and let dry. After the adhesive is dry it will not feel sticky, but it adds a coating to the canvas to get that vinyl to stick better.
The third option is to use mod podge. Apply mod podge to your entire canvas and let dry.
I have tried all three, but mod podge is what I use most often. I always have it on hand, and I don’t have to go outside to spray anything.

Applying the Vinyl to the Canvas
Now that your canvas is prepped, we are ready to stick on the vinyl.
I do want to mention transfer paper really quick. I prefer to use clear contact paper to transfer my vinyl. Some of the transfer paper brands are entirely too sticky. The only exception to this is when you are using glitter vinyl, it needs a super sticky transfer paper.
Tip: Before you apply the contact paper to your vinyl, stick it to your clothes a few times to reduce the stickiness even more.
Before you put your vinyl design onto the canvas, grab a large hardback book.
One of the difficulties with getting the vinyl to stick is the canvas does not have a hard surface. We will be using a lot of pressure burnishing the vinyl. Placing a hard book under the canvas will give us the perfect firm surface we need.
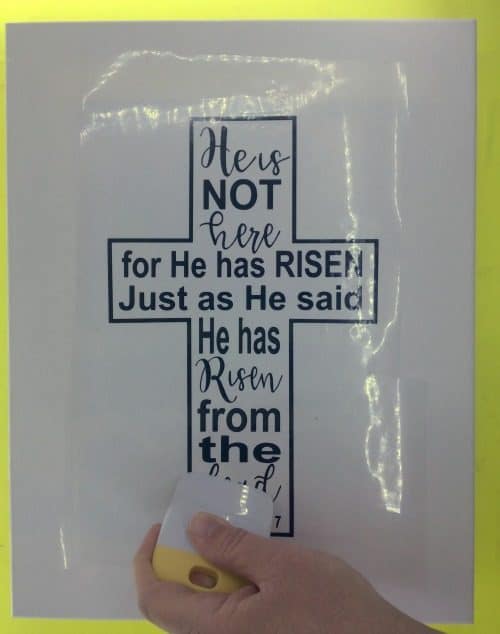
Next, line up your design how you want it. Start at the center of your vinyl transfer and scrape out to the edges to prevent bubbles.
Now we really need to rub (also called burnishing) that vinyl onto the canvas. You can use your Cricut scraper, an old credit card, or even a tennis ball works really well (apply firm pressure while rolling it over your design)
After you’ve rubbed until you can’t rub anymore, it’s time to peel back the transfer paper.
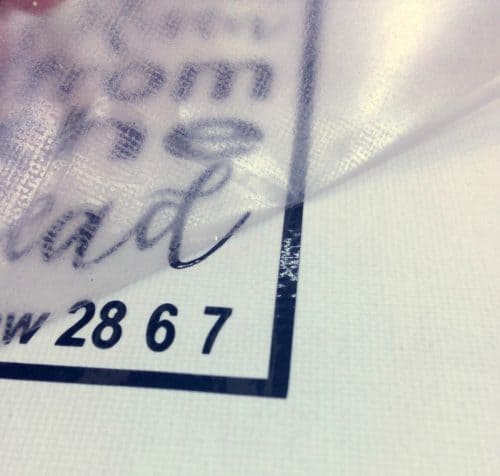
Peel the paper back slowly at an angle. Your vinyl should be stuck without any problems!
Tips and Tricks if the Vinyl Still Won’t Stick
Every once in a while you will get a pain in the butt area. Maybe our base wasn’t applied enough in that area, or we didn’t rub quite hard enough there.
If this happens to you, lay the transfer paper back down in that spot and rub really hard over that letter again. Most of the time it will stick after that.
There are some fonts that stick better than others. The thick fonts that have more surface area will be easier to transfer.
The really thin, often the script fonts can be more difficult.
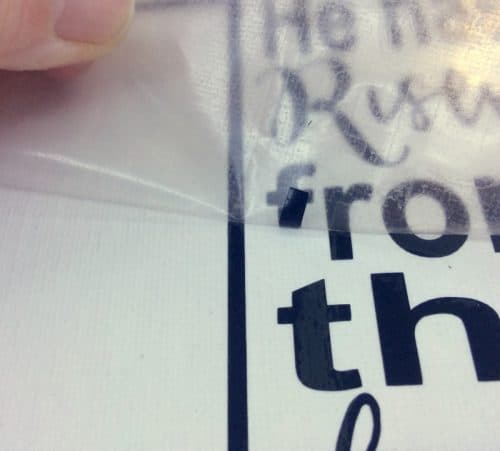
The script on this project did pretty decent. There was one area that decided to be a pain though.
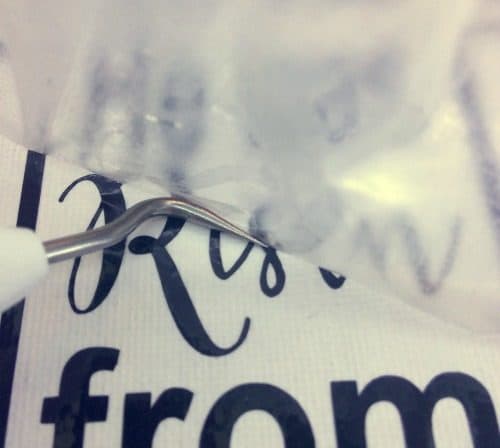
And that was the thin little ‘I’ in Risen. If you encounter a thin letter that wants to come up with the transfer paper no matter how many times you rub, try using your Cricut Weeding Hook.
Use the hook to hold down the letter while pulling the transfer paper away. Press down on the vinyl letter with your finger after the transfer paper is off. The letter will stick fine after that.
Should I Seal the Vinyl Letters After They Are Transferred?
I do not seal my vinyl letters because Oracle recommends that you do not. It can distort and damage the vinyl.
That said I know plenty of people who do apply mod podge or polyacrylic over the vinyl letters without any problems. Just know it’s not recommended by the manufacturer.
So you see getting vinyl to stick to canvas doesn’t have to be frustrating at all! Just remember to prep your canvas, and use a hard book so you can apply firm pressure while burnishing. And if you do run into stubborn areas, now you know the tricks to work past them.
Here’s the pic again of my finished product. The vinyl transferred beautifully and will remain that way for many years to come.
Swipe My SVG Design File
Do you want to use my design for your project? You totally can! I keep all of my SVG files, plus plans and printables in my Free Resource Library
To get exclusive access, simply fill out the form below.


Chris Butler has helped thousands of crafters learn how to use their Cricut machine without feeling overwhelmed. She is a best selling author and an up and coming designer. For fun Chris enjoys designing SVG Files, hanging out with her family (preferably at the lake), traveling, and volunteering at her church. She is a wife and mom of two crazy fun kids.
Thank you so much!
You’re welcome Jessica!
Have you ever tried to repaint the canvas after applying the vinyl?
Not yet, but I will be making a Hot Mess Canvas after Christmas for my daughter’s room. To do those you paint, apply vinyl and then paint again. I plan on posting about my experience so stay tuned =)
If I chose to spray the canvas with the spray adhesive – and I lay the vinyl – for the part of the canvas that doesn’t have vinyl on it – does that part become sticky from the adhesive?
I want to make a canvas beach bag but I don’t know if it’s best to use HTV or regular vinyl. Any advice?
I would use HTV for that
Please
Does acrylic mix well with vinyl?
Can you apply adhesive stickers to acrylic paint pours? If so how would you seal it to secure it to stay? Do you have to resin it or can I just apply the stickers then seal with liquidtec spray?
I couldn’t get my transfer paper to let go of the vinyl once on the canvas. I was mad.. Looking around for room for something else to use and I happened to see glad press n seal. It works perfect !!!!! Make sure vinyl is laying extremely flat when you put press n seal over it. And when you peel the back of the vinyl make sure you do it slowly and have a tool ready to push back down any vinyl trying to stay with the backing.
Thanks for your tips as well !!! Painting canvas first really helped. Out of mod podge at the moment but as soon as I get some more I will try. Thank you !!
Shay Lyn Collins
Facebook.com/tdccanvas
Great tip Shay! Thank you, glad your project turned out well!
Thanks for this… just did a project in Children’s Church… I put a scripture on canvas (prepped with white paint), and we had the kids paint with acrylic on them. I was trying to determine if I should Modge Podge over the entire thing to seal the letters, but if Oracal advises against that, maybe I’ll just leave them as is. ☺️
ive ruined 2 projects. I used a canvas board and painted it, it has been drying for like 2 days, used my transfer tape to apply letters and i went to pull the transfer tape off and it just peeled all of my paint off, any suggestions? i thought it was because it was the paint was wet but this other one has been drying for a few days
Are you using oil paints? That’s the only paint I can think of that takes forever to dry. I haven’t tested it with oils, but as someone elspointed out you can try using glad press ‘n seal instead of transfer tape.
I’ve done a canvas project and used HTV and kept the background white. It turned out awesome
I am applying vinyl cutouts to canvas tote bags. I used a spray adhesive as you suggested before applying the vinyl
and it stuck perfectly, but now the rest of the bag is sticky. how long does it take to completely dry?