This post may contain affiliate links for your convenience. If you make a purchase through one of my links I will earn a small commission at no additional cost to you.
Last Updated on November 11, 2022 by Chris Butler
For Day 3 of the Christmas Craft Kickoff 2022 we’re going to make some gorgeous 3D Paper Christmas Ornaments. I’ve made some designs for you that you can personalize, so these will look beautiful on your tree or even as a gift tag!
These ornaments are a super easy and cute Christmas Craft. They’ll be a stunning addition to your holiday season. Plus, one great thing about these is that they only require a few supplies!
Our Christmas Craft Kickoff is off to a great start! View all 14 projects <here>. If you love paper crafts, you’ll love all of these Christmas crafts!

Quick Links to Information in This Post
3D Layered Christmas Ornaments Supply List
- 65lb Cardstock in Regular or Glitter Colors of Your Choice – https://amzn.to/3NSrFAm
- Foam Tape or Dots – https://amzn.to/3UF1C1W
- Ribbon or String
- Cutting Machine & Tools – https://amzn.to/3Un4Gjq
- A Well-Used Green Cut Mat or Blue Cut Mat
- SVG File for the 3D Layered Christmas Ornament – More Details Below
3D Layered Ornament Step-by-Step Video Tutorial

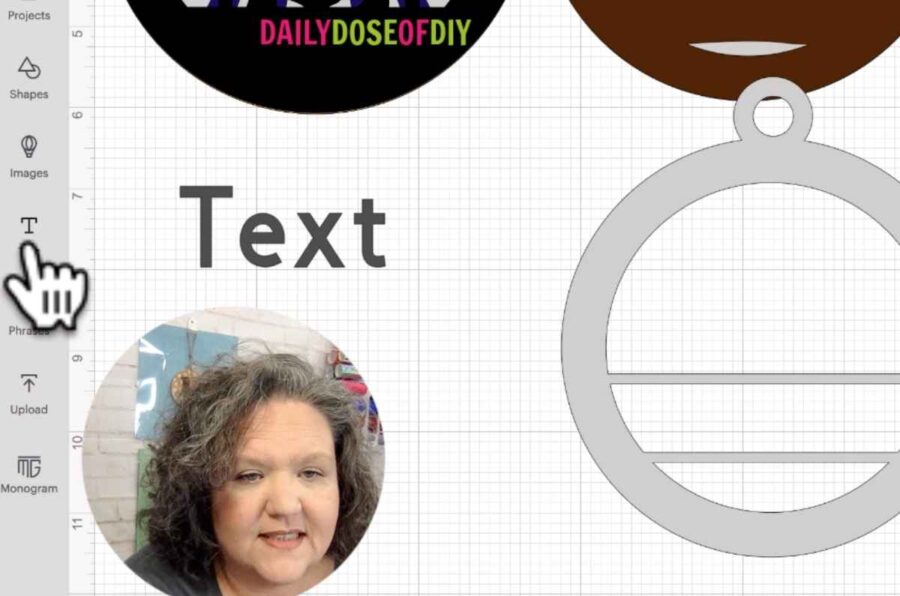
Step 1: Download the SVG File and Upload it to Design Space
For help downloading SVG Files and uploading them to Design Space see this post.
The free SVG cut file for this craft has expired. But you can still grab the instant access pass and get all 14 of our Christmas Kickoff Paper crafts!

Once you’ve added the SVGs to the Cricut Design Space canvas, the nativity scene ornament is ready to be cut. If you don’t care to personalize the paw print or snowflake ornament, just remove the top layer and they will be ready to cut as well. To remove the top layer, ungroup the design, select the top layer, and delete it.
If you’re personalizing your ornaments, go to Step 2. If not, you can skip to Step 3.
Step 2: Personalize Your Ornament
To personalize your ornament, ungroup the design from the top of the layers menu. Drag the top layer that has 2 horizontal lines down to a blank part of your canvas.
Next, you’ll need to create a text box from the left menu. Double-click the text box and type out the name you’d like to use.
The text will always default to a Cricut font. To use your own font, make sure your text box is selected and from the top menu click the font drop down arrow. Select ‘System’ and find the font you’d like to use.
Related: How to Find Free Fonts and Download them to Cricut
When you’ve selected your font, you can resize the text to fit between the lines by clicking one of the corner nodes and dragging it in. The top and the bottom of your text should be touching the lines. If it’s not you may need to make your font a bit bigger.
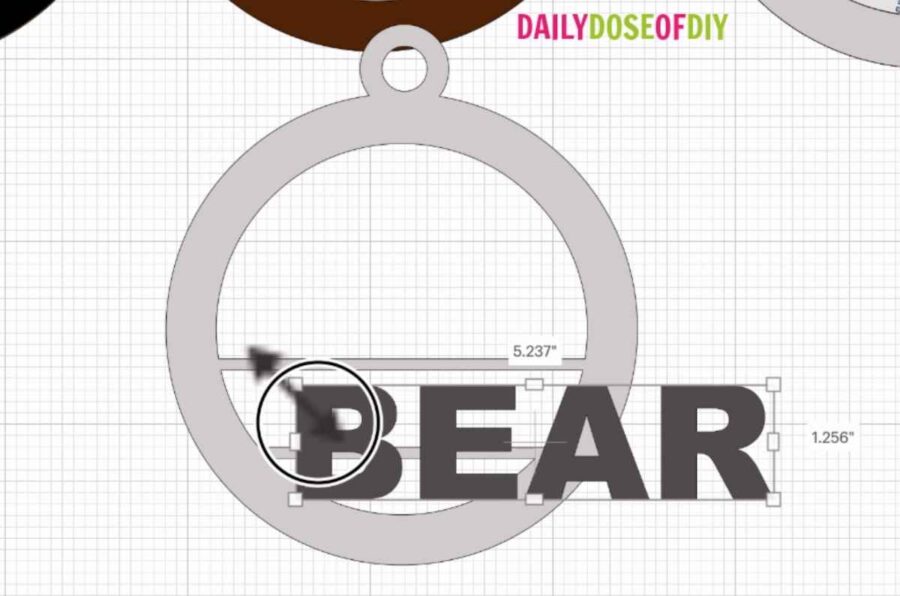
If the text fits nicely within the circle but is too short, unlock the dimensions of your text box from the size menu at the top. Then, use the nodes to stretch your text to be taller.
If you’re having trouble envisioning what the text will look like, change the color to match your top layer.
Once you’ve got that set, select both layers, click ‘Align’ from the top menu and then click ‘Center Horizontally’. With both layers still selected, click ‘Weld’ from the bottom of the layers menu to add your text to the ornament.
If you’re using the updated version of Design Space, where the ‘Weld’ button is now says ‘Combine’. Click ‘Combine’, then select ‘Weld’.

Now, with our personalization complete, we’re ready to cut. Click ‘Make It’.
Step 3: Cut the 3D Layered Christmas Ornaments
On the mat screen, all of our different layers will sort by colors onto separate maps. Cricut will default your material size to 12″x12″, so if you’re using 8.5″x11″ you’ll need to change your material size. Then, click ‘Continue’.
For a Cricut Explore you can set your dial to Cardstock. If you have a Cricut Maker set your material to cardstock from the materials menu in Design Space. If you’re using glitter cardstock for any of your mats, be sure to switch your setting by browsing all materials and selecting glitter cardstock.
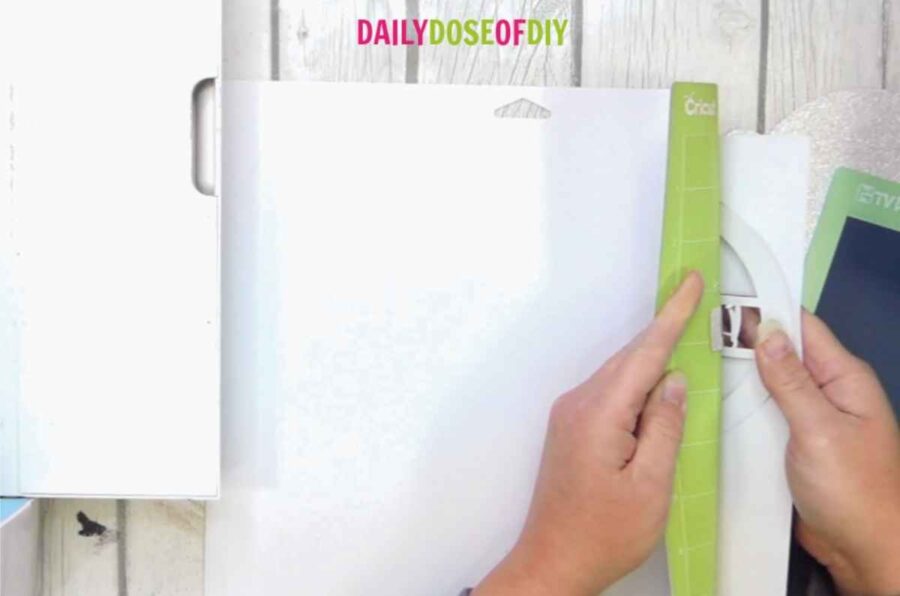
Load your sheet of cardstock onto your cutting mat. Use a well-used green mat or a blue mat for best results. If you’re using 8.5″x11″ be sure to put the cardstock on the mat the way it’s shown in Design Space.
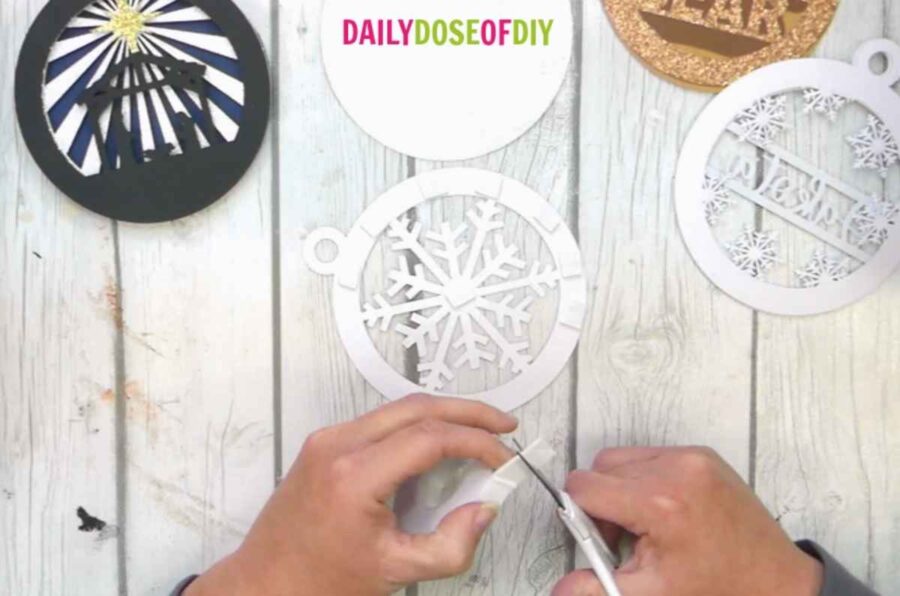
When you remove your cardstock, flip the mat over and peel it away from your design. This will keep it from curling or tearing. If you need a bit of help getting the cardstock off the mat, use your spatula tool.
Use your scraper tool to make sure the mat is completely clean before reloading your mat to cut the next design. Once all of the mats are finished cutting it’s time to assemble your ornaments.
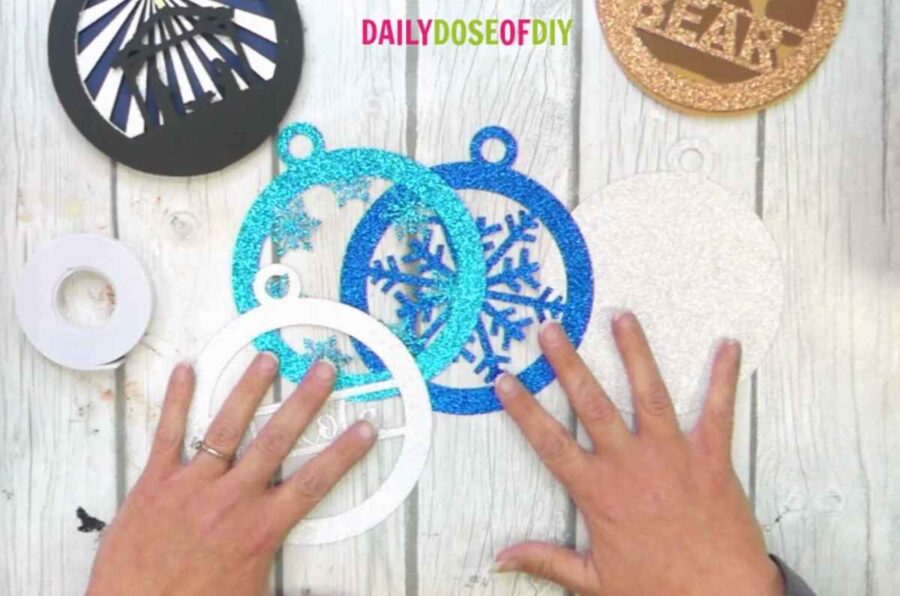
Step 4: Assemble the Ornaments
Start by putting each of the layers in order and stacking them on top of each other.
Once you’ve stacked the layers turn the stack over. You should be looking at the back of the ornament. Take the layer that will be the back of your ornament and set it aside.
On the remaining layers you’ll cut small pieces of foam tape (or use foam dots) and space them evenly around the perimeter of the ornament. On the larger parts of the inside design, you’ll want to place some foam as well. Just make sure it can’t be seen from the front.
Once the tape has been placed, you can remove the backing from each piece. If this is hard for you, try using your weeding hook to help remove the film.

Now, with the bottom layer of the ornament face up on your worktable, flip the second layer over and line it up to the bottom layer. Take your time to make sure it’s aligned properly, then press it down firmly.
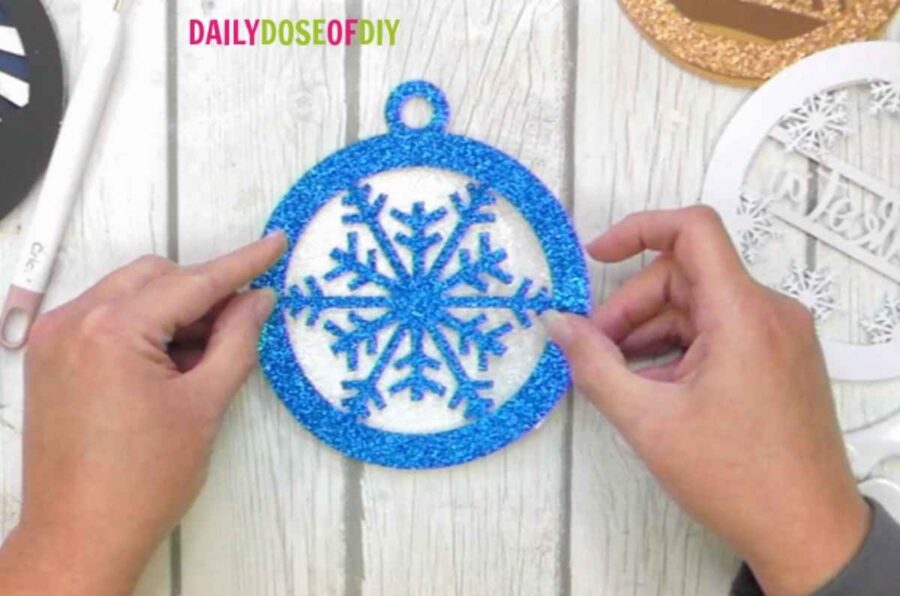
Follow the same process until all of the layers have been added.
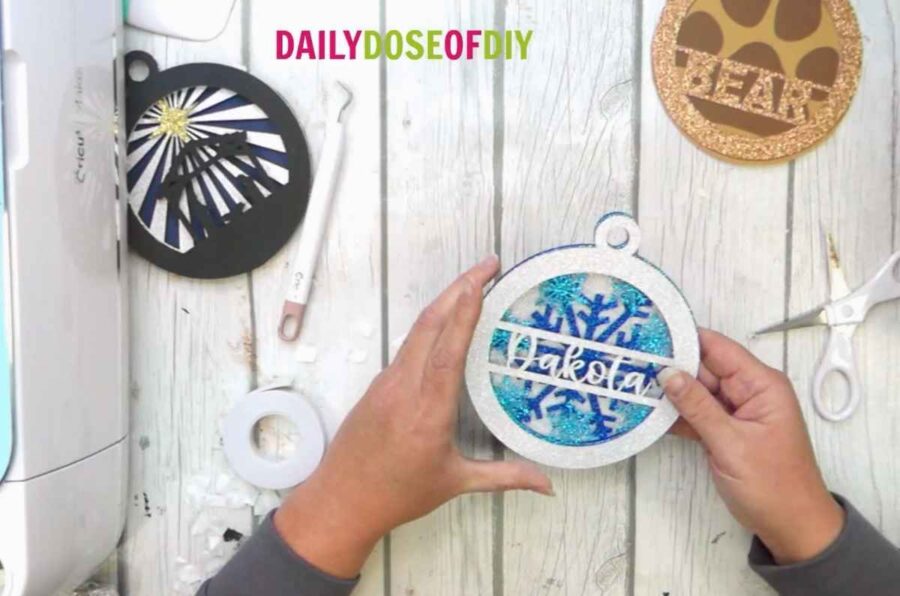
Now that all of your layers are in place you can cut a piece of ribbon or string to thread through the top hole for a hanger for the Christmas tree or a gift bag.
Are these gorgeous?! I can’t wait to see how they look under the Christmas lights!

Thanks for crafting with me, I hope you enjoyed this easy project and the step-by-step instructions. Here are more Holiday crafts to make:
Paper Christmas Decorations:
Christmas Paper Gifts:

Chris Butler has helped thousands of crafters learn how to use their Cricut machine without feeling overwhelmed. She is a best selling author and an up and coming designer. For fun Chris enjoys designing SVG Files, hanging out with her family (preferably at the lake), traveling, and volunteering at her church. She is a wife and mom of two crazy fun kids.
The download link is not working for me. When I fill in the fields and click the “Get The SVG” to download, I get a security check to subscribe.