This post may contain affiliate links for your convenience. If you make a purchase through one of my links I will earn a small commission at no additional cost to you.
Last Updated on November 10, 2022 by Chris Butler
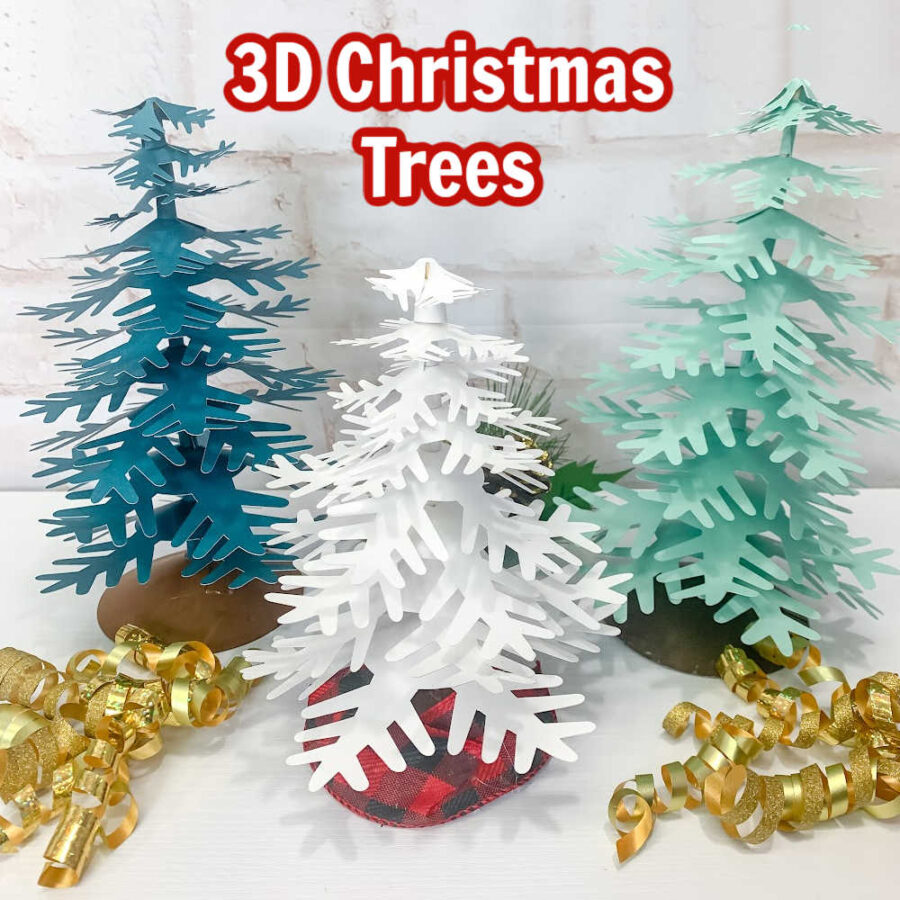
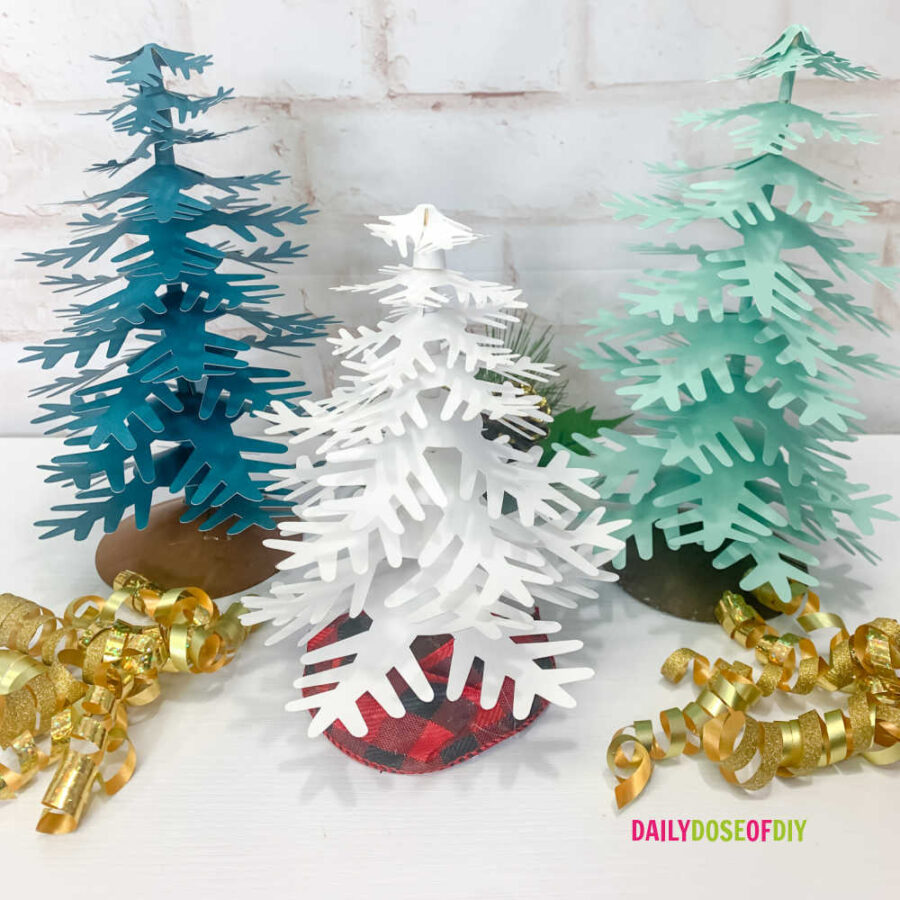
These easy 3d Paper Christmas Trees are a quick and economical way to decorate your home for the holiday season. Depending on how you decorate your trees, you can even leave them up all year round.
I cut the pattern on my Cricut machine, but you can use any cutting machine that accepts SVG files. The best part is the assembly is easy enough that it’s a fun Christmas craft for the kids to help with! Yet it’s elegant enough to use as impressive Christmas decor.
This Paper Christmas Tree Craft is Day 2 of our Christmas Craft Kickoff for 2022!
View all 14 projects Here If you love paper crafts, you’ll love all of these projects.
Let’s get started.
Quick Links to Information in This Post
Supplies for 3D Paper Christmas Trees
- Solid Core Cardstock paper at least 65lb in your choice of colors. You’ll need (4) 8.5×11 sheets OR (3) 12×12 sheets per tree I used several shades of green paper and even made one with white paper –https://amzn.to/3huqniT
- Bamboo Skewers – https://amzn.to/3hhpLx2
- Quick Dry Tacky Glue – https://amzn.to/3NOP3ii
- Optional Hot Glue Gun
- Optional Ribbon and Other Embellishments
- Cutting Machine and Tools – https://amzn.to/3A1A66N
- SVG File for the 3D Paper Christmas Tree – More Details Below
Paper Christmas Tree Step-by-Step Video Tutorial

Step 1: Download the SVG File and Upload it to Design Space
For help downloading SVG Files and uploading them to Design Space see this post.
The free SVG cut file for this craft has expired. It is part of our Christmas Craft Kickoff 2022, you can still get the SVG as part of the all-access pass below.
Or Grab the all-access pass here and get instant access all 14 projects, 25+ SVG Files, step-by-step videos, and printable instructions.
The Paper Christmas Tree SVG is ready to cut. So, once you upload it into Design Space you can click the ‘Make It’ button.
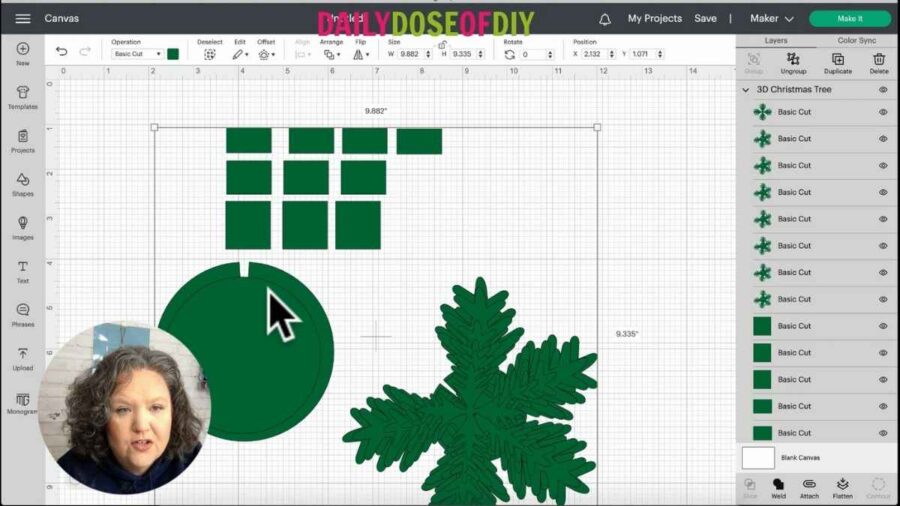
The file will make a tree approximately 9-10 inches tall. If you want a larger tree, ungroup the design and duplicate some of the branch layers. If you want a small tree, I recommend deleting one of the larger bottom layers.
The two largest branch layers have two cutouts of the same size to give it height. So, you’ll be safe to delete the duplicates for a smaller tree.
If you have an Explore machine, set your dial to Cardstock or if you have one of the Maker machines, choose cardstock from your cut list.
Step 2: Cut the 3D Paper Christmas Trees Design
You’ll need (3) 12″x12″ pieces of cardstock or (4) 8.5″x11″ pieces of cardstock to cut the tree as is. Load your paper onto the cut mat and insert your mat into the Cricut. Press the load mat button and then the flashing ‘C’ button.
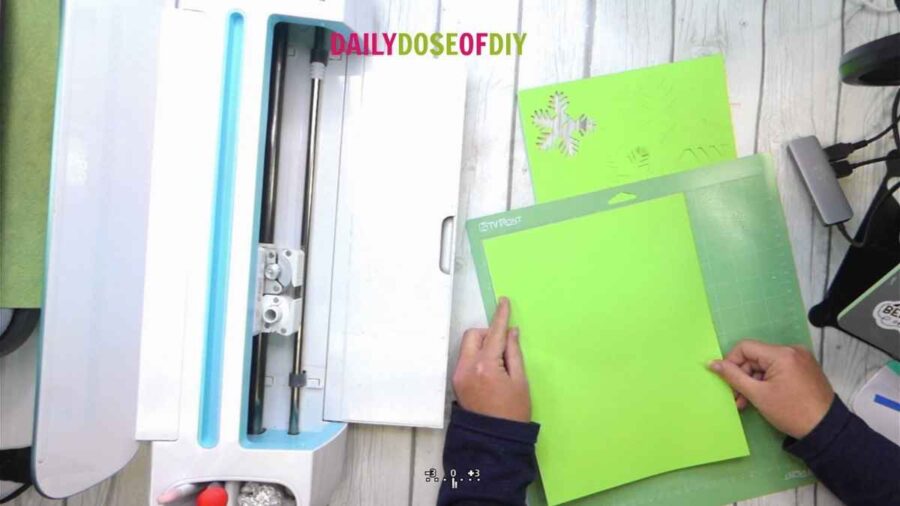
When your Cricut is done cutting, remove the mat, flip it over, and peel it away from the cardstock. This will help prevent your paper from tearing and curling.
If there are bits of paper stuck to your mat, use your scraper tool to remove them. Make sure your mat is nice and clean for the next sheet.
Repeat this process until all the pieces are cut.
Once you have everything cut, lay out the tree pieces by size. You’ll have two each of the two bottommost layers. Next stack the branch layers from largest to smallest and then flip your stack over so we can start with the largest.
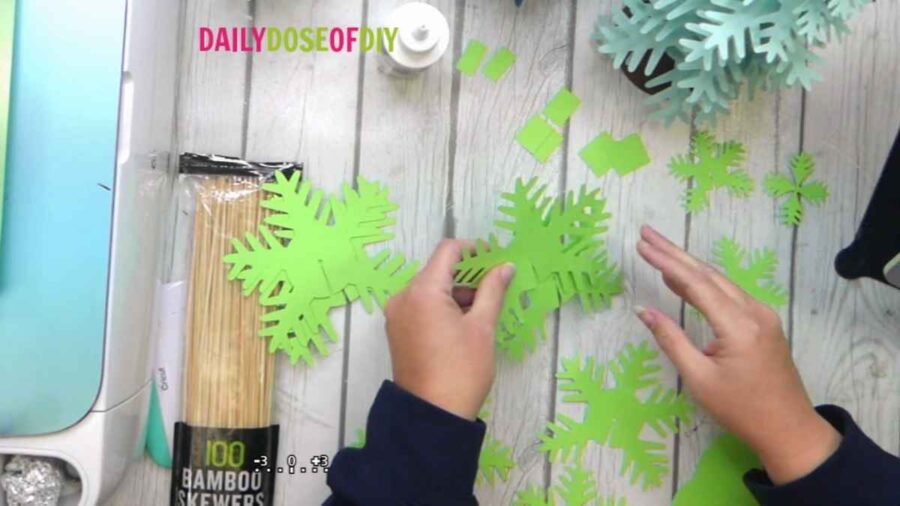
You also have 3 different sizes of separator pieces – 4 small rectangles, 3 medium rectangles and 3 larger rectangles.
Step 3: Assemble the Base
The two large circles will make the base of your tree. Place a strip of glue down the slit of the circle. Fold it over at the slit to make a cone. Check the sizing against the bottom circle.
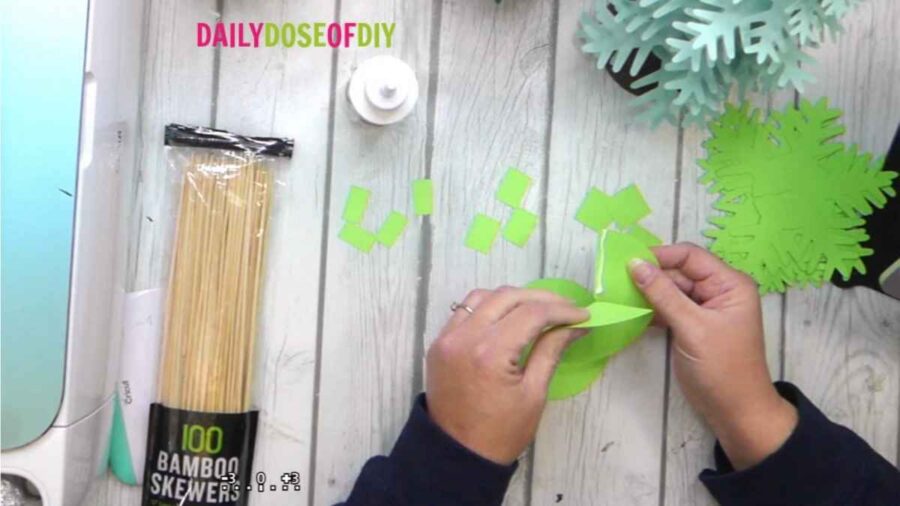
Once the glue has set, add another strip of glue all along the bottom edge of the cone. Glue the base circle into place and set it aside to let it dry.
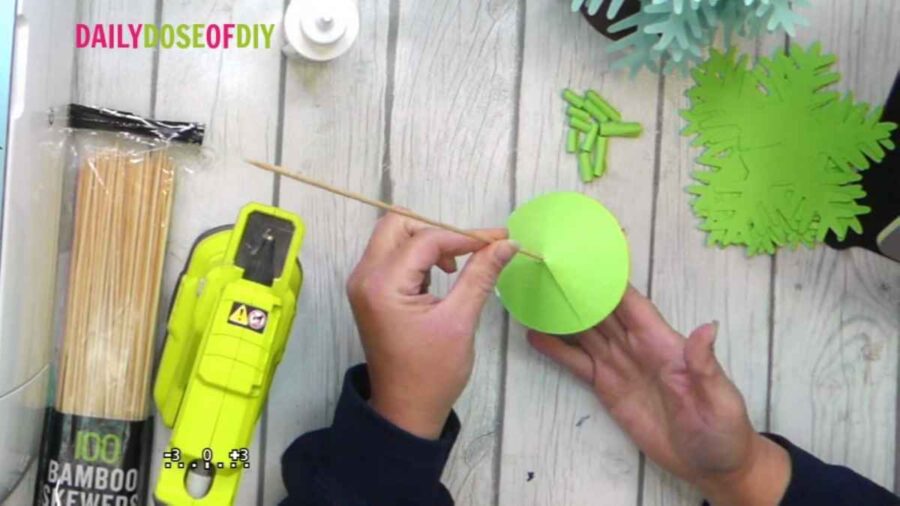
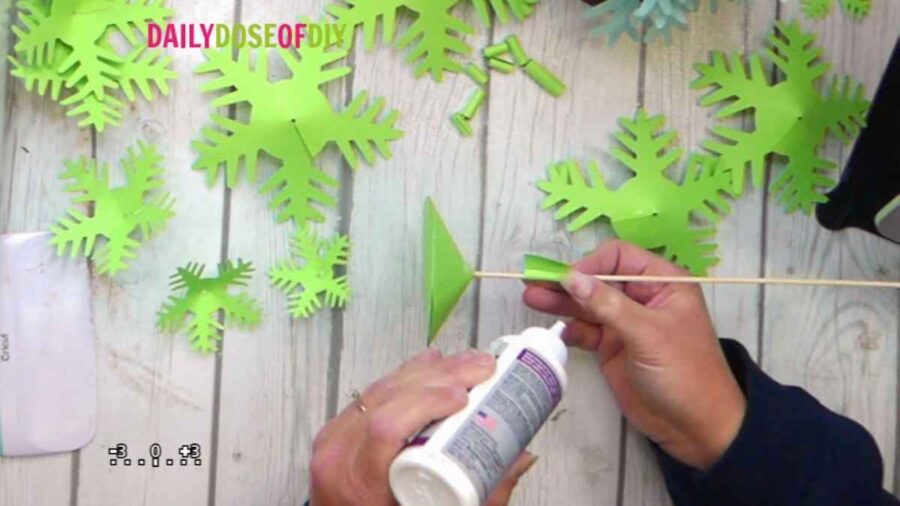
While the base is drying, start curling your separator pieces by wrapping them around your bamboo skewer.
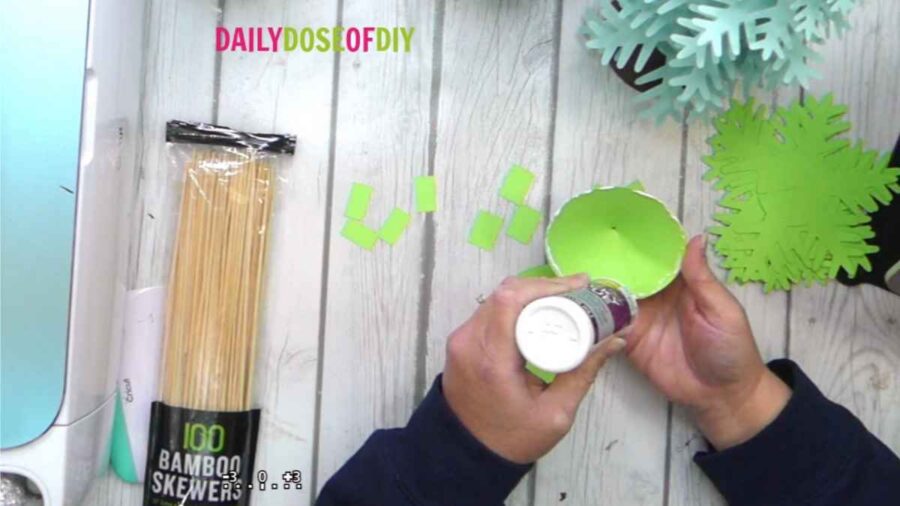
To attach the skewer to the base, it’s easiest to use hot glue. Regular glue will work, but you’ll have to hold it a bit until it dries. Dab a bit of hot glue to the flat end of your skewer and then stick it through the hole in the base. Push down firmly until it sets.
Next add more glue around the top of the cone where it meets the skewer for extra assurance that it will stay put.
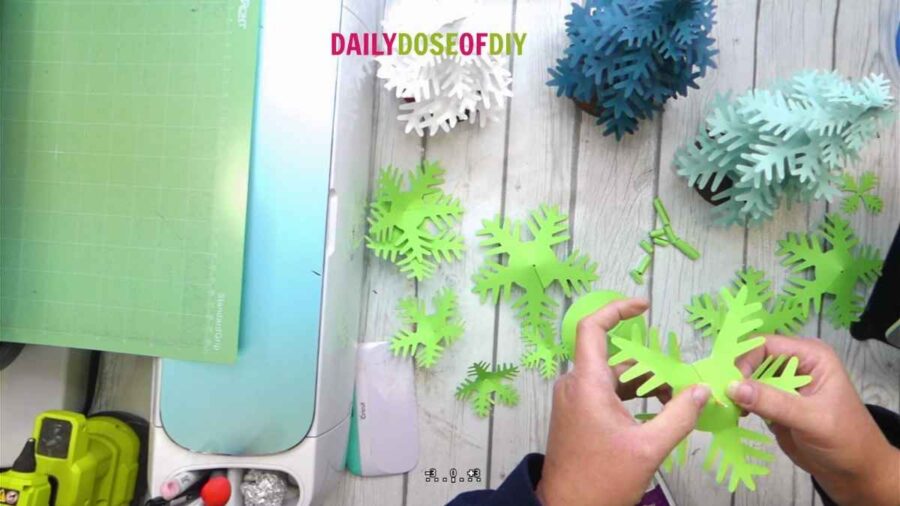
Step 4: Assemble the Christmas Tree Branches
The branches go together much like the base. Place a strip of glue down one of the edges of the slit. Fold the other side over to make a slight cone shape. Hold until the glue sets. Repeat this process for all of the pieces of the tree branches
Use your fingers to curl up the branches (think “fluffing” the Christmas tree). Once your branches are glued together, we’re ready to assemble the tree.
Step 5: Assemble the 3D Paper Christmas Trees
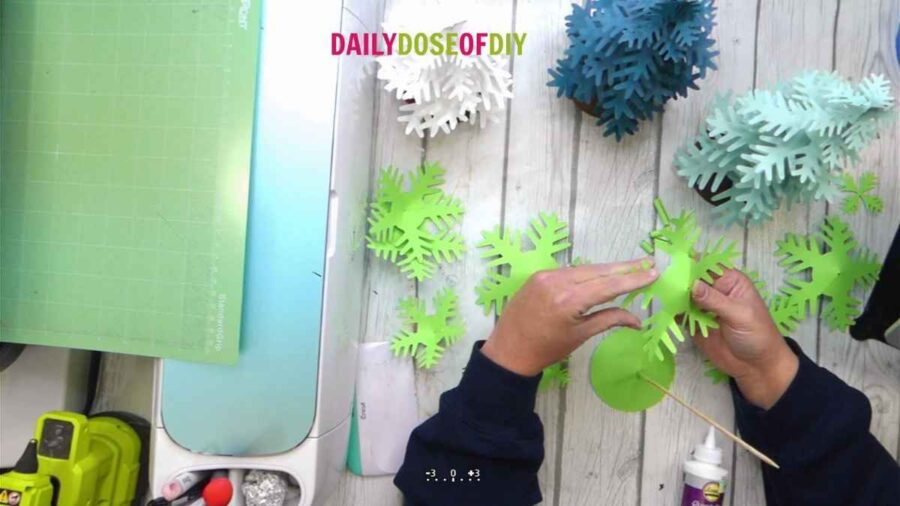
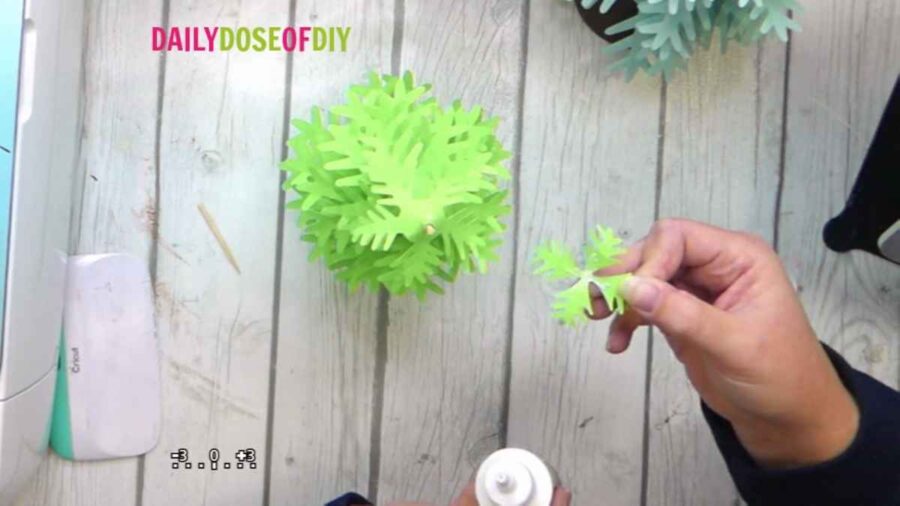
Grab one of the large separator pieces and slide it over the skewer. We already curled them, but I like to add a dab of glue to make sure they won’t come uncurled.
Take one of the largest branch layers and place a dab of glue on the inside near the circle. This will stick it to the separator piece and help everything stay together. Slide the branch layer onto the skewer and all the way down to rest against the separator.
Add another large separator piece and then the next branch layer. Repeat this process until you run out of branch layers.
Once you make it to the last branch layer, you should have one last small separator piece. Add that to your skewer. Now you will probably need to trim your skewer. I do this by using my scissors to make a score line in the skewer. This will help it snap right in half.
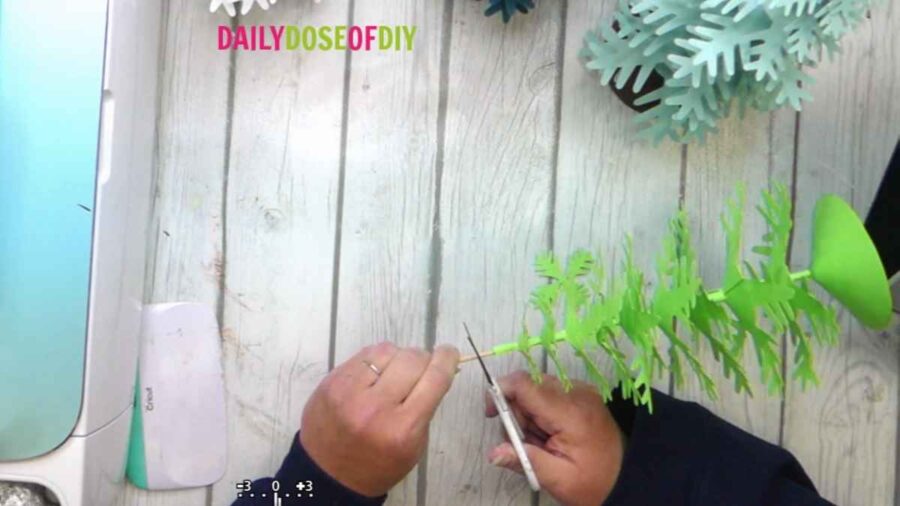
Take the top branch piece and curl the branches if you haven’t already. Place glue in the center and down each branch. Place the top branch on the top of the skewer and push down the side branches to cover any visible parts of the skewer. Allow to dry.
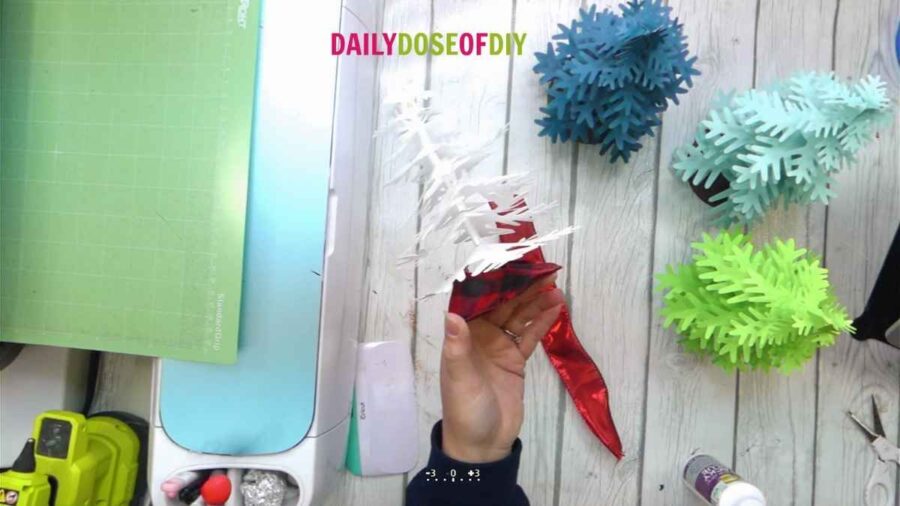
Step 6: Add Embellishments
This is totally optional, but you can give your tree a “skirt” by wrapping a piece of ribbon around the base. Use at least a 1.5-2″ wide ribbon. Cut slits into one side of the ribbon so it will curve easier and then glue it to the base of your tree.
You could also add glitter glue to the branches, mini paper ornaments, stickers or fairy lights. You can even add a star to the top of the tree. This part is where your younger children will have fun.
You can make it a great craft for the whole family. Let the kids have fun decorating some trees while you make some for yourself.
I hope you have a beautiful Christmas and make many holiday memories.
Try out more Simple Christmas Crafts:
Hidden Name Gift Tags for Christmas

Chris Butler has helped thousands of crafters learn how to use their Cricut machine without feeling overwhelmed. She is a best selling author and an up and coming designer. For fun Chris enjoys designing SVG Files, hanging out with her family (preferably at the lake), traveling, and volunteering at her church. She is a wife and mom of two crazy fun kids.
Leave a Reply