This post may contain affiliate links for your convenience. If you make a purchase through one of my links I will earn a small commission at no additional cost to you.
Last Updated on September 25, 2020 by Chris Butler
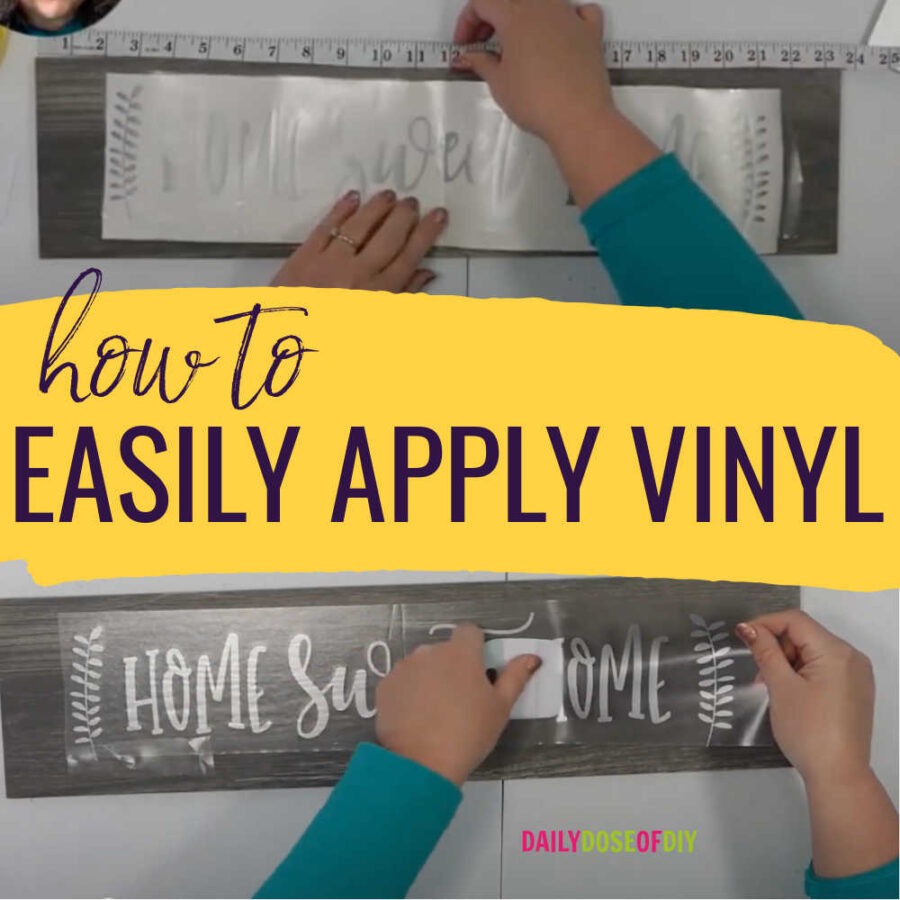
How to Apply Vinyl with the Hinge Method
Hello crafty friends! Today I’m going to show you how to apply adhesive vinyl using the hinge method.
This will help you to apply your vinyl straight and without any wrinkles or bubbles, and it will work for just about any surface you could want to put vinyl decals on.
This method works to apply vinyl to wood or to apply vinyl to glass. It will work to apply vinyl to any surface that is not an orb shape (like Christmas ornaments, that takes a different method which I explain in my Ultimate Guide to Vinyl book here.)
I have another post where I show you how to get the transfer tape on vinyl an easy way, you can find that here.
By the way, if you like the “Home Sweet Home” decal I use in this tutorial, you can have it! See the bottom of this post for information on how to download it and other FREE SVG files.
Let’s get started.
Quick Links to Information in This Post
Supplies Used to Apply Vinyl
To apply adhesive vinyl you are going to first need some vinyl. I recommend Oracle 651 permanent vinyl for most projects.
You will also need some transfer tape to transfer your vinyl. I like to use clear contact paper from places like Walmart (found in the shelf liner section). It’s much cheaper and usually works a lot better than craft brands.
And finally, you’ll need a scraper tool to apply your vinyl. I like the extra-large version from Cricut.

For this demonstration I am putting a Home Sweet Home vinyl decal on a tile I purchased from Lowes.
I designed the Home Sweet Home SVG and if you fill out this simple form here, I will send it right over to you so you can use it too.

Step 1 – Center Your Decal on the Project
Start with a vinyl decal that has transfer tape already applied, with the backing still on so it won’t stick to anything until you’re ready.
The first thing you will need to do is find the center of your decal. Fold the design in half so you can see the center easily.
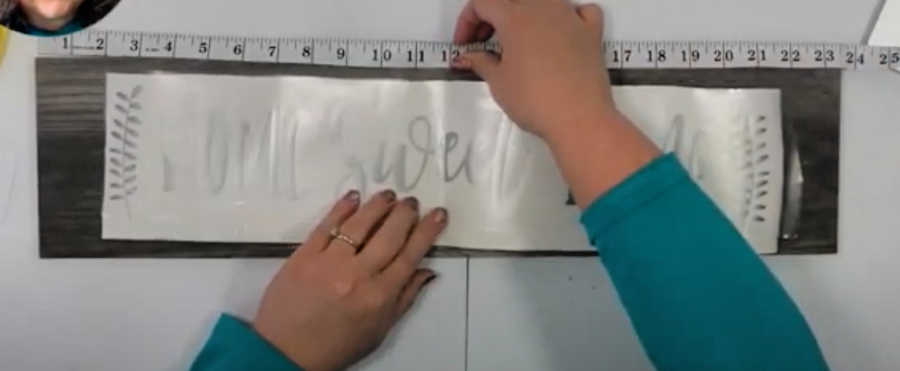
Then you will also need to find the center of whatever you’re putting the decal on, and line up the center of the decal with the center of your tile, board, or whatever you’re using.
Depending on what you’re working with, and how centered you want the design to be, you could use a measuring tape like I did, or you could just eyeball it.
Once you have the decal placed where you want it, take a piece of masking tape and stick it right down the center of your decal and whatever you’re applying it to, to hold it in place while you work.
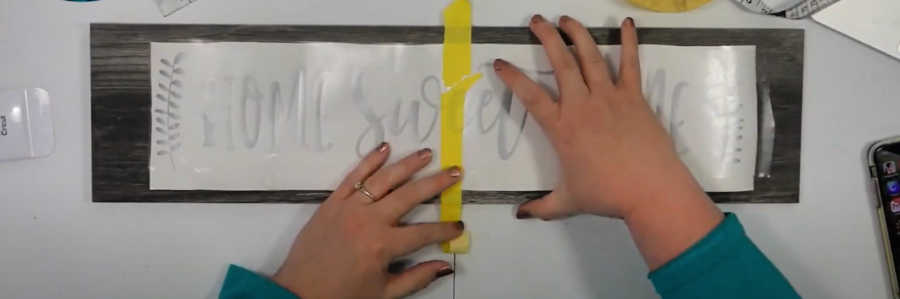
Make sure the masking tape is across the width of the decal so that the two long sides are not attached yet.
Step 2 – Remove the Backing One Side at a Time
Now it’s time to remove the backing and stick the transfer tape down.
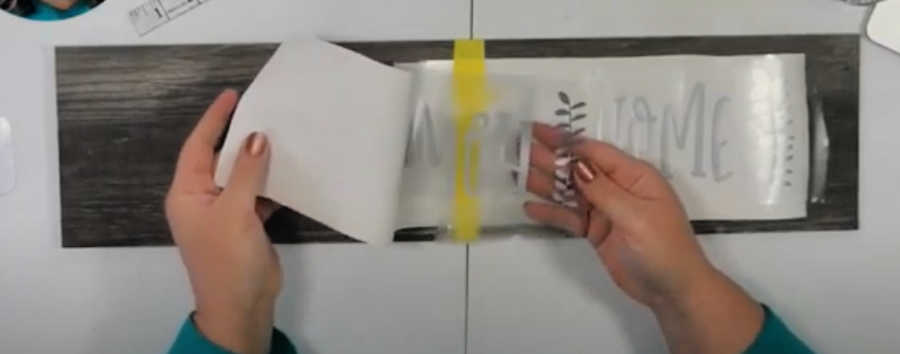
Lift up one side of the decal and remove the backing from that side until you reach the masking tape. Then either tear off that half of the backing, or use scissors or a knife to cut it off.
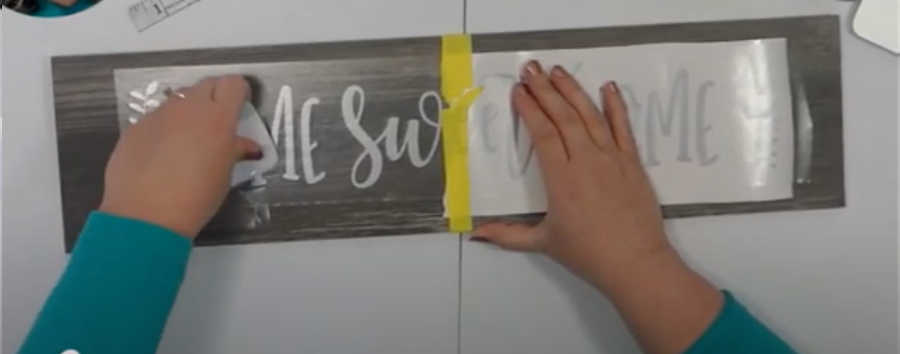
Now that the backing is out of the way, hold your decal up with the transfer tape at about a 45-degree angle from the surface of your project.
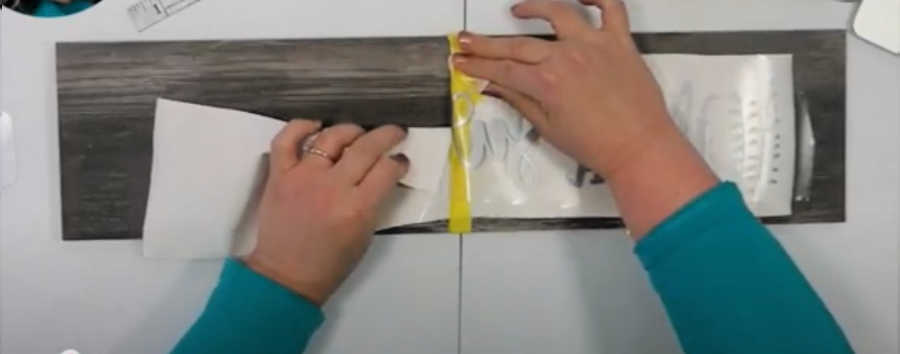
Take your scraper and scrape down the center of the transfer tape, going from the masking tape line out to the end.
You’ll still hold out the end with your other hand. The transfer should only touch your project as you work your way down with the scraper tool.
Then you can scrape out from that center line, up and down, until the whole decal is burnished down. Doing it this way will help it go on without any wrinkles.
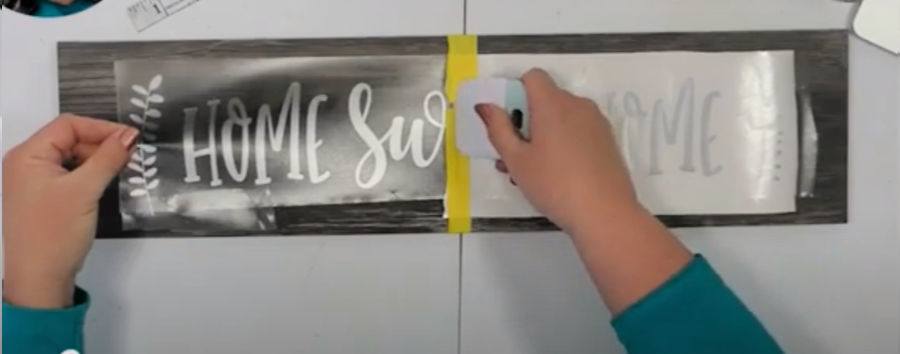
Now that one half of the decal is stuck down, you can go ahead and remove the masking tape.
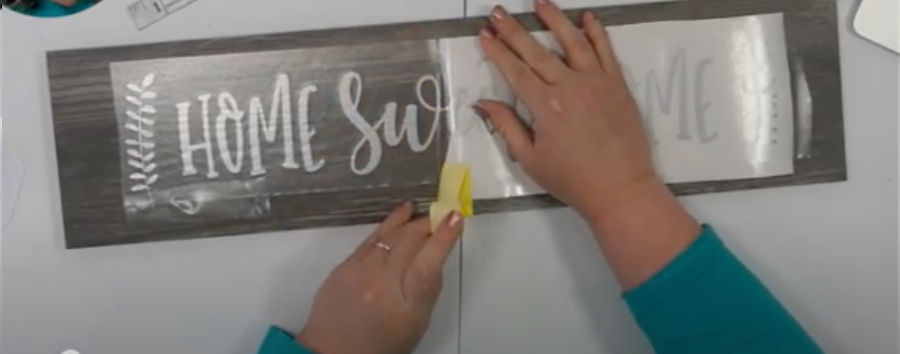
Then remove the backing from other side of your decal and do exactly the same thing: hold the decal out at a 45-degree angle, scrape it along the center-line out to the end, and then scrape up and down to each of the edges. It goes on nice and smooth.
And, of course, since you took the time to position it with the masking tape first, it’s on center and looks great!
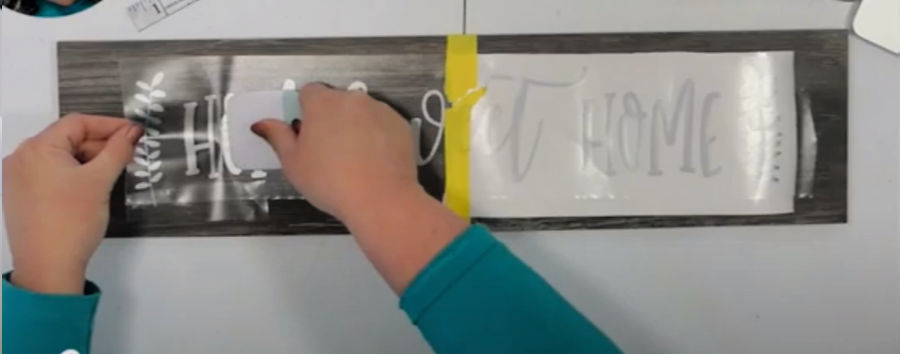
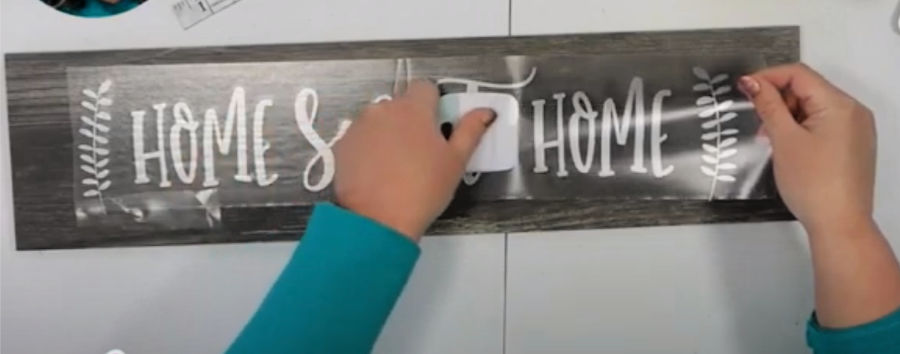
Step 3 – Remove the Transfer Tape
Finally, you’ll want to remove the transfer tape from the vinyl. Peel it back slowly and make sure your vinyl is stuck to your project.
If some vinyl comes up, lay it back down and burnish it again. I show you how to get the transfer tape on vinyl an easy way, you can find that here
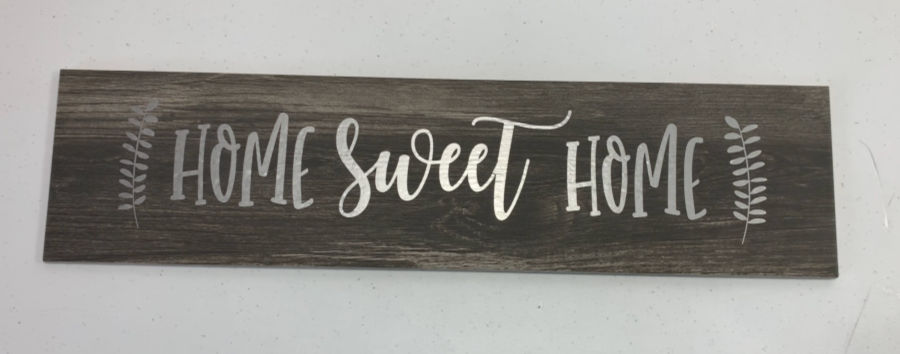
Now you know how to transfer adhesive vinyl and get it straight without wrinkles or bubbles using the hinge method.
There are other methods of transferring vinyl also, including the wet method and a trick to get vinyl on round objects. I talk about all of that plus a lot more in my Ultimate Guide to Vinyl book. Click below to find out more.

Thanks for crafting with me today!
You may also Like:
- How to Get Vinyl to Stick To Canvas
- How to use Transfer Tape
- Which Vinyl Should I Use for Different Crafts?
How to Apply Vinyl Video

Chris Butler has helped thousands of crafters learn how to use their Cricut machine without feeling overwhelmed. She is a best selling author and an up and coming designer. For fun Chris enjoys designing SVG Files, hanging out with her family (preferably at the lake), traveling, and volunteering at her church. She is a wife and mom of two crazy fun kids.
Leave a Reply