This post may contain affiliate links for your convenience. If you make a purchase through one of my links I will earn a small commission at no additional cost to you.
Last Updated on December 6, 2021 by Chris Butler
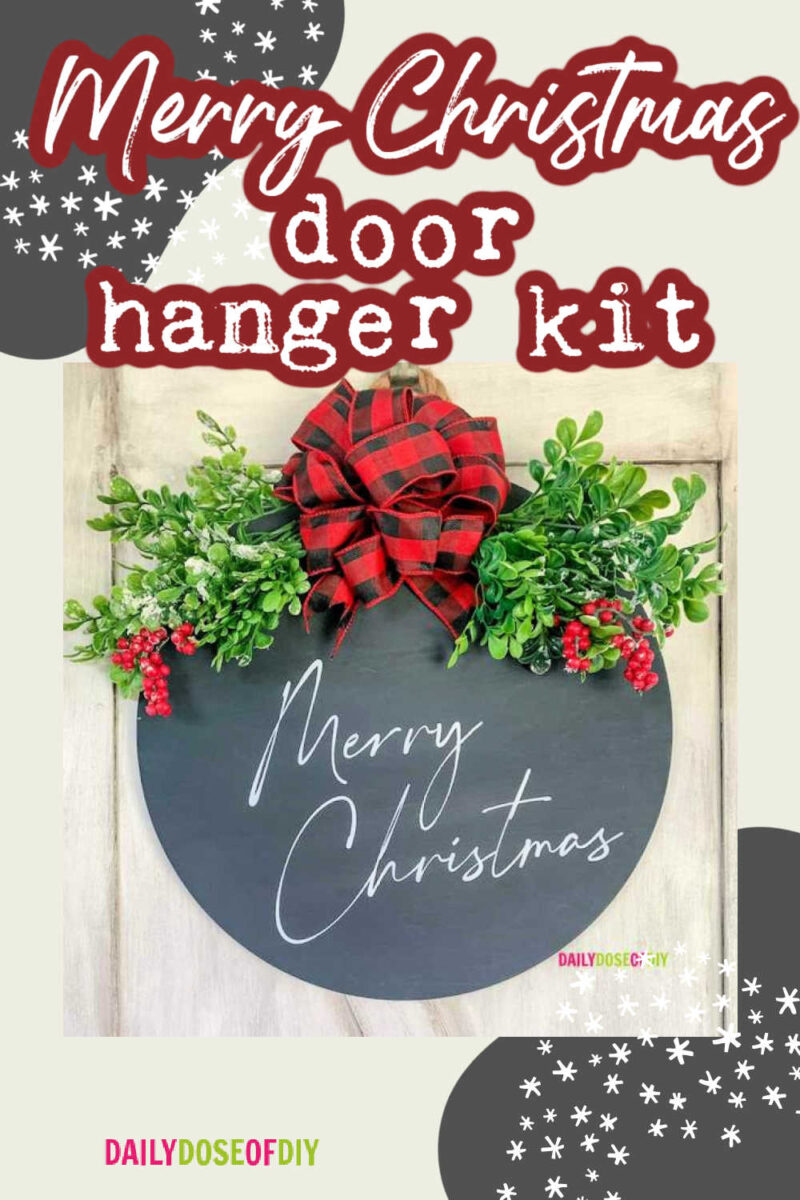
Hi crafty friends! Today I’m going to show you how to make a lovely Merry Christmas door hanger. It’s a gorgeous addition to your front door to welcome people into your home. The best part about this tutorial though might be the super easy way to make a bow. It’s not complicated at all and I think you’re going to love it!
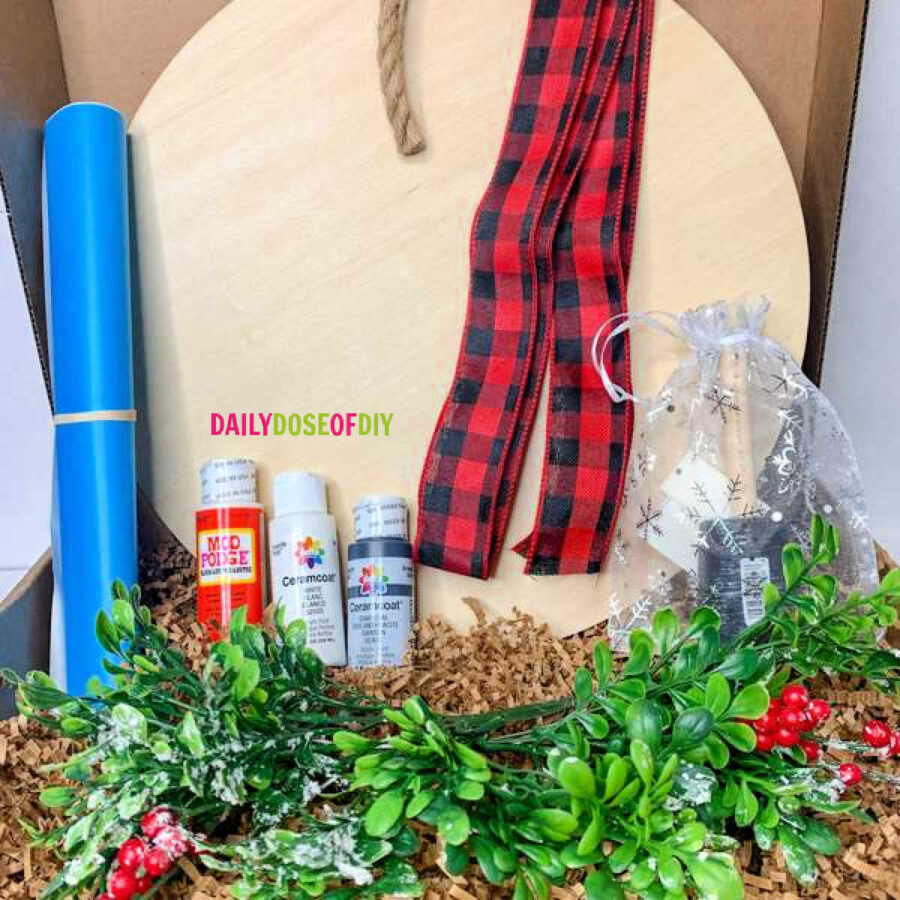
If you’d like to make this craft even easier, I’m currently selling Christmas door hanger craft kits in my shop. The kit will include everything you need to make this craft, including a door hanger, paint, paint sponges, mod podge, a rope hanger, everything needed to make the bow, and the greenery. All you’ll need to have on hand is a hot glue gun, a pair of scissors, and maybe a paper plate to put your paint on.
Related: Christmas Embroidery Hoop Door Hanger
Let’s get started!

Quick Links to Information in This Post
Supplies Needed for Christmas Door Hanger
- 15″ x 1/4″ Wood Round – https://www.dailydoseofdiyshop.com/caoyl
- Charcoal Paint
- White Paint
- Mod Podge
- Foam Brush and Sponge
- Piece of Rope
- Oracal Stencil Film – https://amzn.to/3pv7E7n
- Oracal Transfer Tape – https://amzn.to/31yyZ0r
- Buffalo Check Ribbon 1.5″ x 3 yards
- Chenille Tie off Wire
- (2) Snow and Berries Christmas Greenery Picks
- Glue Gun
- Scissors
Remember, you can get almost all of the above-listed items in the craft kit! If you don’t need the craft kit but still want the 15″ wood round, click here.
Christmas Door Hanger Video
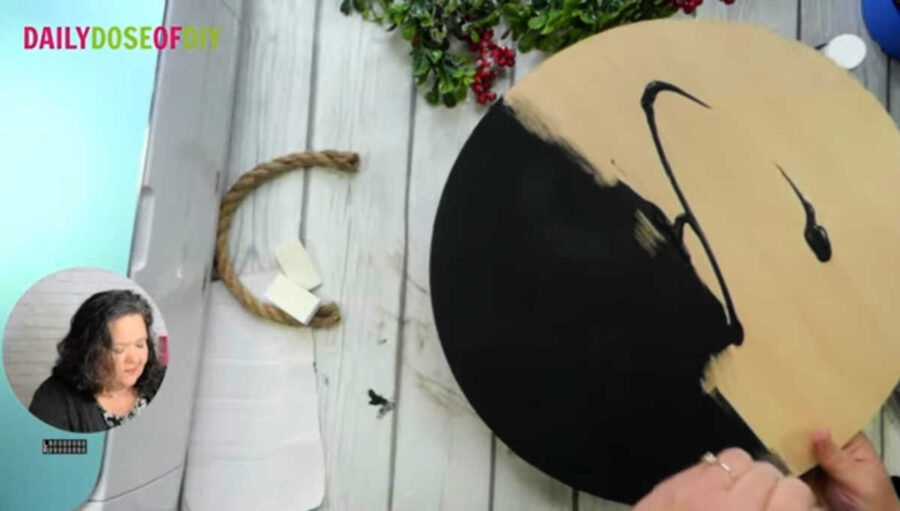
Step 1: Paint the Wood Round
Before we do anything with our Cricut, I’m going to start by painting the wood round. Doing this step first will give the wood round time to dry while I make and cut my vinyl stencil.
The first step of painting the wood round is to clean it. Paint will always adhere better to a clean surface, so just quickly wipe your board off with a microfiber cloth. If you use a damp cloth make sure the wood round is completely dry before you start painting.
For my base I used a charcoal gray paint. I like to just squeeze a small amount of paint onto the board and use a foam brush to spread it out evenly over the board. Take a minute to make sure you have full coverage, and don’t forget the sides!
Tip: Always paint with the grain of the wood for a smooth finish.
Once you’ve got your board painted, set it aside and let it dry while you make your vinyl stencil.
Step 2: Get the SVG File & Upload to Design Space
Download the SVG File
First, download the free SVG file and upload it into Design Space. You can get access to my free resource library full of SVG files here.
Once you’re in the resource library the SVGs are in alphabetical order. Just click on the SVG you want and the download will automatically start. If you need extra help with downloading and uploading SVG files read this post. If you still have questions you can email me at hello at dailydoseofdiy.com.

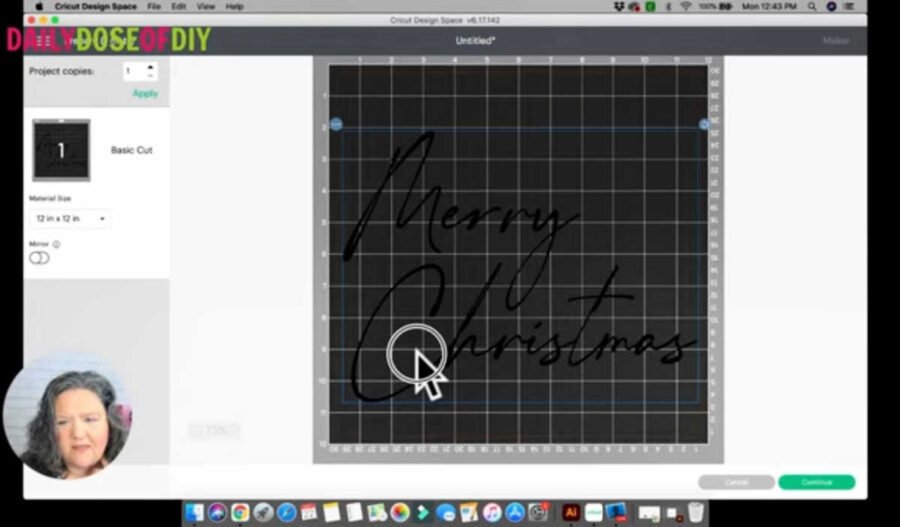
Re-size Your Design
Now that you’ve got your design uploaded into Design Space, you can size it to fit your wood round. If you order a wood round from my shop it will be 15 inches in diameter. The SVG file will come into Design Space at 10 inches wide, so I’d like to size it to be just a little larger. Using the size handle at the bottom right corner of the design, I’ll stretch it to be around 11 inches wide.
Tip: If you’d like to see the placement of your design, make a circle from the shapes menu and use the size menu at the top to make your circle 15 inches wide. (Your dimensions should be locked and changing the height should change the width to match and vice versa). From here you can change the size of your design and visualize what it will look like on your wood round. When your design is ready, delete the circle.
When your design is ready, click Make It and go to the mat screen. Since we’re making a vinyl stencil, I like to move the design down, closer to the middle of my mat. This allows you to have a bigger margin around your design when you start to paint.
After you center your design, click continue, connect your Cricut, and set your material to vinyl. You can set the material to stencil vinyl if you prefer, but the pressure settings are all the same.
Step 3: Cut & Weed Your Design
To cut the design, first place your stencil vinyl onto your mat and smooth it down with your scraper tool.

Next, load the mat using the flashing arrow button and when the ‘C’ button starts flashing, press it and your Cricut will start cutting the design.
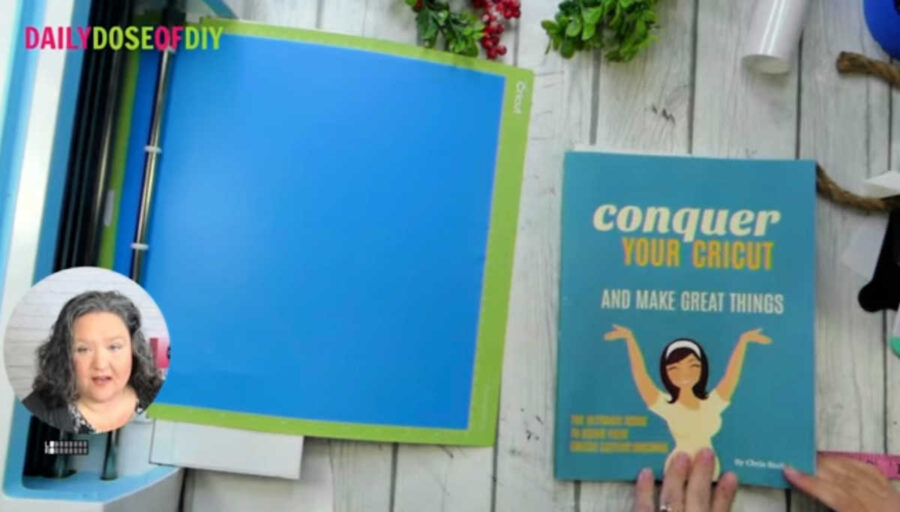
Psst! Are you having trouble with all of the lingo I’m using? Or do you want some more in depth training on all the mechanics of using your Cricut? Check out my digital guide: Conquer Your Cricut and Make Great Things. This guide has great step-by-step cheat sheets on using all the different functions in Design Space. And, as a bonus, I’ll teach you a few specific crafts, like making vinyl stencils.
Once your design is cut, you can leave it on your mat while you weed it. Weeding stencil vinyl is the opposite of weeding regular adhesive vinyl. Instead of weeding out the background, you’ll be weeding out the letters. Go slowly and make sure the centers of all your letters stay in place.
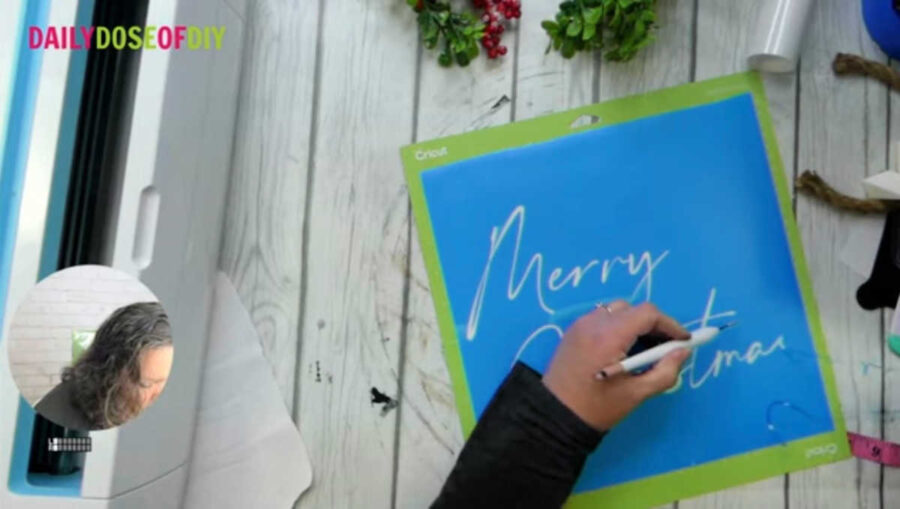
Now you’re ready to apply the transfer tape!
Step 4: Transfer Your Design
Apply Transfer Tape
Before you apply your transfer tape, make sure there are no bubbles in your stencil vinyl around your design. If there are bubbles, just use your scraper tool to gently push them out of the way.
Start your transfer tape by folding down one edge of the backing. Then, line up your transfer tape to the edge of your vinyl and smooth it down. Next, you can start slowly pulling the backing away while smoothing down the transfer tape with your hand or your scraper tool.
You can see the full step-by-step tutorial with pictures on how I Apply Transfer Tape here
With your transfer tape on, turn your mat over and start peeling the mat off of your vinyl. By peeling the mat instead of the vinyl, you’ll have fewer bubbles in your stencil. Again, if you get bubbles, just press them out gently with your scraper.
Transfer Stencil to Wood Round
Now, make sure that your wood round is completely dry. If so, we can apply our stencil. Start by folding down the edge of the backing, just like you did with the transfer tape. Find a good placement for your design, and smooth down the edge.
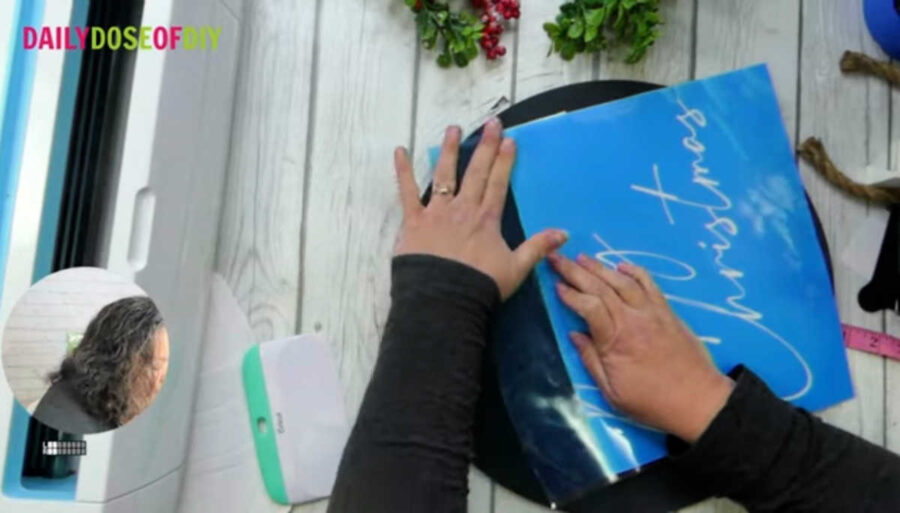
Remember: When trying to find a good placement for your stencil, remember to leave room at the top for your bow and greenery, but also make sure the entire stencil will fit onto your board.
With the stencil stuck in place, flip over the design and remove the backing. If parts of your design don’t want to stay stuck to the transfer tape, just lay it back down onto the backing and burnish the design with your scraper again.
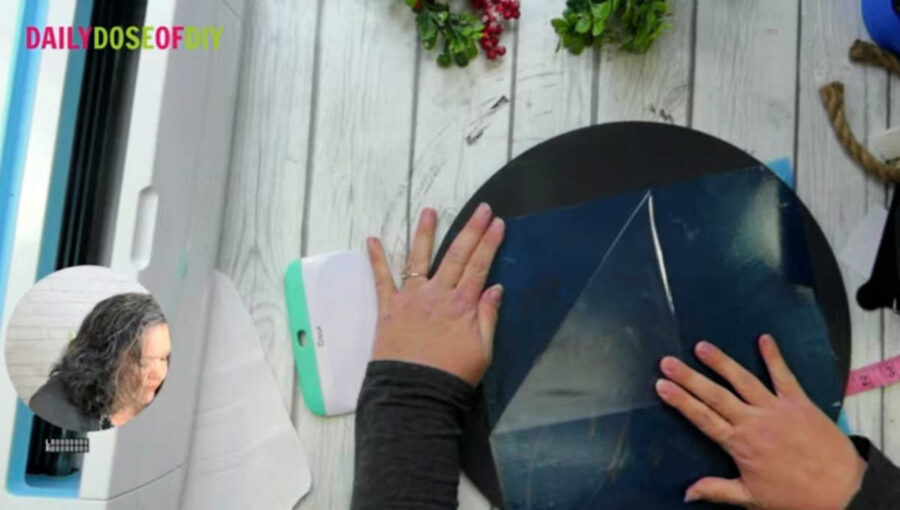
Once you’ve gotten your backing off, pull the vinyl to be at a 45 degree angle from your board and start pressing it down with your scraper tool.
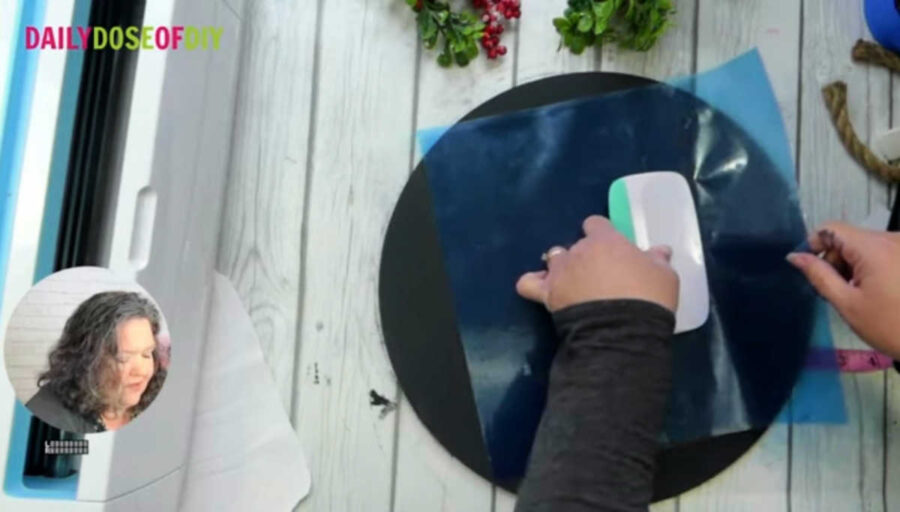
After your vinyl is down, be sure to burnish it very well to help it adhere to the wood. Then, slowly start to peel back the transfer tape. The best way to do this is to start in one corner and pull back slowly at 180 degrees. Pulling back instead of pulling in an upward motion will help your stencil vinyl stay stuck to your wood round.
Step 5: Paint Your Stencil
Now you’re ready to paint your stencil. First, double check that there are no bubbles around your design. Then find something to put some white paint on, like a paper plate. If you are using my craft kit there will be 2 sponge wedges in the kit to paint the stencil. If you aren’t using the kit, I just use a cheap makeup sponge to apply the paint to my stencil.
Dabbing the paint onto the stencil lightly with a sponge will prevent bleeds. It takes a bit longer than brushing the paint on, but it’s worth it to not have to fix paint bleeds when you’re done. Because our base is dark and our letters will be white, you’ll have to apply two or three coats over the stencil.
Tip: Another way to prevent bleeds is to first paint your stencil with the same color as your base, let it dry, then paint over it with the color you want.
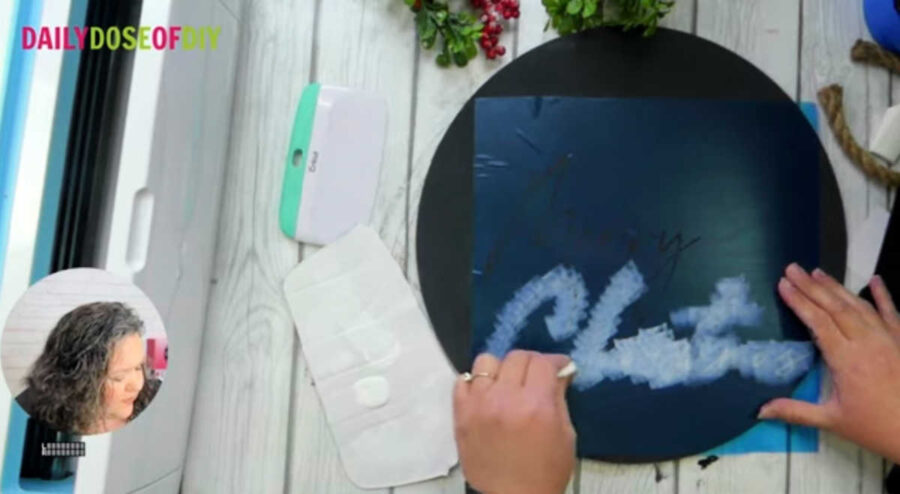
Because we used the sponge method the paint will dry quickly, so, once your stencil has been painted and has good coverage you can begin to pull it off of your board. Be sure to pull it off against the grain of the wood to keep from pulling up some wood splinters.
When you pull up your stencil, make sure to get all of the centers of the letters as well. If you have some trouble, use your weeding hook to gently pry it up on one side.
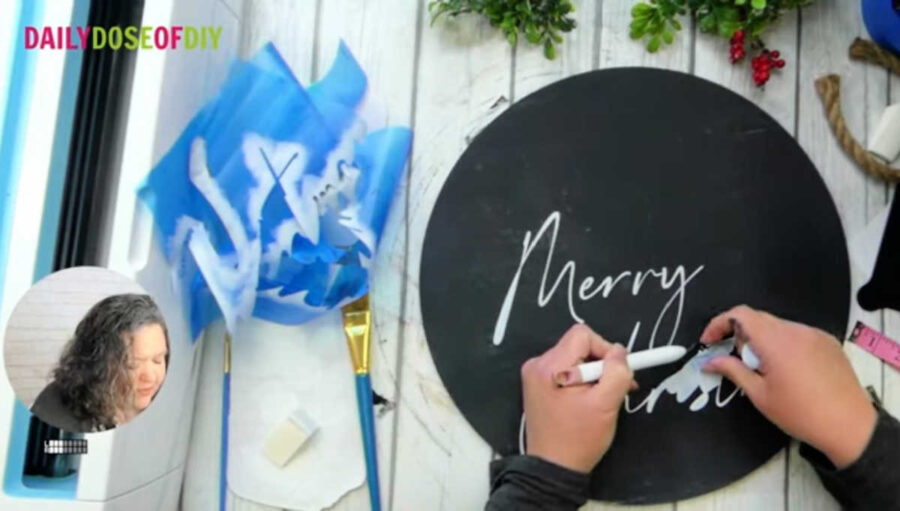
If you had any trouble with pulling up your stencil, now is the time to do paint touch-ups. Also, if you’ll be placing your hanger outside, take a few minutes to seal it with ModPodge before putting your bow on.
Step 6: Make Your Bow
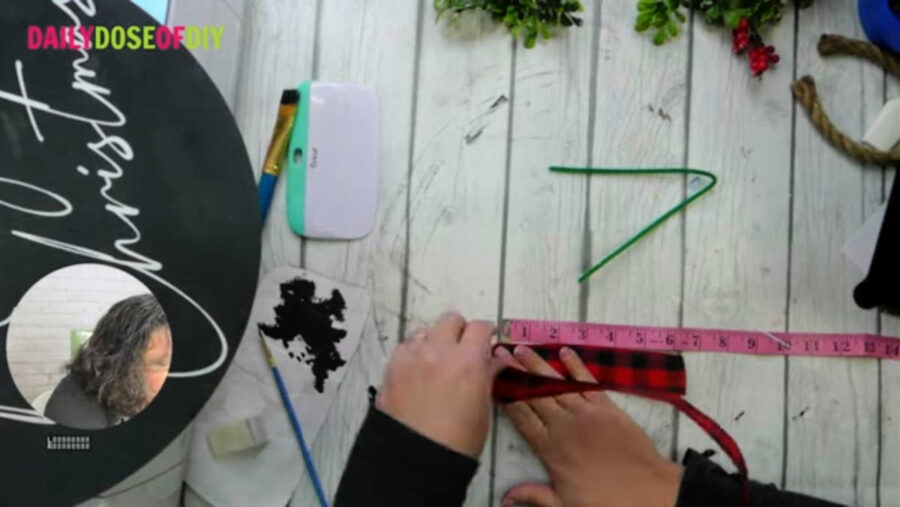
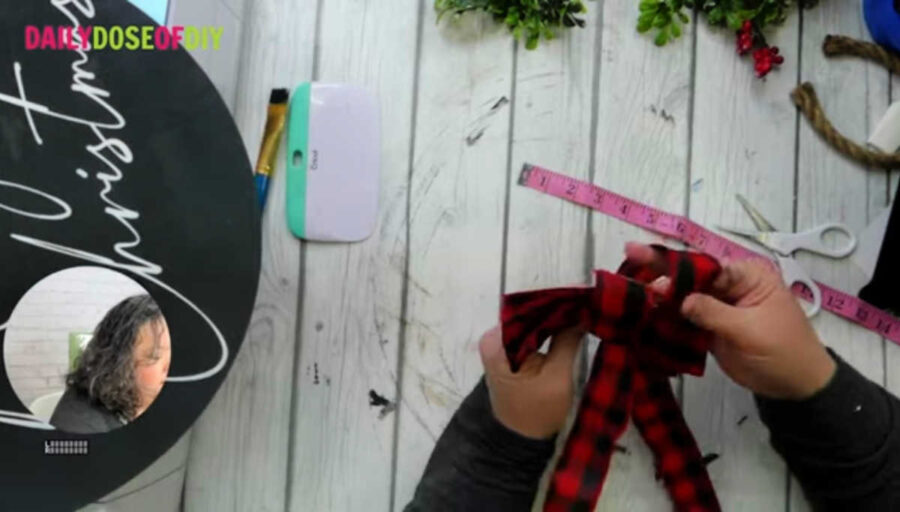
Now, this is the part I’m most excited to tell you about! You won’t believe how easy this bow is to make. For this bow, you’ll need 3 yards of wired ribbon. To start, I like to use my measuring tape. Measure 6 inches out with your ribbon and then start folding the ribbon back and forth on top of itself until all 3 yards of ribbon is folded.
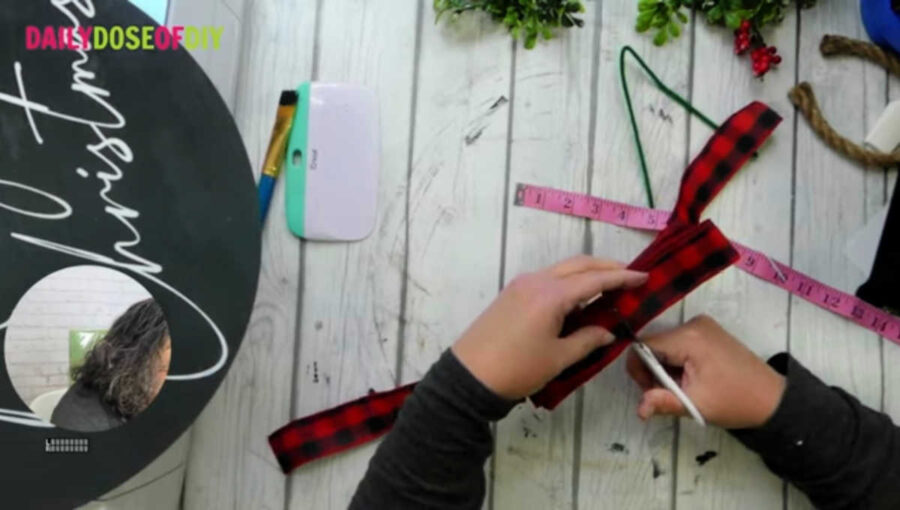
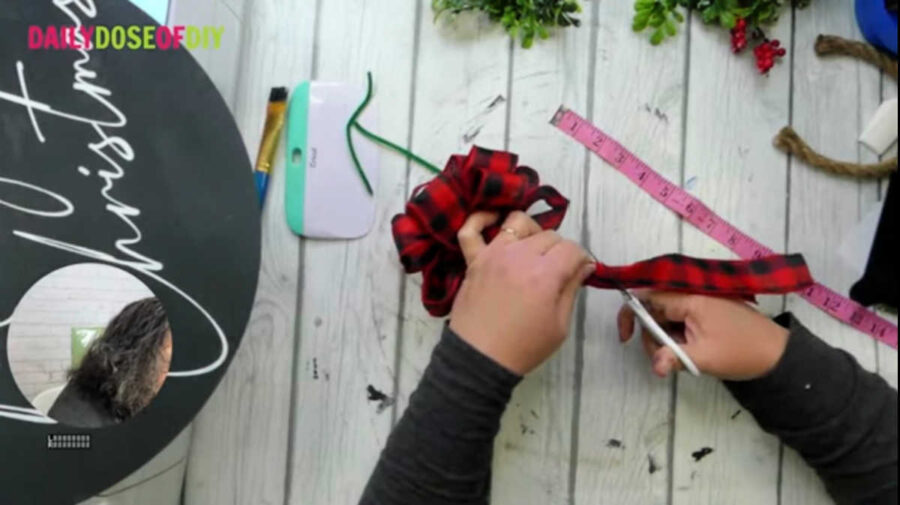
First, pull the first and last fold out to be the tail of the bow later on. Next, cut a small notch in the top and bottom of the center of your bow (this step is optional, but I think it makes the bow look cleaner when it’s finished). Then wrap your chenille stem around the ribbon, fitting it into the notches you’ve cut, and tie it off.
Now you can pull your two tails down and out of your way. Then begin pulling up each loop of the ribbon, opening it up and twisting in the middle. By alternating twists up and down you should have a full bow when you are done twisting each loop.
When all the loops have been opened, you can adjust them however you like. Then, cut the excess chenille stems off of the back (or if you’d like to attach the bow to something by tying it, you can leave them).
Next, trim your ribbon tails. Because I don’t want mine to get in the way of our sign, I’m going to trim them pretty short. Just fold the tail in half and cut the excess off at an upward angle.
Step 7: Glue Bow & Greenery to Your Door Hanger
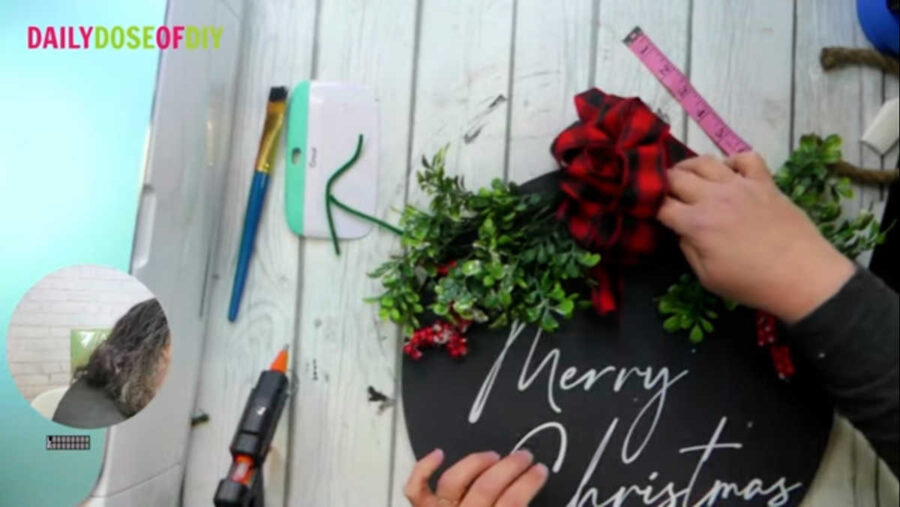
Now that your bow is finished you can heat up your hot glue gun. Before attaching the bow we will attach the greenery. Make sure you cut off any excess stem, then position the greenery however you like it and use your hot glue gun to secure it in place.
Hold the greenery for a few seconds while the glue dries, then you can glue your bow in place right in the center.
And, of course, this isn’t a door hanger unless we’ve got something to hang it with. Flip your board over and use your hot glue gun to attach your rope hanger. Let the glue dry for a few seconds and then you’re all set!
Now all that’s left is to fluff your bow and adjust your greenery and you’ve got the perfect Christmas greeting sign. Thanks so much for crafting with me today!

Chris Butler has helped thousands of crafters learn how to use their Cricut machine without feeling overwhelmed. She is a best selling author and an up and coming designer. For fun Chris enjoys designing SVG Files, hanging out with her family (preferably at the lake), traveling, and volunteering at her church. She is a wife and mom of two crazy fun kids.
Leave a Reply