This post may contain affiliate links for your convenience. If you make a purchase through one of my links I will earn a small commission at no additional cost to you.
Last Updated on October 20, 2023 by Chris Butler
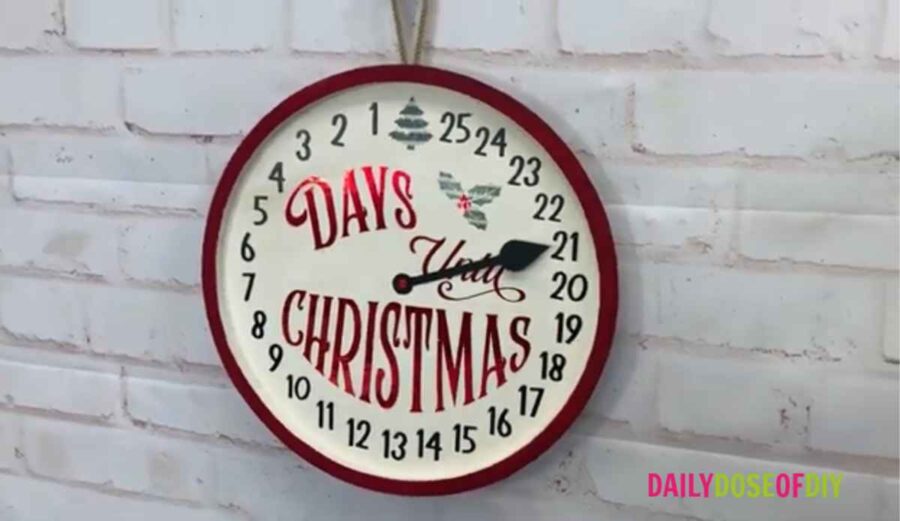
Today we’re making a DIY Christmas Countdown Clock. If you’re tired of answering the question “How many more days until Christmas” then this craft is for you!
The Christmas Countdown Clock is a great way for little kids to quickly see how many days are left and it also doubles as awesome holiday decor. It’s a super fun way to count down the days until Christmas Day.
Let’s get started with this unique and fun Christmas Countdown Calendar.
Quick Links to Information in This Post
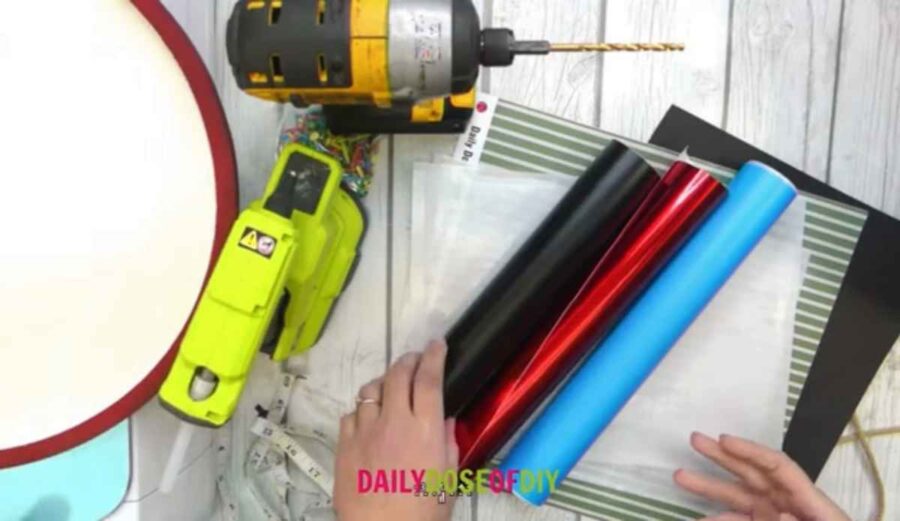
Christmas Countdown Sign Supplies
- 12″ Wood Round – I found mine at Hobby Lobby, you can also get them on Amazon here
- Red Paint
- White Paint
- Paint Brushes
- Black Vinyl
- Red Vinyl
- Green Vinyl
- OR Stencil Vinyl (If you prefer to Paint your Countdown Clock)
- Transfer Tape
- Black Cardstock
- Crafting Brad Fastener
- Drill
- Rope or Ribbon
- Hot Glue Gun
- “Days Until Christmas” SVG File – In my Free SVg library, details are below
- Cricut Machine & Tools
I’ve also included a clock hand SVG in the file to cut a clock hand out of cardstock. I tried several clock hands from stores and none of them lined up quite right, so I just made my own.
Christmas Countdown Clock Tutorial Video
This video tutorial shows you, in just a few simple steps how you can create a countdown clock for everyone’s favorite holiday!
Step 1: Download the SVG File and Upload it to Design Space
To start this craft, download the free Christmas countdown clock SVG file from the library.
All of my free SVG files and Designs are kept in a library for your convenience. We will send you the link and password right away, and you’re free to use all the resources you want in the library.
Already have the password? (It’s at the bottom of every email) Enter the Library Here
For help downloading SVG Files and uploading them to Design Space see this post.
Once your design is on the canvas no other changes need to be made, so you can click ‘Make It’.
No need to change anything on the mat screen either. Just make a mental note of which mat your clock hand is on, so you’ll know when to change your material settings to cardstock.
Step 2: Cut & Weed the Countdown Clock Design
Now you’re ready to cut. For a Cricut Explore, set your dial to vinyl. If you have a Maker, select vinyl from your material list. If you don’t have it saved to your ‘Favorites’ list, just use the search menu and type it in.
Put the vinyl on your mat. If you have any wrinkles or bubbles, use your scraper tool to smooth them out. Place the mat into your Cricut and press the flashing green ‘C’ button to load the mat.
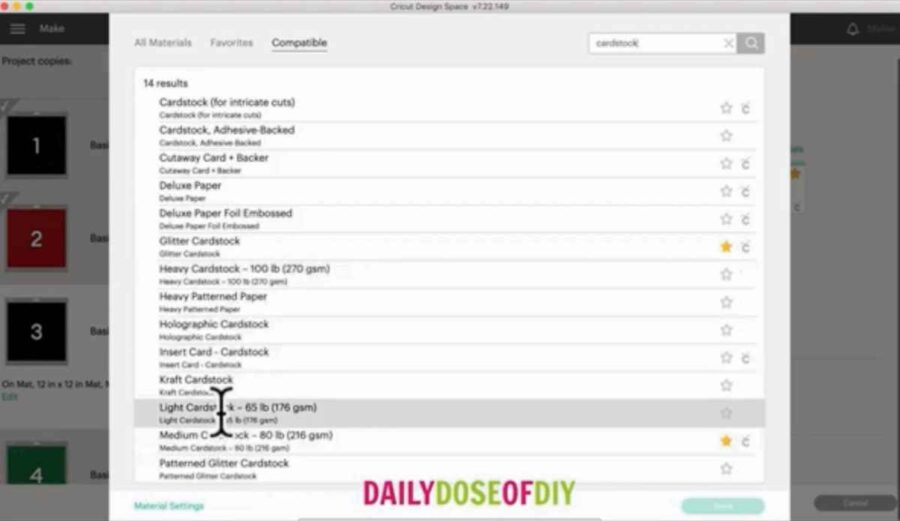
When you get to the mat to cut the clock hand, change your material to cardstock by browsing all materials and typing ‘cardstock’.
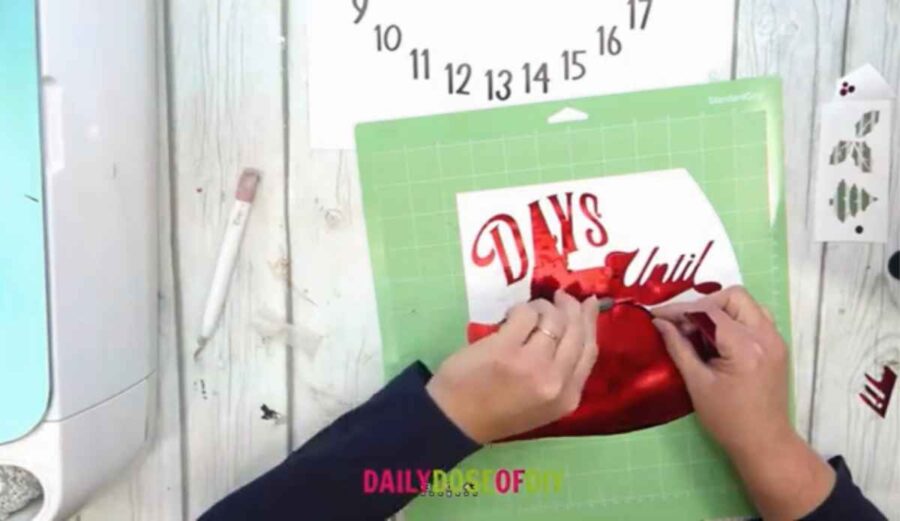
Once all of the mats have been cut you can weed your design. Begin by pulling the excess vinyl back slowly, making sure it doesn’t stick to your design. If any letters get stuck or start to pull up, use your weeding hook to hold them in place.
For my letters I used Cricut’s metallic red vinyl, and it was quite a challenge to weed because it kept tearing. My solution for this was just to go slowly and weed smaller sections by cutting away the excess vinyl with my scissors or craft knife.
Step 3: Transfer the Design onto the Clock Face
After your design has been weeded out, it’s time to apply transfer tape. Fold the backing on one edge of your transfer tape, center it on your design and stick it down to the table.
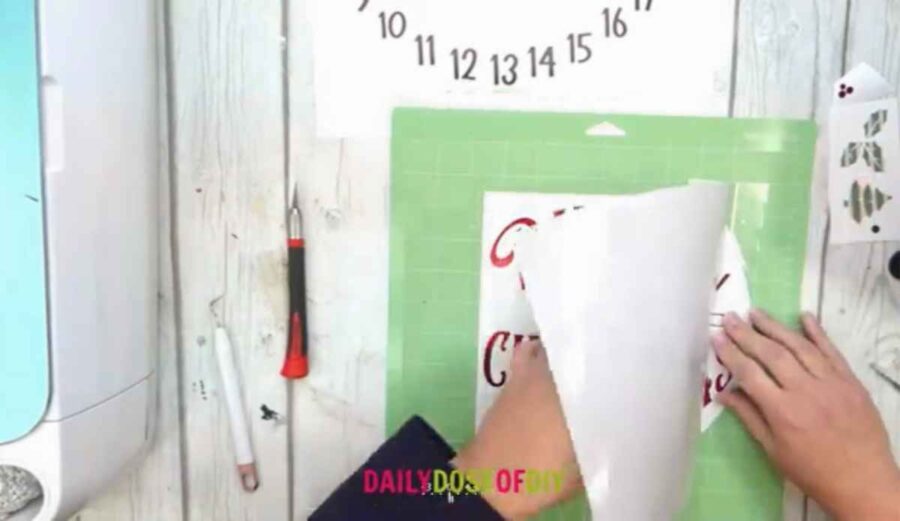
Then, in one movement, pull the transfer tape backing away while smoothing down the transfer tape with your other hand. Use your scraper tool to burnish the design well.
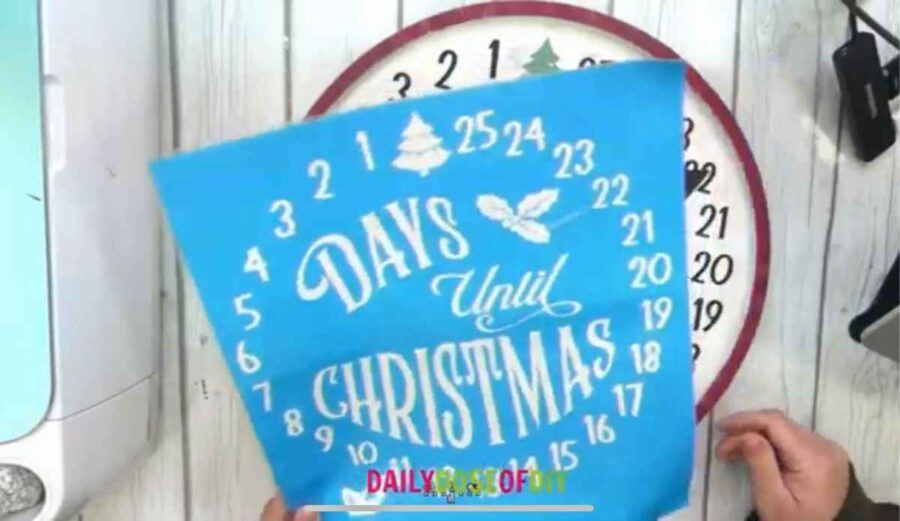
Before adding the transfer tape to the numbers of the clock, I want to transfer the Christmas tree onto the top of the circle. When that’s done, add transfer tape to the numbers in the same way we did to the words.
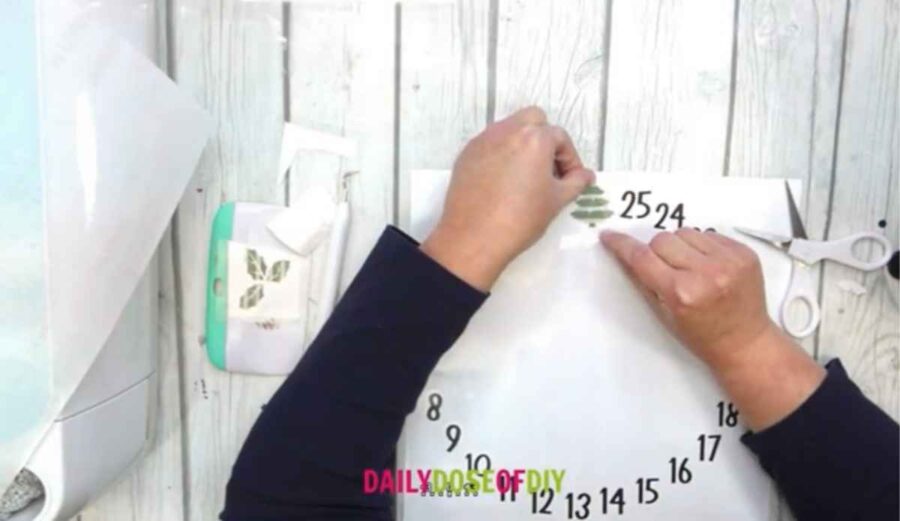
Trim off the excess backing and transfer tape from the outside of the design to make transferring easier.
Drill a Hole for the Clock Hand
Before we transfer our design, we need to drill a hole for the clock hand. Since this will be in the center of the clock it will also help us to center the vinyl.
Start by using a measuring tape to find the center of the clock. Measure from side to side as well as top to bottom to get the exact center. Mark the spot, then use a power drill to drill a hole there.
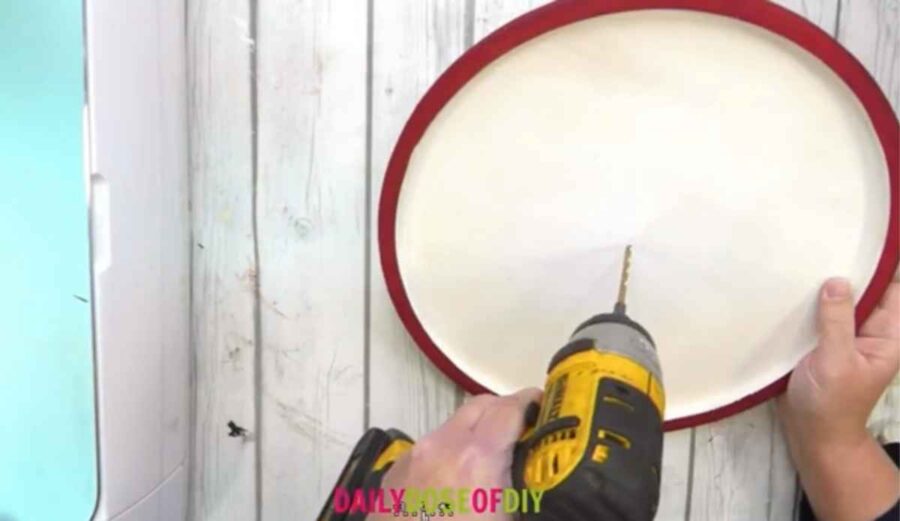
Make sure the drill bit you use is small enough that the top of the brad cannot go all the way through the board, but big enough that the prongs on the brad will fit though the hole.
Finish Transferring the Design
Now we’re ready to apply the vinyl to our sign board.
I should note that I painted my board in advance. After you paint your board it’s a good idea to wait at least 24 hours before trying to transfer your vinyl. If you don’t wait until it is completely dry, you may experience some issues with your paint peeling up when you remove the transfer tape.
Let’s start by transferring the countdown numbers. To begin, peel the backing away from your vinyl. Then, center the design on the clock face. The vinyl won’t stick to the wood right away, so you’ll have a moment to move it into place.
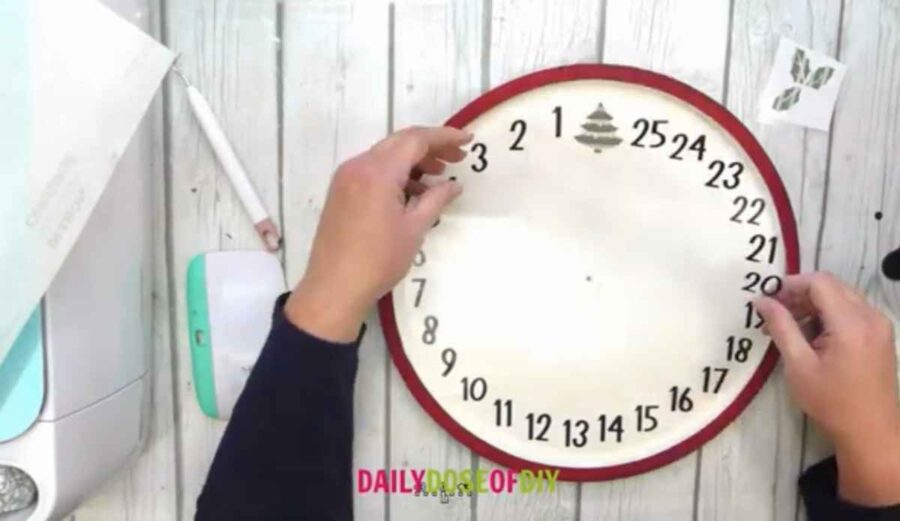
Once it is in place, burnish the vinyl with your scraper tool. Then, slowly pull the transfer tape away at a 180 degree angle (flat against the board).
Repeat this process with the words. Once that is in place you can finish transferring the holly leaves and berries.
If you’ve chosen to paint your sign, then you will have only needed to transfer the stencil onto the board. Make sure the stencil is adhered well, with no bubbles in the design. Then, check out this post to see how I paint vinyl stencils: DIY Animal Print Door Hanger
Step 4: Add the Clock Hand & Hanger
Once all of the vinyl has been added to your sign, it’s time to add the clock hand. Put your brad through hole of the clock hand and then through the hole in the board. Then fold the tabs down that stick through the back of the board.
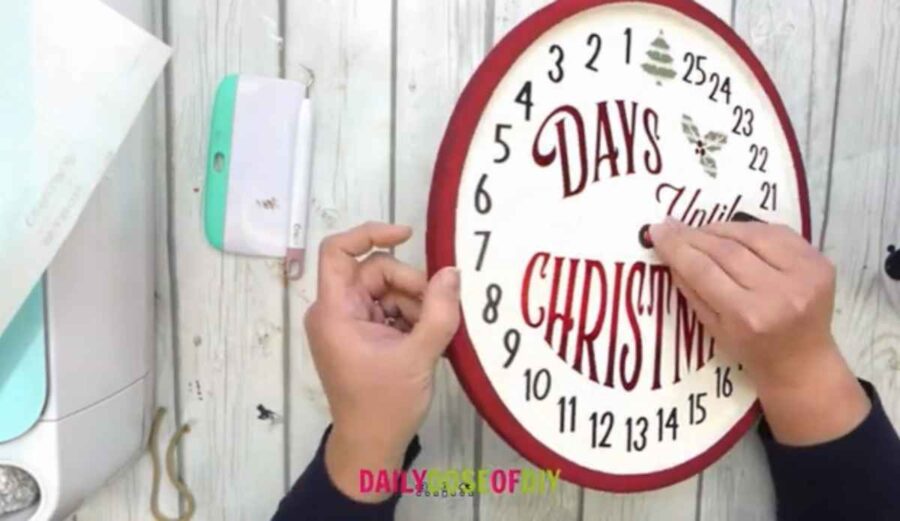
Give your clock hand a spin to make sure it moves okay.
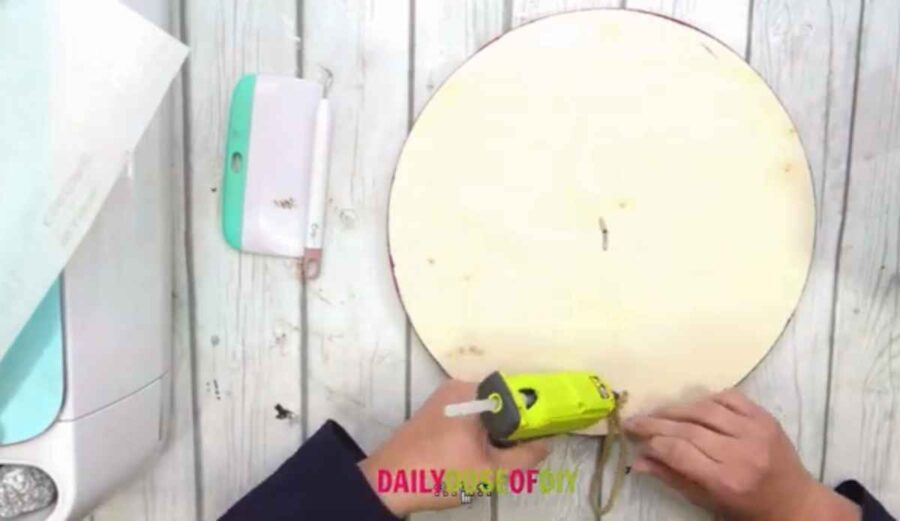
Now, finally we can add our hanger. You can use rope or ribbon, whichever you prefer. Flip the clock over and secure the hanger to the back of the sign with hot glue. Make sure you center it where the Christmas tree is on the front of the board so that it will hang straight.
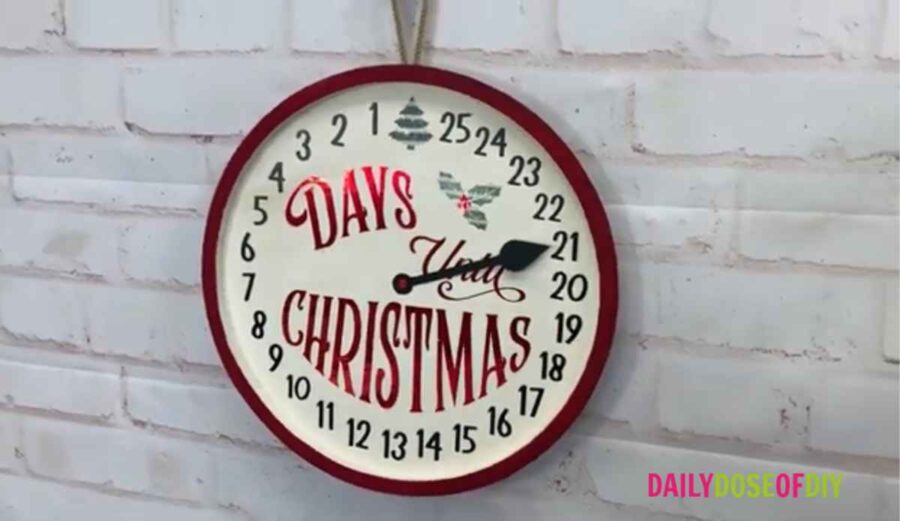
And that’s it! I hope you’ve had fun making this Christmas countdown sign. It’s something the whole family can enjoy and your kids will love moving the clock hand every day. This Christmas Countdown Craft will be a focal point in your home this Christmas season.
Thanks for crafting with me and making a DIY Advent Calendar.
More DIY Christmas Decorations and Holiday Decor:
Christmas Light Up Shadow Box Scenes


Chris Butler has helped thousands of crafters learn how to use their Cricut machine without feeling overwhelmed. She is a best selling author and an up and coming designer. For fun Chris enjoys designing SVG Files, hanging out with her family (preferably at the lake), traveling, and volunteering at her church. She is a wife and mom of two crazy fun kids.

Leave a Reply