This post may contain affiliate links for your convenience. If you make a purchase through one of my links I will earn a small commission at no additional cost to you.
Last Updated on September 7, 2023 by Chris Butler
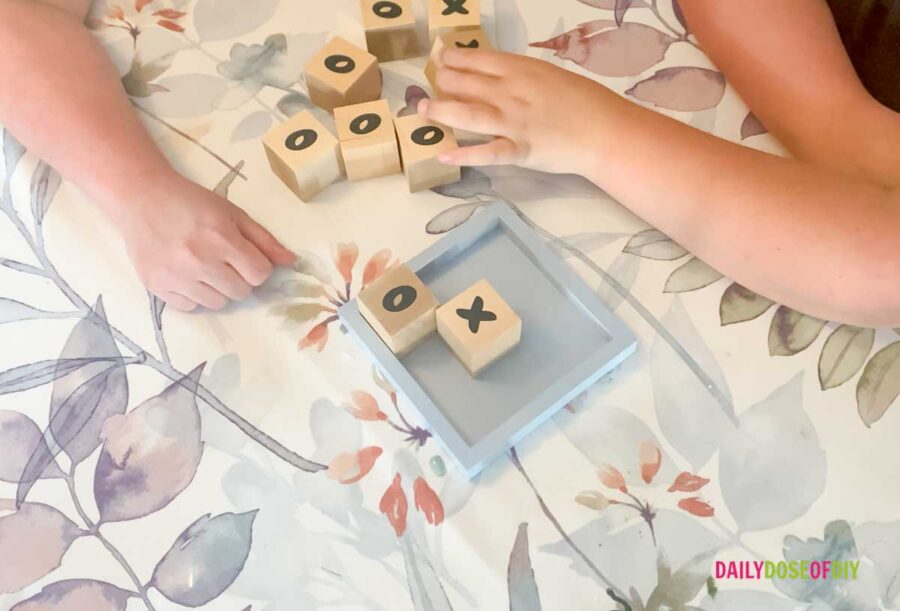
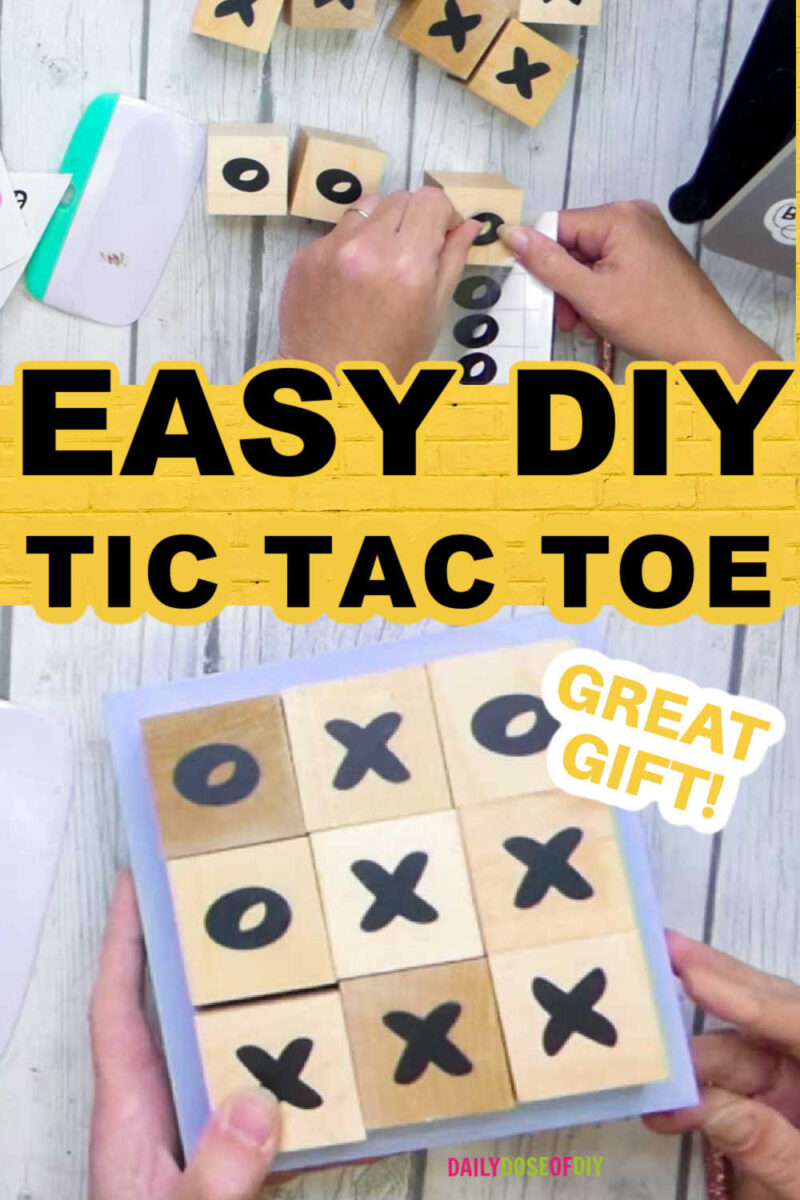
Looking for a great way to add some quality time fun to your house? Create your own DIY Tic Tac Toe game! In this step-by-step tutorial, we’ll guide you through making a perfect size board that guarantees hours of entertainment for friends and family.
The size of the board makes it easy to take along on those long road trips or leave it on your coffee table to play anytime.
Related: How to Make DIY Yard Yahtzee with Wood Dice
The best thing is you don’t need any power tools to make this, the tic tac toe pieces are wood blocks that come already cut. The wooden tic tac toe board will last years and years and it makes a great gift too.
This is a super simple tutorial and it is really easy to make, promise! Let’s get started
Quick Links to Information in This Post
Craft Supplies Needed
- Wood Board with Blocks -I used this one from Amazon
- Paint or Wood Stain
- Brush
- Mod Podge to Seal –https://amzn.to/3r5RW7w
- Permanent Vinyl and Transfer Tape – https://amzn.to/45F46mT
- Cricut Machine and tools
- The Free SVG file for the X’s and O’s (see below)
All of my free SVG files and Designs are kept in a library for your convenience. We will send you the link and password right away, and you’re free to use all the resources you want in the library.
Already have the password? (It’s at the bottom of every email) Enter the Library Here
Watch the Quick Video Tutorial
Step One: Paint or Stain your Wooden Tic Tac Toe Board
First, we will paint the base of our tic-tac-toe board so that the paint can dry while we’re cutting the vinyl. Make sure you get to all edges, It may take a couple of coats of paint. Once the top and sides are dry, we’ll come back and paint the back.
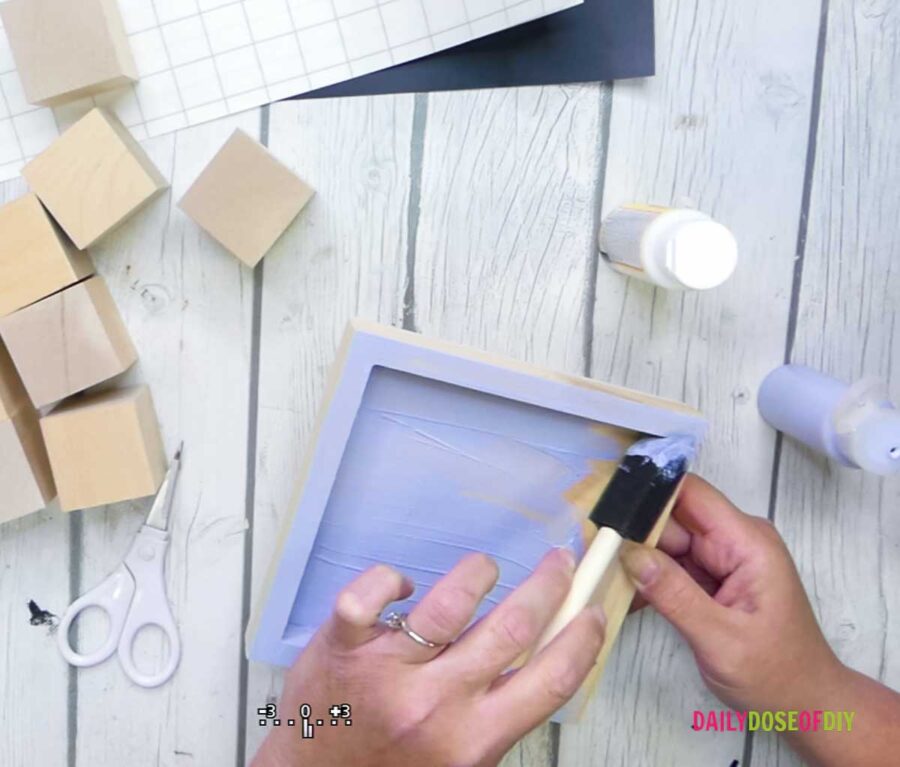
I want my wood blocks to have a natural wood look so I’m just going to go ahead and seal them all in Mod Podge. You can paint or stain your blocks a different color if you’d like, the choice is yours! Make sure you get all sides and while those are drying we can come back and get the back of our tic-tac-toe game board.
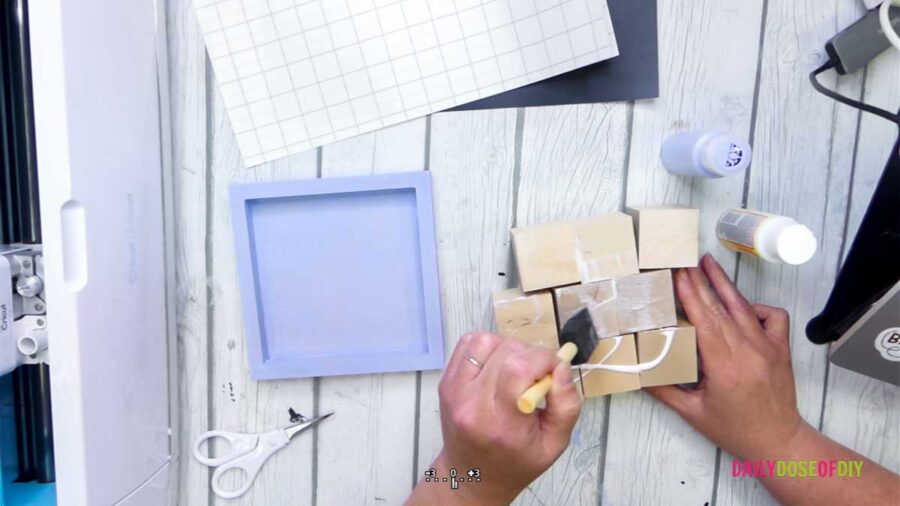
Once the tops of our blocks are dry with Mod Podge we can flip them over and seal the other side.
You’re also going to mod podge to seal the paint for our base after the paint is completely dry. You can use wood stain on your blocks or base as well. But it does take much longer to dry. One trick to get the stained look without the fumes is to add a bit of water to some acrylic paint.
Step Two: Cut the X’s and O’s
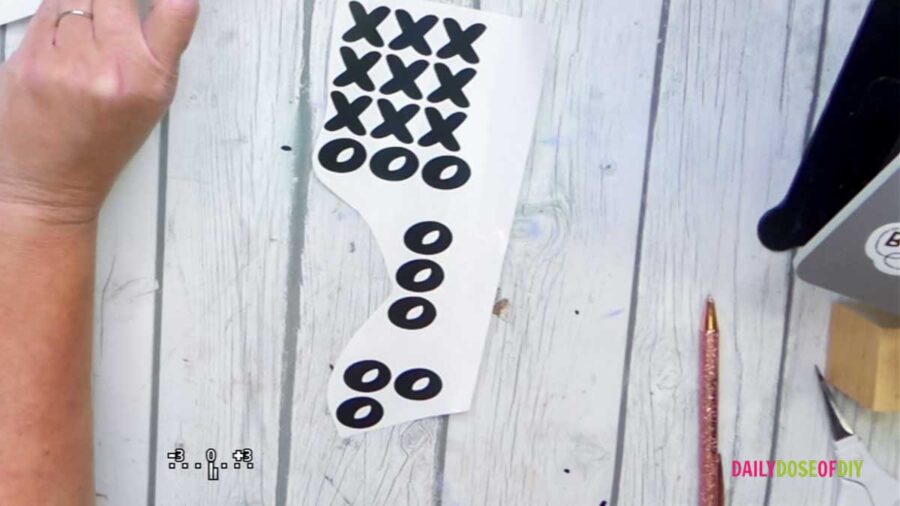
While the Mod Podge is drying, I’m going to go ahead and cut to the vinyl for our x’s and o’s. Be sure to grab the Free SVG file to make yours.
Related: How to Download and Upload SVGs to Design Space
Select the SVG file and then click add to Canvas. This is sized for one and three quarter inch blocks but you can grab a square on any of the corners and stretch it out or reduce the size based on your block size. There are 9 X’s and 9 O’s in the SVG file, so no need to duplicate.
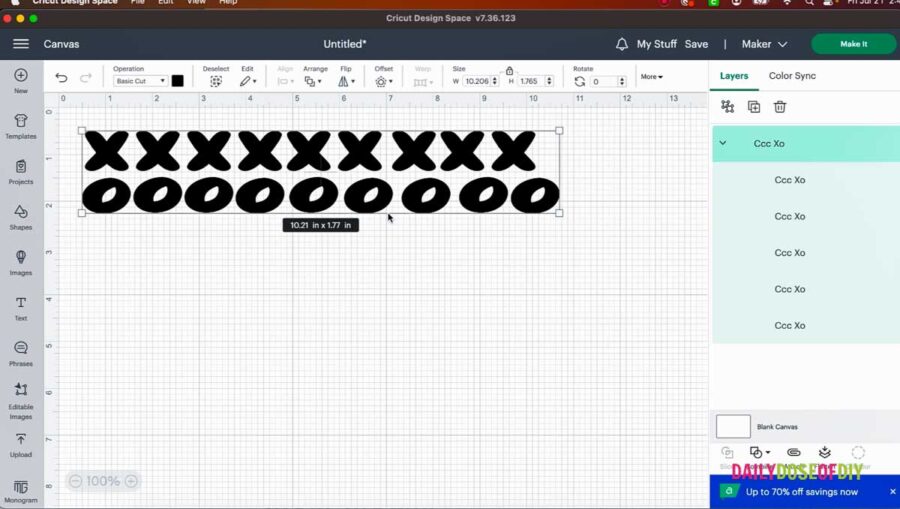
Once you’re ready click the make it button. Cricut puts these pretty close together if you would like them spaced out so they’re easier to transfer you can grab them and move them around as you wish.
Once they’re spaced how you want them, hit the continue button. If you have a Cricut Explorer or Cricut with a dial set your dial to vinyl. Cricuts without a dial browse materials and select matte vinyl from your list.
Then we are going to grab our vinyl sheet and just line it up on the top and the side on our Cricut cut mat. Insert your mat to your Cricut hit the little flashing arrow button to load your mat and then the flashing C button for it to cut. Once your vinyl is finished cutting it flip your mat over and peel the mat back from the vinyl to help prevent curling.
Step Three: Weed and Transfer the Vinyl
Next, trim up your vinyl and then weed away all the excess vinyl so you’re just left with your X’s and your O’s. Then we’re going to apply the transfer tape to all of them at once to make life easier.
Related: How to Easily Apply Transfer Tape without Bubbles or Wrinkles
The easiest way to apply transfer tape is to peel down one Edge and get a little tail from the paper backing stick that down to your table along with your decal and then at the same time remove the paper backing to move it down the front.
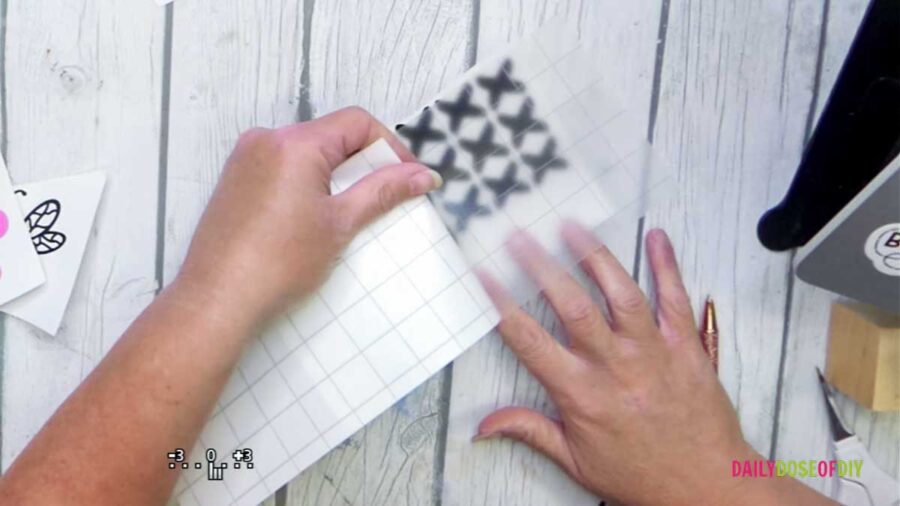
Next step, grab your scraper tool and burnish (rub really hard) both the front and the back of the transfer to ensure that the vinyl will stick to the transfer tape.
Now we’re ready to transfer our X’s and O’s to our wood pieces.. I’m going to go ahead and leave them all on the sheet and transfer them one at a time. This makes the process go a little faster. I did get one part a little stuck that I didn’t want to stick, but it came back off without a problem. This method is a pretty quick and practical way to transfer a bunch of little items such as these x’s and o’s.
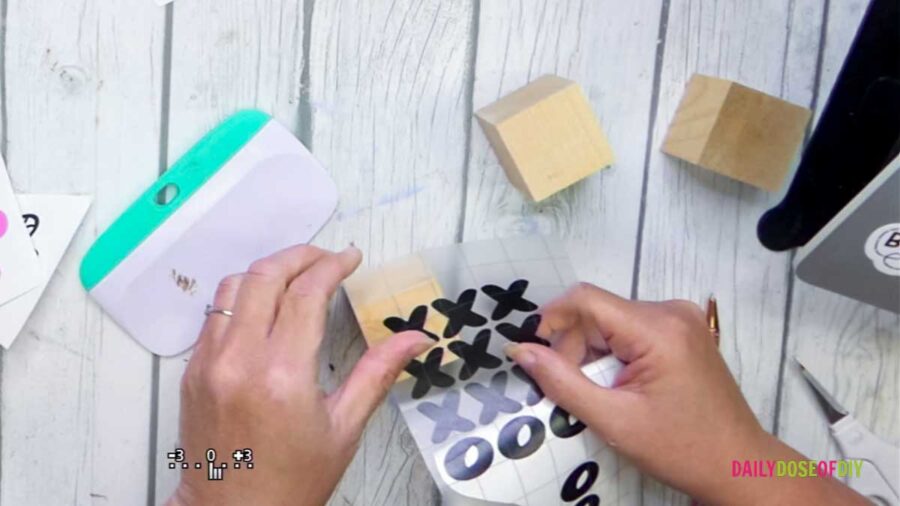
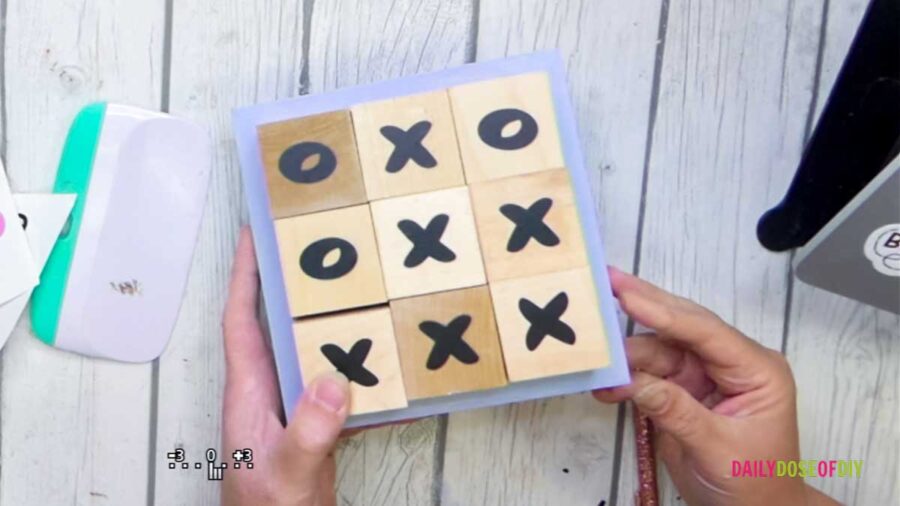
Once your X’s are all transferred, flip your blocks over and then transfer the O pieces to the opposite side of the X’s. Make sure your base is completely dry and go ahead and add your game pieces to the base.
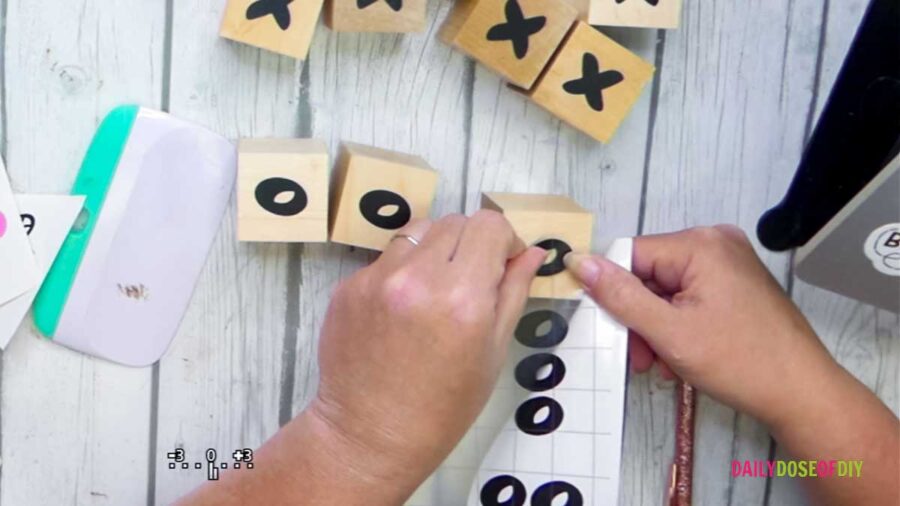
Now you have a fun tic-tac-toe game to play with your friends and grandkids! Thanks so much for crafting with me today and making your very own DIY tic tac toe board. I hope you have so much fun playing this along with your other board games. This also makes a great DIY gift so don’t forget to grab your free SVG.
DIY Tic-Tac-Toe Game Rules:
To play the game of tic-tac-toe you’ll need to players. Decide before the start of the game who will be “X” and who will be “O”. The youngest player starts and places their block on the board. The next player will place their block on an open space on the board.
The object of the game is to get three in a row first. One of the most important strategy skills is blocking your opponent from getting three in a row. It is possible to end in a stale mate with no one winning. Make it fun and do the best 3 out of five before a winner is declared!

Chris Butler has helped thousands of crafters learn how to use their Cricut machine without feeling overwhelmed. She is a best selling author and an up and coming designer. For fun Chris enjoys designing SVG Files, hanging out with her family (preferably at the lake), traveling, and volunteering at her church. She is a wife and mom of two crazy fun kids.

Leave a Reply