This post may contain affiliate links for your convenience. If you make a purchase through one of my links I will earn a small commission at no additional cost to you.
Last Updated on March 15, 2024 by Chris Butler
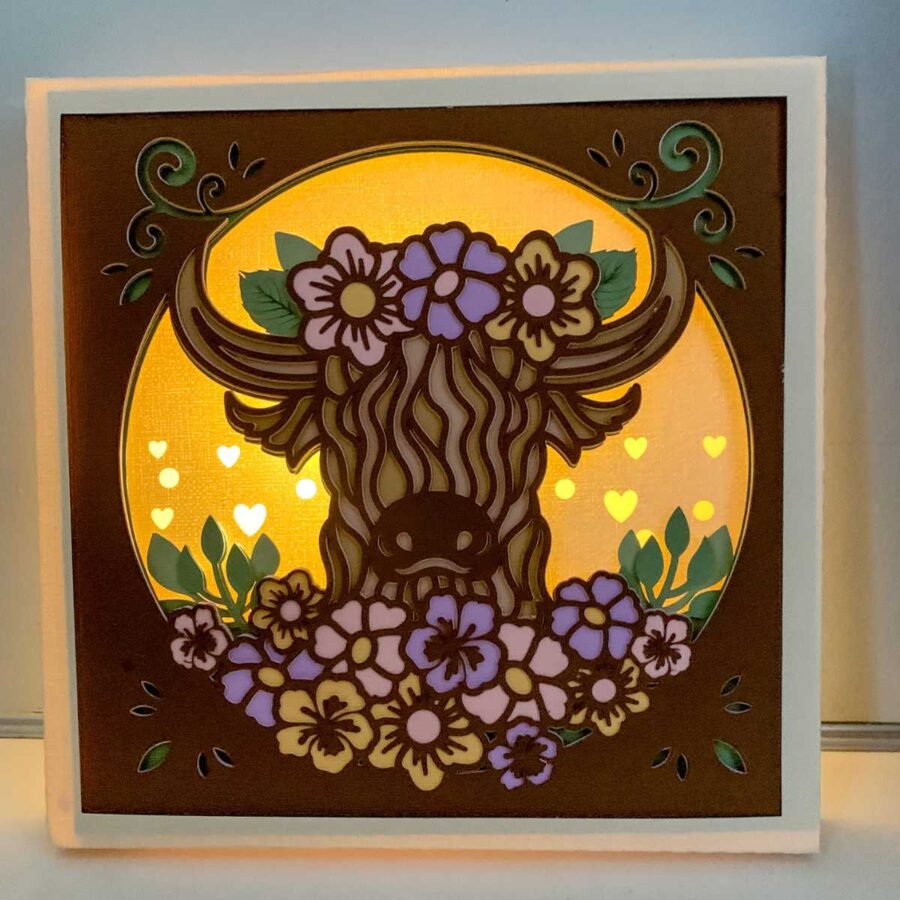
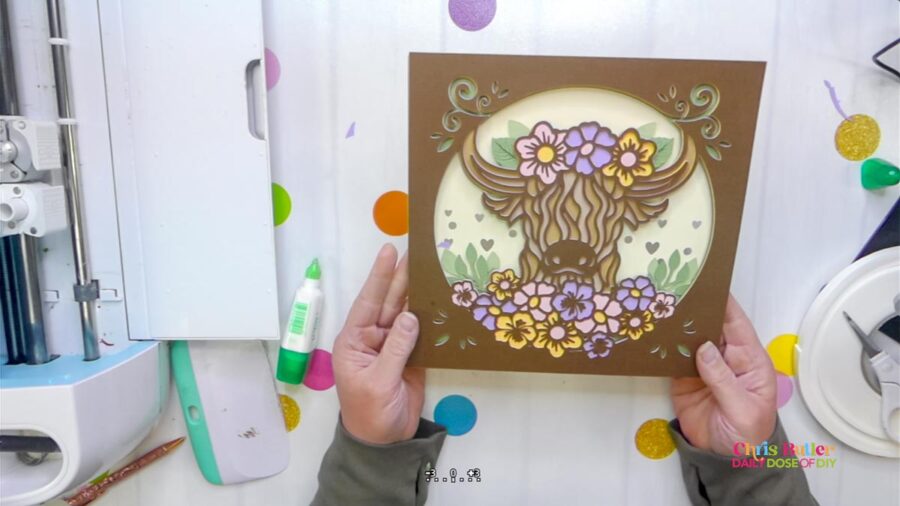
Hey y’all, it’s Chris from Daily Dose of DIY! Today, we’re diving into a super fun and moderately easy paper craft – the layered Highland Cow. I’ve got a free SVG file for you, and I’ll guide you through each step to create your own adorable Highland Cow masterpiece. So, let’s jump right in and see what materials we need.
Quick Links to Information in This Post
Step One: Gather the Supplies
Before we start on this crafting journey, let’s make sure we have our crafting essentials lined up. You’ll need:
- Fine Tip Tacky Glue – I use this – https://amzn.to/48S7WK1
- Foam Mounting Tape – https://amzn.to/3VjWXpx
If you’re making this in the 8×8 size you’ll need 8.5×11, anything larger you’ll need 12×12 cardstock in the following colors:
- Dark Brown
- Medium Brown
- Light Brown
- Purple
- Pink
- Yellow
- Cream
- Light Green
- Dark Green
The SVG file includes a frame for both 8×8 and 9×9. If making the frame you’ll need (2) 12×12 sheets of cardstock. I used the cream color.
For the Browns I used this pack from 12×12 cardstock
For the Greens I used this pack from 12×12 Cardstock
The rest of the Colors came from this pack from American Craft.
If you’re unsure of which cardstock to use click here to find the Best Cardstock to use for Cricut to ensure Crafting Success.
Step-By-Step Video

Step Two: Download the SVG File
To get the free SVG File fill out the simple form below
All of our free SVGs and Designs are kept in a library for your convenience. Fill out the simple form and we’ll send you the link and password to access the SVG files right away.
Already have the password? Enter the Library HERE
For help downloading SVG Files and uploading them to Design Space see this post.
Step Three – Upload to Design Space and Cut the Layers
Drag and drop the SVG file into Design Space. The highland cow SVG will come in at an 8×8 size. If you want to resize to 9×9 select all of the layers and then on the top menu under size change the 8 to 9 and it will resize.
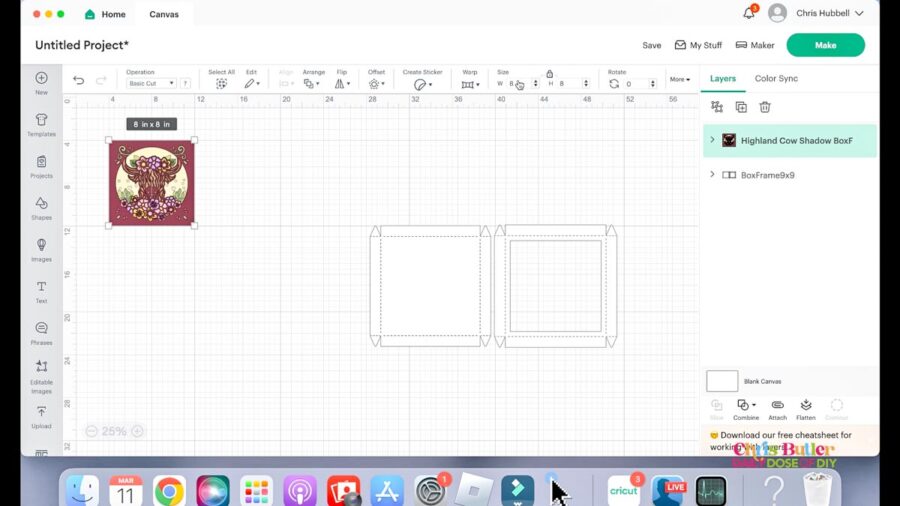
There’s nothing else you need to change. The frames have perforated lines for folding. So click the make it button.
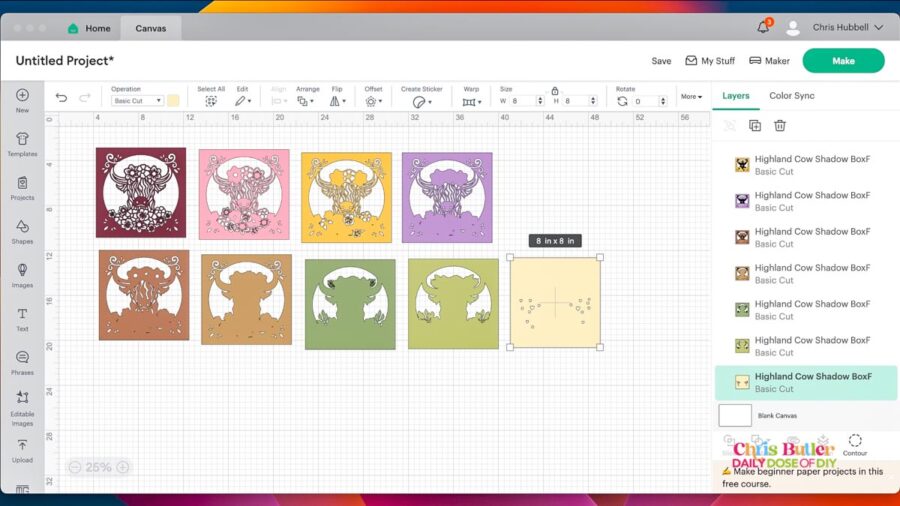
When I get to the mat screen I like to put my cardstock in the order it will be cut and place the paper on the holder on my Maker so they’re ready to go. Make sure mat one is selected and then click continue.
I cut this file using “Cardstock for Intricut Designs” cut setting. Load your paper on the mat and insert into Cricut to begin cutting.
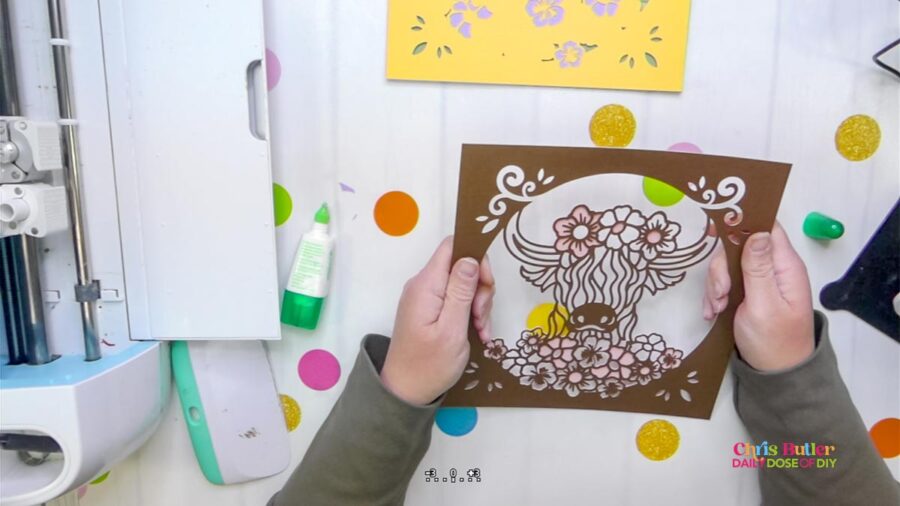
Step Four: Arrange the Layers
Begin by arranging all the layers of the project in the correct order according to the screenshot below. Make sure each layer is in the same order of assembly and all layers are facing up.
Fun Fact: Highland Cows are the oldest registered breed in the world!
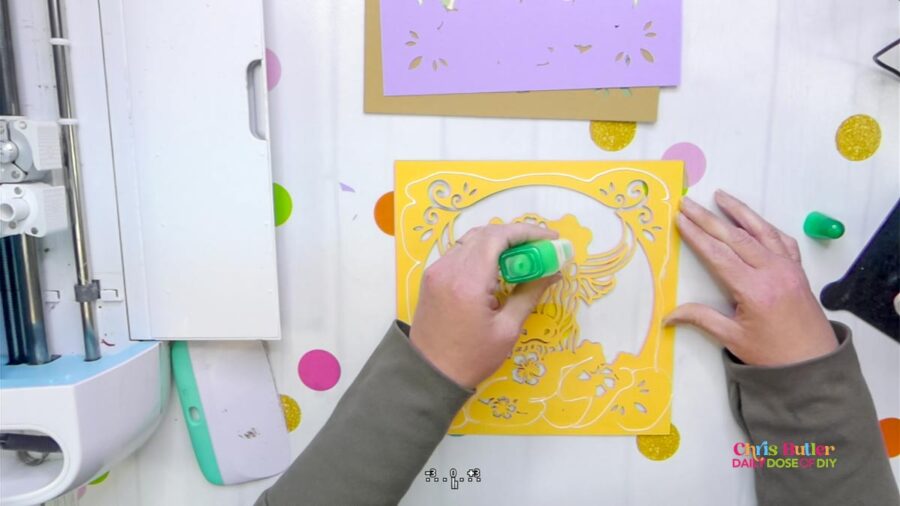
Step Five: Assemble the Layers
Apply Glue to First Layer Flip over the first layer and apply glue to the back. Ensure that the edges are covered and add some glue points in the middle for stability. Then, flip it over and align it with the next layer. I like to use the edges of the circle to slide it into alignment.
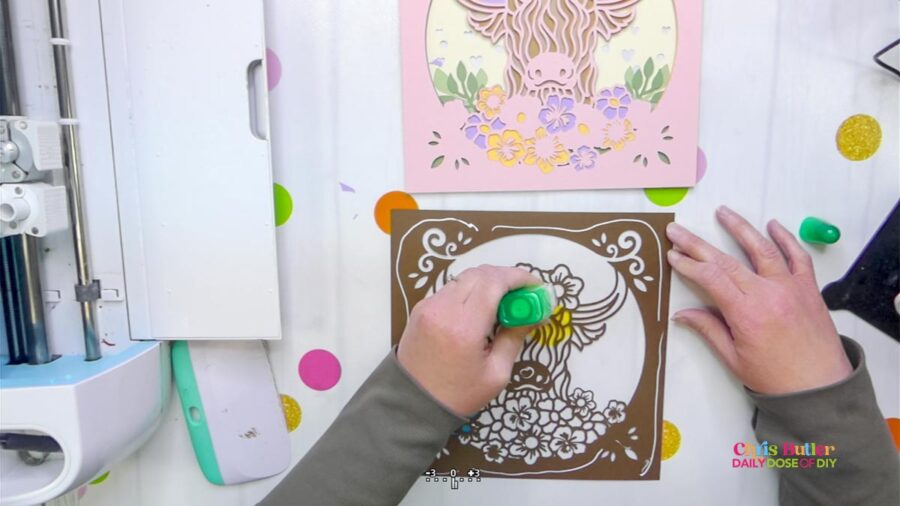
Repeat the Gluing Process Repeat the gluing process for all the layers of the flowers and the cow. Ensure each layer is securely attached and aligned before moving on to the next.
Fun Fact: Highland cows are affectionately known as “hairy coos”
Add Foam Tape This is optional but I like the depth foam tape gives for the back layers.
Once you reach the last layer of brown for the cow, flip it over and add foam tape along the edges of the design. Make sure not to cover any holes on the corners, as they will show through.
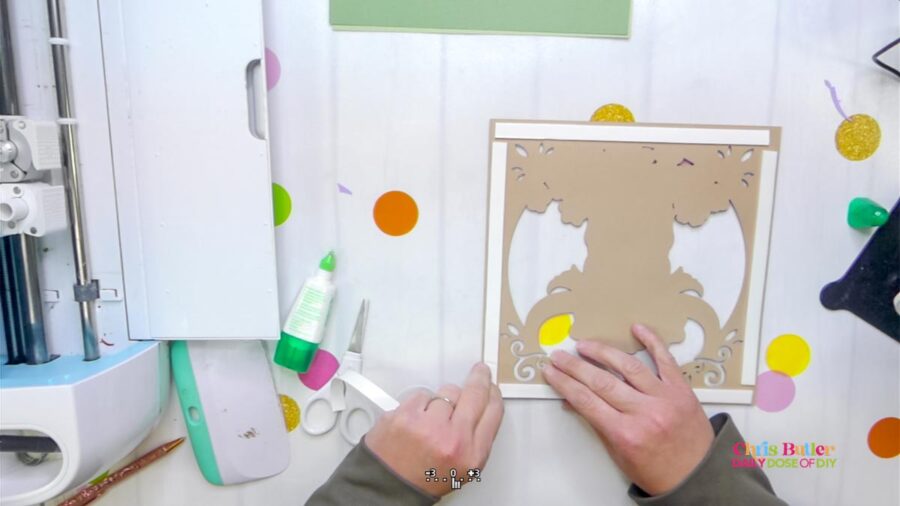
To line up the layers will foam tape, I align the bottom edges together and then the two side corners and let in drop into place. This works 99% of the time.
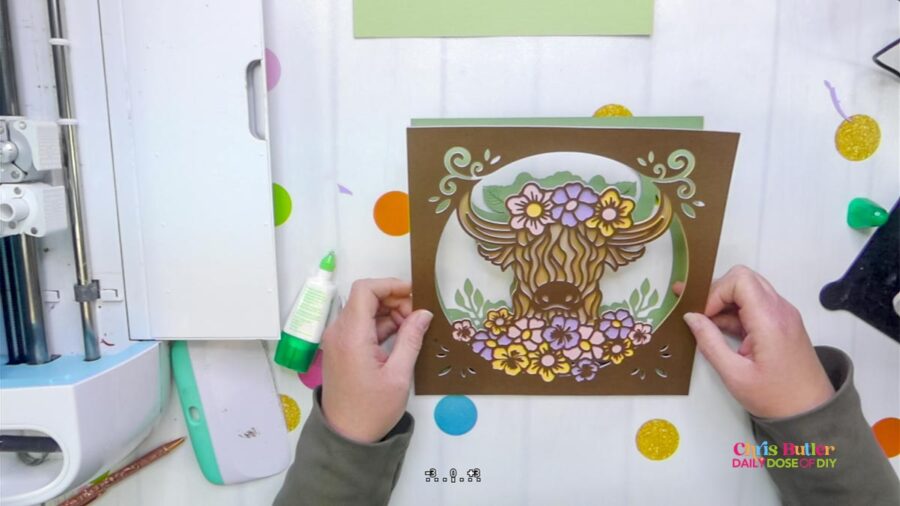
Continue Adding Foam Tape Add foam tape to the back of the green layers as well. Consider double stacking the foam tape for added dimension.
Attach Cream Colored Background Apply one more round of foam tape and then add the cream-colored background. Ensure the layers are securely attached, creating a visually appealing design.
Step Six: Make the Frame
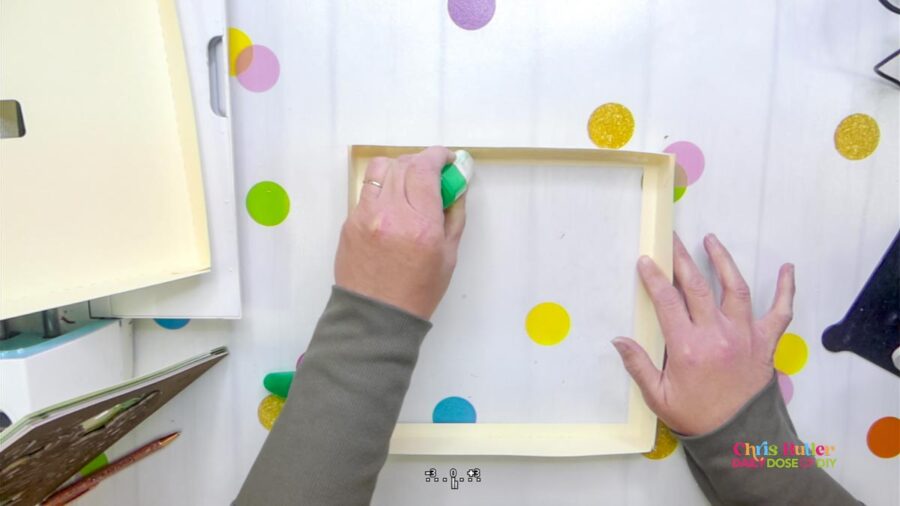
Construct Frame: Cut out the frame using the provided SVG files. Fold along the perforated lines and glue the corner tabs to the opposite sides to create a square frame.

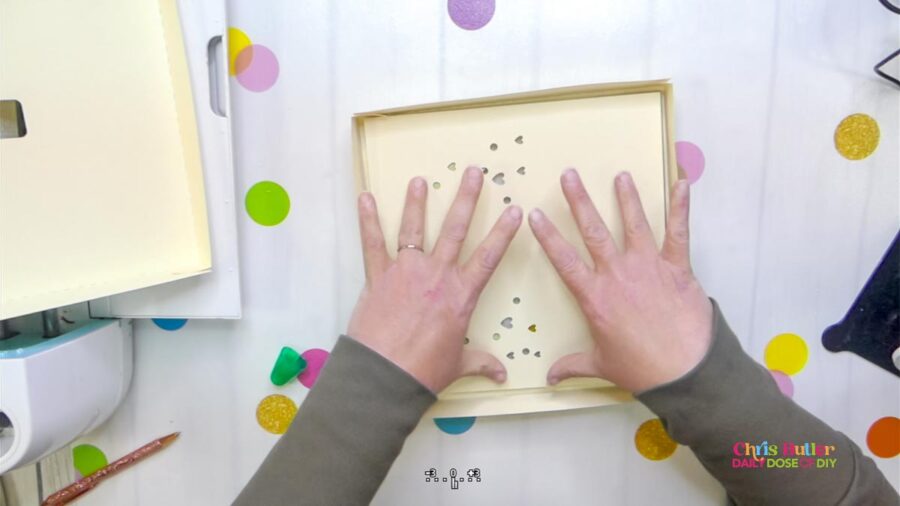
Secure Highland Cow to Frame: Apply glue to the inside of the front frame. Flip the layered highland cow design over and center it in the frame. Press down along the edges to ensure the glue holds.
Secure Bottom of the Box: Place a line of glue along the outside edges of the bottom piece of the box. Insert it into the top frame of the box, ensuring it fits snugly between the design and the frame. Press along the sides until the glue sticks.
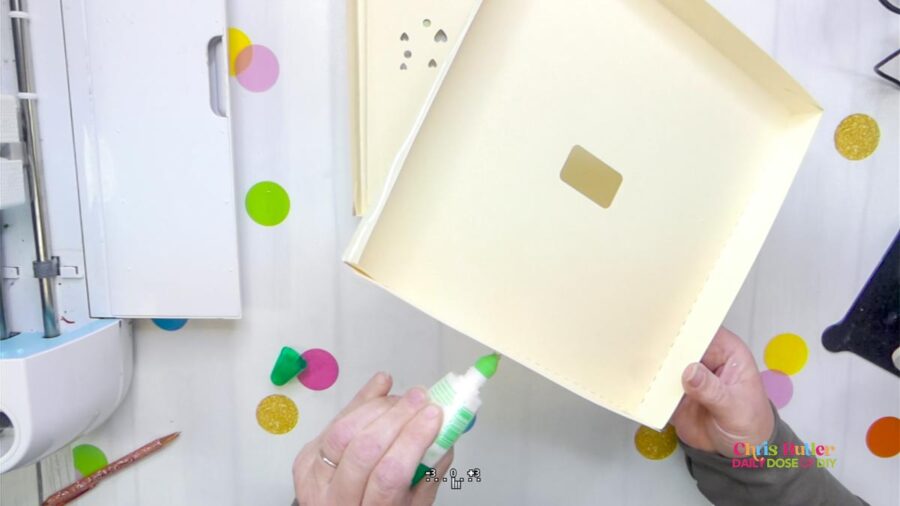
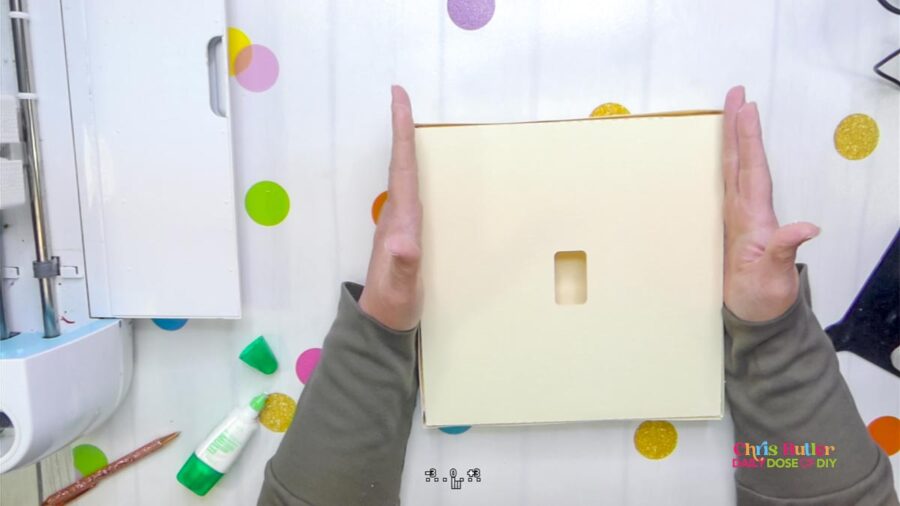
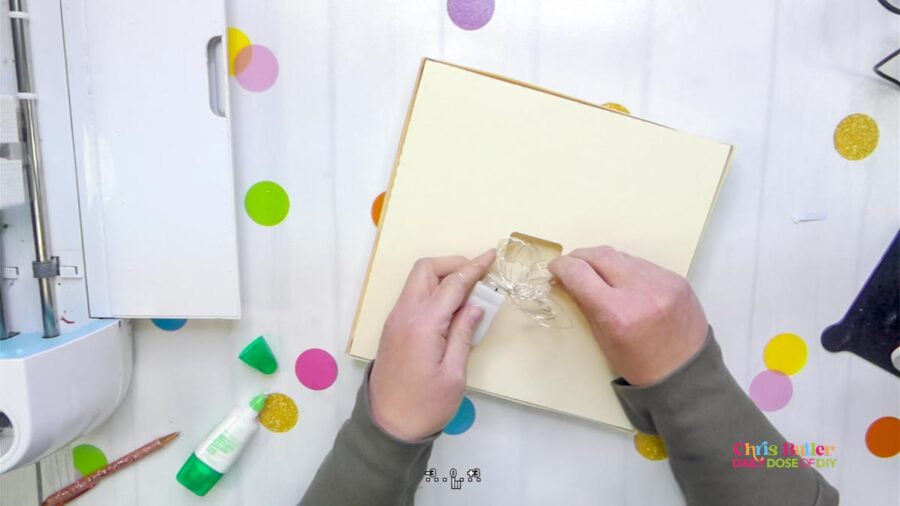
Optional LED Lights: If desired, insert LED lights through the hole in the back of the frame. Spread them apart and push the battery pack into the hole to hold it in place.
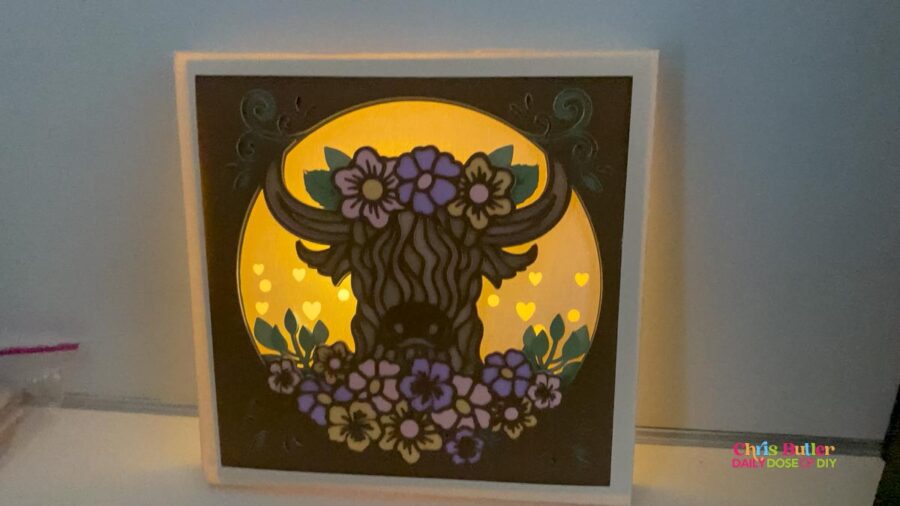
Enjoy your new layered Highland Cow!
More Fun Paper Crafts
Light Up 3D Christmas Ornaments

Chris Butler has helped thousands of crafters learn how to use their Cricut machine without feeling overwhelmed. She is a best selling author and an up and coming designer. For fun Chris enjoys designing SVG Files, hanging out with her family (preferably at the lake), traveling, and volunteering at her church. She is a wife and mom of two crazy fun kids.
Awesome project! Thank you
will not down load
sorry you’re having troubles. I just checked and it downloaded for me. If it’s still giving you troubles reach out by email and we’ll send the file right over.