This post may contain affiliate links for your convenience. If you make a purchase through one of my links I will earn a small commission at no additional cost to you.
Last Updated on March 27, 2024 by Chris Butler
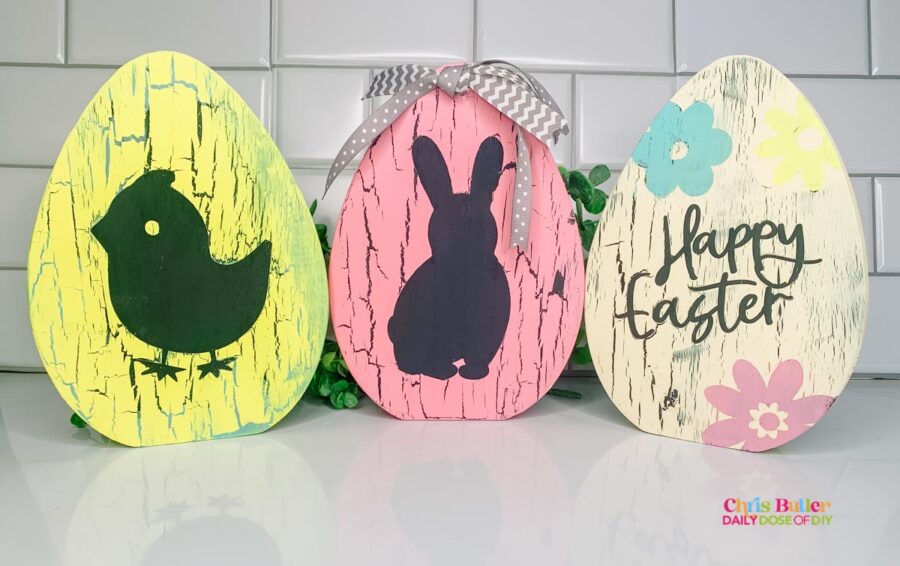
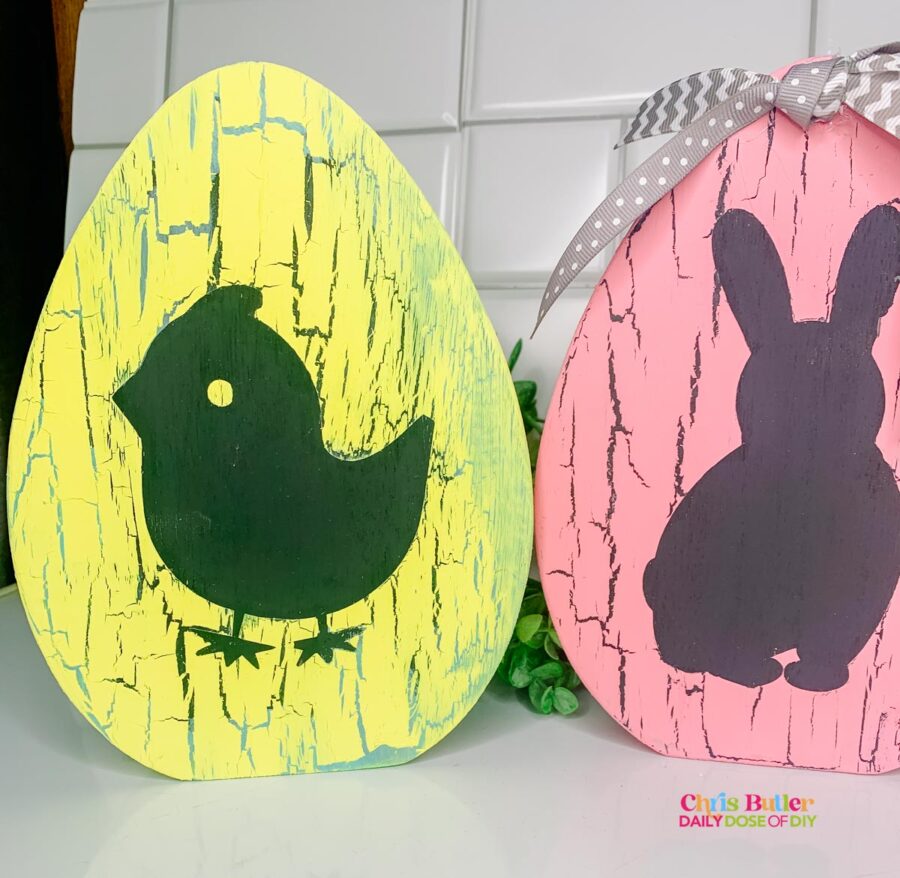
Hey ya’ll, if you want to make your own custom rustic decor, this is the tutorial for you. We’ll create some adorable crackle paint eggs that will add a touch of rustic charm to your decor.
But this method will work on any type of decor you want to make. I’ll show you three different ways you can work with crackle paint. The best part is there’s no need for expensive or special paint. We can do this with regular acrylic craft paint.
We are going to use the PVPP method for this project which stands for Paint – Vinyl – Paint – Peel
Let’s get started:
Quick Links to Information in This Post
Step 1: Gathering Supplies
- Wooden egg shapes (found at Michaels)
- Elmer’s school glue
- Acrylic paint in assorted spring colors (including black or dark charcoal)
- Paintbrushes (sponge brush, flat tip brushes)
- Optional: Spring ribbons, embellishments, hot glue gun
- Stencil film or removable vinyl
- Transfer tape
- SVG Files – You can grab my Easter Bundle down below
Tools Needed:
- Cricut or other Cutting Machine
- Cut Mat and Weeding Tools
- *Optional Hair Dryer
Step 2: Choosing and Preparing SVG Files
We’ve got some adorable Easter silhouette designs for this project. You can grab them for free along with hundreds of other SVG in our free library. Simply fill out the form below and we’ll email the link and password right away.
All of my free SVG files and Designs are kept in a library for your convenience. We will send you the link and password right away, and you’re free to use all the resources you want in the library.
Already have the password? (It’s at the bottom of every email) Enter the Library Here
For help downloading SVG Files and uploading them to Design Space see this post.
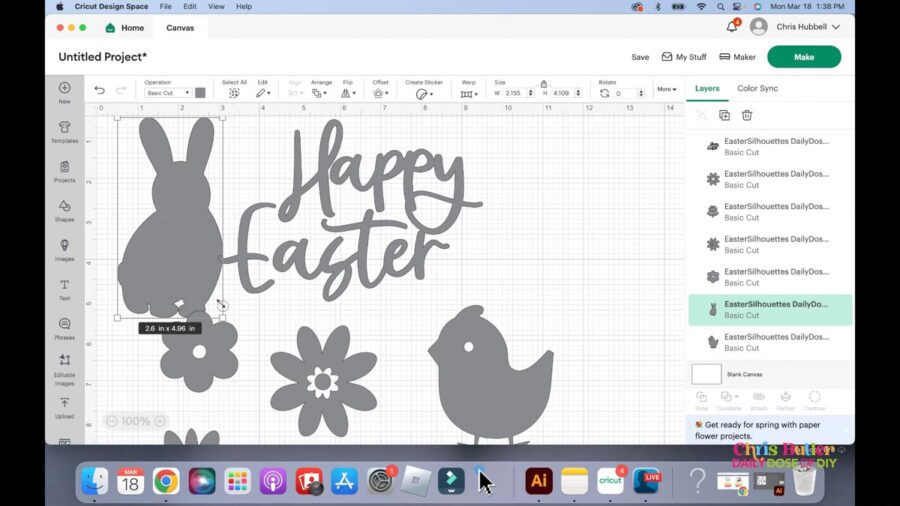
Once you’ve downloaded the files, follow these steps:
- Open Design Space and upload the SVG file.
- Ungroup the elements and resize them as needed.
- Click “Make” to proceed to the cutting mat.
- Choose Stencil Vinyl from the materials list.
- Load the stencil vinyl on your cut mat and insert into Cricut to cut.
Watch the Step-by-Step Video

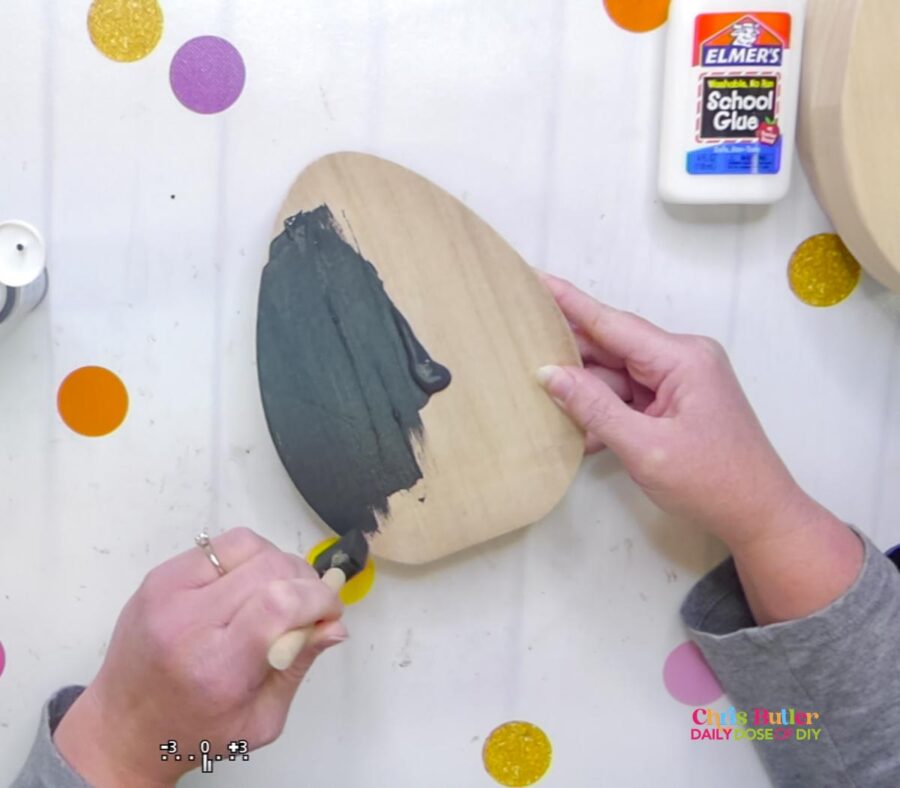
Step 3: Paint the Base Coat on Your Wood
While your designs are cutting, it’s time to prep your wooden eggs. For crackle paint to look the best you’ll need contrasting paint colors. The base coat is what will show through the cracks so I am using Charcoal Acrylic Paint for the base and applying it with a sponge brush.
Paint the entire top of your wood piece with this base boat. Below, I’ll show you a technique to show multiple colors through the cracks.
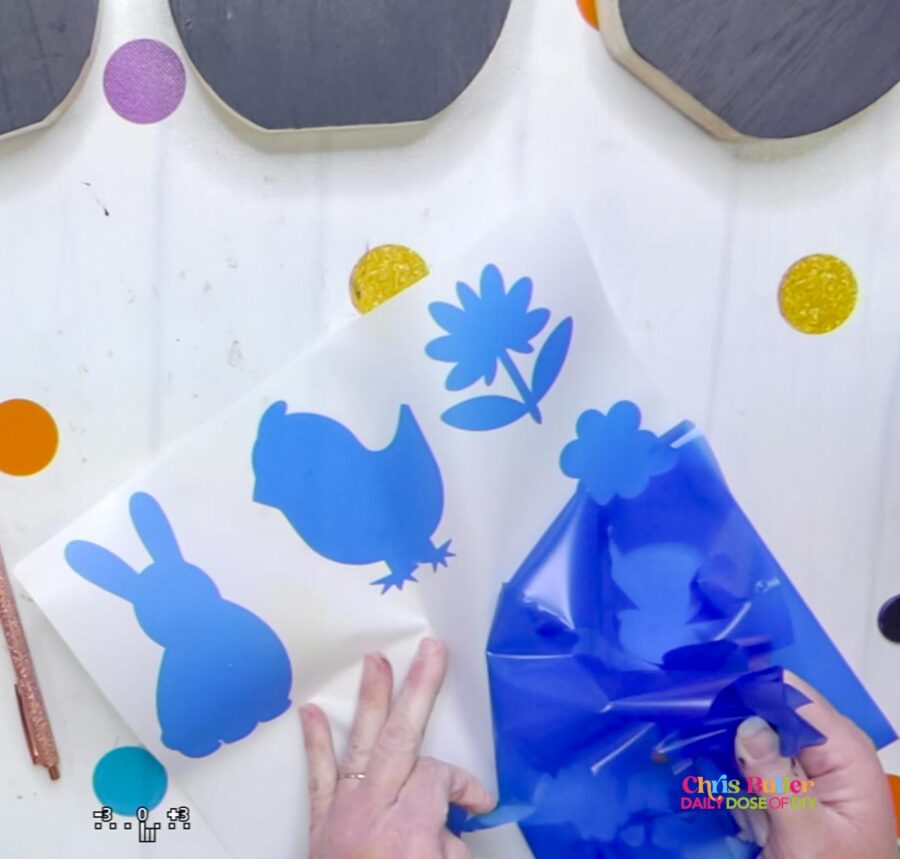
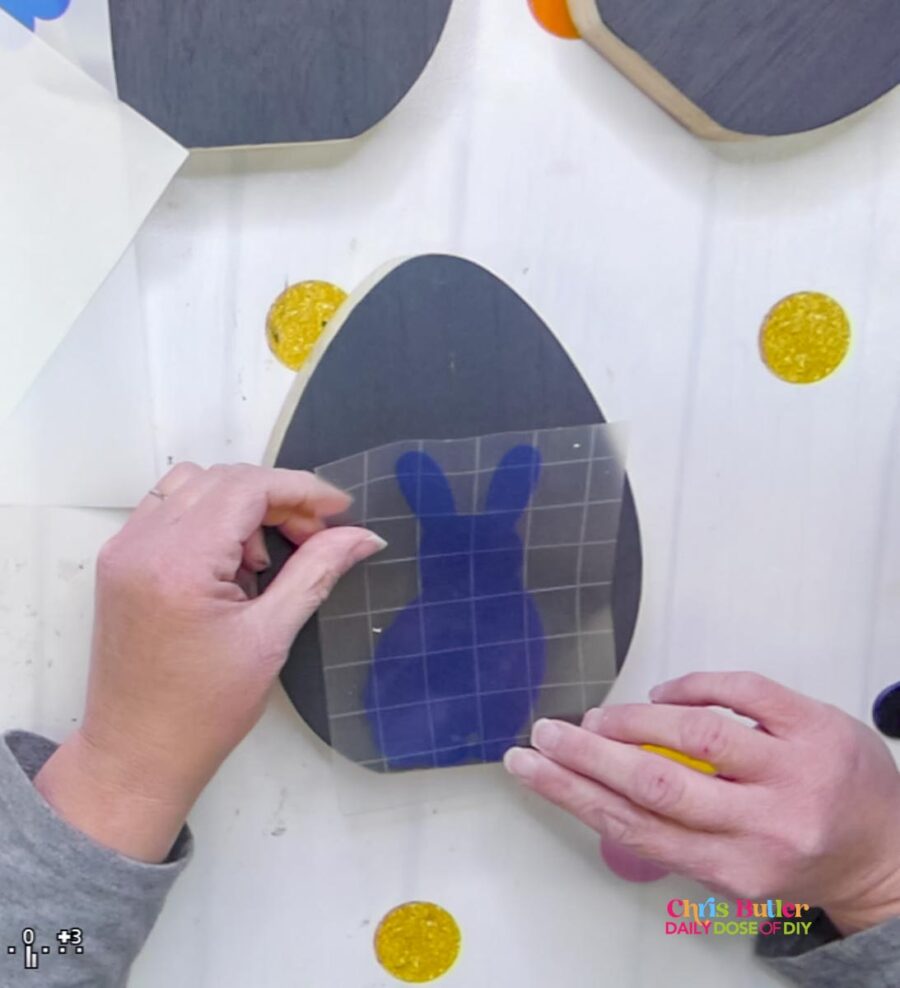
Step 4: Applying Stencils
Let the paint dry completely. Once dry, remove the vinyl from the cutting mat and weed out the excess material, leaving behind the stencil design.
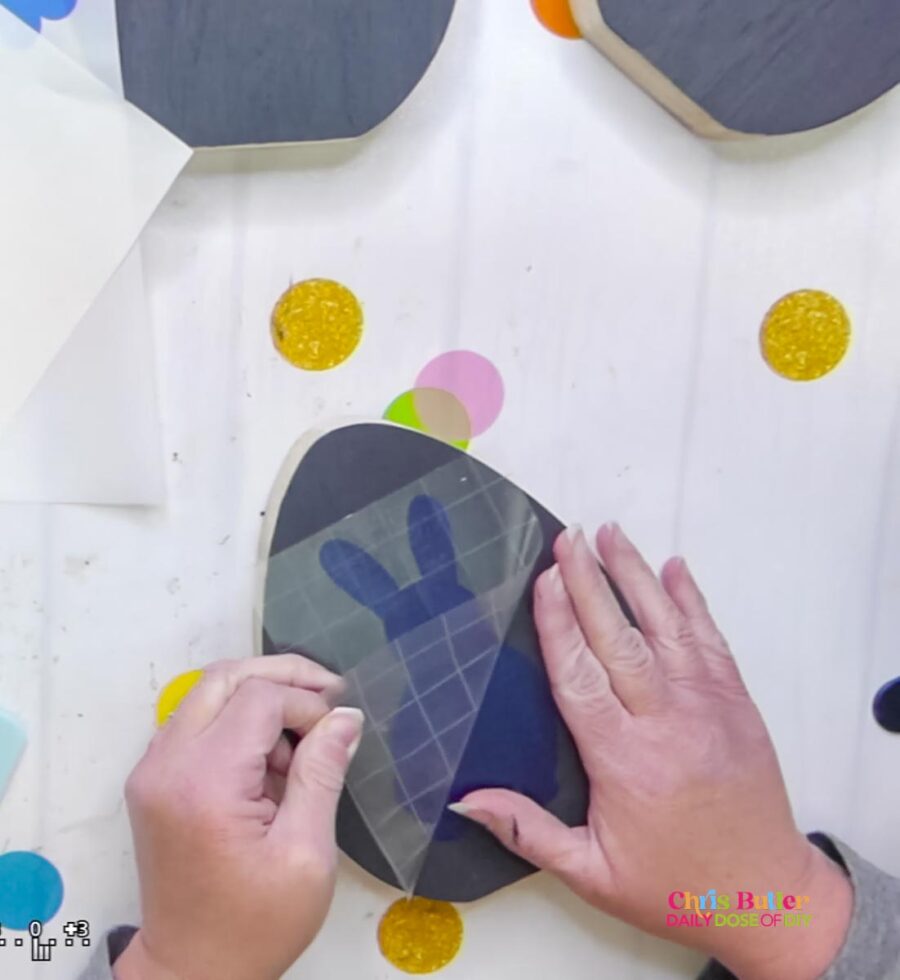
Transfer the stencil onto your painted eggs using transfer tape, ensuring it’s positioned just right.
Related: How to Easily Apply Transfer Tape without Bubbles or Wrinkles
Use your scraper tool to rub the stencil into the wood and remove the transfer tape.

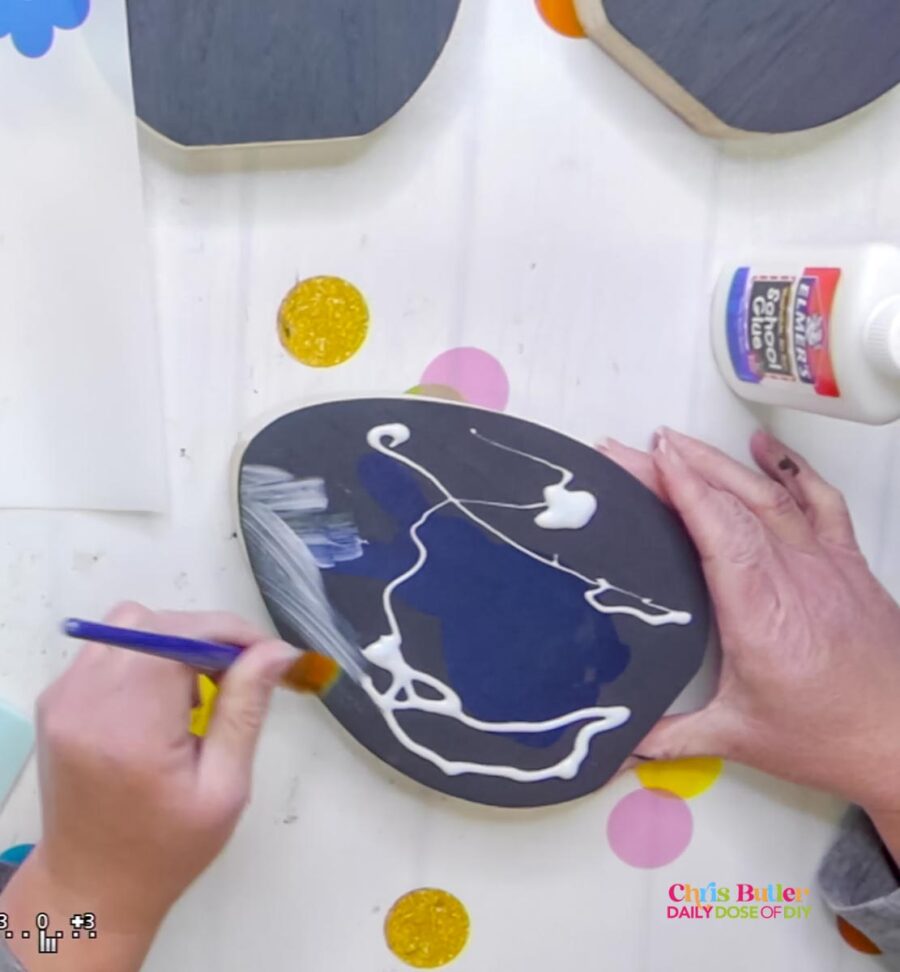
Step 5: Applying Glue
Now, here comes the magic ingredient for that crackle effect – glue! Using a flat-tipped brush, apply a layer of Elmer’s school glue over the stencil. You can vary the thickness for different crackle effects. Thick glue will give you deep cracks, a thin layer of glue will give you thinner cracks.
If you have a thick layer of glue, you’ll want to let it dry a little but not entirely before adding the top layer of paint. Wait until it gets a layer of “skin” on top of the glue. This is where a hair dryer comes in handy to speed up the process.
Read this for all the Details on Making Paint Crackle
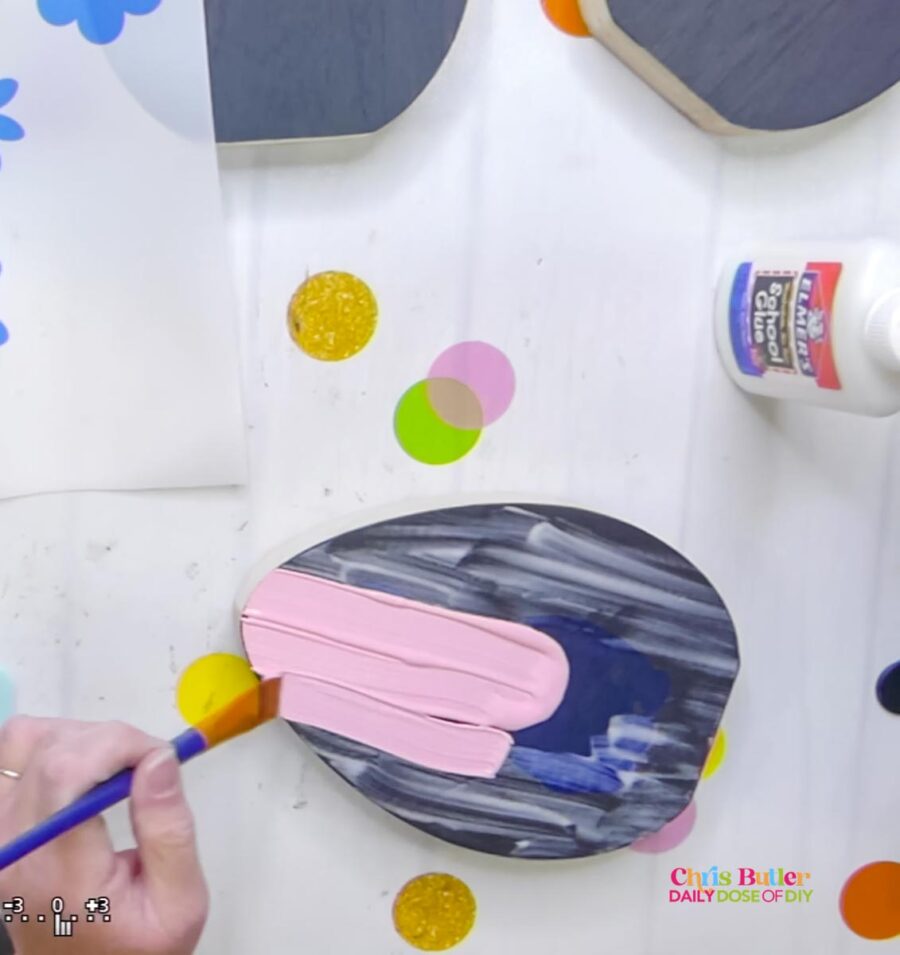
Step 6: Painting the Top Coat
Once the glue is applied (and slightly dry if a thick layer) it’s time to add the top coat of paint. Use your chosen color and carefully cover the entire surface of the egg. Don’t forget the sides!
I squirt some paint on the stencil and the pull it outward with my brush until the entire surface is covered.
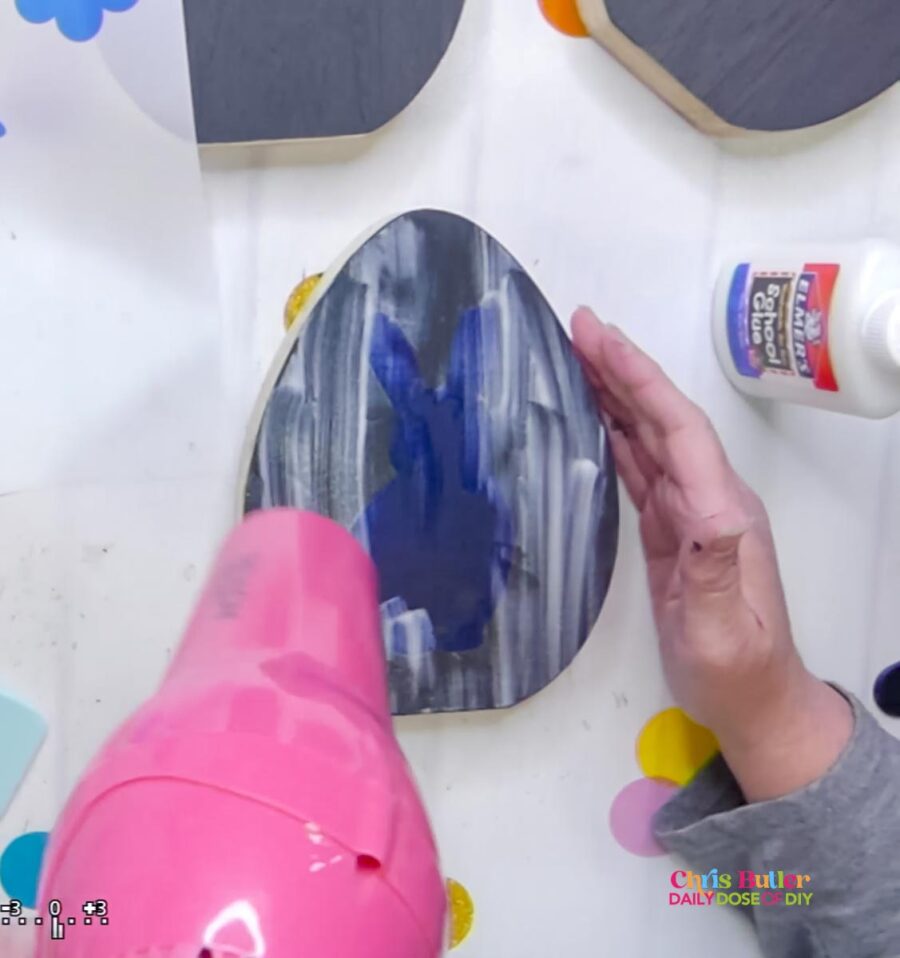
Step 7: Letting It Dry
Allow the paint to dry naturally or speed up the process with a hairdryer. As the paint dries, watch the cracks begin to appear – it’s like magic!
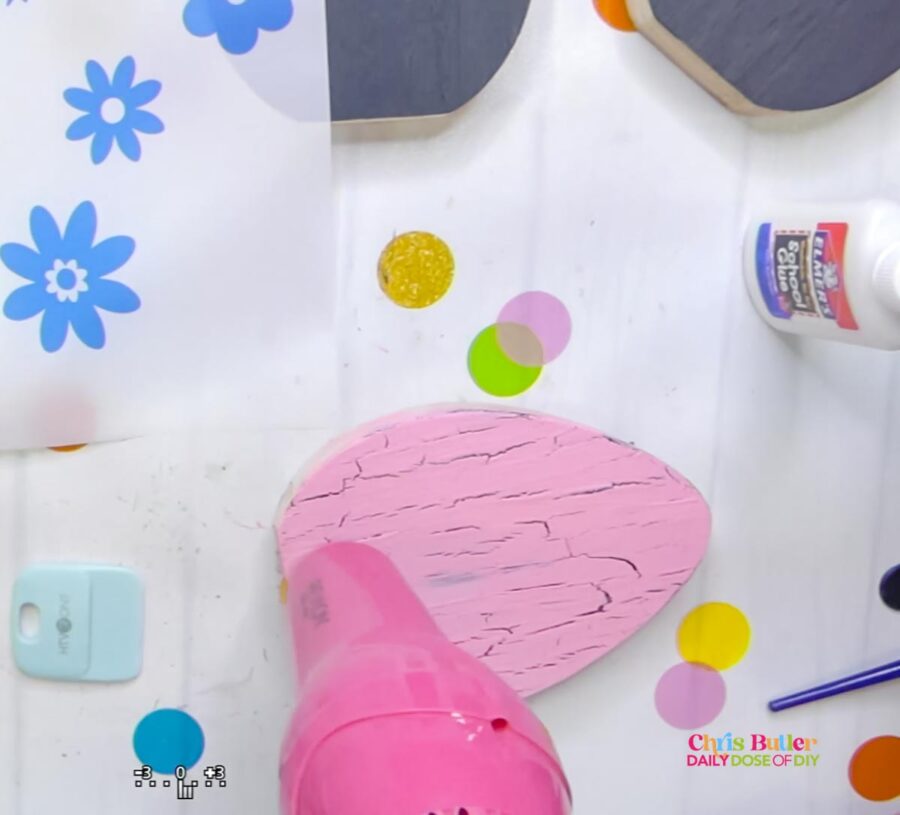
Once your top coat of paint has crackled, Set it aside to dry completely before removing the stencil.
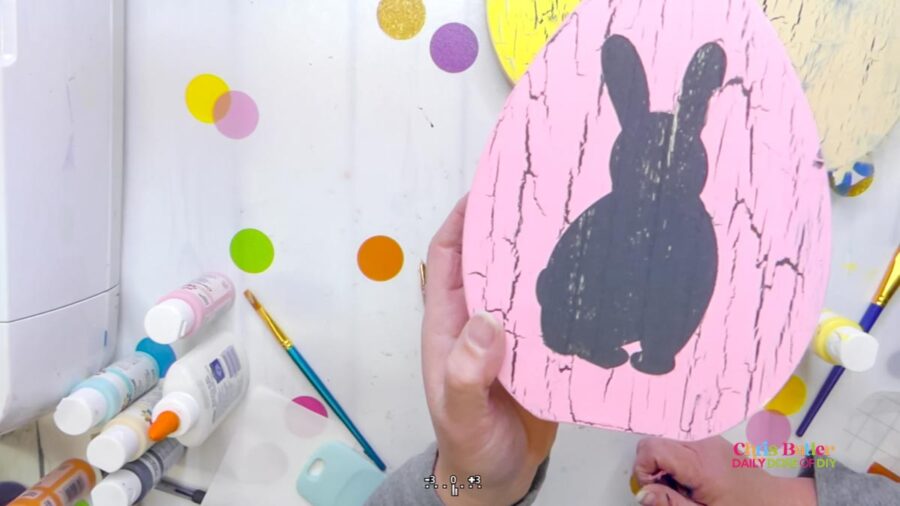
Step 8: Revealing the Design
Once everything is dry, gently peel off the stencil to reveal your crackle paint masterpiece. Some of the base coat of paint came up with my stencil. That happened because I didn’t allow the base coat to dry enough.
If your base coat peels up you can leave it, it adds to the rustic charm, or fill it in with your base pant color and a small brush.
This is the basic way to make stenciled decor with crackle paint, now let’s see how to add multiple colors for the cracks.
Adding Multiple Colors for the Cracks
After your base coat is dry you can add more colors in various places. Use as many colors as you’d like, but remember, contrasting colors will work the best.
I added some light blue in spots to the egg. If you want your stenciled area to remain dark place your stencil down first. I tried just to eyeball it and ended up needing to do some touch-ups.
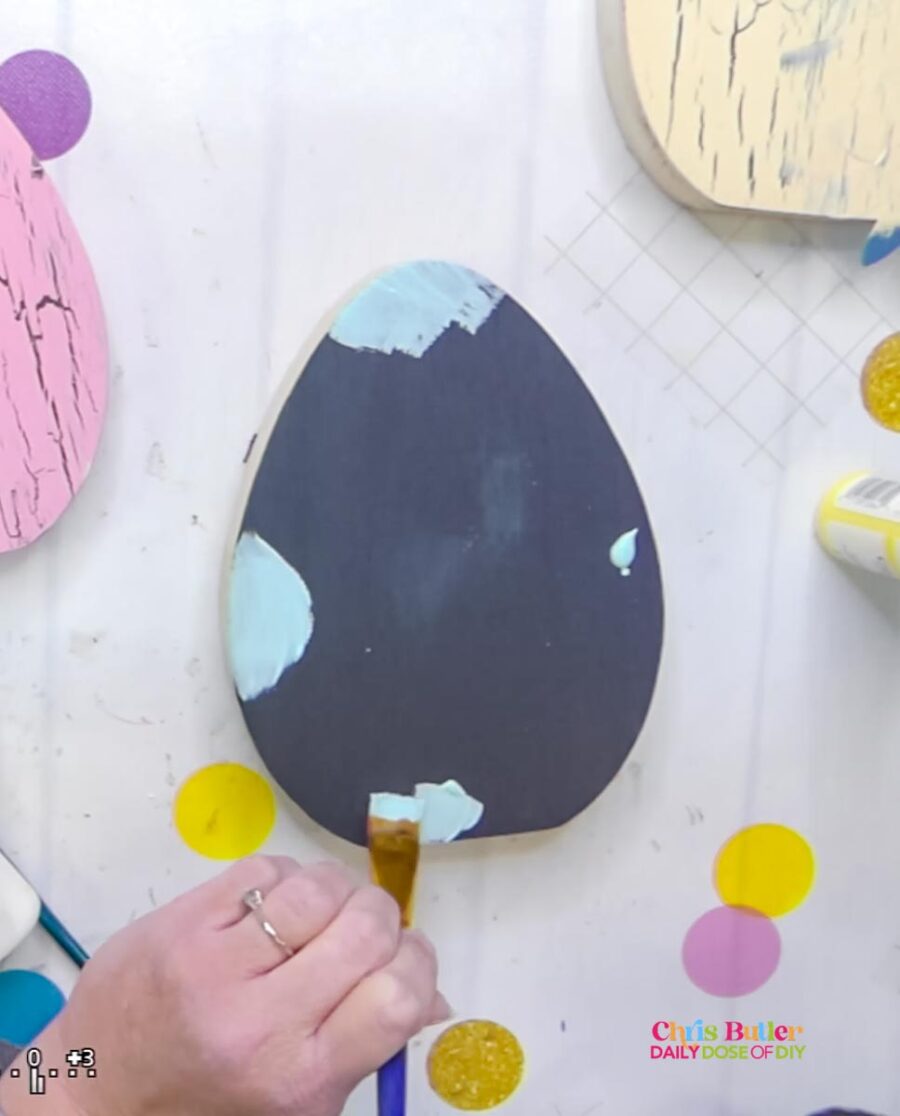
Once the additional colors you’ve added are dry, proceed with adding the glue. When the top layer of paint crackles, you’ll be able to see the different colors through the cracks.
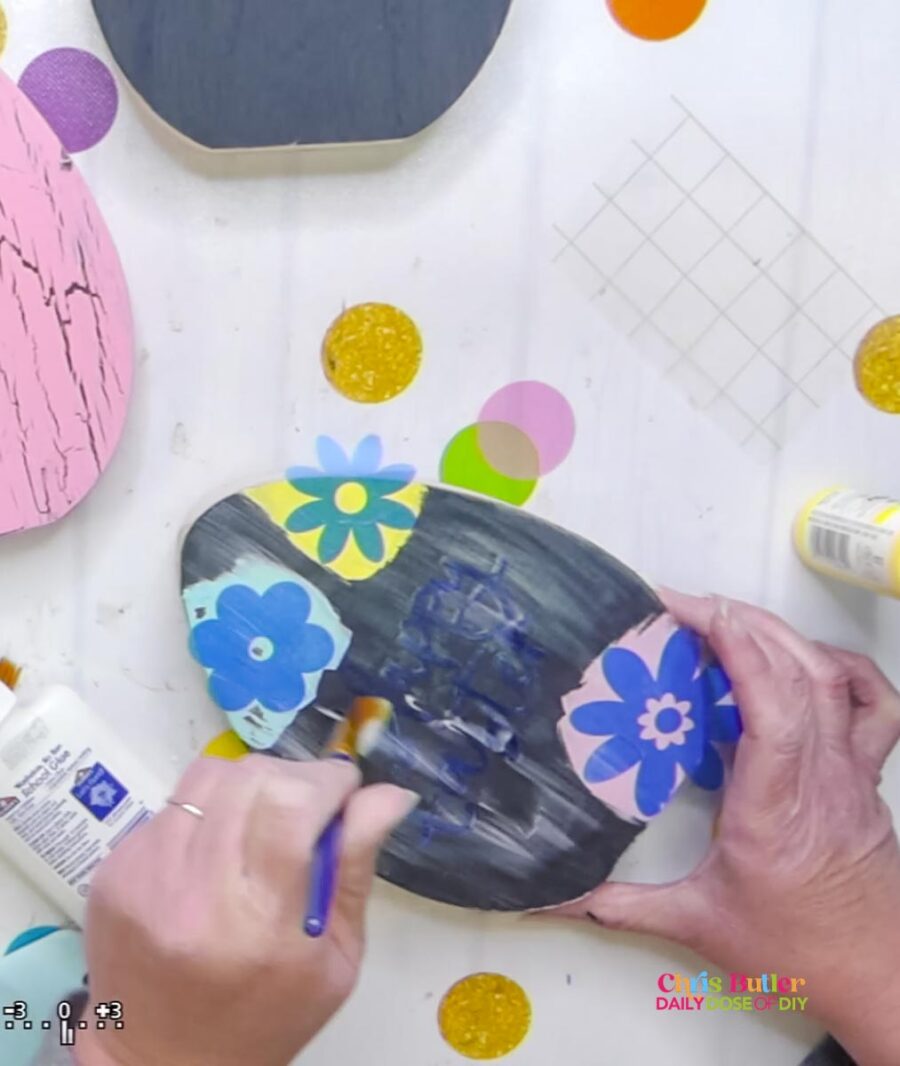
Adding Different Colors for the Stencils
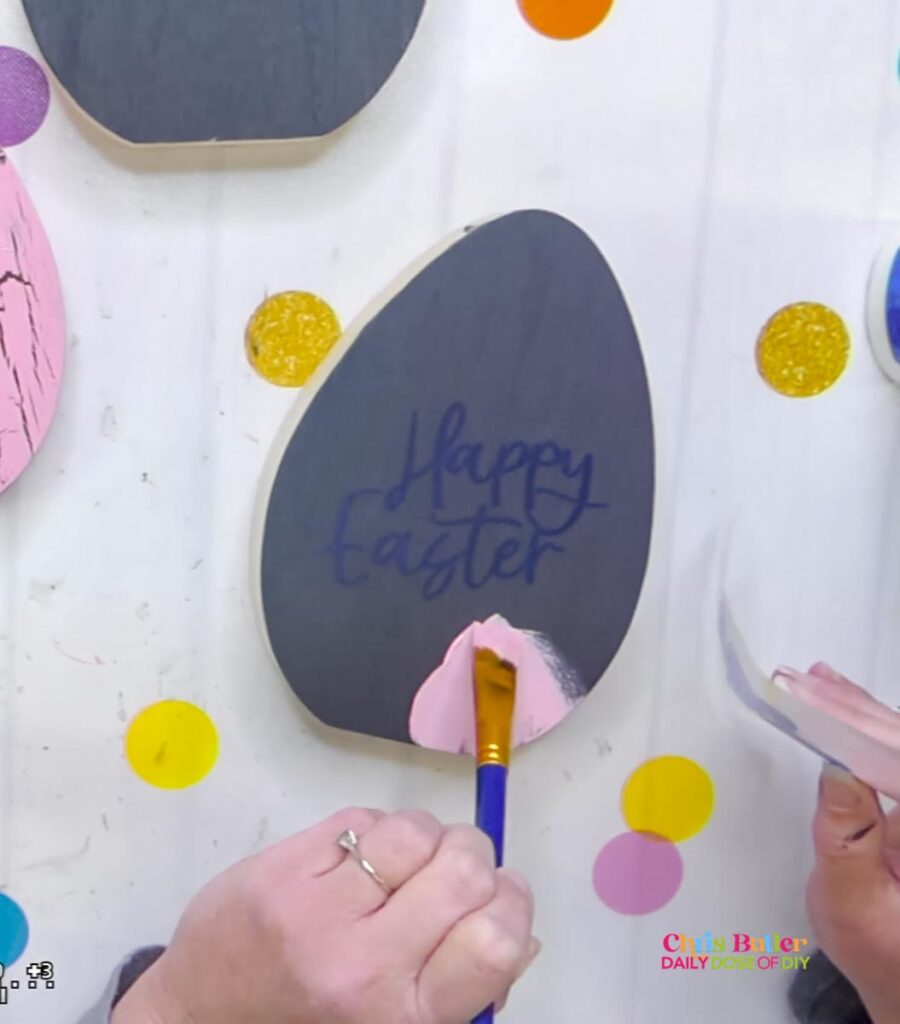
You may want your stencil area to have different colors, like I did with the flowers.
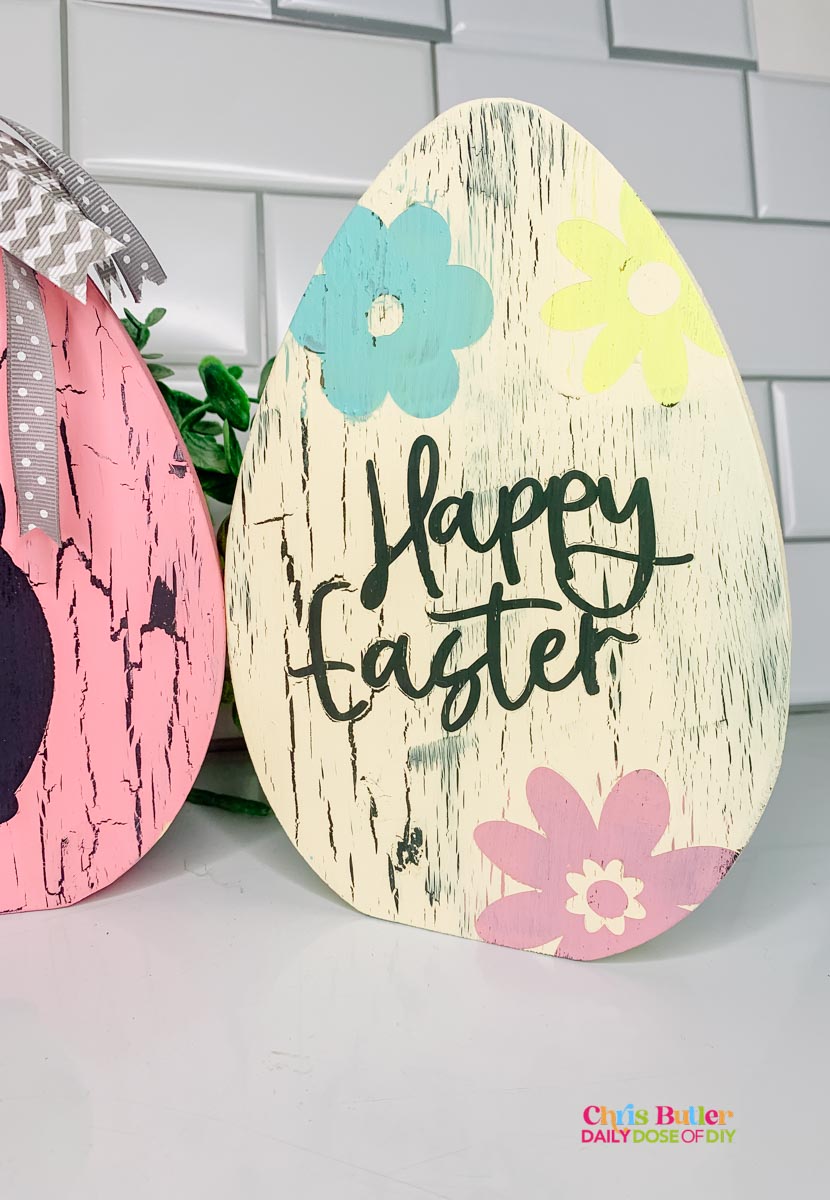
To do this, I laid the flowers out where I wanted them, without adhering the stencil to the wood. This gave me an idea where I needed the color. Then paint the area with the color you want there.
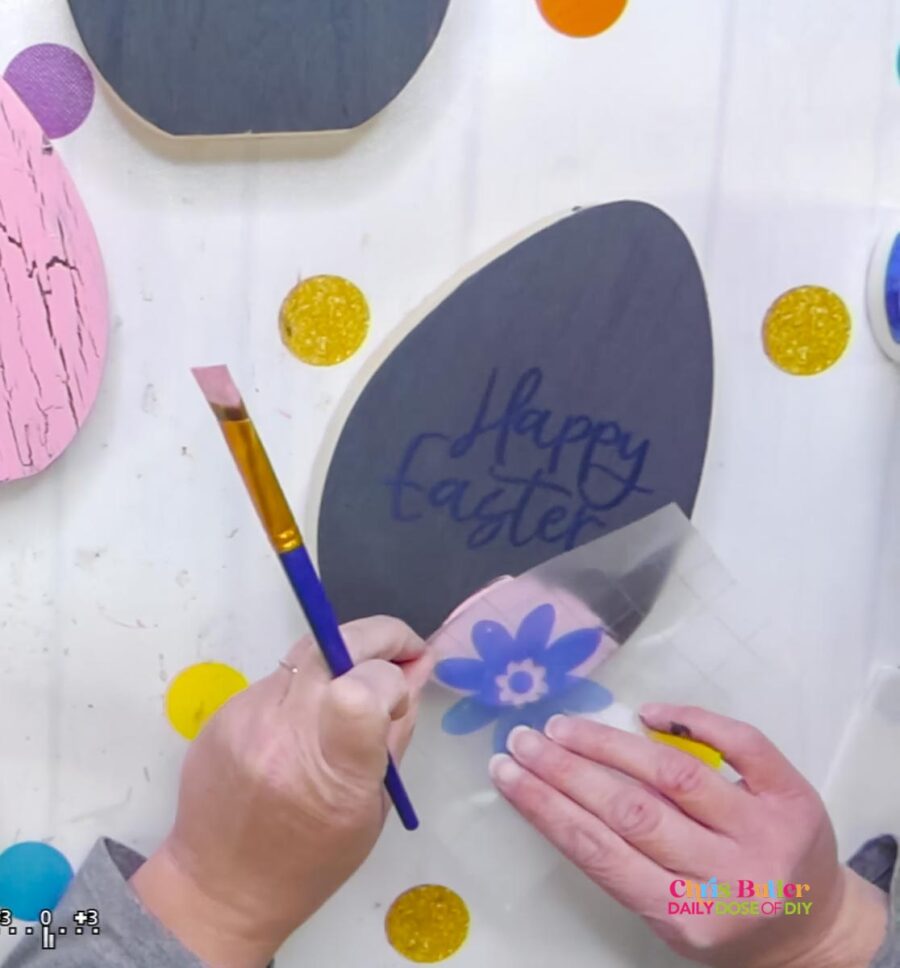
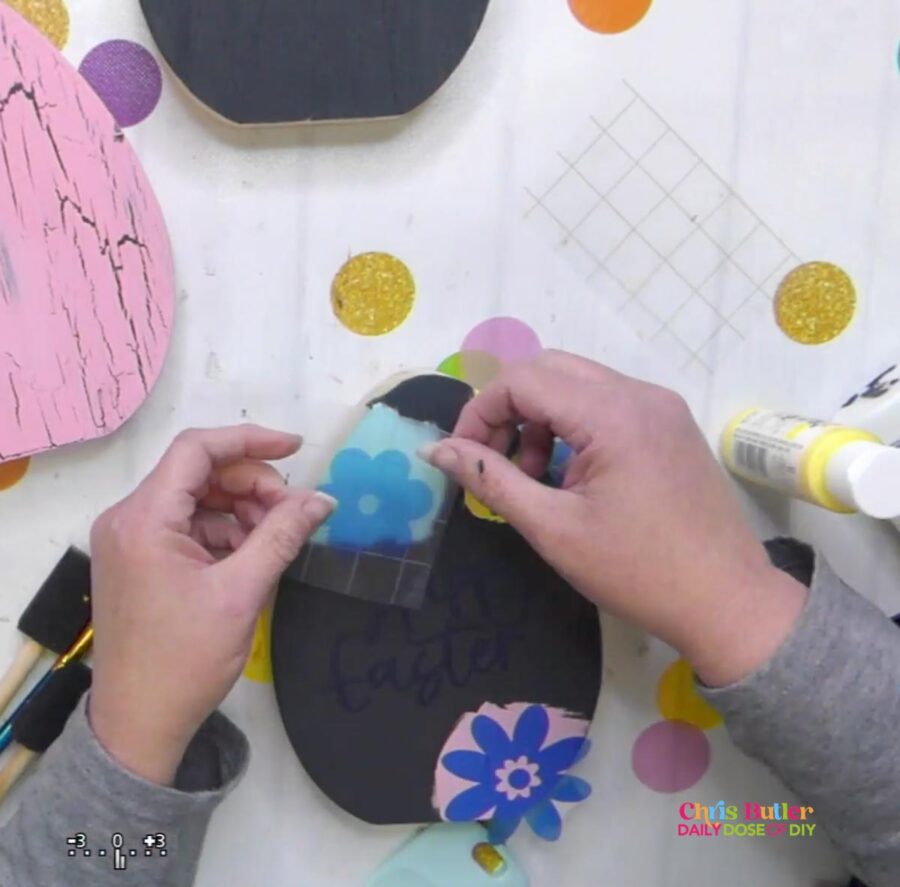
Once the extra colors dry completely (you can use a hair dryer to speed up the process), then apply the stencil, making sure that the stencil stays within the new color you added.
Add the glue and your top coat of paint as outlined above.
And there you have it – adorable crackle paint eggs ready to adorn your Easter decor! I hope you had as much fun crafting these as I did. Don’t forget to grab the free SVG files Thanks for crafting with me today!
More Crafts You’ll Enjoy
How to make stencils in Design Space
How to Stencil Signs Perfectly Without Bleeds

Chris Butler has helped thousands of crafters learn how to use their Cricut machine without feeling overwhelmed. She is a best selling author and an up and coming designer. For fun Chris enjoys designing SVG Files, hanging out with her family (preferably at the lake), traveling, and volunteering at her church. She is a wife and mom of two crazy fun kids.
Leave a Reply