This post may contain affiliate links for your convenience. If you make a purchase through one of my links I will earn a small commission at no additional cost to you.
Last Updated on February 3, 2023 by Chris Butler
Hey crafty friends! The wet method to apply adhesive vinyl is a great way to get your decals onto nonporous surfaces. You can slide around and reposition your decal as much as you need, and you’ll also get a perfect transfer with no air bubbles!
As we all know that vinyl sticks like crazy to dry surfaces and if you’re not careful you get hundreds of small bubbles. The wet method application is an easy way to avoid all of that and get a perfect transfer every time.
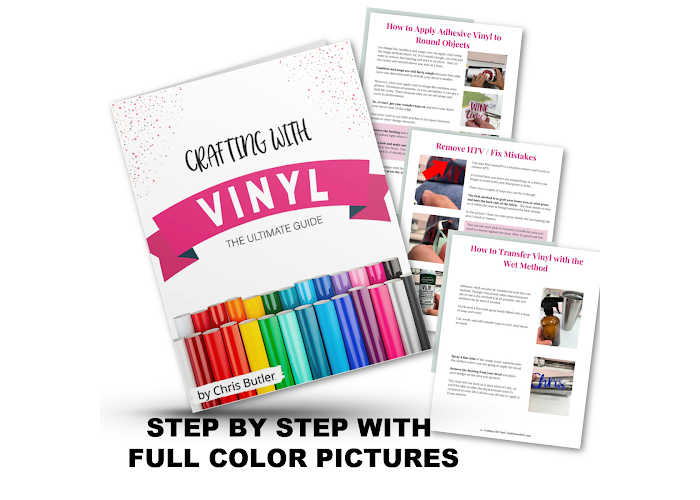
I share this tip plus many more in my Ultimate Guide to Crafting with Vinyl book, you can find it here
Let’s jump right in!
Quick Links to Information in This Post
What is the Wet Method for Applying Vinyl?
The wet method for applying vinyl uses water to make the surface wet where you apply your decal. Doing so allows you to place the decal without pesky air bubbles or wrinkles perfectly.
This method for applying vinyl is perfect for nonporous surfaces. This method will work on glass, tumblers, mugs, acrylic, and plastic surfaces. For applying vinyl to wood and other porous surfaces, you’ll need to use the dry application method.
Related: How to apply vinyl and large decals to wood with the hinge method
Supplies Needed for Wet Method Vinyl Application
To apply vinyl with the wet method, you’ll need:
- Spray Bottle of Water
- Scraper Tool or Credit Card
- Vinyl Decal and application tape
- Paper Towel
- Tumbler, mug, glass, or any other non-porous surfaces
Optionally you can add a small drop of dish soap to your application fluid. Most of the time I just use straight water and it works fine.
The 5 Steps to Apply Vinyl with the Wet Method
Follow the step-by-step instructions for applying vinyl with the wet method. There’s also a short and sweet video to see it in action.
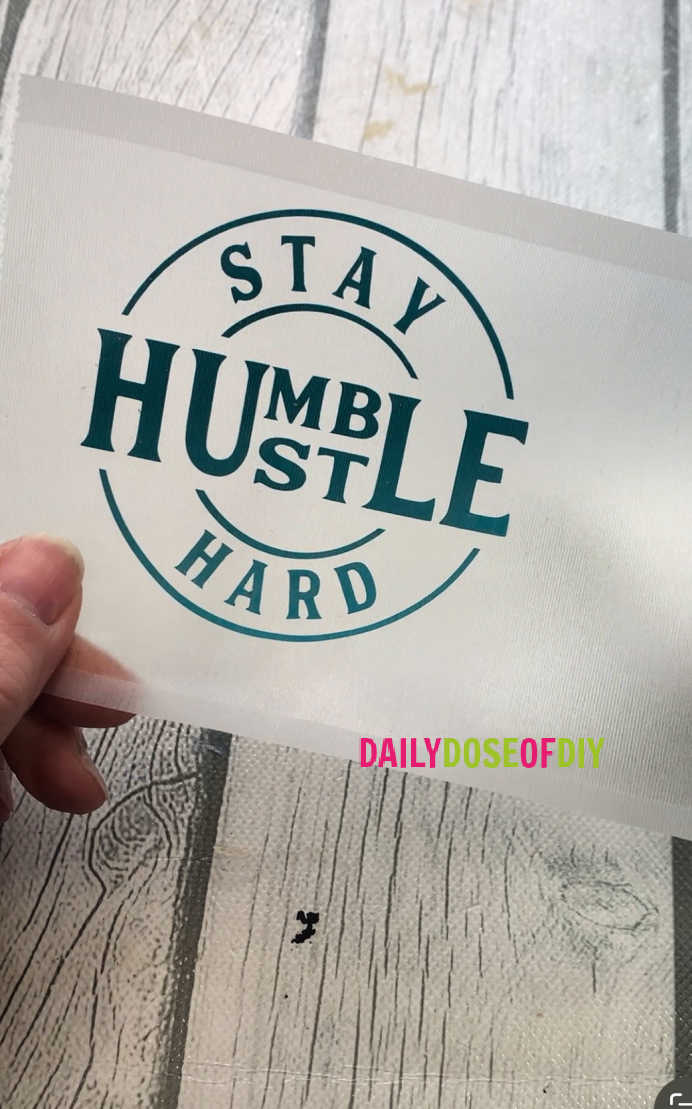
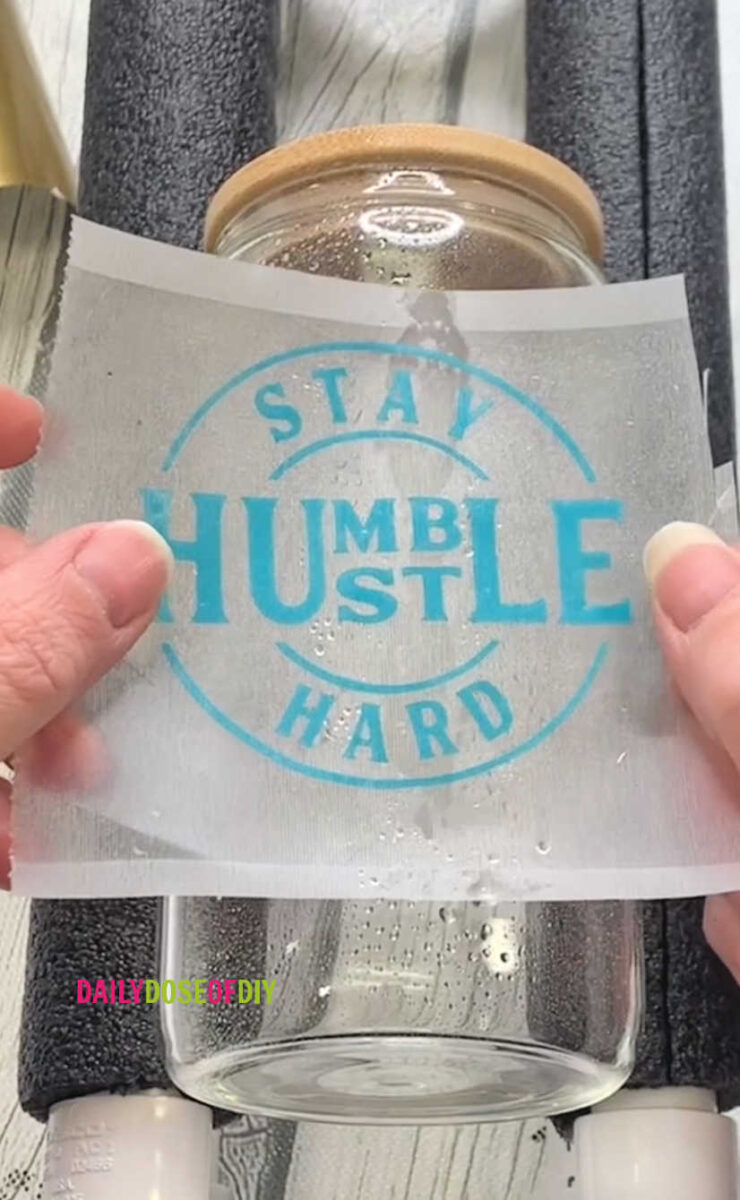
Step 1: Prepare Your Vinyl Decal
The first step we need to do is to cut our vinyl decal. I cut my decal with Orcal 651 permanent vinyl. There are different types of adhesive vinyl, and you want to make sure you use one that is permanent.
The design I’m using is in my free resource library under ‘S’ for Stay Humble if you’d like to grab the design to use.
To grab the free SVG for this craft fill out the simple form below
All of my free SVG files and Designs are kept in a library for your convenience. Simply CLICK HERE to get access. We will send you the link and password right away and you’re free to use all the resources you want in the library.
Already have the password? (It’s at the bottom of every email) Enter the Library Here
Weed your design and then place your transfer paper or tape on the top. Use your scraper tool to burnish (rub really hard) the front and back of the decal to ensure it sticks to the transfer tape.
Related: The Best Vinyl to Use with Cricut
Step 2: Prep the Surface Area
The next step is to clean the surface. We must start with a clean surface so our decal will last a long time. Use isopropyl alcohol to clean the entire area of your blank.
If the application surface has dirt, lint, or oil from your skin, the vinyl will not adhere as well. This goes for applying vinyl with the dry method as well.
I keep these super handy Alcohol Wipes I found on Amazon here. I keep them in a jar in my craft room and they’re the perfect size for cleaning blanks.
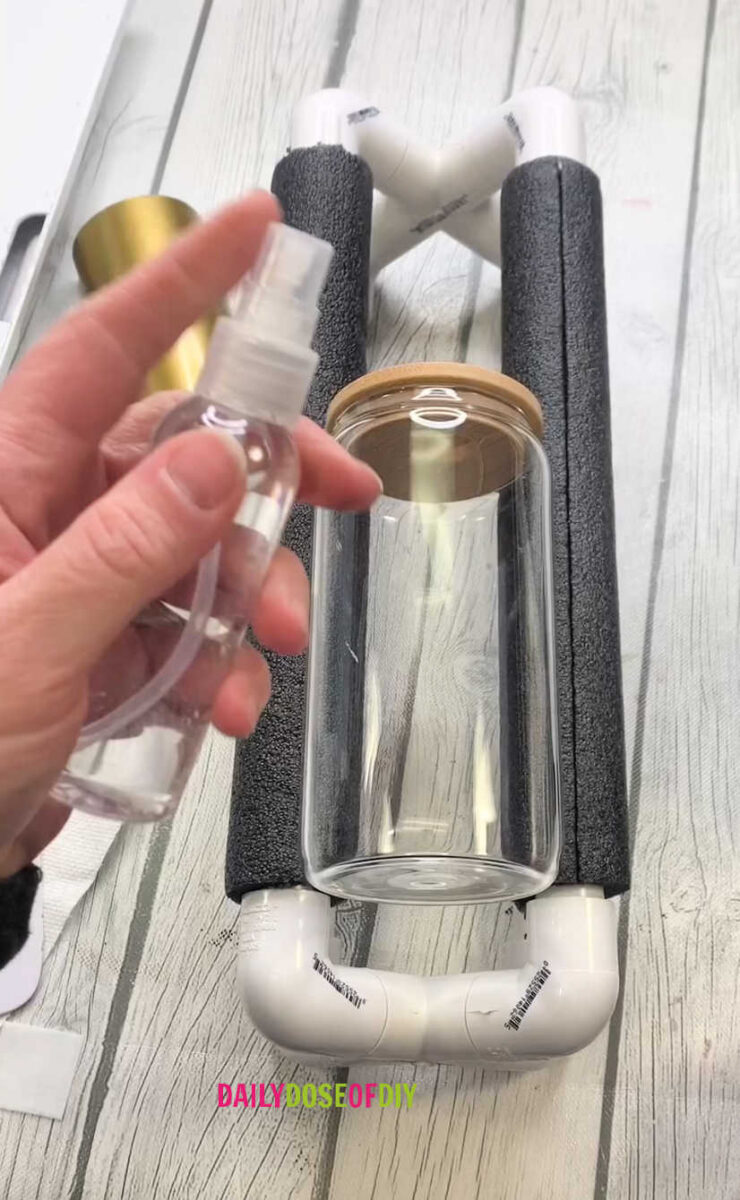
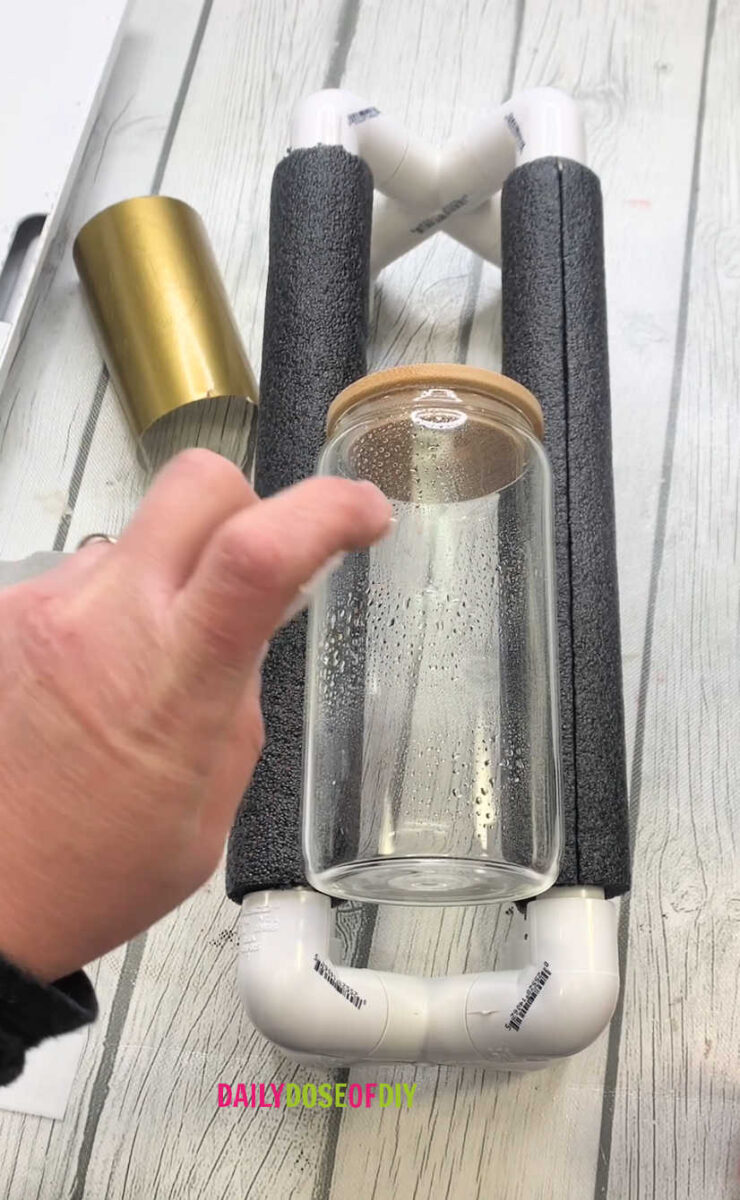
Step 3: Wet the Surface Area
Use your spray bottle with plain or soapy water to wet the area where you will place your decal. I like to use a fine mist spray bottle for this. Water drops on the surface area are fine.
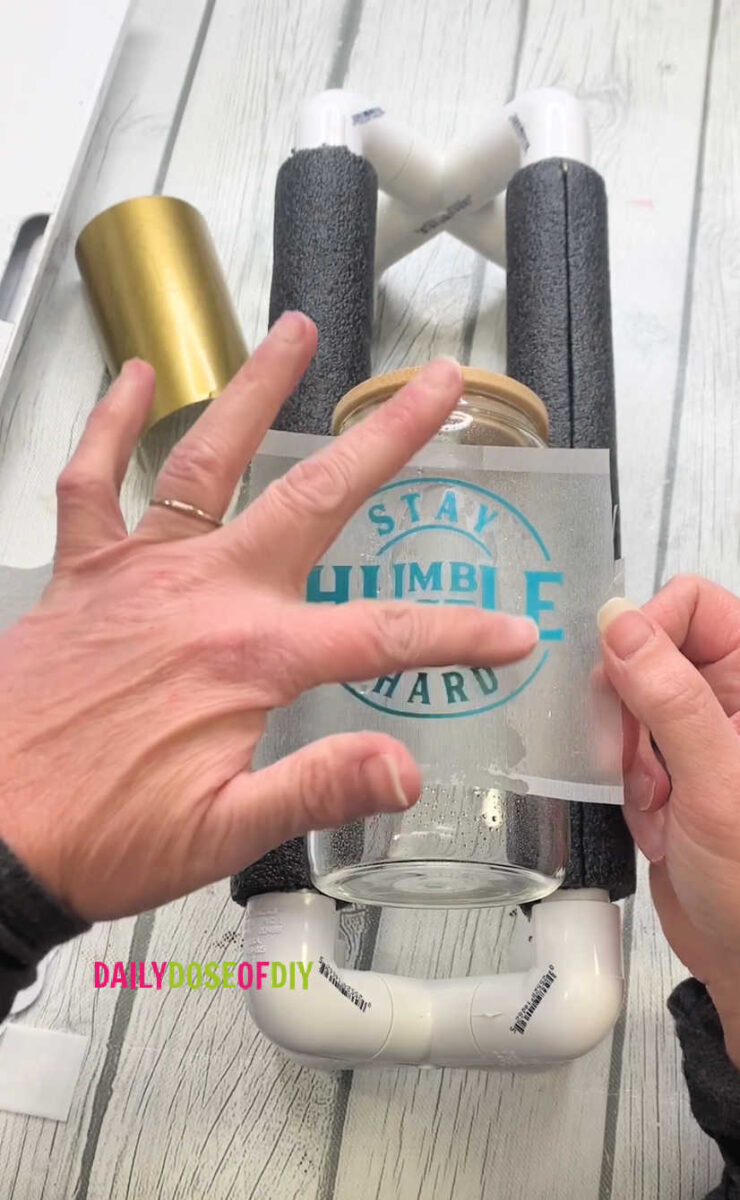
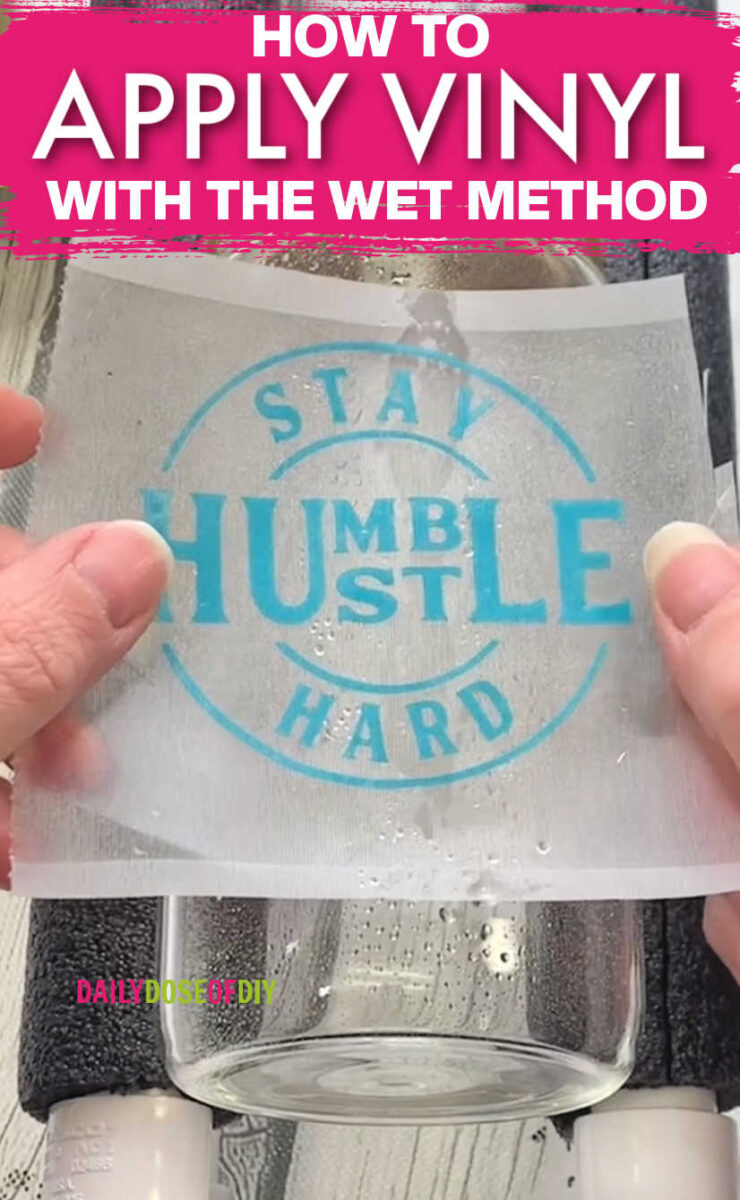
Step 4: Apply Your Vinyl Decal
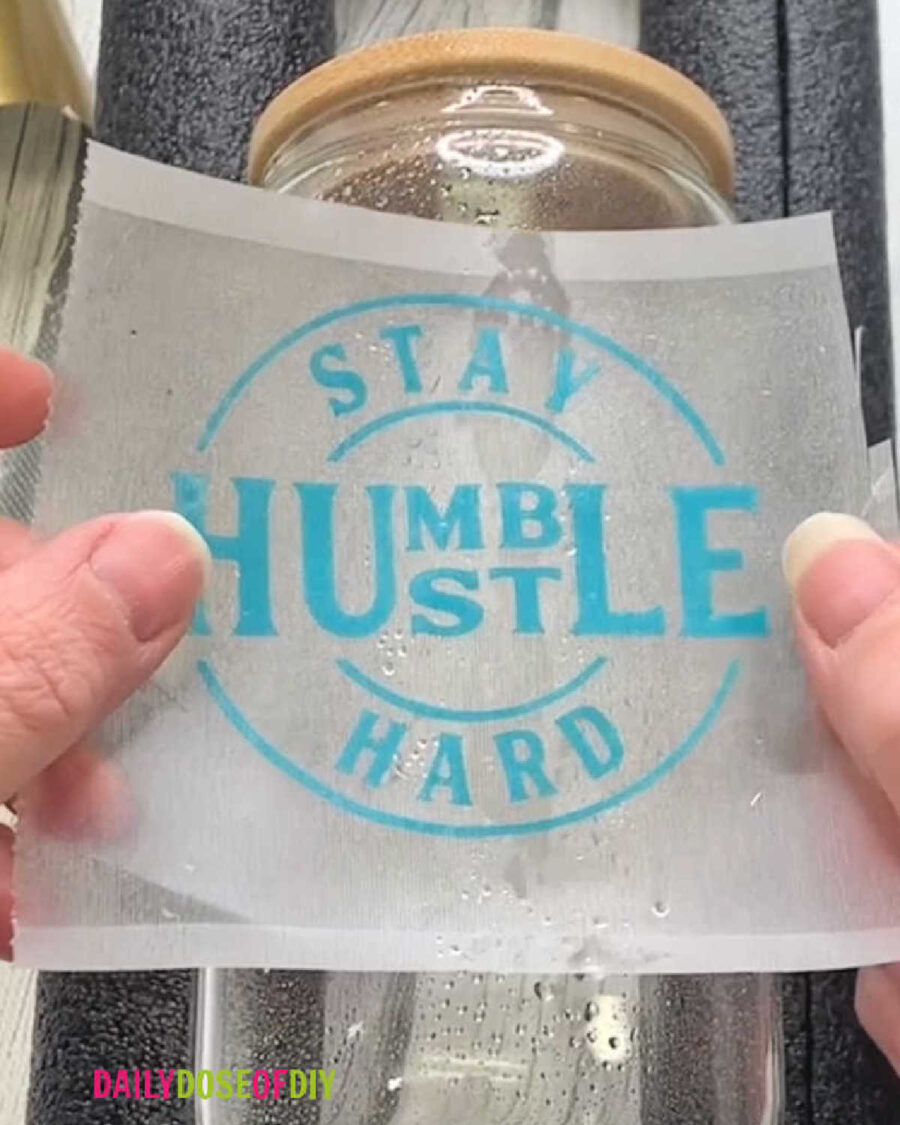
Now that the surface area is wet, remove the backing paper from your vinyl decal. Next, place the adhesive side of the decal down in the desired location on your craft blank.
With the surface area wet, you can easily slide the decal around or pick it back up and reposition it to get it centered.
Once you’re happy with the placement, smooth the decal all the way down. Start at the center of your design and work out.
Next, grab your squeegee or scraper tool. Again Start at the center of the design and squeegee the water out to the edges.
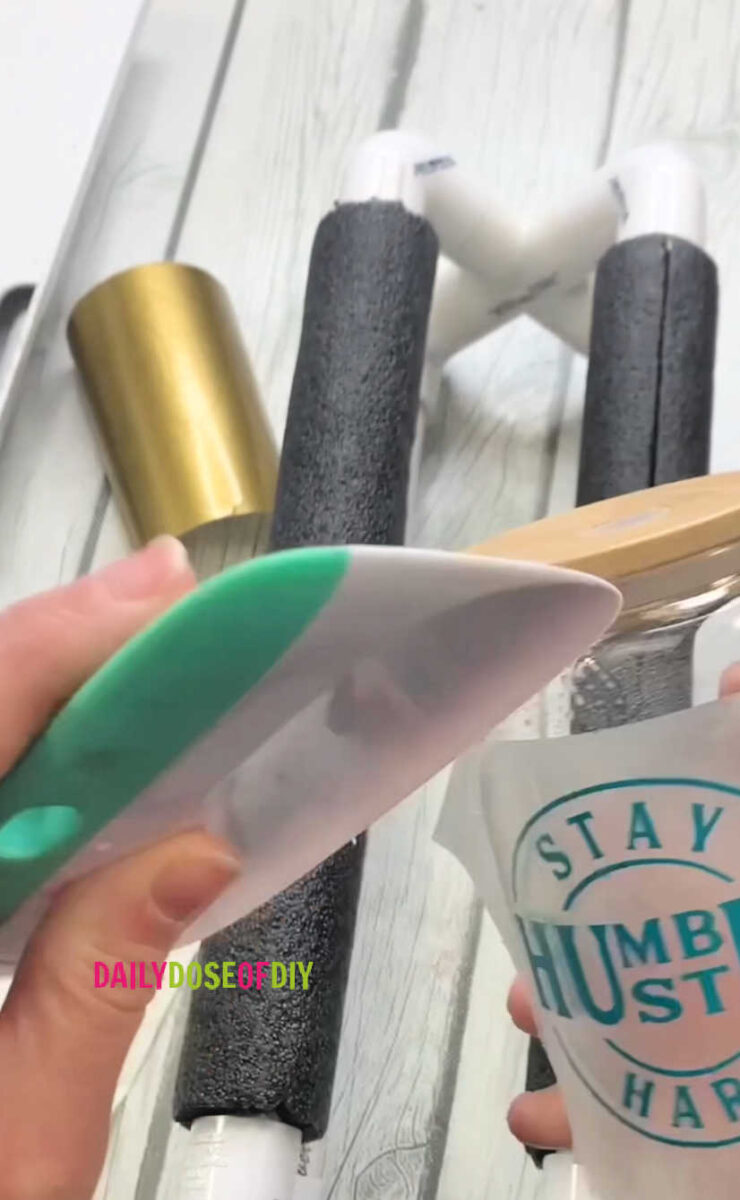
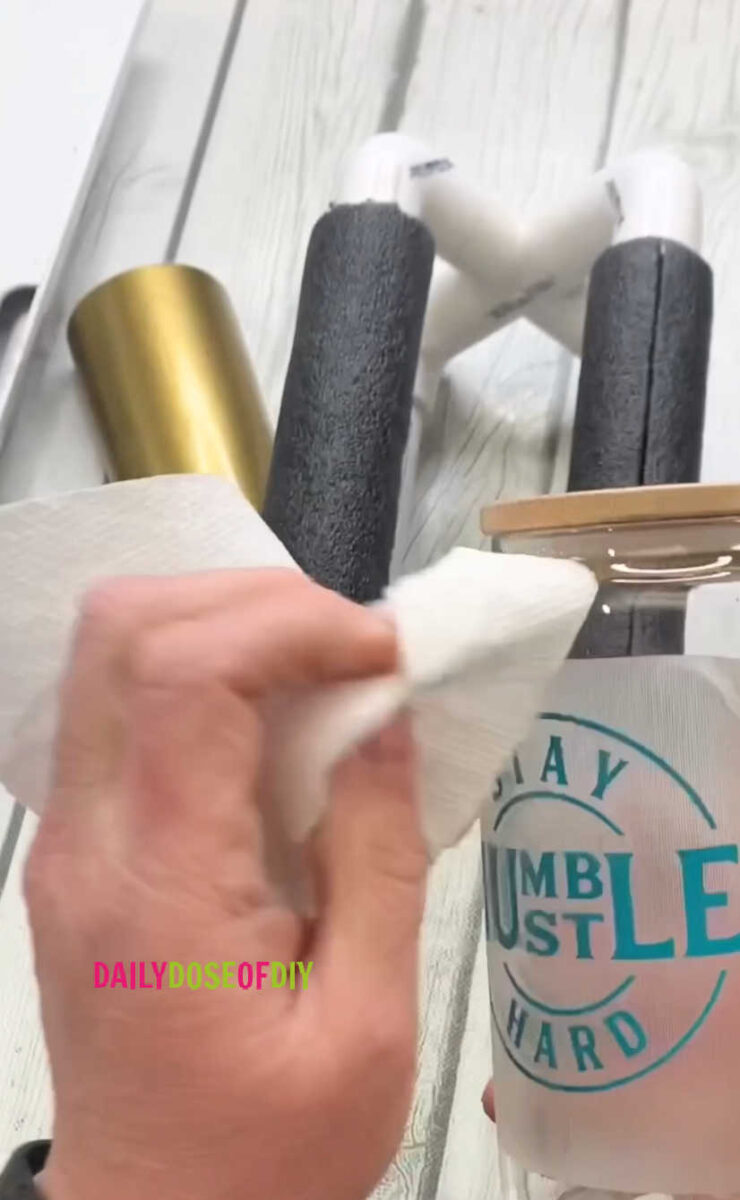
Use a paper towel to dry the water that comes out.
Repeat this process around the entire decal until no more water comes out. This will also easily remove any trapped air under your decal.
Watch the short tutorial video below:

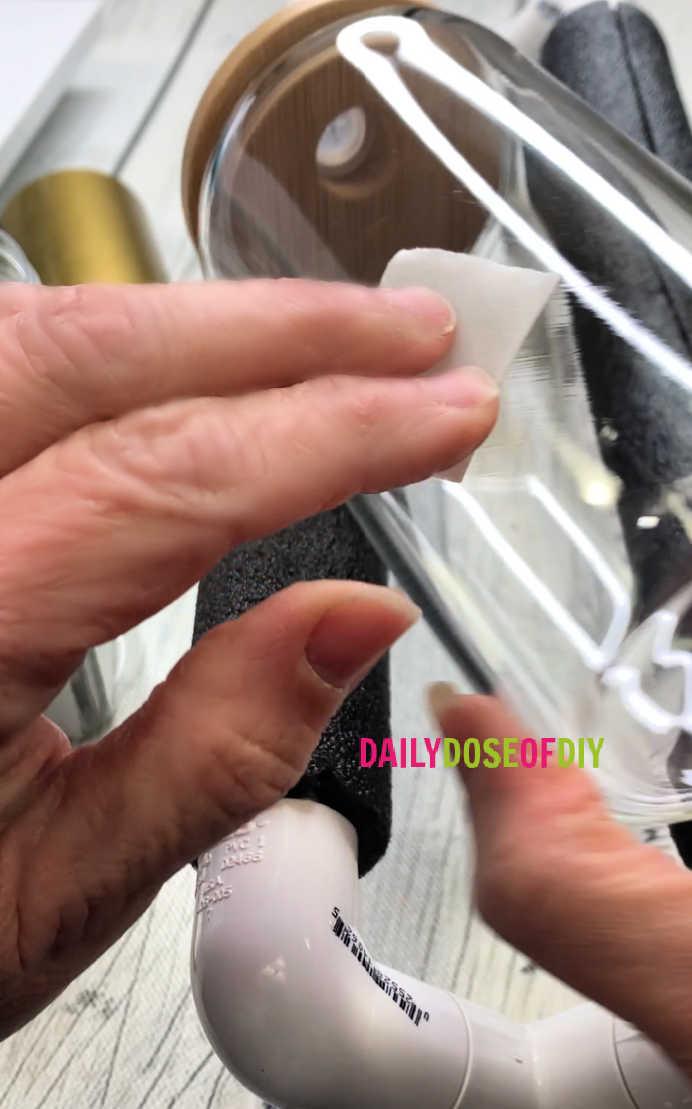
Step 5: Remove the Transfer Paper
After you’ve removed as much water as you can, you will still need to wait for it to dry. This usually takes a couple of hours so you can move on to your next project and come back to it. You can also speed up the drying time by using a hair dryer or heat gun on low.
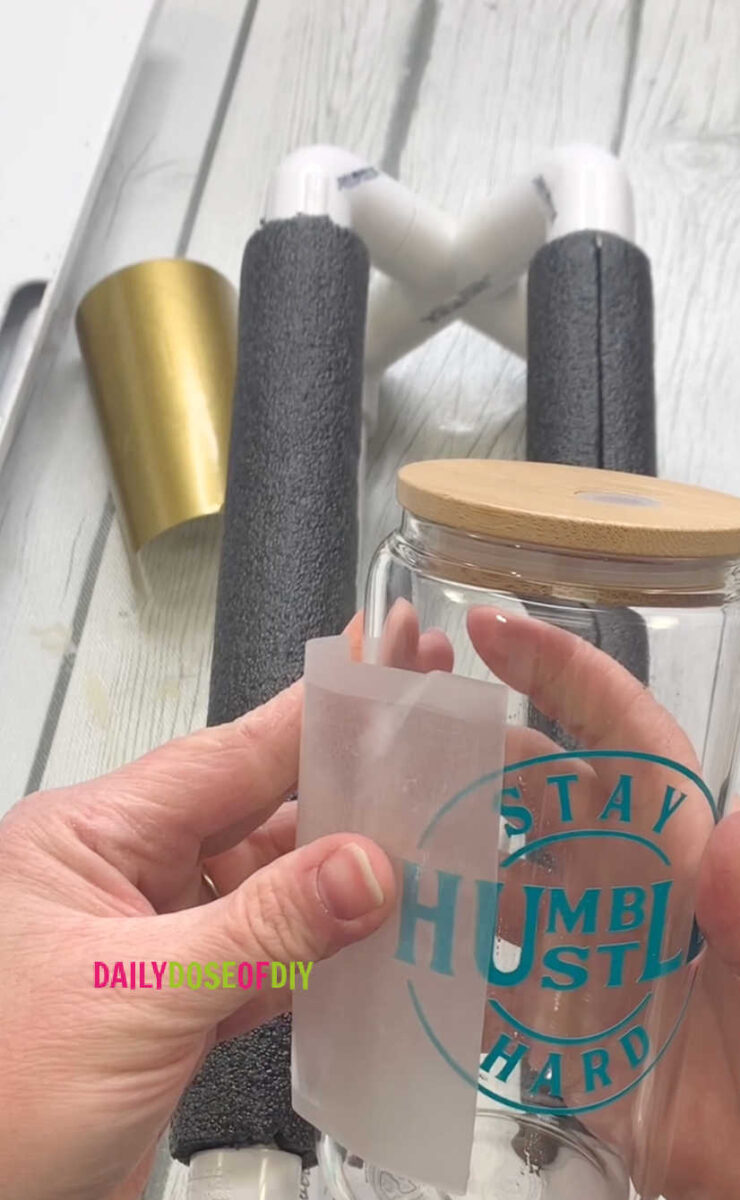
After you think everything is dry give it a small test by pulling up one corner of the transfer tape. The tape should now feel like it’s stuck to the surface. If it comes right up and you still see water wait longer.
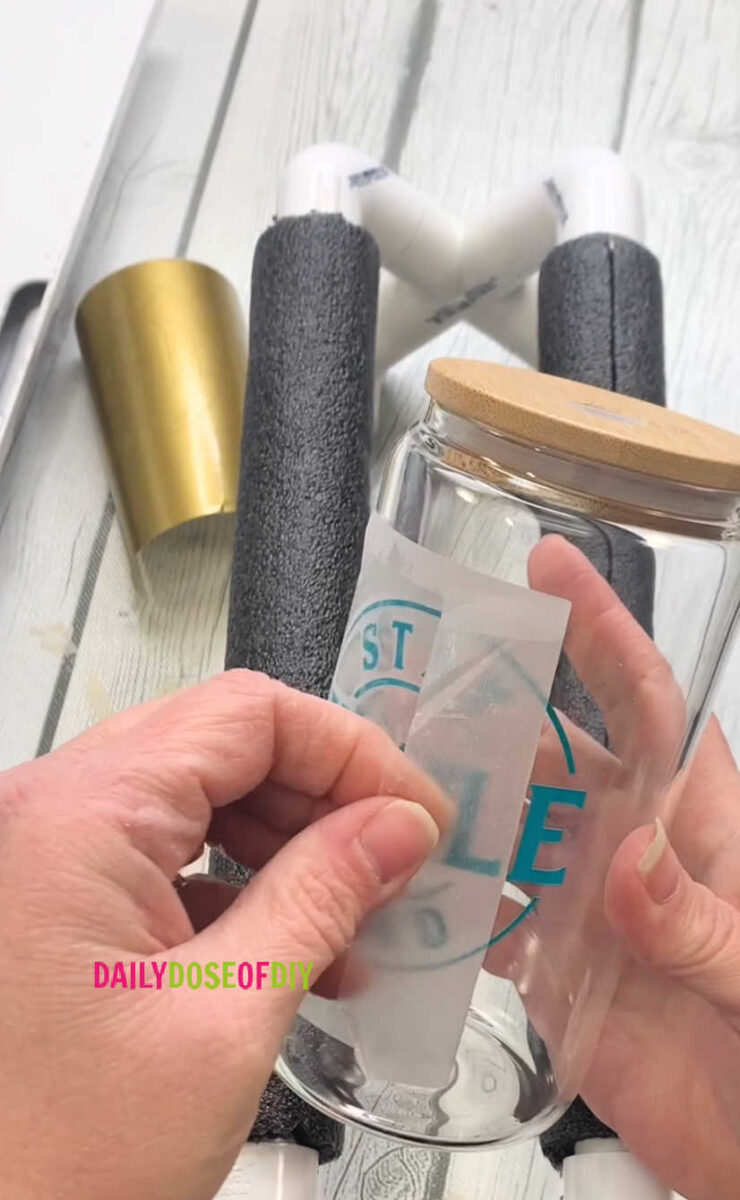
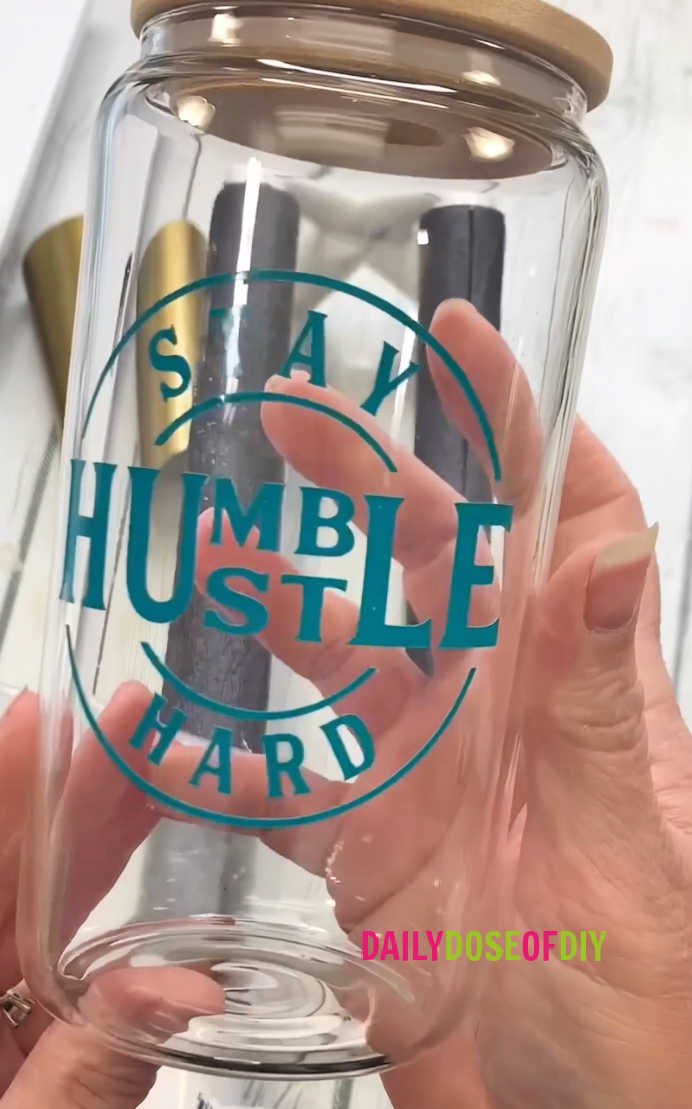
Once the decal is completely dry slowly peel back the transfer tape. Your vinyl decal should stay stuck to the surface. Again if it doesn’t, that means it’s not totally dry yet.
As with all adhesive vinyl projects, you want to give your vinyl 24-48 hours to cure and, in this case, completely dry before use. After that, it is dishwasher safe (in my experience) as long as you’ve used permanent vinyl.
FAQs
Can Cricut vinyl be applied wet?
Yes it can. For best results, use Cricut Permanent Vinyl or another brand of permanent vinyl.
Can you use soapy water to apply Cricut vinyl?
Yes, you can, although soap isn’t necessary, plain water will work. If you do add soap, use a very small amount.
Should You Use Soapy Water to Apply Vinyl?
It is the easiest way to apply vinyl to nonporous surfaces such as tumblers, mugs, plastics, acrylics, and glass.
Wet vs Dry Vinyl Application, Which is Better?
The wet method is best for nonporous surfaces such as tumblers, mugs, plastics, acrylics, and glass. Dry vinyl application is best for porous surfaces like wood or paper.
Wet vs Dry Vinyl Application What’s the Difference?
Wet vinyl application uses water to help with the placement of your decal on nonporous surfaces. Dry vinyl application does not use water and is best for transferring vinyl to porous surfaces such as wood or paper.
More Vinyl Tutorials:
- How to Easily Apply Transfer Tape
- How to Apply Vinyl with the Hinge Method
- The Vinyl Guide, Which is the Best Vinyl to Use
- How to Layer Vinyl
- How to Reverse Weed Vinyl
Grab the Ultimate Guide to Crafting with Vinyl here.
Vinyl Crafts to Make:
- How to Make a Vinyl Stencil
- How to Use Color-Changing Vinyl and Make a Cup
- How to Put Vinyl on Tumblers

Chris Butler has helped thousands of crafters learn how to use their Cricut machine without feeling overwhelmed. She is a best selling author and an up and coming designer. For fun Chris enjoys designing SVG Files, hanging out with her family (preferably at the lake), traveling, and volunteering at her church. She is a wife and mom of two crazy fun kids.
Never mind the wet method (which is brilliant – thanks!) What about the SUPER HOLDER you have made! 🙂
Thanks Mrs. S. You can find the instructions for that here https://dailydoseofdiy.com/diy-tumbler-cup-holder-applying-vinyl/